After spending two years building a wood-and-fabric kit airplane, my goals began to change. It is really difficult to decide what to buy; it is even harder to decide what to build. When you buy a complete airplane, there’s little time between the final decision and the day you start flying. However, it’s natural that ones plans and goals may change after a few years of building. This is exactly what happened to me. I selected my first kit project based on the standard criteria: price, build time, number of seats and functionality. At the time, I owned a Piper Cherokee, which perfectly fit my family’s needs. When it came time for my first kit, the criteria boiled down to a nice-looking, easy-to-build single-seater that wouldn’t break the bank and would be simple to fly. A Loehle 5151 Mustang was my first project. I found the kit to be everything the Loehle family claimed it would be. It offered easy assembly for a first-time builder and could be purchased in sections. It was the perfect fit.
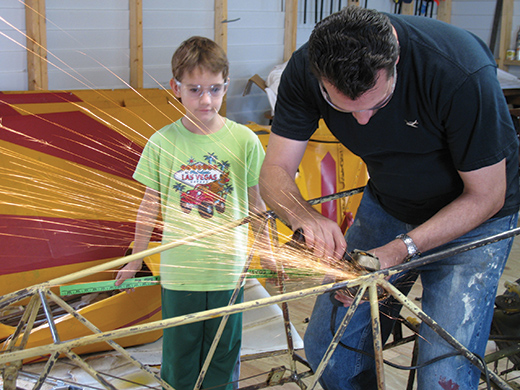
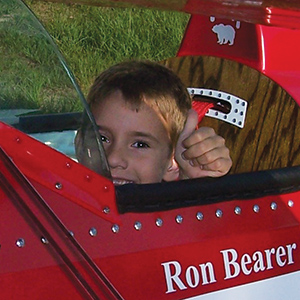
Good help is easy to find. The authors 8-year-old son, Charlie, provides assistance.
Two years into the build, my aviation goals changed to include aerobatics. The Loehle kit was easy to sell and helped fund my new aerobatic dream. My wife, Rocio, found and purchased a Baby Great Lakes project for me. Of course, having a wife who supports my passion for aviation is a blessing. The Baby Great Lakes is a solid little biplane designed for aerobatics. Its small size (16-foot-8-inch wingspan and 14-foot length) gives it the ability to withstand aerobatic stresses of +/-9 G.
Let the Restoration Begin
This plane was built in 1970 and used in airshows. It sat out in the elements for a few years, which really took a toll. But I had gathered a lot of information, and I had a pretty good idea of what I was getting myself into. The plan was to strip it down to the frame and take a close look at everything from the ground up. I thought that this should take only a few hundred hours. You’re probably laughing. At the time, I wasn’t aware of the builders rule: Take your estimated build time and triple it. How true that turned out to be-my project turned into 850 hours of labor.
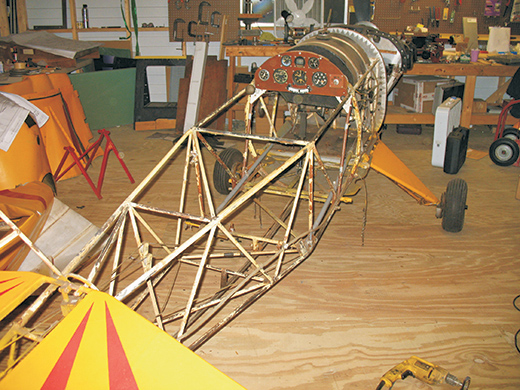
The frame after the old fabric was removed.
The new frame, stripped and epoxy coated, new welded sections and new wood.
With the fabric removed, it was easy to see what really needed to be redone. Because it is an open-cockpit airplane that had been tied down outdoors, rain had run down the inside of the fuselage and out the tail. A small area had trapped water, which did a job on that section of the 4130 chrome-moly frame. This was expected. While I was replacing parts of the frame, I decided to make some adjustments at the same time. If you’re like me, making adjustments doesn’t sound like a good idea. But I ordered a new set of blueprints and followed the plans on what changes could be made. I wanted to add space for a parachute, and the blueprints provided instruction on how to move the top of the seat back 3 inches. This gave me a chance to look inside other sections of the frame. A nice surprise was that the inside of the frame was treated with anti-corrosion oil. When I cut away sections of metal, I had a chance to inspect the condition inside the tubes, and they looked new! The entire frame was stripped down to bare metal. After the seat was moved and the new sections were welded in, I painted the frame with white epoxy. This is important because when fabric is attached, the Poly-Tak cement contains MEK and will quickly remove enamel-based paints.
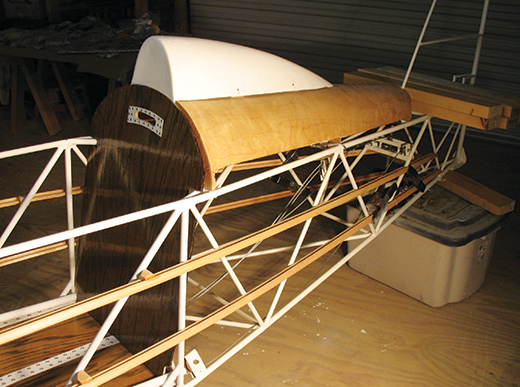
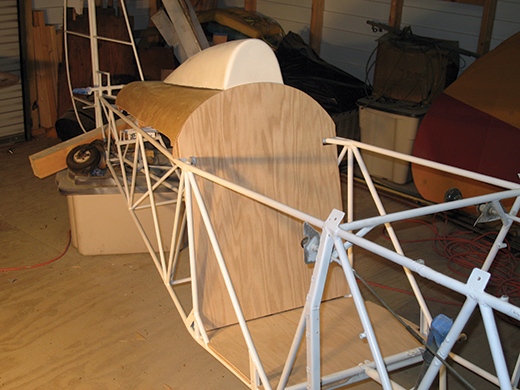
New cables, pulleys and stringers.
Now that the frame was looking like new, it was time to build all-new wood parts. This was a plansbuilt design, so all of these parts had originally been made from scratch. Building parts saves a lot of money, but it costs time. I spent two years building the Loehle spruce kit and have come to enjoy working with wood. The floor, stringers, turtledeck, seat and instrument panel were all replaced.
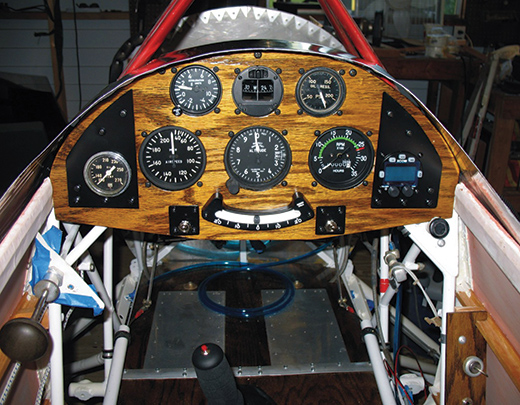
New panel and instruments.
From Frame to Plane
One of my favorite parts of the building process was the fabric, and I really had no idea how easy it would be. The reason I liked this stage was the plane went from being just a frame to looking like an airplane. Each year I visit Sun n Fun in Lakeland, Florida, and this time I had an extra reason to go: I participated in a Poly-Fiber fabric workshop, which made all the difference in the world. It was nice to get hands-on experience applying fabric and rib stitching. Then I headed home and got back to work.
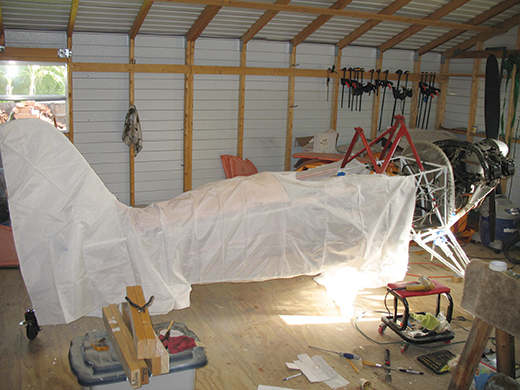
The fuselage fabric envelope is in place.
The fuselage fabric, nice and tight.

The first layers of fabric tape are in place and are covered with the first layers of Poly-Brush.
Fabric can be applied as pre-sewn envelopes or from loose rolls of fabric cut to size. I ordered the complete envelope system for the plane. Fabric envelopes can save a lot of time, but I found that I had more control of the finished product when I used rolls of fabric. Everything was covered with loose fabric except the fuselage, where I used an envelope. The fabric went on with no problems. I found the Poly-Fiber system to be well thought out and ripe with information, so it was a clear choice to continue with the Poly-Fiber system for the paints. This part did make me a little nervous. I kept thinking about how many hundreds of hours of work could now get messed up with a bad paint job. My grandfather Emery was also a pilot and enjoyed building cars. He even replaced the fabric on the wings of his old Cessna 120 once. Even though that was many years ago, I still have his paint guns. I had to use his equipment for the sake of tradition.
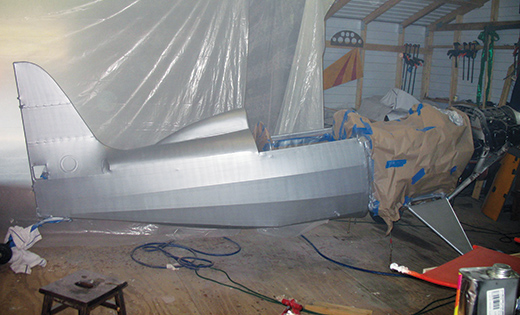
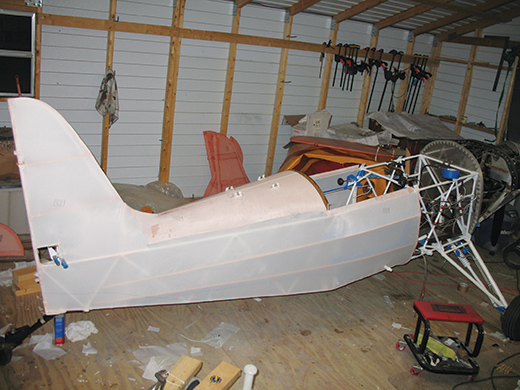
Three cross coats of Poly-Spray have been applied.
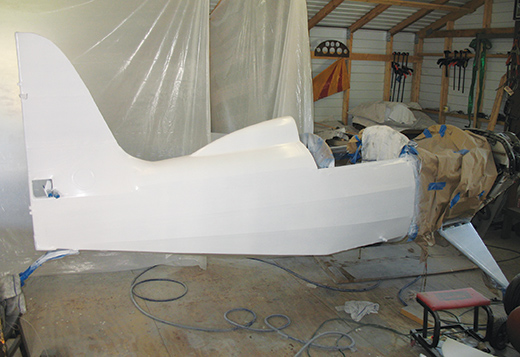
Three cross coats of Insignia White Poly-Tone are on.
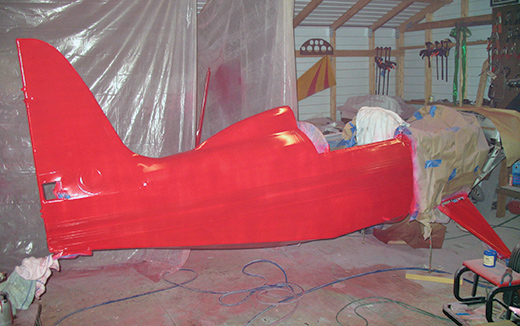
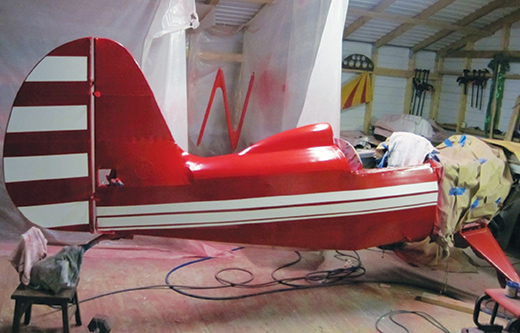
With the fine-line masking tape in place, three coats of Pontiac Red Poly-Tone were applied. The author was eager to see the result.
The Poly-Brush coats that seal the weave of the heat-shrunk fabric all went on easily. Poly-Spray is the silver coat that acts as the UV blocker to protect the fabric from sunlight damage. That silver coat is also the layer that gets sanded and prepped for the color finish. Switching to Insignia White Poly-Tone as one of my final finish coats was exciting. The plane really looked sharp by the time I had three cross coats of white sprayed on. The final stage of the paint job was to mask off the stripes and designs using 3M fine-line paint mask tape. The Pontiac Red Poly-Tone coats were sprayed, and I patiently waited to remove the masking to see how the job had turned out. The Poly-Tone system was just as easy to use as the fabric. Each layer bonds to the layer sprayed before it. By the time a beginner paints the Poly-Brush and Poly-Spray, he will have the practice to apply the finish coats. Easy as can be.
After the tape was removed, the quality of the paint job was evident.
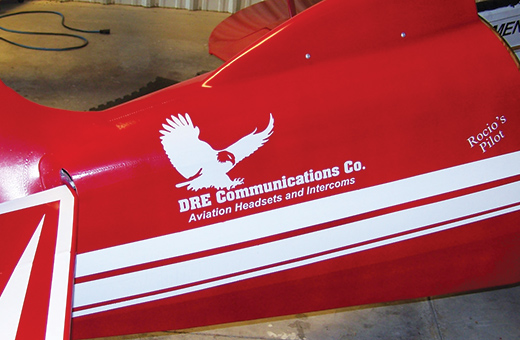
Sponsor logos have been added.
With the paint complete, it was time for the final assembly. The plane had to be moved from my workshop to the hangar. Attaching the wings and getting everything leveled out was easy with the help of my dad, Ron Sr.
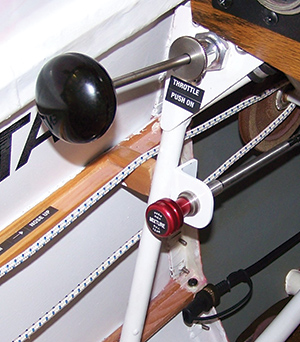
The instruments were next. This is an area where the cost of a project can go through the roof. The plane was to be used in airshows, so the instruments had to be top notch to maintain communication with the air boss. This plane does not have an electrical system, so the instruments not only had to be light for aerobatics but also efficient in electrical draw. The battery is large enough to add a starter later on and still continue to power all avionics for more than 12 hours continuously. The small dashboard made it a challenge to fit in everything I wanted. A standard-size radio and transponder simply would not fit and would draw too much from the battery. The perfect solution was the XCOM transceiver matched with a DRE Communications ANR headset. This gives me clear communication in the open-cockpit biplane environment. The new Mode C transponder from Sandia Aerospace has the Mode C built in. The size is small, and the system is lightweight. Its new to the market and has really attractive introductory pricing to boot. And with that, it was on to the show.
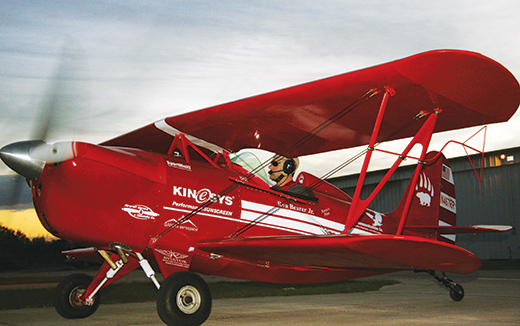
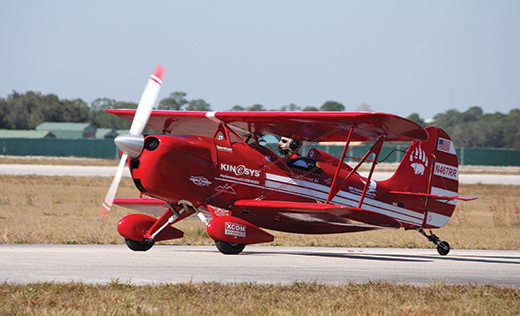
With all of the hard work done and the sponsors signing on, it’s showtime.
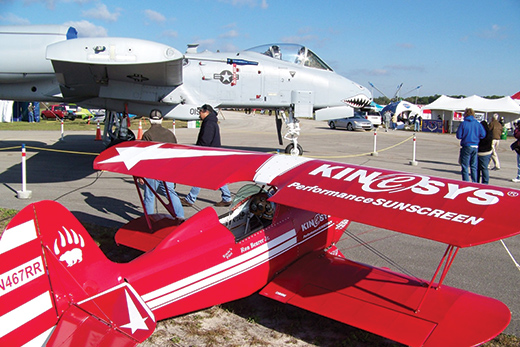
In all its glory, the restored Baby Great Lakes at the 2011 TICO Warbird show.


