This month’s column is the second of a two-part discussion on how to make flanged sandwich parts. We continue the process here with prepping the male mold for layup.
Once you have the mold mounted to the base, mix up some Bondo and make a radiused fillet at the base of the mold. This helps the carbon sit flush against the side of the mold when you do the layup. When the Bondo has cured to a rubbery state (usually a few minutes), use a chisel to scrape off the excess. It comes off pretty clean if you time it right. You can also run a rag with acetone over the foil to remove any remaining flecks of Bondo.
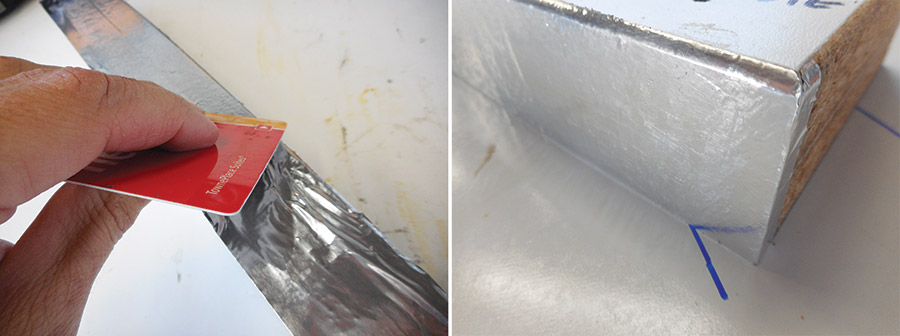
Smooth foil tape down with a credit card. Leave enough overhang to cover the top mold radius. Trim any tape that overhangs at the bottom.
If there are any large dings, holes, etc. in the mold that you don’t like or think might trap the part in place, you can fill them with modeling clay. Next, wax the mold and fillet with a release wax like Meguiar’s #8. I find a single application of wax to be sufficient. Finally, shoot the mold with a coat of PVA (polyvinyl alcohol, a water soluble release agent). Harbor Freight’s 6.75-ounce touch-up air spray gun works fine and cleans up easily. (Since PVA is a release agent, it’s best to use this gun for PVA only, to avoid cross contamination.)
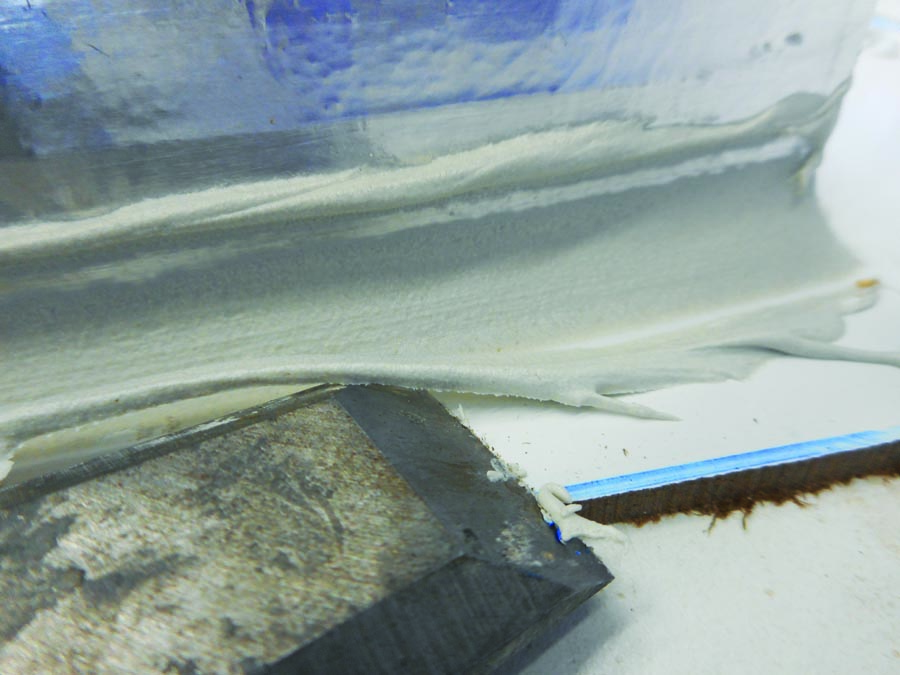
Use a chisel (wood or soft plastic is a bit more forgiving than metal, which easily gouges the foil tape if you aren’t careful) to clean up the radius at the base of the mold. Radius with a tongue depressor/mix stick, and hold the stick so that it completely scrapes off the Bondo at the edges tangent to the base and vertical mold edge. This makes peeling off the excess Bondo simple. No sanding required.
Because the PVA can puddle over waxed surfaces, I shoot the first two coats as a very light mist. This avoids puddling and provides a base for subsequent coats to adhere to. I then shoot three heavy coats, letting each coat dry (about 10-15 minutes at room temperature). Because PVA is a release agent, be sure to only spray in a contained paint booth or other area where you don’t have to worry about overspray contaminating your work tables, carbon cloth, etc.
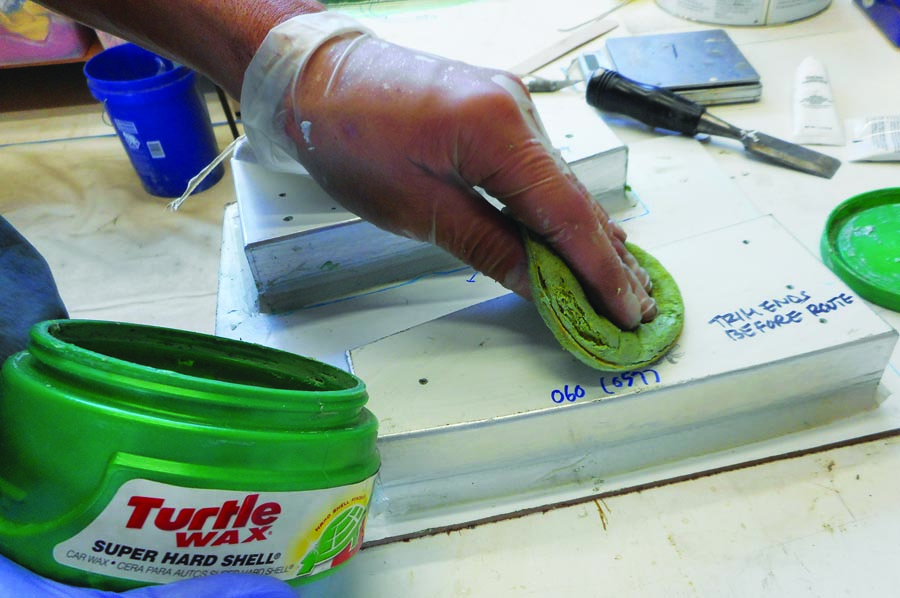
When coupled with PVA, cheap car wax seems to work just as well as mold release wax.
Applying Tape and Stretchlon
Once the final coat of PVA has dried, tape the mold base to the tempered glass (to keep it from moving about while you do the layup), and run a strip of tacky tape around the perimeter of the base. Leave the wax paper in place on the sides and bottom, but remove it across the top. Cut an oversize sheet of Stretchlon (I usually aim to have the Stretchlon extend about 2 inches beyond the edge of the tape), and stick it in place on the upper left corner with the Stretchlon extending about inch beyond the tape.
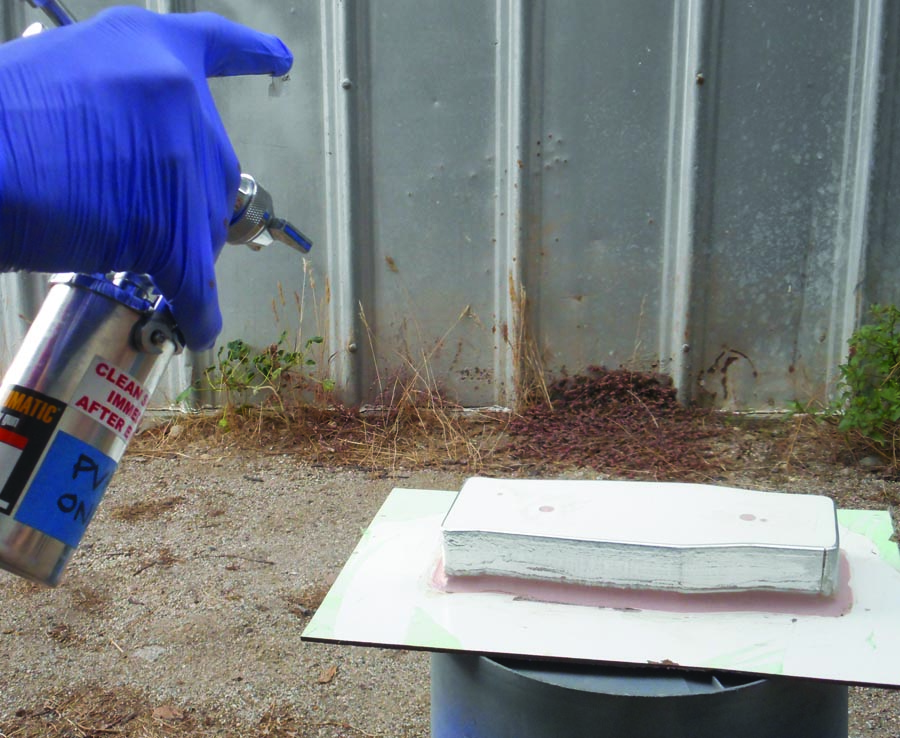
Shooting the mold with PVA release agent.
Now press seal the Stretchlon about halfway across the top. Move to the opposite corner, attach the Stretchlon there, and press seal the Stretchlon, again moving toward the middle. When there is about a 3-inch gap between the left and right sides, add a 3-inch long piece of tacky tape as a pleat (you should have enough Stretchlon to form a pleat since you cut it oversize). Now roll your bagging film up out of the way for the time being. Although I often use Lowe’s 3.5-mil aviation plastic for relatively flat bagging jobs like wing skins, I prefer Stretchlon for bagging these types of parts, since you get much better conformity around the male mold.
Bagging tape is offset about one inch from the mold base and Stretchlon is offset about two inches from the tape.
Layup
You can now proceed with your layup. For example, suppose you want to make a 2-core-2 rib with four layers of BID, a core, and two layers of unidirectional tape. First wet out the BID and uni on a piece of transfer plastic (again, I like the 3.5-mil transparent plastic from Lowe’s). Transfer the first ply of BID, remove the plastic, and brush the BID down smooth against the mold with an acid brush. Most mold shapes will need to have a bit of fabric snipped out at the corners or elsewhere to lay down nicely. It’s much easier to do this while the BID is still on the transfer plastic.
Next, wrap the uni around the mold, keeping it taught as you go. Continue with the remaining layers of BID. Don’t forget to place the foam core after the second layer. I prefer to wrap the uni after the first layer of BID. That way, if you need to sand the flange at all, you’ll have to go through several layers of BID before you risk damaging the uni. There’s a link at the end of this article where you can watch a time-lapse video of a layup.
Bag prep: 1) Press seal upper left corner, working from left to right.

2) Press seal upper right corner, working from right to left. Leave 3-4 inches unsealed in the middle, so you can insert pleat tape.

3) Insert pleat to take up extra material. Cut pleat tape longer than the pleat and fold over on itself when sealing the pleat.
Roll bag to top of table until layup is finished.
Finally, add the usual materials for a bagging operation—peel, perf, and bleeder/breather. Don’t forget to set your quick disconnect in place before closing the bag. Now you are ready to close the bag. Seal the remaining three edges like the first, starting at one corner, working about halfway along the edge, then moving to the other end and meeting in the middle with a pleat. Apply vacuum, ensuring that your breather doesn’t shift as it’s pulled down. Because the Stretchlon is so stretchy, it will usually try to bridge the corner between the side of the mold and the base. Be sure to press the bag tightly into this corner to ensure that the fabric is molded tightly to the side of the mold. If the parts you are making are small, I recommend calculating the fiber/resin ratio to make sure it is within spec, as it’s easy to over-bleed small parts, especially if there are few plies, the shop temperature is high (i.e., epoxy is less viscous), or you have a strong vacuum pump.
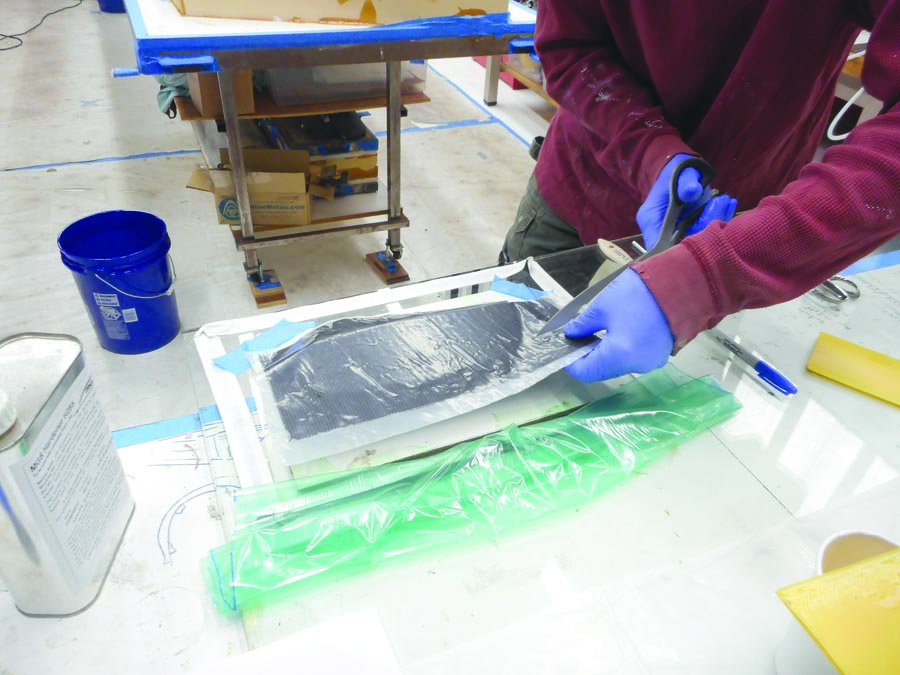
Carbon that has been pre-wet out on transfer plastic is placed on the mold. Trim as necessary before removing plastic. The scissors here are Kai 7300 12-inch bent handle scissors—expensive, but definitely worth it if you spend much time with composites.
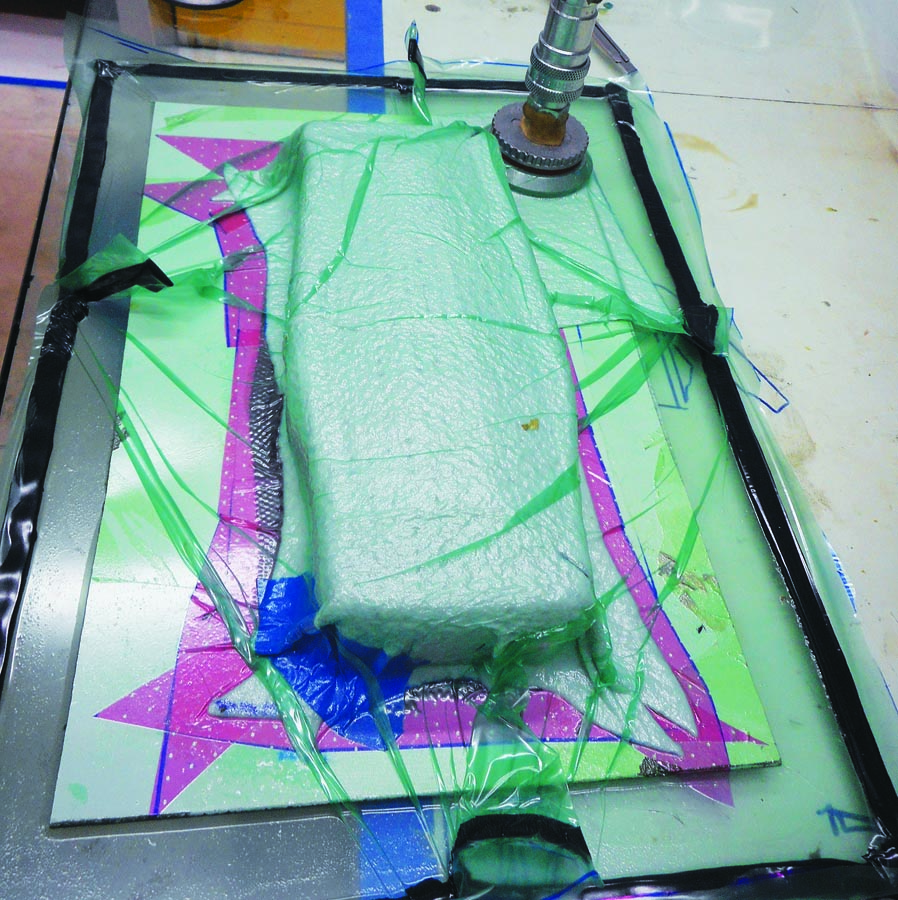
Part under vacuum. Picture was taken just after bagging, so there is no bleed through into the breather yet.
Trimming to Size
Once the part has cured, unscrew the mold from the base. Use a Dremel (the diamond cutoff wheels work great for trimming carbon) to trim along the base of the part, just above the radius. Remove this area as well as the Bondo radius (it should flake off pretty easily). Begin the demolding process by blowing compressed air into your alignment holes. This usually gets the top face loose, and if you’re lucky, that’s all it takes to pop the part off the mold. If not, try to free up the flanges by gently prying them up with a chisel. If the flange isn’t too thick, you should be able to jam a credit card between the flange and mold and run it around the perimeter of the mold. Try to free it with compressed air again.
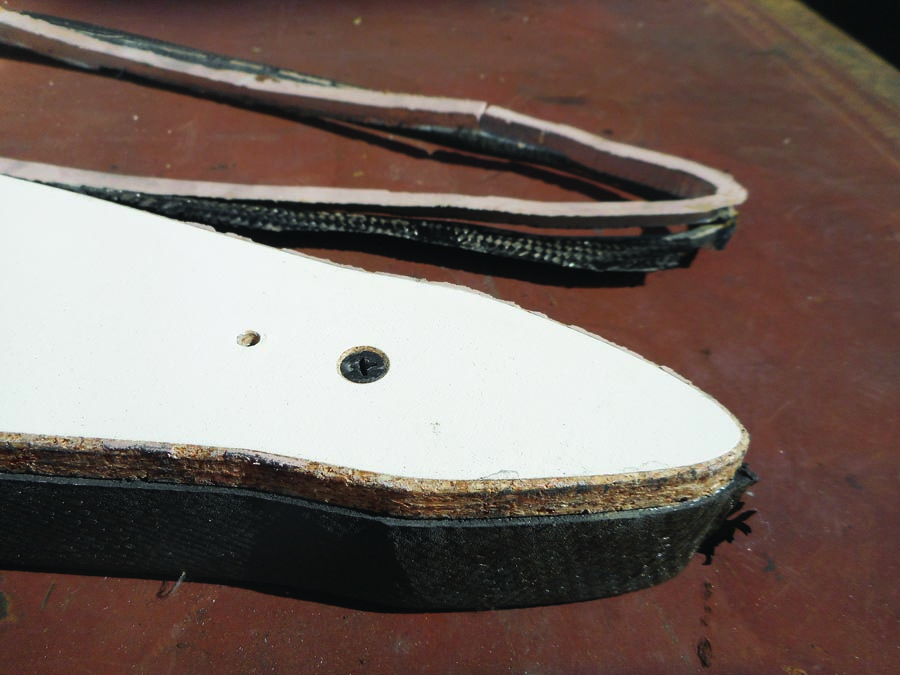
The first step in demolding is to trim the bottom of the flange.
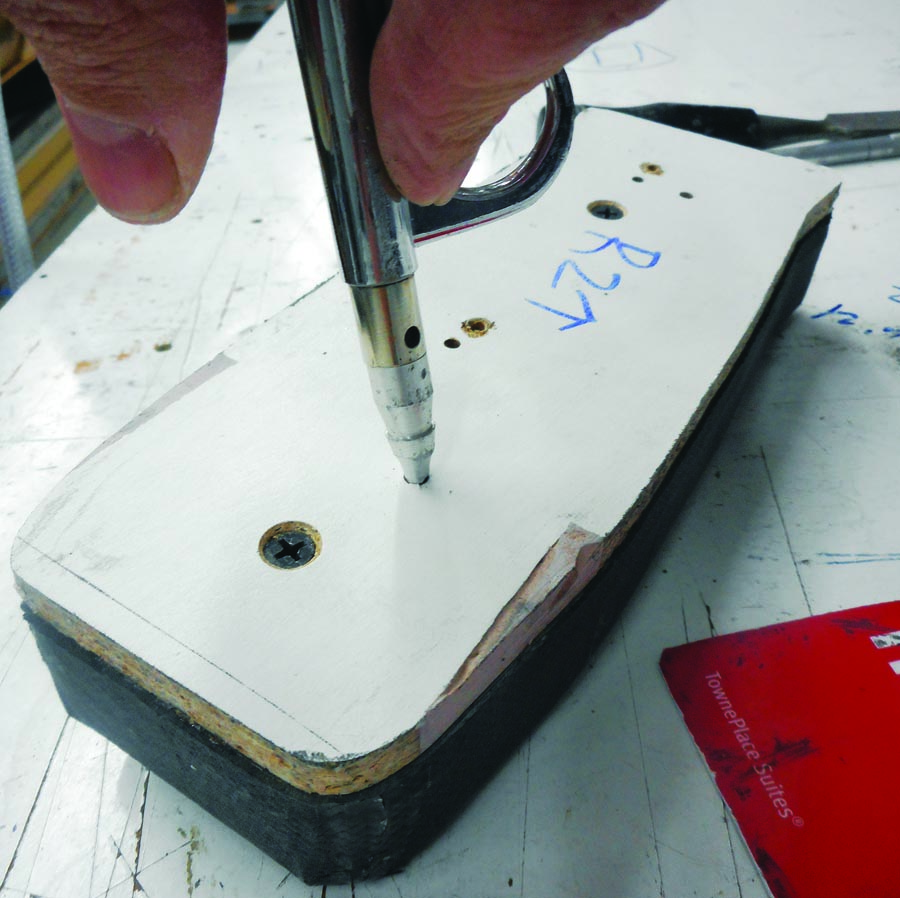
Blow compressed air into alignment or screw holes to help pop the part free.
If the part hasn’t popped off the mold at this point, you can grip the exposed MDF base with a vise. Gently tap the flange edge with a hammer and piece of flat aluminum stock to push the part off the mold. The above methods have never failed to free a part for me, but if worse comes to worst you can drop the part in a bath of water. The PVA will dissolve, and the MDF should get soft enough to carve out.

Flanges can be freed up with a credit card
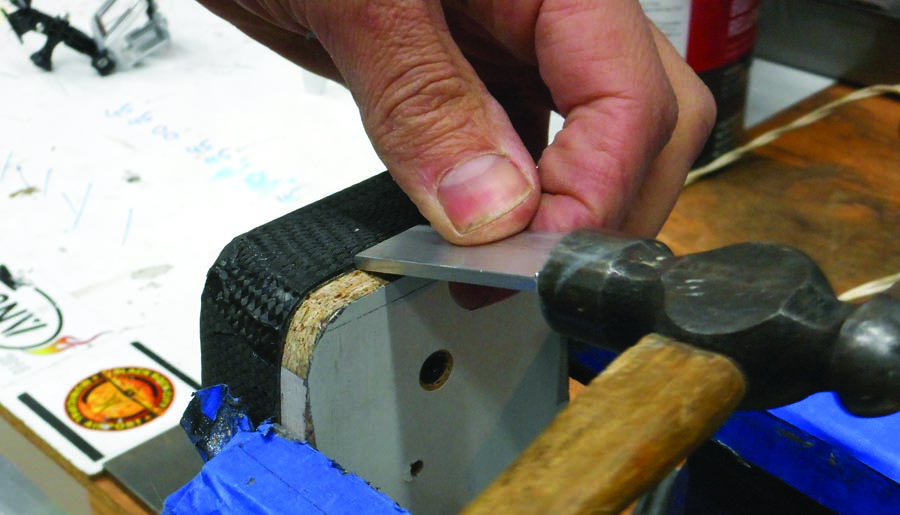
Tap the part free while gripping it in a vise.
Once the part is free, you can unscrew the bottom of the mold (if you have two pieces of MDF stacked together), reinsert the top mold face, and use this as a trim and drill guide (if you incorporated alignment holes into the template). Use the Dremel for the initial cut, letting the screw that holds the diamond blade in place run along the surface of the mold as a standoff. Then follow up with a sanding block and sand the flange level with the mold. Voila! You now have a perfectly straight mold edge that is exactly 3/4-inch deep. You can make it deeper by putting spacers underneath the mold, or shallower by routering a shallower face mold to begin with.

(Left) Initial rough cut with a Dremel. (Right) The screw head is about 1/16 inch high, enough to avoid undercutting the flange as long as you hold the Dremel perpendicular to the mold.
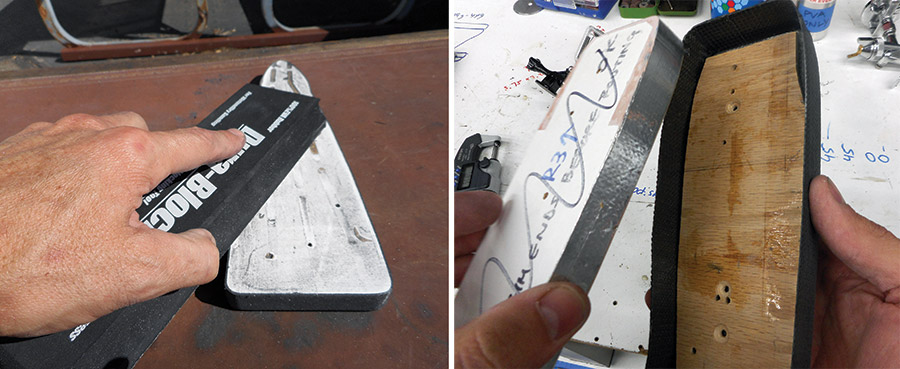
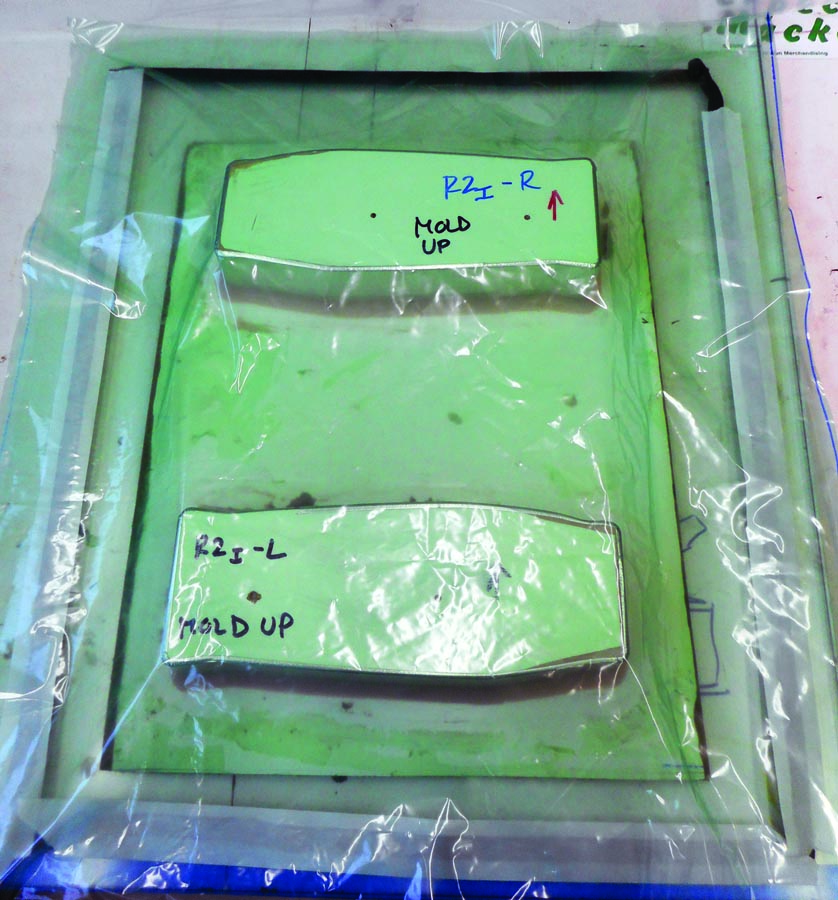
(Left) After removing the part, reinsert the top mold (and any necessary spacers to achieve the desired flange depth) and trim/sand flush. (Right) This rib needed a 1-inch-deep flange, so I inserted a -inch plywood spacer under the -inch MDF mold to achieve a total depth of 1 inch.
You can now use a micrometer to check the thickness of the flange. Hopefully you are close to spec. This is why it helps to make a practice part or two, to confirm the material thickness used in your offset calculations. In my experience, thick layups tend to come out over spec if not bagged properly, so you may need to take this into account. If you are over spec you can sand the flange down, if that is acceptable. If you are under spec, you can increase your bond line thickness to take up the margin.
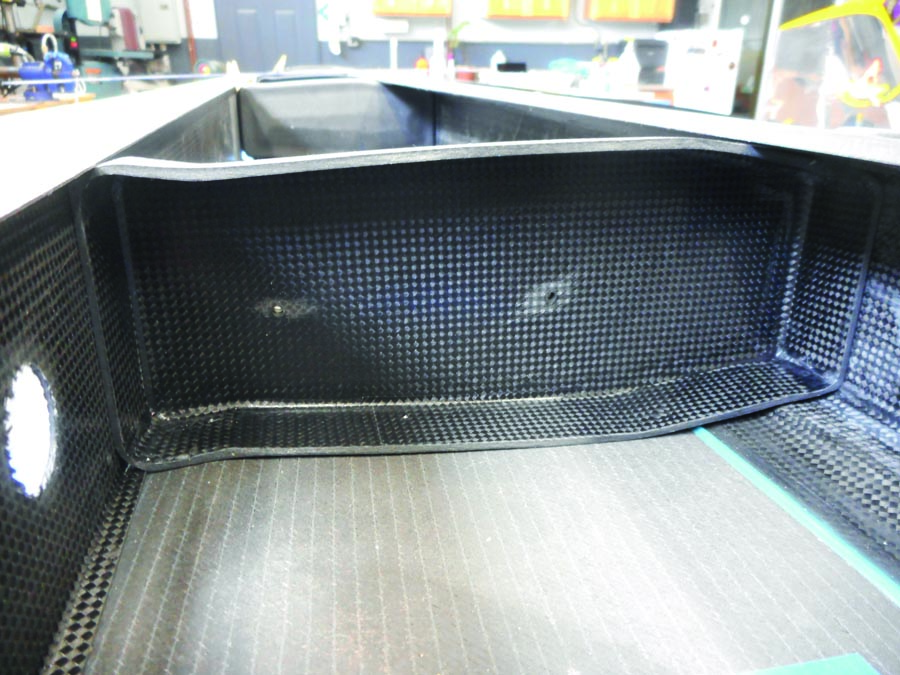
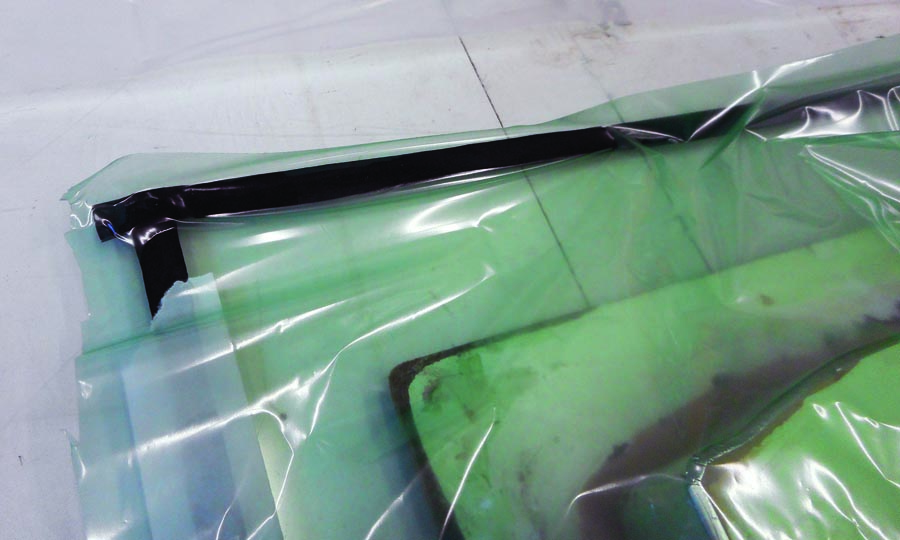
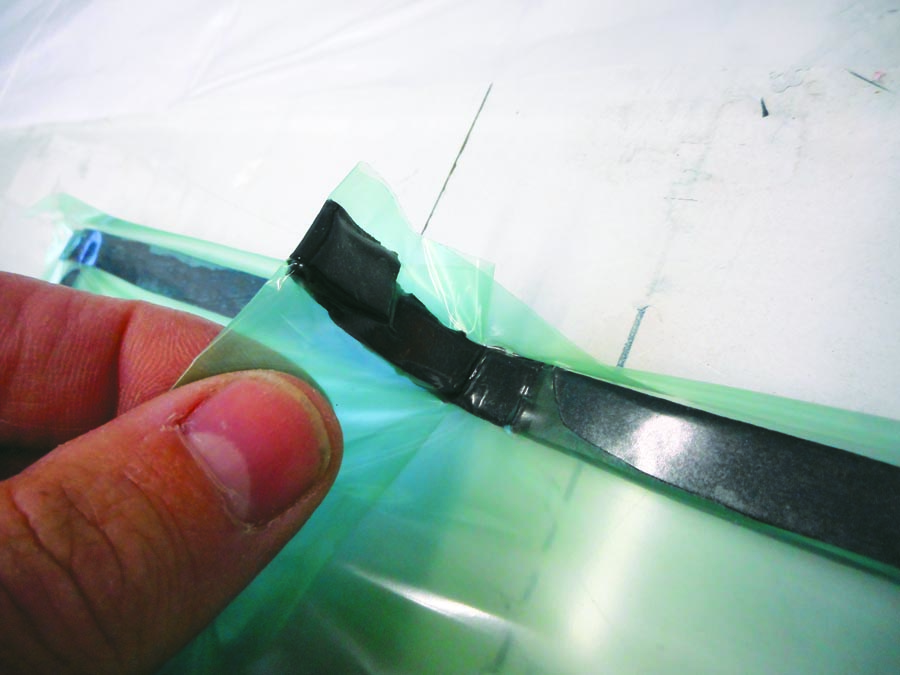
Rib fit is excellent and dimensionally accurate.
I hope you’ve enjoyed this two-part article on molding flanged parts. There’s no reason why this method can’t be applied to a variety of aircraft parts besides ribs and bulkheads, such as an instrument panel, baggage compartment, etc. So give it a try and send us pics of what you build! You can see the time-lapse video of a rib layup at www.facebook.com/TheSR1Project.
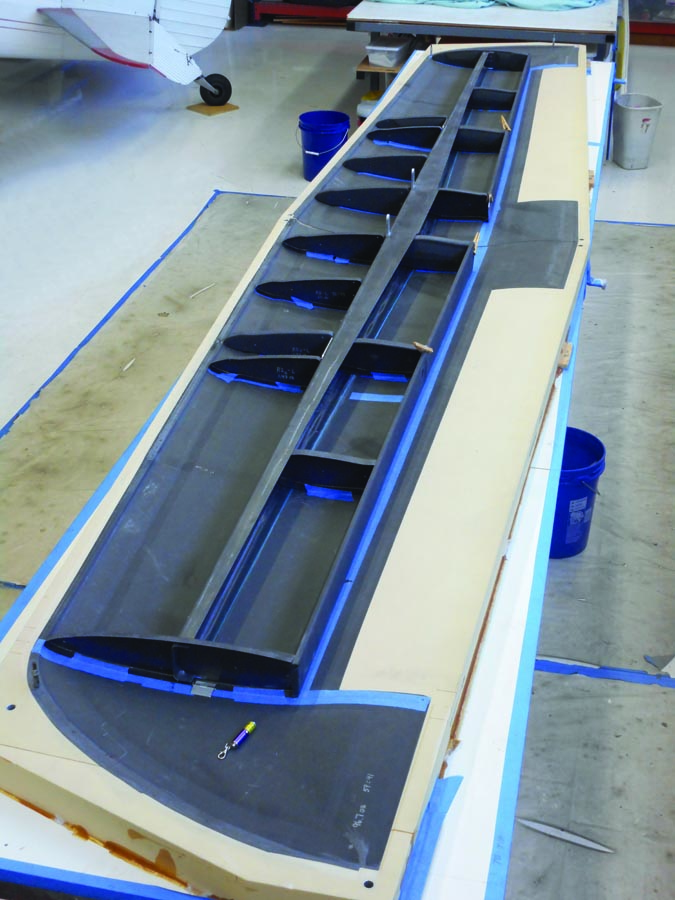
Molded ribs in the SR-1 wing.
![]()
Eric Stewart is designing and building the SR-1, a speed plane for setting records in the FAI c-1a/0 category (takeoff weight less than 661 pounds, including pilot and fuel). You can see more at facebook.com/TheSR1Project, including additional photos and videos of the subjects in this series of articles.


