Whole airplane parachute systems are becoming more common in general aviation. Since 1980, when Boris Popov founded Ballistic Recovery Systems, Inc. (now known as BRS Aerospace), the company’s products have been installed in over 35,000 aircraft and saved 376 lives.
It’s interesting to compare a BRS1 to a primary flight display (PFD) system like the Dynon SkyView or Garmin G3X: The upfront investment is about the same, and both systems undoubtedly contribute to the overall safety of flight. However, PFDs have been much more widely accepted than whole airplane parachutes, and this probably has much to do with perceptions of utility (nobody ever thinks something bad is going to happen to them), as well as the fact that a BRS takes up a significant amount of useful space and load, whereas PFDs tend to have the opposite effect on panel real estate.
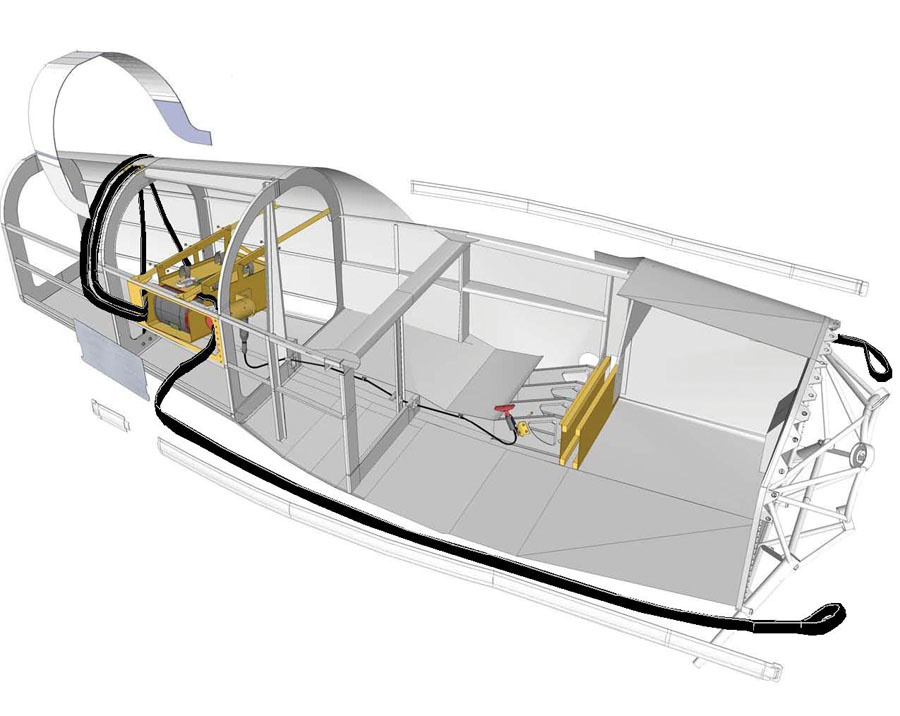
Cutaway view showing the BRS parachute, straps, and activation handle.
That said, whole airplane parachutes have an excellent safety record and deserve to be one of the options builders consider when building a homebuilt. According to BRS Aerospace, about one out of every 125 units has already been deployed, and that’s a pretty powerful argument when considering the above question of utility.
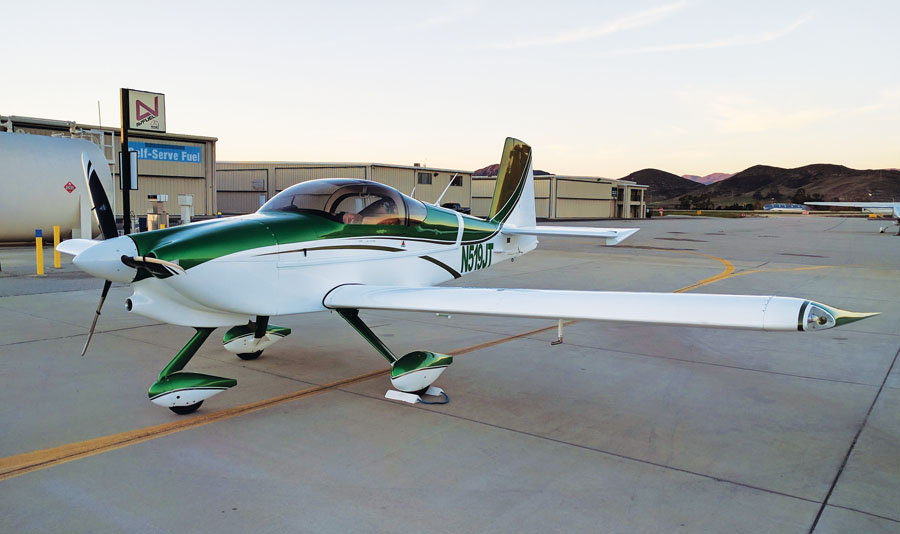
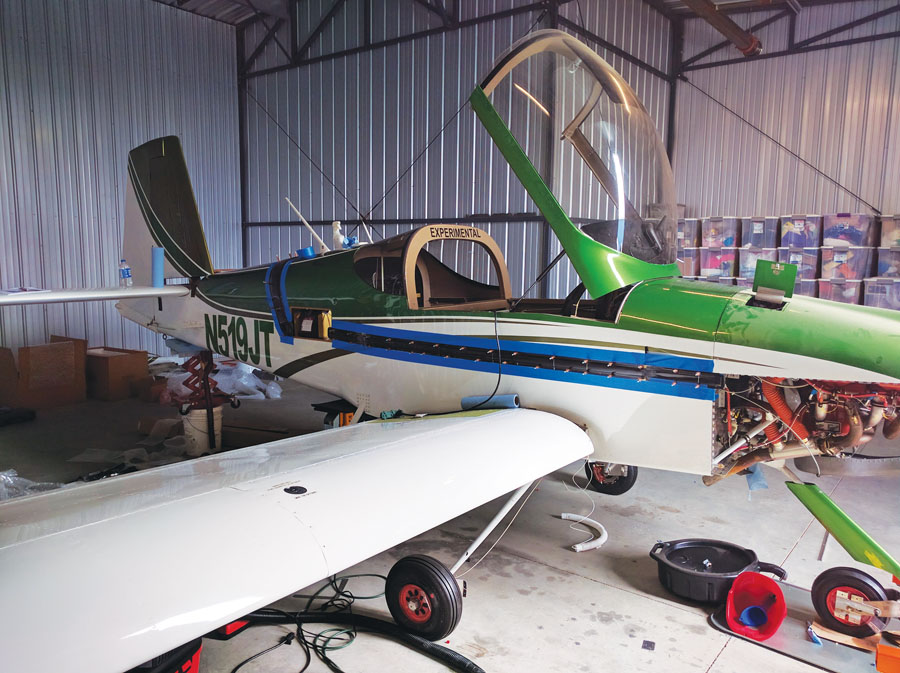
Here we discuss the BRS2 that Nick Jenkins and Sara Catto (of Catto Propellers) have installed in their Van’s RV-9A.
KITPLANES: What specific factors led you to feeling you needed to install a BRS?
Jenkins and Catto: The real question isn’t “Why did we feel we needed a BRS?” but rather, “Why doesn’t everyone have a BRS?” When people purchase new cars, they always want to be assured that they are buying the safest vehicle with the latest technology to protect themselves and the people they travel with. Nobody would be comfortable buying a car that was missing essential safety features such as seat belts, airbags, or ABS; in fact, they are mandatory. Yet most pilots don’t think twice about getting into an aircraft that has the bare minimum of safety equipment, for example, just a lap belt in a Cub.

Installation documentation appears to be very well written, with high-quality illustrations.
A professional pilot (Jenkins and Catto are both aerospace engineers, and Jenkins flew professionally for Aviation Consultants, Inc.) is in the business of risk management and should always be evaluating the means by which risk can be mitigated. While seat belts are helpful in reducing injury from low-speed accidents during takeoff and landing, they do nothing to mitigate risk in the air. The BRS is the only device available that provides the potential for a safe outcome in the event of a midair collision, structural failure, unrecoverable loss of control, or engine failure over dangerous terrain or in poor visibility.
KP: I think in the cases you mentioned of a midair or structural failure, pulling the ‘chute is a “no-brainer.” What about engine failure though?
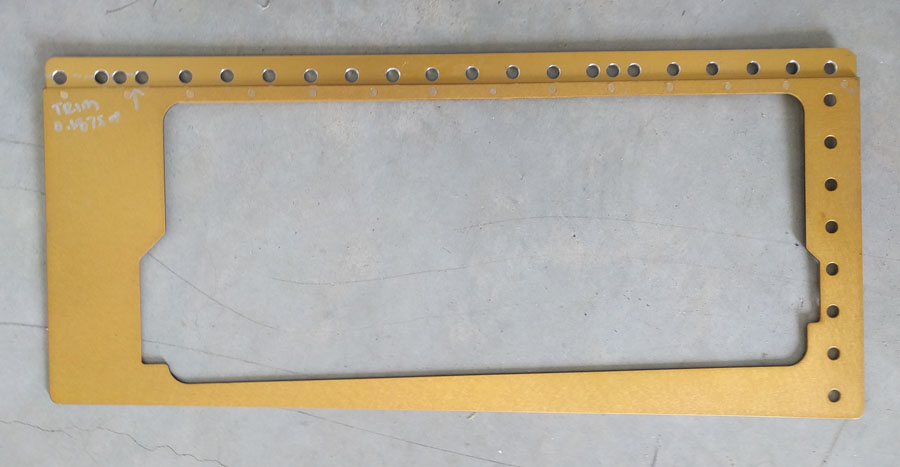
Parachute exit hole doubler.
The doubler is installed with Goop adhesive and clamps.
J&C: We’re often asked if we would pull the handle in the event of an engine failure, and our response is always “That depends.” It depends on if we’re over a layer with poor visibility like the California Central Valley during the winter with persistent Tule fog, did the engine failure obscure the windscreen with oil, are we over mountains, or did the failure happen at night. The BRS isn’t the go-to option for all scenarios. It is merely another tool available to provide options to the pilot.
Even though Cirrus has equipped their aircraft with the CAPS system (Cirrus Airframe Parachute System) for two decades, there is still an attitude of skepticism and/or bravado among pilots when talking about the system. This attitude was common among military pilots when ejection seats were first introduced, just as it was common among drivers when seat belts were introduced to cars. Skepticism is healthy, but one needs to examine the basis for that skepticism. Perform a mental exercise and place yourself in the cockpit during one of the various emergencies that the BRS could be used in, and ask yourself whether or not you would like to have it available as an option.
To continue the discussion of risk management mentioned above, part of that assessment is the severity of potential outcomes. For example, some pilots might say a BRS in an RV-9A, with a stall speed of 50 mph at gross weight or 44 mph solo, is unnecessary. However, damage is a function of kinetic energy, which is a function of speed squared (KE=1/2*m*v2). If we calculate the kinetic energy of the aircraft at stall versus the kinetic energy of the airplane descending by parachute at approximately 20 mph, we can see that there is between 4.8 and 6.2 times more energy in the airplane during a full-stall landing than while descending under the parachute—and this assumes a perfectly timed full stall. The ultimate outcome of the landing will also depend on the distance over which this energy is dissipated, but starting with less energy is always helpful in reducing injuries.

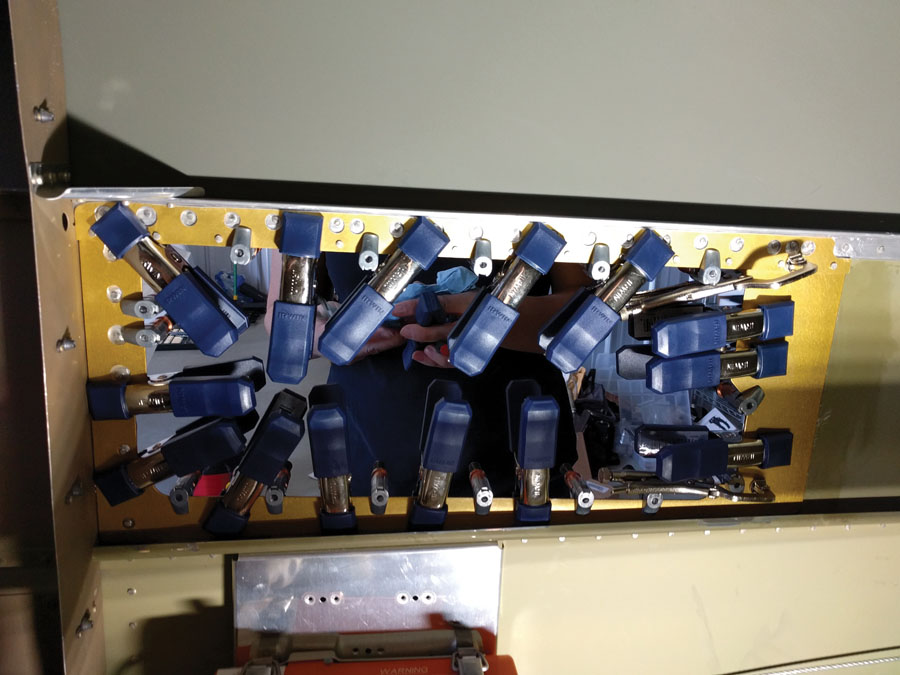
Parachute box viewed from inside
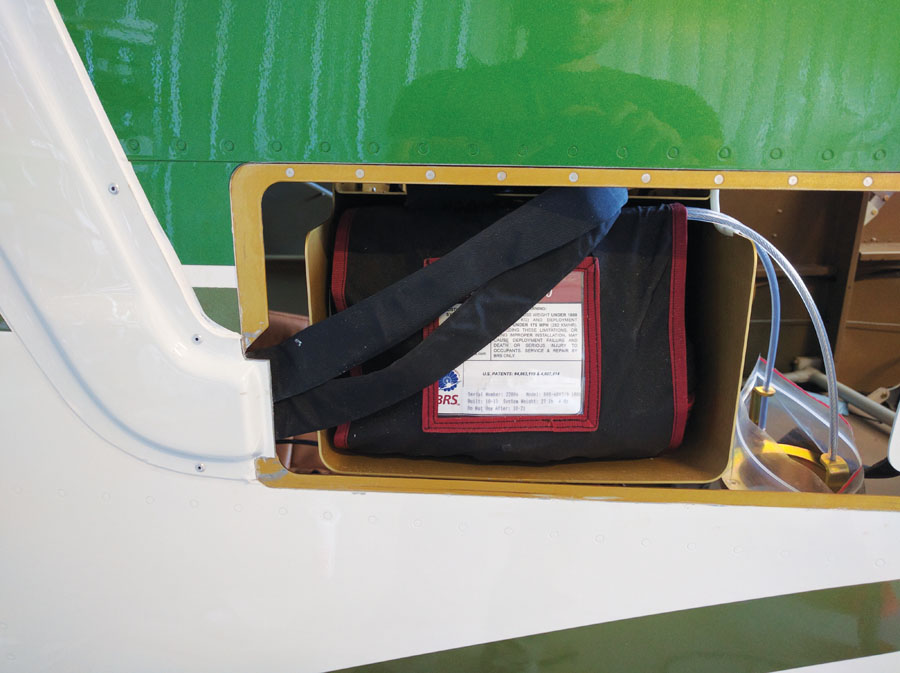
and outside the fuselage.
KP: OK, let’s talk about the installation itself. Was this a plug-and-play install engineered by the factory or custom for your plane?
J&C: The BRS kit for the RV-7/9 is as plug-and-play as it gets for Experimental aircraft, which are all built slightly different. Since our airplane was already built and this was a retrofit install, the biggest difficulty was having to work inside the airplane. An install during assembly of the airframe would probably be much less work. In spite of this, installing the BRS was one of the easier upgrades that was done to the airplane; we also replaced all the wiring and avionics, lights, wheels and brakes, fuel system, and added an interior. The kit comes mostly pre-assembled and, for the most part, is a drop-in installation. The majority of the work is cutting the opening for the rocket and installing the fairings for the straps.
KP: How long did it take to install?
J&C: We estimate that it took around 40 hours to install the entire system. If you have the basic set of tools for building an RV, you already have everything you need to complete the installation of the kit.
Parachute straps attached to doublers inside the fuselage.
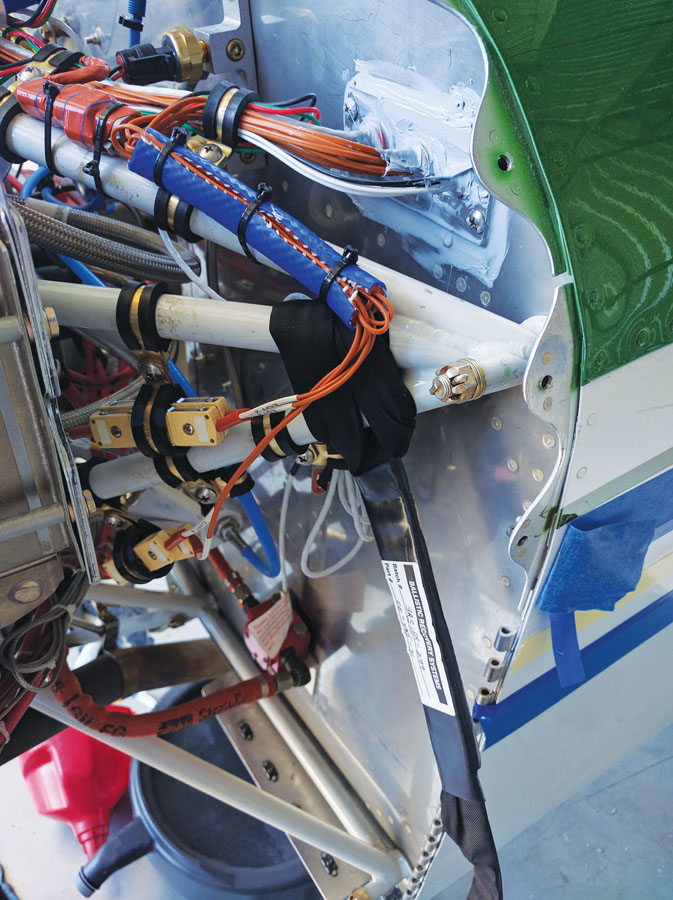
Parachute straps attached to the engine mount.
KP: How difficult was the installation? Can you give us a brief outline of the installation process?
J&C: We rate this as an easy installation. BRS has a set of instructions that have been posted online showing the installation process. Basically, you need to remove the aircraft interior, floorpans, and aft baggage bulkhead to access all of the areas that will be modified during installation.
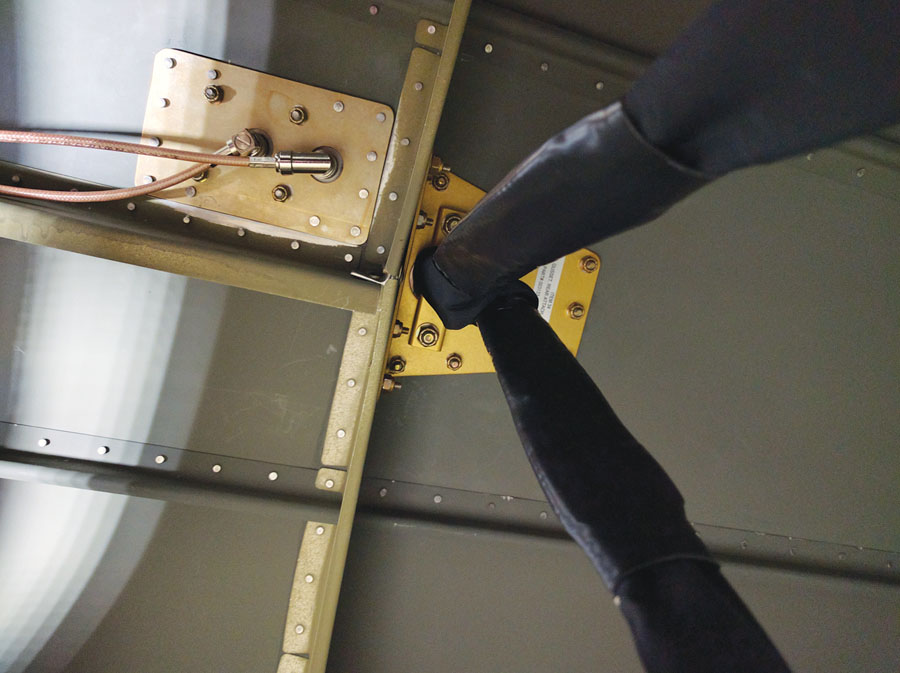
The first step is to cut the rocket hole in the side of the fuselage and attach a reinforcing frame around the opening. The next step is to cut a hole in the top of the fuselage for the parachute bridle to pass through and to mount a number of reinforcements: a gusset plate to the bridle opening, a reinforcement on the bottom of the empennage, and two additional gusset plates on the inside of the bottom of the empennage.
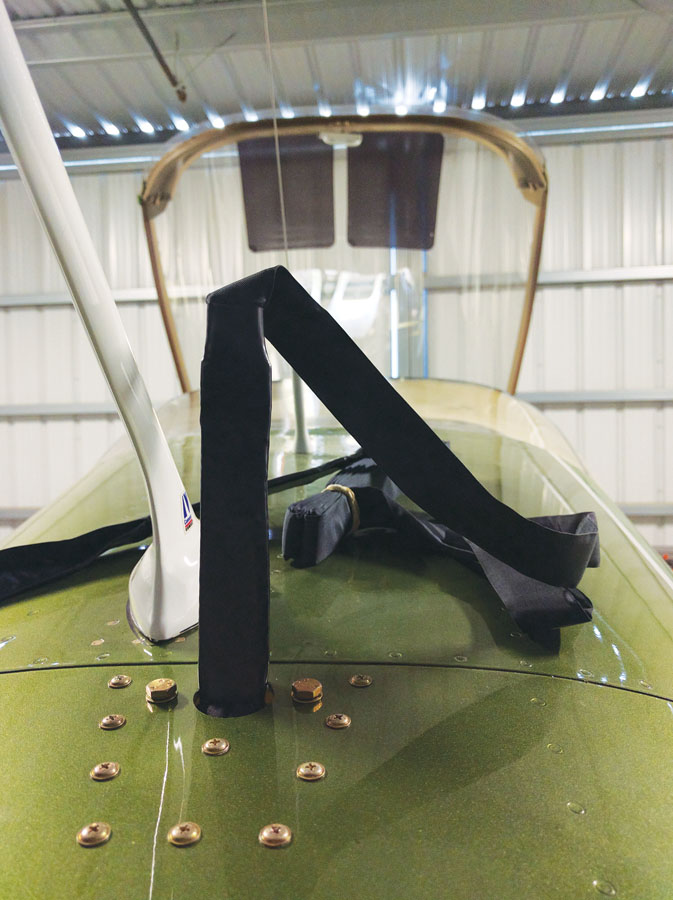
Dorsal strap ready for layout.
The bridle connects to a strap that runs between the upper and lower reinforcements to distribute load through the empennage. After the gusset plates are installed, the straps are routed around the airframe and covered with fiberglass fairings. These are typically held in place using only adhesive, but we contacted BRS and got approval to use a light-duty rivet in addition to the adhesive. The rivets work as a jig to hold the fairings in place during installation, as well as a mechanical backup for the adhesive; they’re “chicken fasteners.”
After the straps have been routed, the box holding the parachute is installed using aluminum extrusions bolted to the longerons behind the baggage compartment. The bridle is connected to the parachute, the rocket motor is installed, and the handle is routed and connected to the firing pin on the rocket. Finally, you install the cover over the opening of the rocket tube and you are ready to get back in the air.
Straps are affixed to the fuselage with double-sided tape before the fairing is Clecoed in place over them.
KP: What kind of maintenance is associated with the install?
J&C: The parachute must be returned to BRS every six years for repacking, and the rocket must be replaced every 12 years. The repack and rocket both cost approximately $1000.
KP: Did Van’s Aircraft have any input on the install?
J&C: We did not consult Van’s about the install.
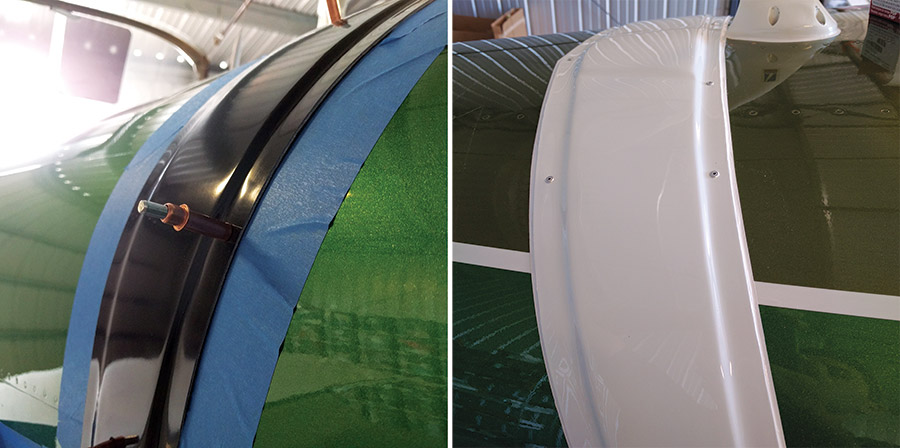
Fairing before (left) and after (right) bodywork and paint.
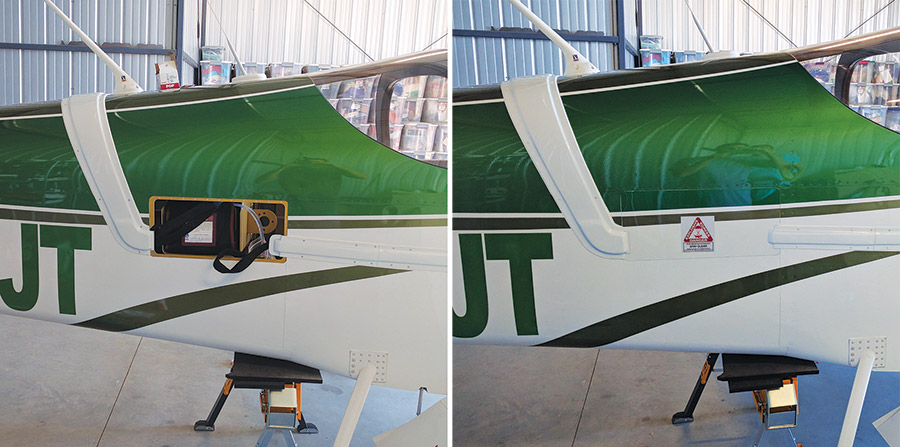
Final exterior closeout of parachute box with and without the access panel in place.
KP: How did the installation affect payload and CG?
J&C: The install added approximately 40 pounds to the weight of the airplane and moved the CG aft approximately 3/4 to 1 inch. With our lightweight Catto propeller, fully loaded, we find that it will bump up against the aft CG. The only time this could be an issue is if someone is flying solo and wants to carry all cargo weight in the baggage compartment, instead of splitting it between the baggage compartment and the passenger seat.
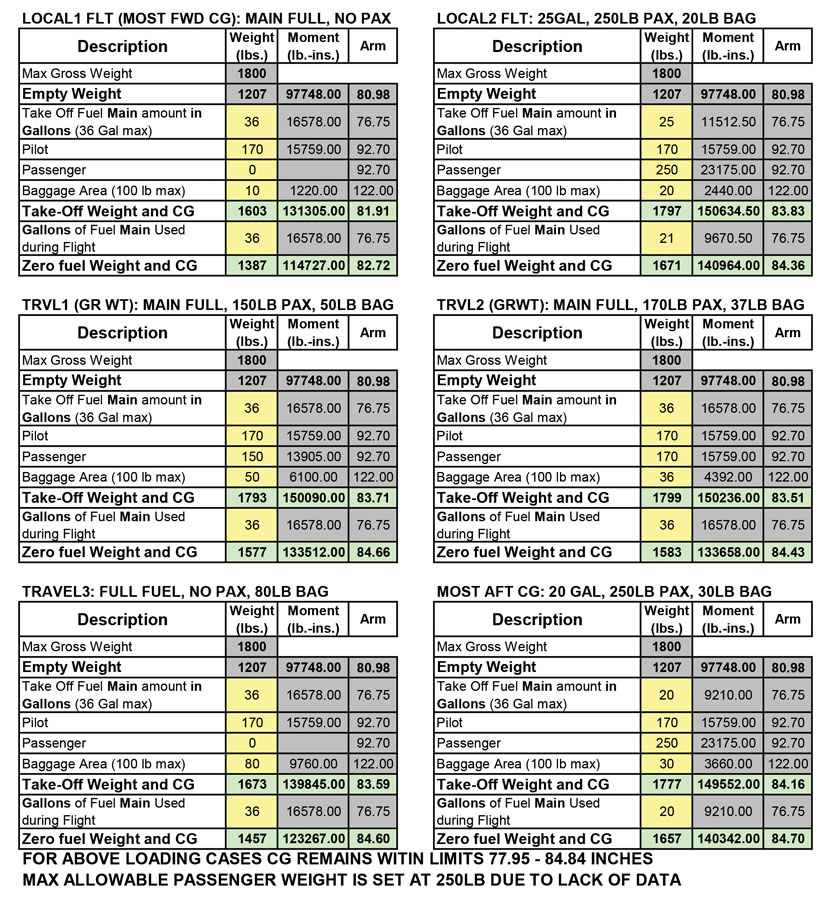
Nick and Sara’s weight and balance data for typical loading scenarios.
KP: Any final thoughts, comments, or criticisms of the package?
J&C: We think the quality of the installation package is very well done. The people at BRS Aerospace were very helpful with any questions and sent photos of other installs to help answer questions. The only criticism we have is that the system hasn’t actually been deployed on this particular airframe model (i.e., an RV -7 or -9) in flight. It was, however, designed to ASTM specifications for airframe parachutes on LSAs, and for all intents and purposes seems to be overbuilt. There have been several hundred deployments of comparable BRS parachutes in flight on numerous aircraft types, and there have been no failures when deployed within the design limits.

Nick begins assembly of the rocket motor.
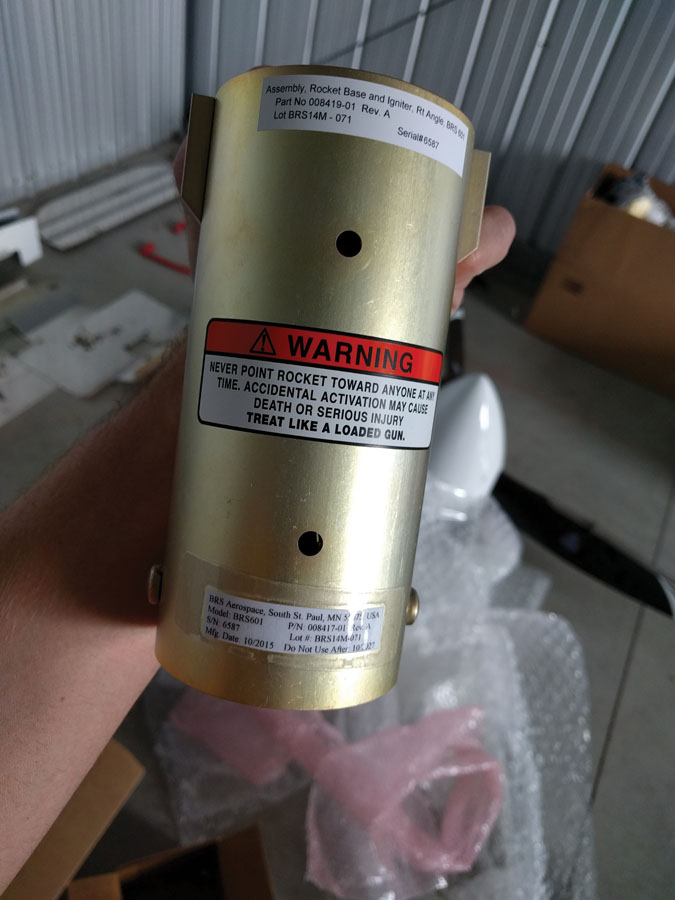
Rocket motor casing.
KP: Thank you for your time, Nick and Sara. Hope you never have to pull that red handle!
J&C: Better to have it and not use it, than to need it and not have it.
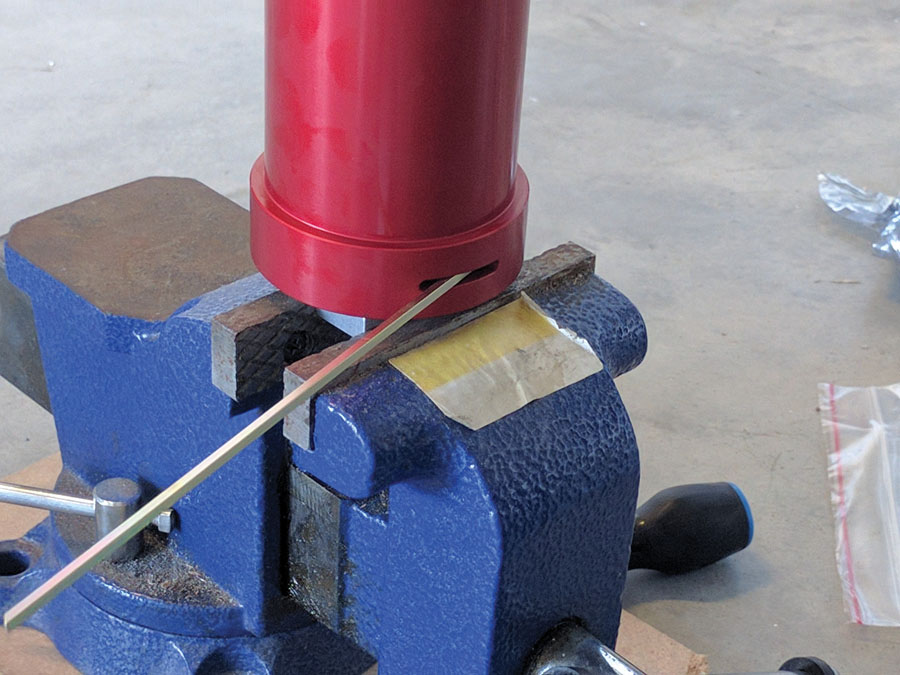
Nick installs a key that locks the rocket motor to the housing.
1We should note that like Kleenex or Frisbee, BRS is a proprietary eponym (from BRS Aerospace) that has come to be more generally used to refer to a system for lowering disabled aircraft by parachute. Numerous videos of BRS deployments can be seen on YouTube.
2Jenkins and Catto’s system is in fact manufactured by BRS Aerospace.
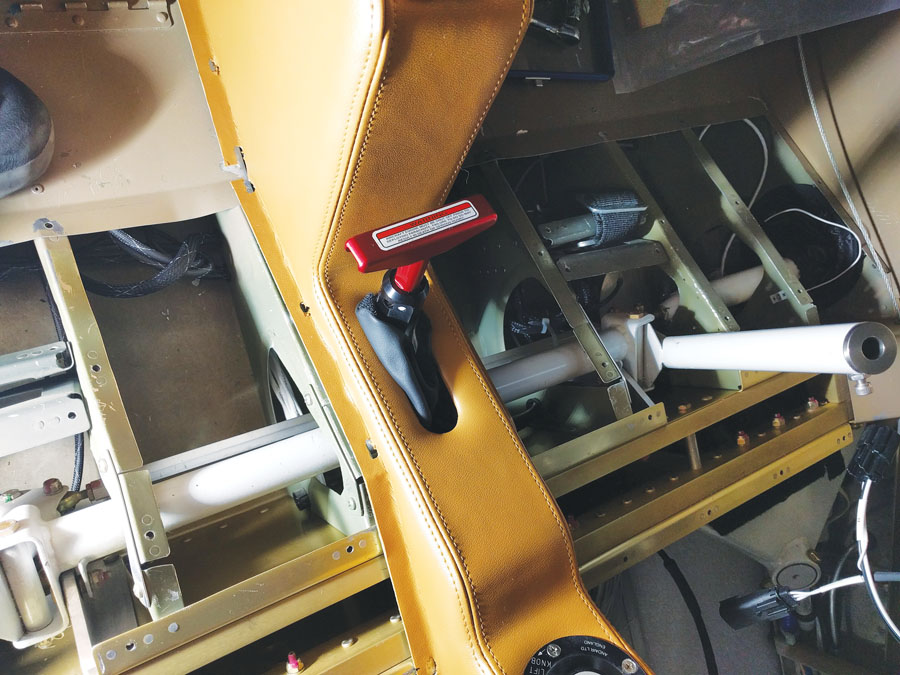
The little red handle you hope you won’t ever have to pull, but will be glad it’s there if you do.


