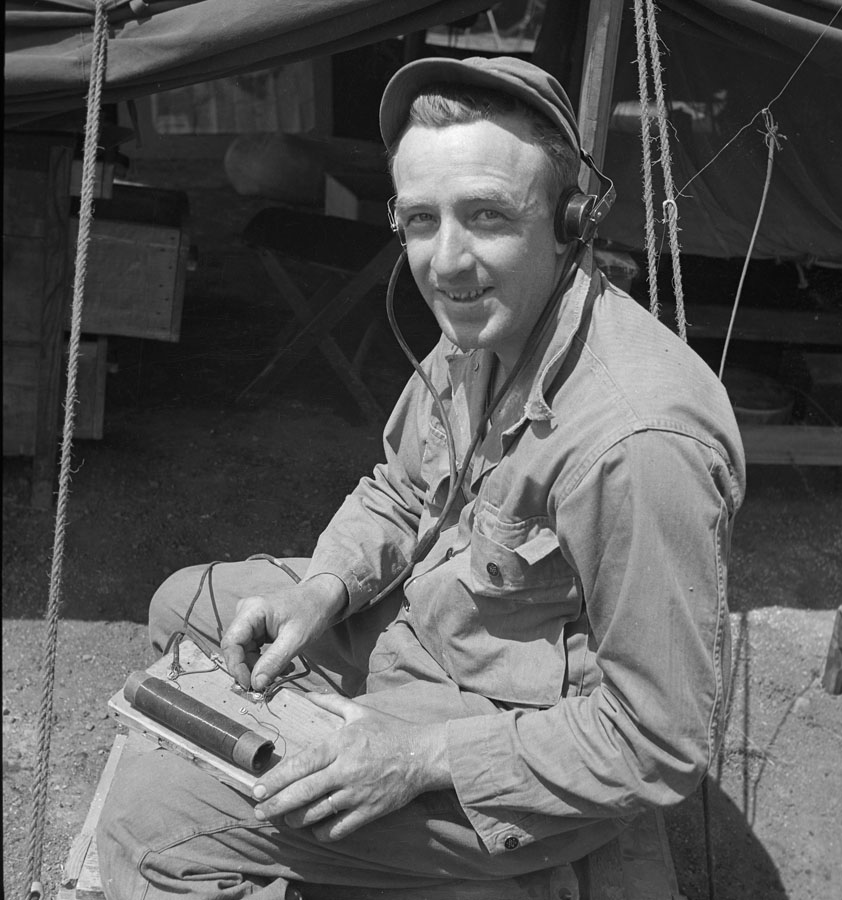
During WW-II, soldiers listened to “foxhole radios” made with a simple coil of wire, a Gillette Blue Blade, a safety pin, and a sensitive headset. (Photo: United States Army [National Archives, Still Picture Branch] via Wikimedia Commons)
I’ve been asked where my magazine articles come from. Some come from the internet newsgroup fairy, some come from the email fairy, and some come from the college classroom fairy. This one comes pretty much from the wallet fairy.
“Cessna Seven-Three-Charlie-Quebec, you are garbled and unreadable.” So says NorCal Approach as I’m trying to do my ADS-B test run a couple of months ago. Sigh. All I didn’t need at that point was to have to take the time to troubleshoot my com radio system. But troubleshoot I had to do or that half-kilo$$ FAA rebate for a new ADS-B install would go out the window. And I had exactly two days until the deadline to get it done.
Now, “garbled and unreadable” can be anywhere from the pilot’s microphone to the antenna and anything in between. It was either see if a radio shop could do a quickie repair (read $$$$) or come up with a spiffy way of doing the fixit job myself. In most cases, it is a handy thing to have that little plastic card with A&P printed on it, but the Feds specifically say that mere mechanics cannot fool around with the innards of radios. But what if it wasn’t the radio itself? It could be the audio panel, but I immediately ruled that out as RST Engineering audio panels just don’t fail (big wide grin). It could be the microphone or the wiring, it could be the wiring to the antenna, or a little corrosion on the antenna connection to the aluminum fuselage/ground plane.
Troubleshooting a problem like this almost always requires that I be able to hear what the problem sounds like and start eliminating things one at a time. In general, I could take my handheld radio and listen to what my radio sounds like, but this requires that the handheld be at some distance from the aircraft. A sensitive receiver close to a relatively powerful transmitter can generate overload distortion of its own, and I needed to hear the distortion without adding even more distortion. This requires two people at opposite ends of the airport to work this method of troubleshooting. This was the week between Christmas and New Year, and all available friends/wife/airport bums were unavailable. I was on my own.
Then a version of the college classroom fairy visited me. Just before winter break, I had been teaching the history of radio, right from Marconi and Fleming’s little experiment sending the first Morse code radio signals from North America to Europe (Newfoundland to Cornwall, England), all the way to today’s method of getting radio programs from the internet. Along the way, I mentioned there was a neat little device that a lot of folks used in the 1930s to hear nearby broadcast stations without any power supply…a neat little “crystal set.” I also mentioned that the crystal radio was very numb and needed to be close to the transmitter to work…Let’s see now, very poor sensitivity and needed to be close to the transmitter…and I needed a piece of test equipment that needed to have poor sensitivity and be close to the transmitter!
Voil—a crystal set for the aircraft band that I could plug in headphones and listen to my own radio! Every now and again, the wallet fairy and the classroom fairy talk to one another.
The only problem is that a crystal set needs an extremely high impedance earphone to work, and all I had was a spare aviation headset with a very low impedance. Well, shucks, we can make modern electronics take care of that little problem.
Here we go. I cobbled up this little gem on a piece of scrap PC board material. If you don’t have ready access to this great breadboarding material, google “PC board material,” and you will get a dozen hits where you can get this material for fairly low cost.
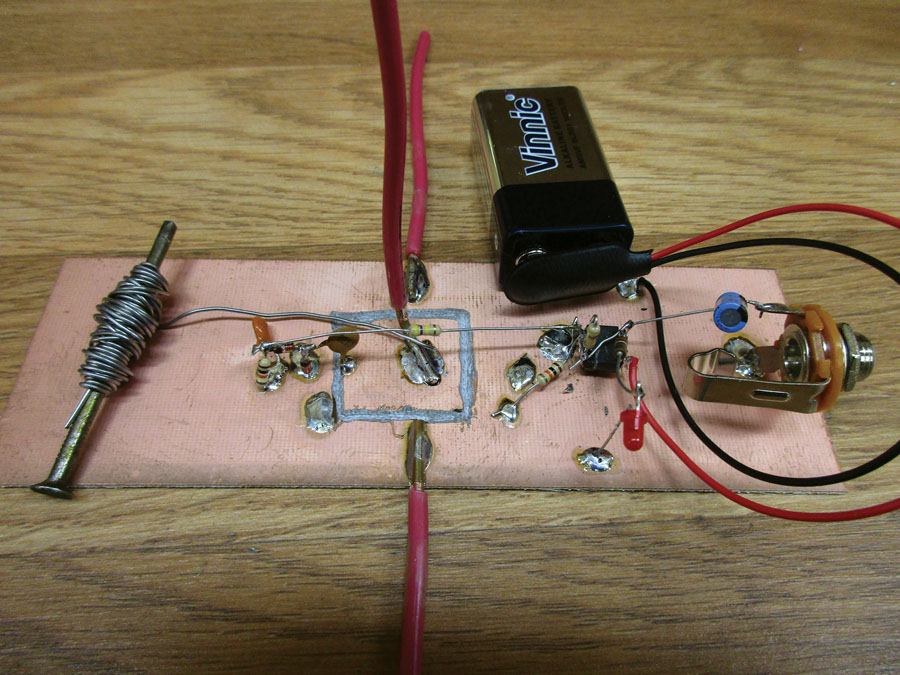
The whole “breadboard” circuit. A Weir two-fer is the solder dispenser along the left side of the PC board…using a nail as a solder dispenser. This is way easier to use than a hand coil of solder or the whole solder one-pound roll. Just grind off the point of the nail so you don’t bloody the board if you scratch yourself. The red “outriggers” on the top and bottom of the board are there to keep the board from tipping over from the long 21-inch antenna.
Let’s start right at the input. This radio requires an antenna. We might as well start with a standard 22-inch quarter-wave wire and see what happens. Where to get a stiff wire? How about we strip a piece of house wire and use that? Sure, why not. The Dremel tool can carve a relatively large chunk of copper free from the rest of the copper “ground plane,” and we can solder the wire directly to the cut out copper surface.
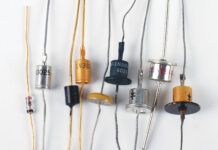
After the antenna comes the “crystal” part of the radio, but instead of a chunk of galena (lead sulfide) and a safety pin to use as a semiconductor diode, Walter Schottky came up with a microscopic slice of semiconductor material and an even smaller “pin” to make the Schottky diode, which goes for the equally microscopic price of two bits each. The 1N6263 diode listed on the schematic is only one of hundreds of diodes that could be used. I simply went down the list and picked a cheap one.
Were we to stop at this point with high impedance earphones, we would have one of the original crystal sets, but now we are going to use my old favorite op-amp to boost that crystal set signal up to drive a set of aviation headphones. U1A amplifies the tiny voltage of the crystal set by a factor of 50, and U1B takes that amplified signal and gives the headphones a decent audio signal. Done.

The antenna is attached to an isolated pad on the PC board with the RF section to the left of the antenna pad. The 100K resistor (top center) could be replaced by a 100K volume control if desired.
Here are a few things that you might like to consider when using this device.
• There are no tuning adjustments or settings. This feature has its good and bad points. The good news is that you don’t have to be sure that the crystal radio is set to the same frequency as the transmitter under test. The bad news is that the diodes will give a signal output to any nearby transmitter including your next door hangar or tiedown neighbor that chooses to fire up their radio while you are testing.
• There is no volume control on this crystal test set, but you could easily incorporate one by making that 100KΩ resistor R1 a variable resistor if you wished. I didn’t want to incorporate anything that needed fussing with to use. However, to hear clear audio with a crystal set requires the input to be adjustable…which you can do by moving the crystal test box closer to or farther away from the transmitting antenna.
• You should really make a benchmark with a known good radio before you use this test set to troubleshoot a radio. In particular, you should find a spot on your airplane that is a known good spot for the test set before you need it to fix your radio.
• You can make the test set less sensitive by cutting the 22-inch antenna shorter. If you want more sensitivity, make the antenna longer.
• The crystal test set draws about 1 milliampere from the 9-volt battery. Since a 9-volt battery has a capacity of 500 or so milliampere-hours of life, you can expect 500 hours of connect time from the battery. Notice that the on-off switch is to disconnect the battery clip.

This crystal test set is tuned for the aircraft band and allows you to plug in headphones. I used it to quickly track down a problem with the com radio in my Cessna.
Oh, and what was wrong with the Cessna radio? Um, admittedly the airplane had been a hangar queen for a couple of months, and the microphone jack had grown some corrosion from misuse. A couple of squirts of contact cleaner and we were back in the air. What would have been a multi-hour series of tests to localize the trouble turned out to be 15 minutes with our nifty little crystal test set.
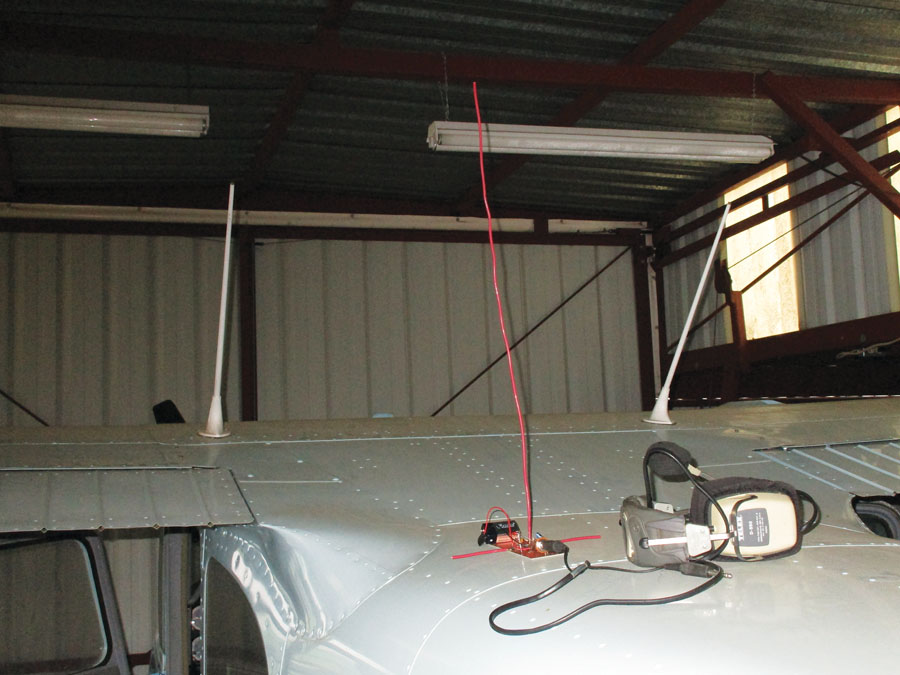
The crystal test set just behind the wing on Cessna N73CQ with the transmitting antenna directly in front of it. The headset cord reaches into the pilot’s side of the aircraft so that you can operate the aircraft radio and listen to the results at the same time.
That’s about it for the cheapest piece of test equipment I’ve ever built. Like I said last month, I’m going to revisit some other stuff I wrote 10 or 15 years ago and bring them up to speed for the current state of the art. I’m sure that some of the parts I used back then are now made out of unobtainium and need a freshening up. See you next month, and until then…Stay tuned…

![]()
Jim Weir is the chief avioniker at RST Engineering. He answers avionics questions in the Internet newsgroup www.pilotsofamerica.com-Maintenance. His technical advisor, Cyndi Weir, got her Masters degree in English and Journalism and keeps Jim on the straight and narrow. Check out their web site at www.rst-engr.com/kitplanes for previous articles and supplements.


