 My homebuilt has been flying for 21 years now. Speaking with other Experimental aircraft builders, it appears many have gone through various brake system changes and upgrades. My experience has been the same—in fact there have been three distinct brake system evolutions on my plane, two of them unfortunately triggered by unpleasant events! In this article I will review those evolutions, and perhaps you will find something applicable to your own flying machine.
First Surprise—Heat
One fairly warm summer day I landed at Milwaukee’s Mitchell Field to visit my parents. The landing was followed by a rather long taxi to the FBO, including multiple stops and possibly some inadvertent brake dragging, which often accompanies steering a castering nosewheel plane. I thought nothing of it until returning later that evening and finding two large puddles, one at each main wheel. How nice—there was all my brake fluid on open display, clearly indicating that this bird was not going to fly anymore that day!
Having heard of the heat problems (including some fires) that Cirrus had in their earlier days, it didn’t take me long to figure out that the heat of substantial braking, aggravated by tight-fitting wheel pants, had flattened the O-rings in the brake calipers and allowed the fluid to pass by. A quick cab back to my folks and snatching one of their cars, I drove 100 miles home and the next day came back equipped with new O-rings, fluid and bleeder—a genuine “field repair.”
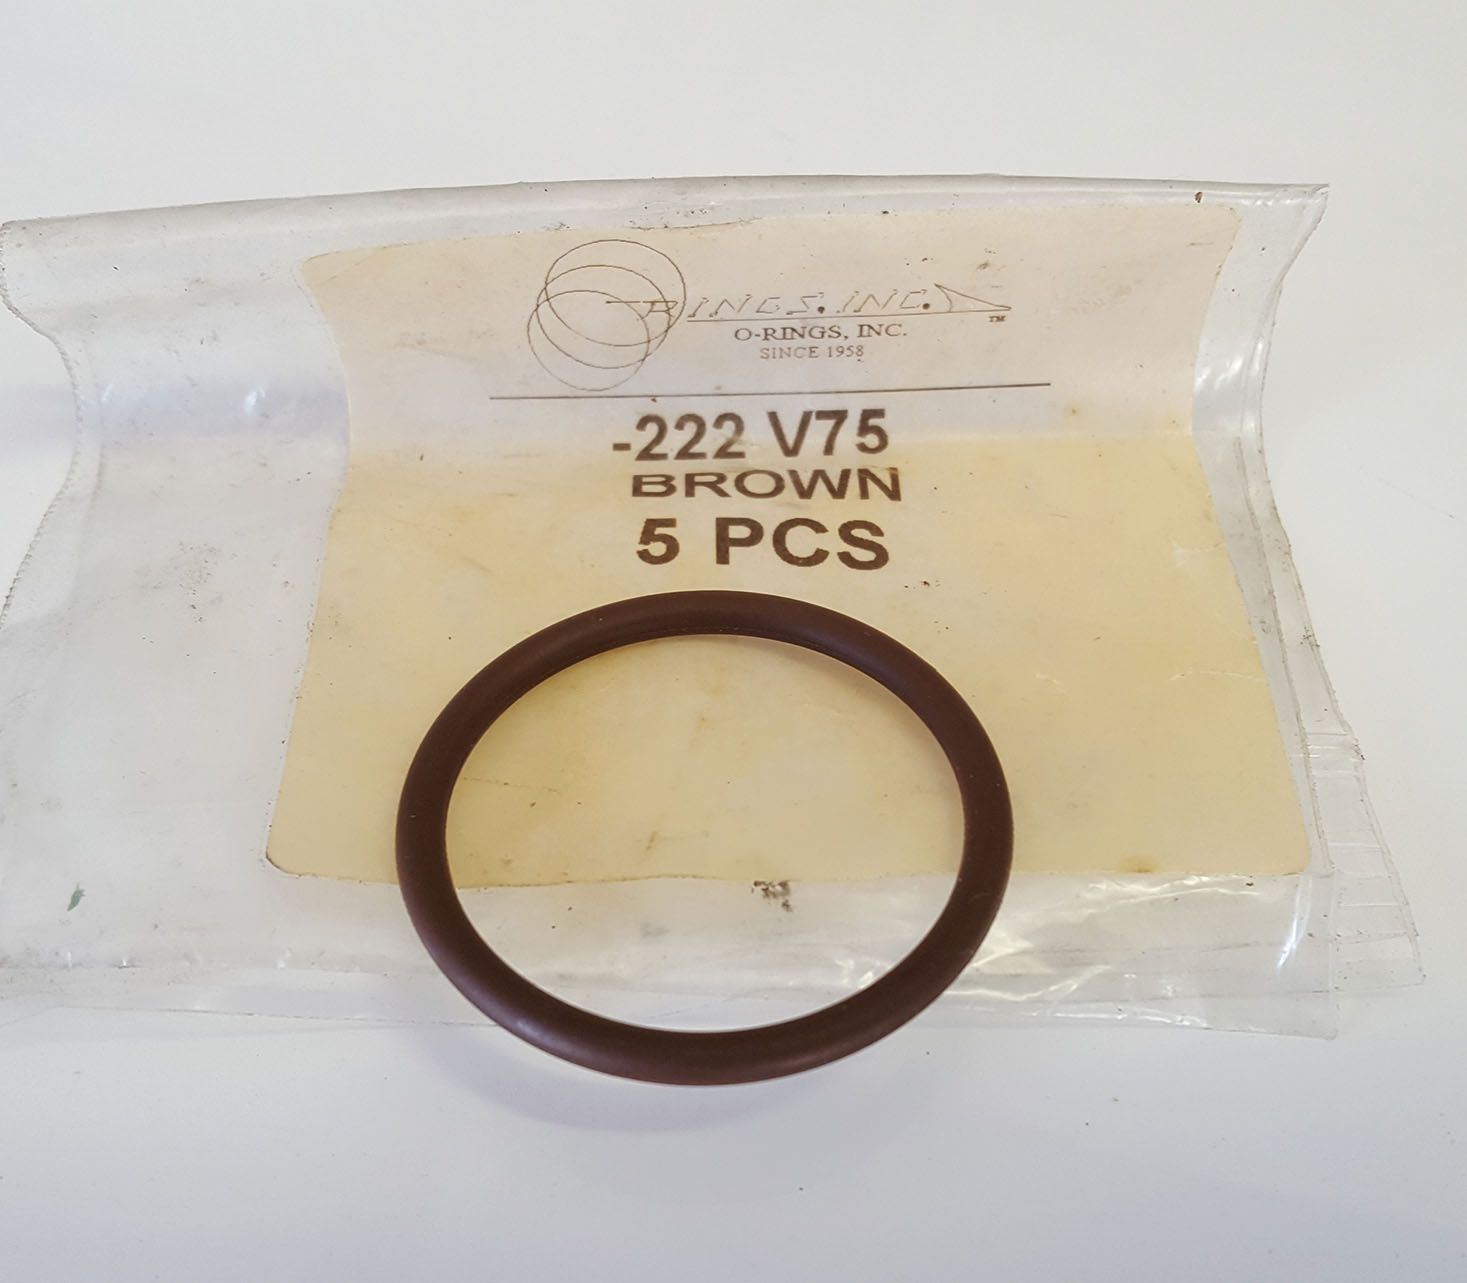
I decided this was not going to happen again. I don’t know what path Cirrus pursued to address their heat issues, but mine was to replace the O-rings, which typically are Buna-N (nitrile) with Viton. I used Viton 75 -222 size for typical Cleveland calipers, but check yours for the correct dimension.
Viton can sustain substantially higher temperatures (-15° F to 440° F) than Buna-N (-40° F to 250° F). Viton O-rings are readily available from numerous online O-ring companies, as well as McMaster-Carr. Be sure to go with the -75 series, as the -90 series are much harder and not suitable for the caliper application.
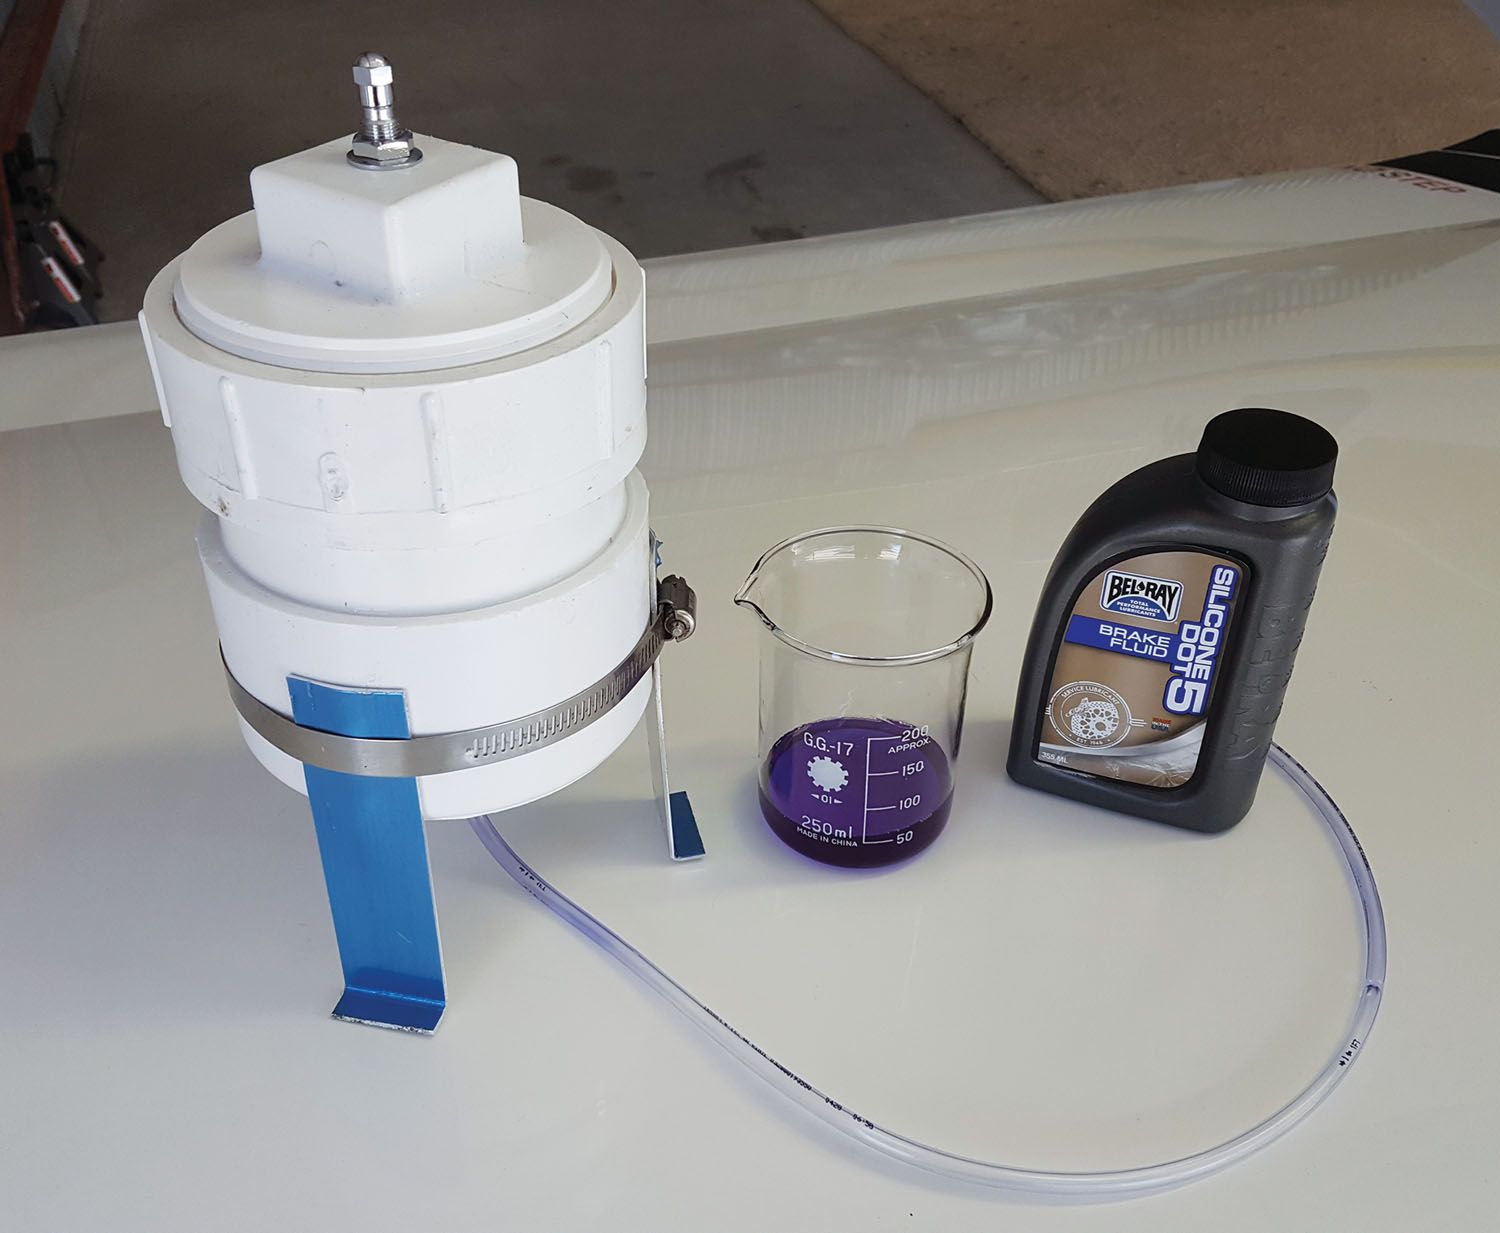
I also replaced the MIL-H-5606 brake fluid with DOT 5 silicone. DOT 5 is available at many car parts suppliers, but I recommend checking the web for the best brands as reviewed by the auto racing communities. In any case, you will be able to find it on Amazon.
While there has been a great deal of back and forth on the virtues and issues of DOT 5, my experience and data add up to a huge positive: DOT 5 is good for up to 500° F versus 275° F for standard MIL-H-5606. Moreover, DOT 5 does not absorb water. In a car, water intrusion is much more likely, so auto brake fluid’s propensity for absorbing water is an advantage to minimize corrosion, but in airplanes this is much less of a concern. In fact, in military applications today, synthetic fluid is preferred.
Frankly, I’ve never understood why this red, sticky/gooey, highly flammable MIL-H-5606 stuff has been the persistent fluid of choice in general aviation. Silicone DOT 5, which is typically dyed light purple, is non-flammable and compatible with both Buna-N and Viton (although it is not compatible with EDPM). However, most master cylinders use Buna-N.
Second Surprise—a Non-Stop
On another rather hot day, we made a potty-break “emergency” landing in Michigan, with a very quick stop and rush to the facilities. That done, we hopped back in, and surprise—in the middle of taxiing, the left brake decided to stop working! There was absolutely no braking action. After a slight right-turn diversion through the weeds and a measured cooldown, a small semblance of braking returned and we were able to fly home, landing and braking rather gingerly on the longest available runway.
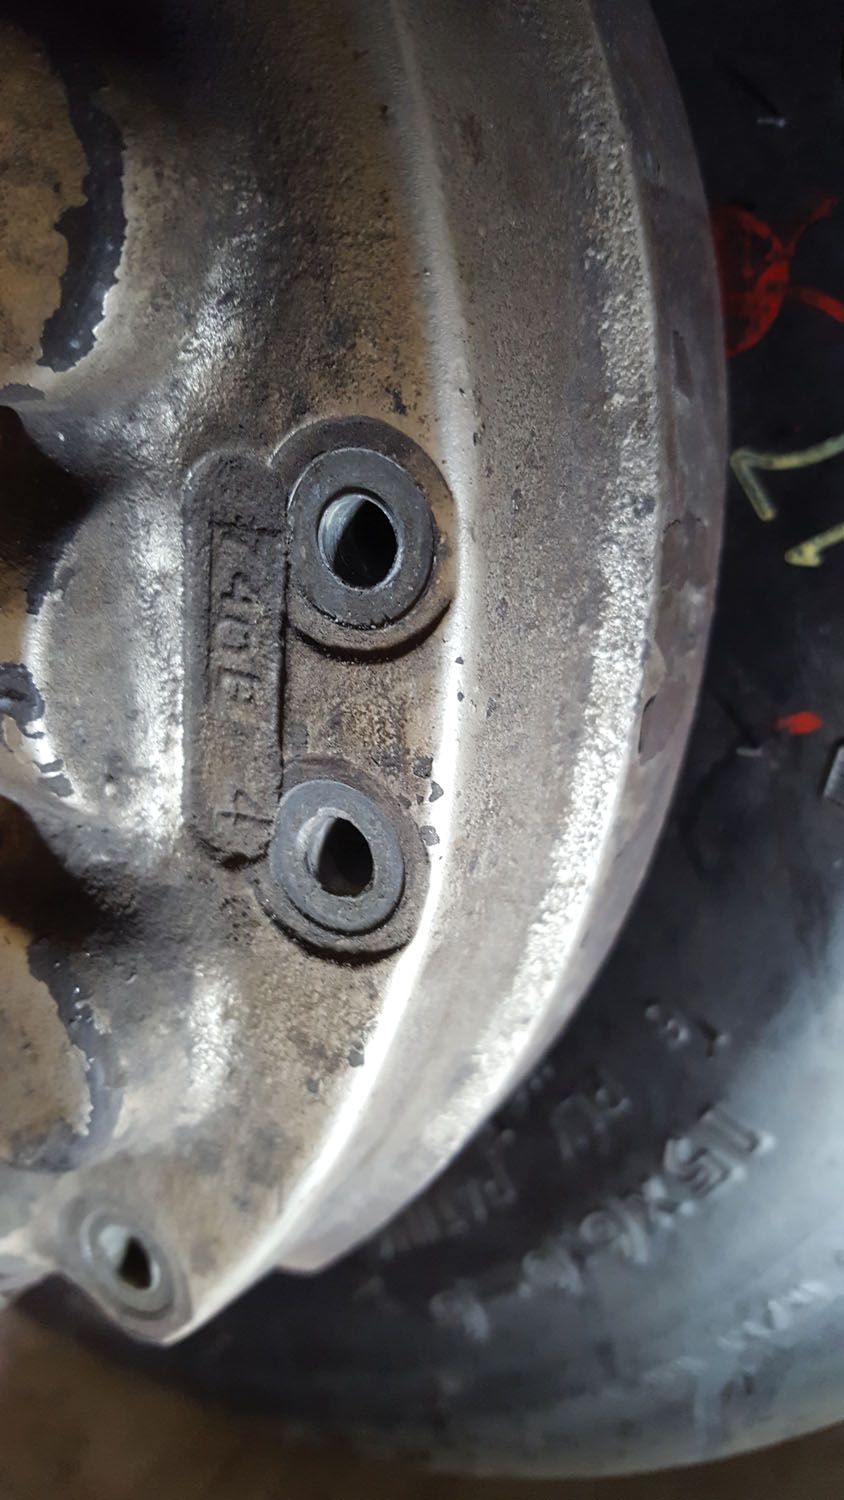
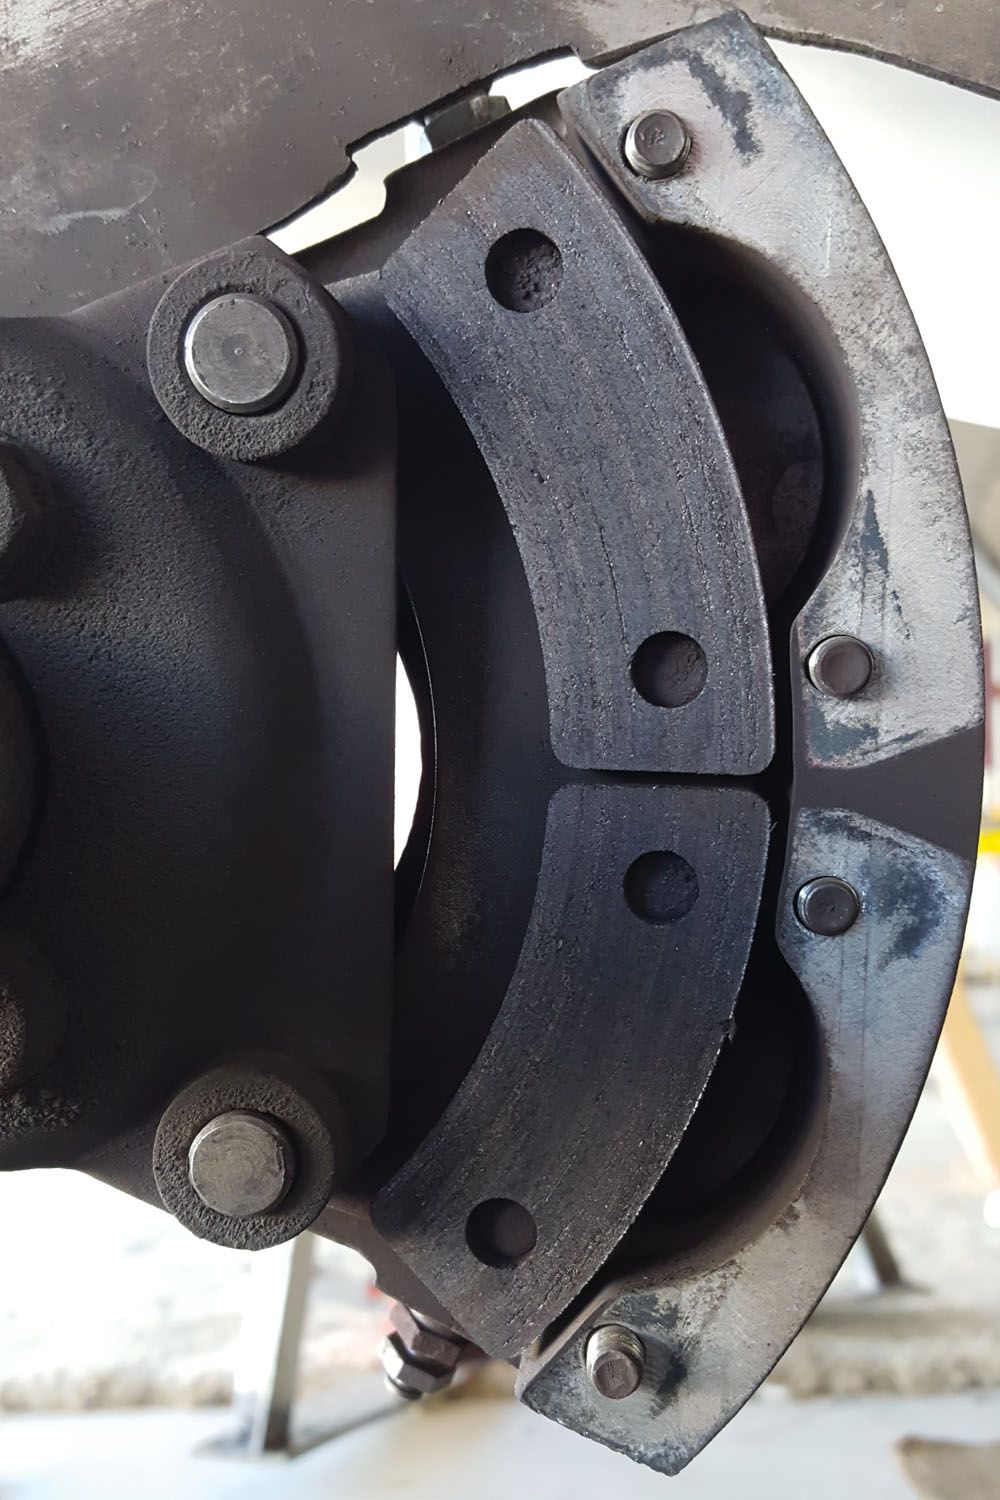
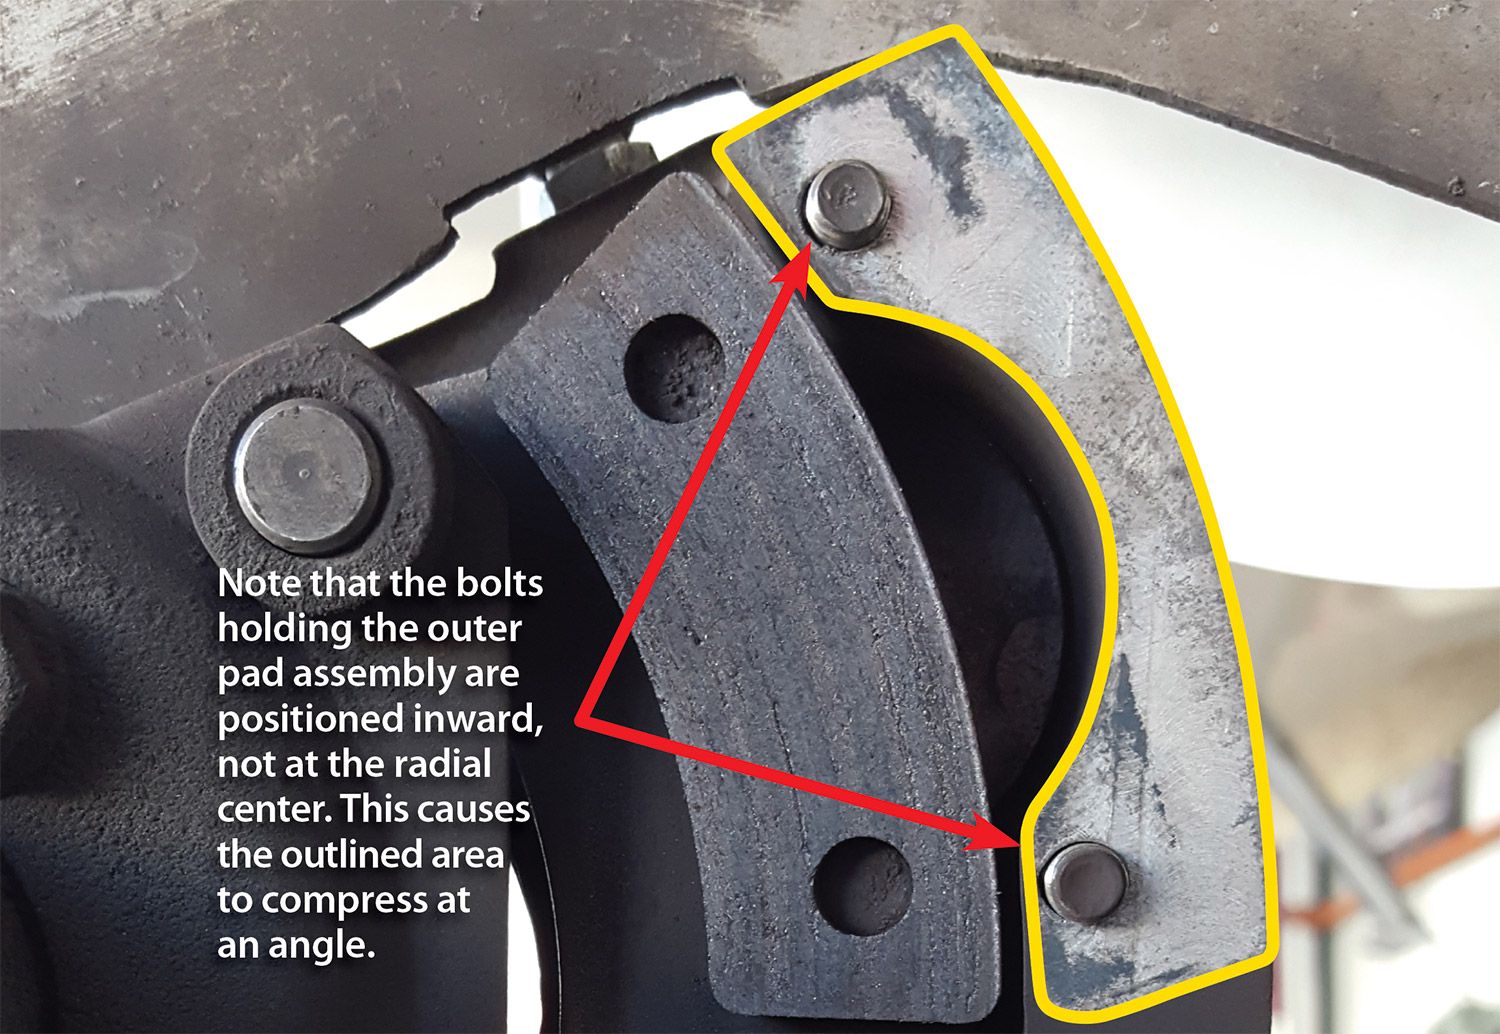
The follow-up inspection showed an interesting cause: The brake pads were glazed because they were only making contact on an edge! The underlying reason was an angled depression of the caliper face due to material deformation from heat and operation. In other words, the backplate fixed outer and piston-operated pads were no longer parallel.
In part, this is attributable to the softness of the magnesium caliper, as well as likely overtightening of the pad backplates. It turns out that Cleveland calipers are made either of aluminum or magnesium, while MATCO or Grove are all aluminum, and the soft magnesium can deform fairly readily. (Aluminum calipers are not prone to this problem.) The solution to this event was to machine the caliper surface flat again, and pay particular attention to tightening the bolts that attach the backplates to the caliper to the minimum specified torque. In addition, my local maintenance expert suggested changing to Aviation Products Systems (APS) “BlackSteel” rotors and APS pads for better glazing resistance, heat tolerance and overall braking performance. This was a number of years ago, and I can attest that for me these pads and rotors have been a substantial improvement.
Extreme Brake System Makeover
My original brake system installation included Cleveland 10-20 master cylinders and kit-supplied Nylaflow brake lines. At my last annual, I found both of the pilot-side master cylinders were leaking a bit. That triggered a project that I had contemplated for years and finally got the motivation to do—namely replace the Nylaflow brake lines with solid aluminum and Teflon/stainless flexible braid lines at the brake pedals. Despite endless brake bleeding efforts, my brakes had always remained a little bit spongy, and I always suspected a small amount of flex in the plastic lines.
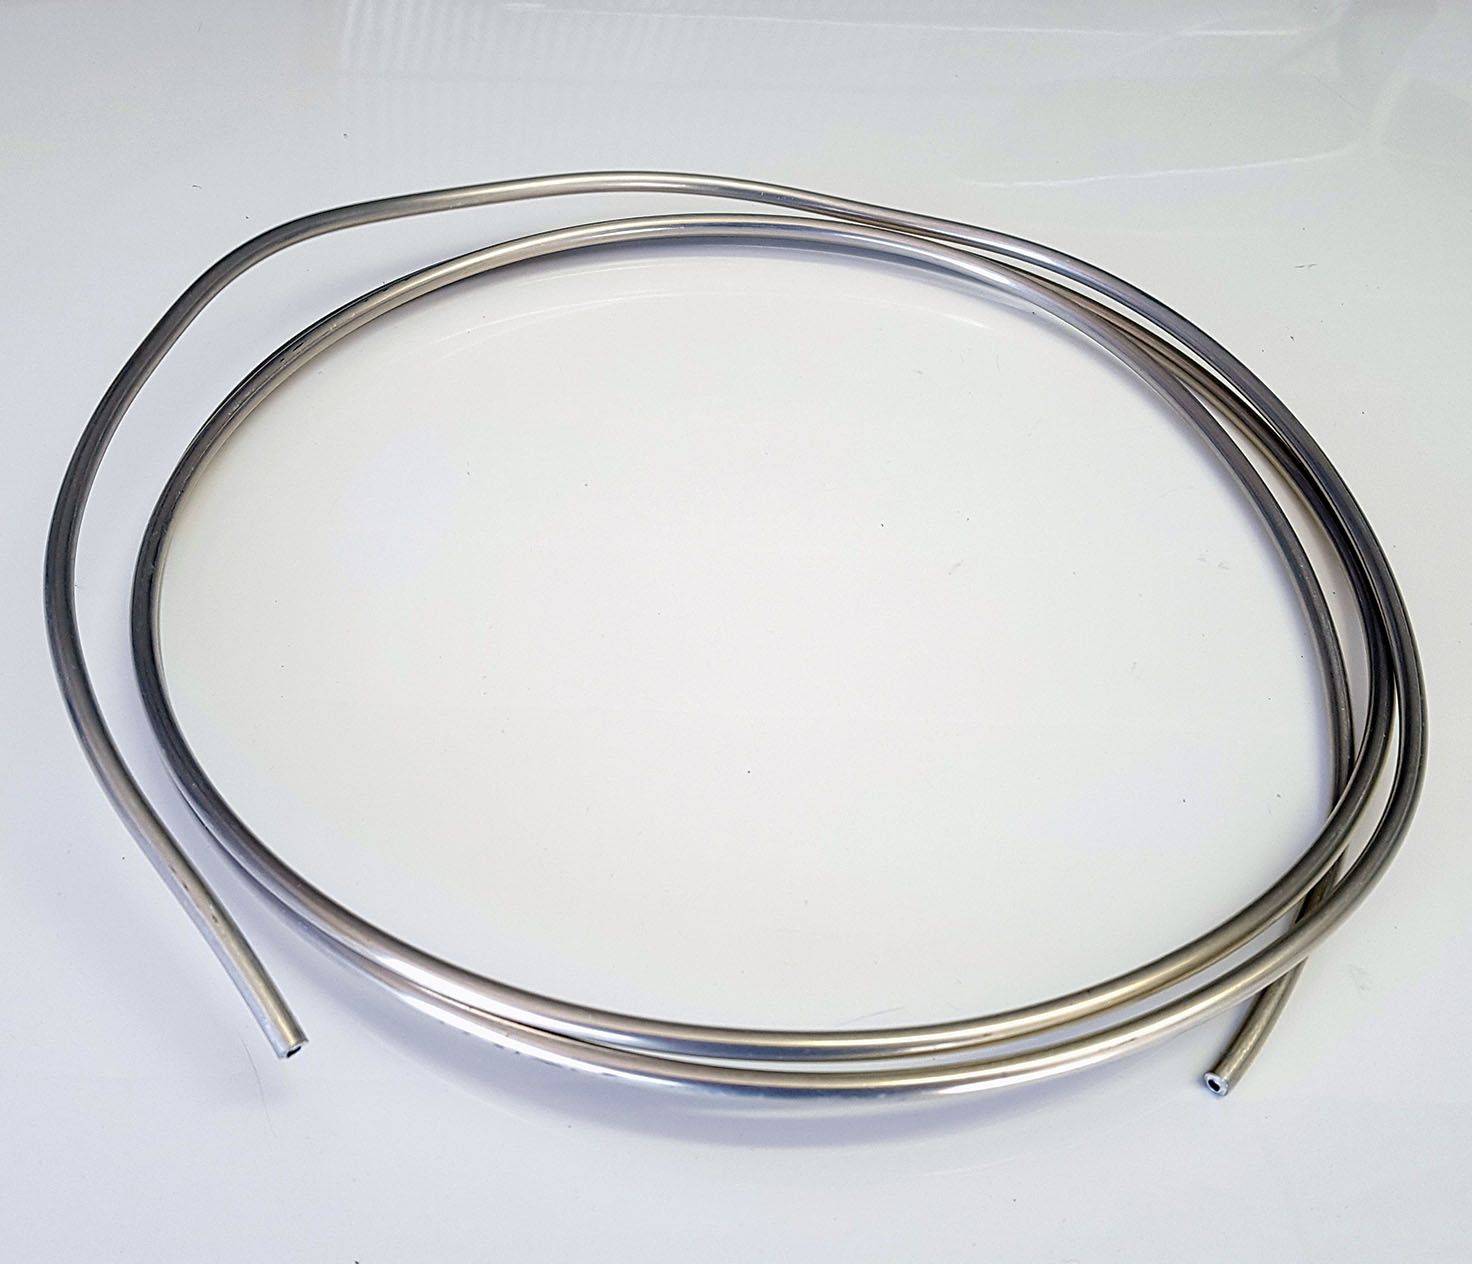
Further, although the brakes generally stopped the plane adequately, they were never as aggressive as I would have liked. For example, to hold the plane fixed at full throttle, you really had to lay into the brakes. And as my plane entered its 21st year, I also began to get a bit worried about nylon brittleness developing and attendant safety concerns. So the non-movable line replacement was completed with aluminum 3/16-inch diameter 3003-O Versatube, which is conveniently easy to bend/conform, and flexible stainless steel braid with Teflon inner tubing hoses that were custom made by Aircraft Specialty Flightlines. Steve Tschurwald at ASF was incredibly helpful, and the hoses fit perfectly.
Given the master cylinder leakage and somewhat marginal performance all along, I decided at the same time to replace them with MATCO masters, which have a slightly smaller piston area and should yield greater braking sensitivity.
This is a job that includes a substantial interior dismemberment of the plane as well as countless hours of lying under the instrument panel in various contortions, which is why I had put it off for many years! Once done, I moved on to the bleeding phase, conducted with my pressurized bottom-up bleeder. (For details, see “Homemade Compressed Air Brake Bleeder,” November 2016.) To my astonishment, with just a few minutes of pushing fluid up through the new and empty system, bubbles stopped appearing in the reservoir and the brake pedals were rock solid! I couldn’t wait to go out for a test taxi and flight—landing, actually! And so it came to be that not only was the sponginess completely gone, the braking performance was in a whole new world, with hugely improved sensitivity and effectiveness.
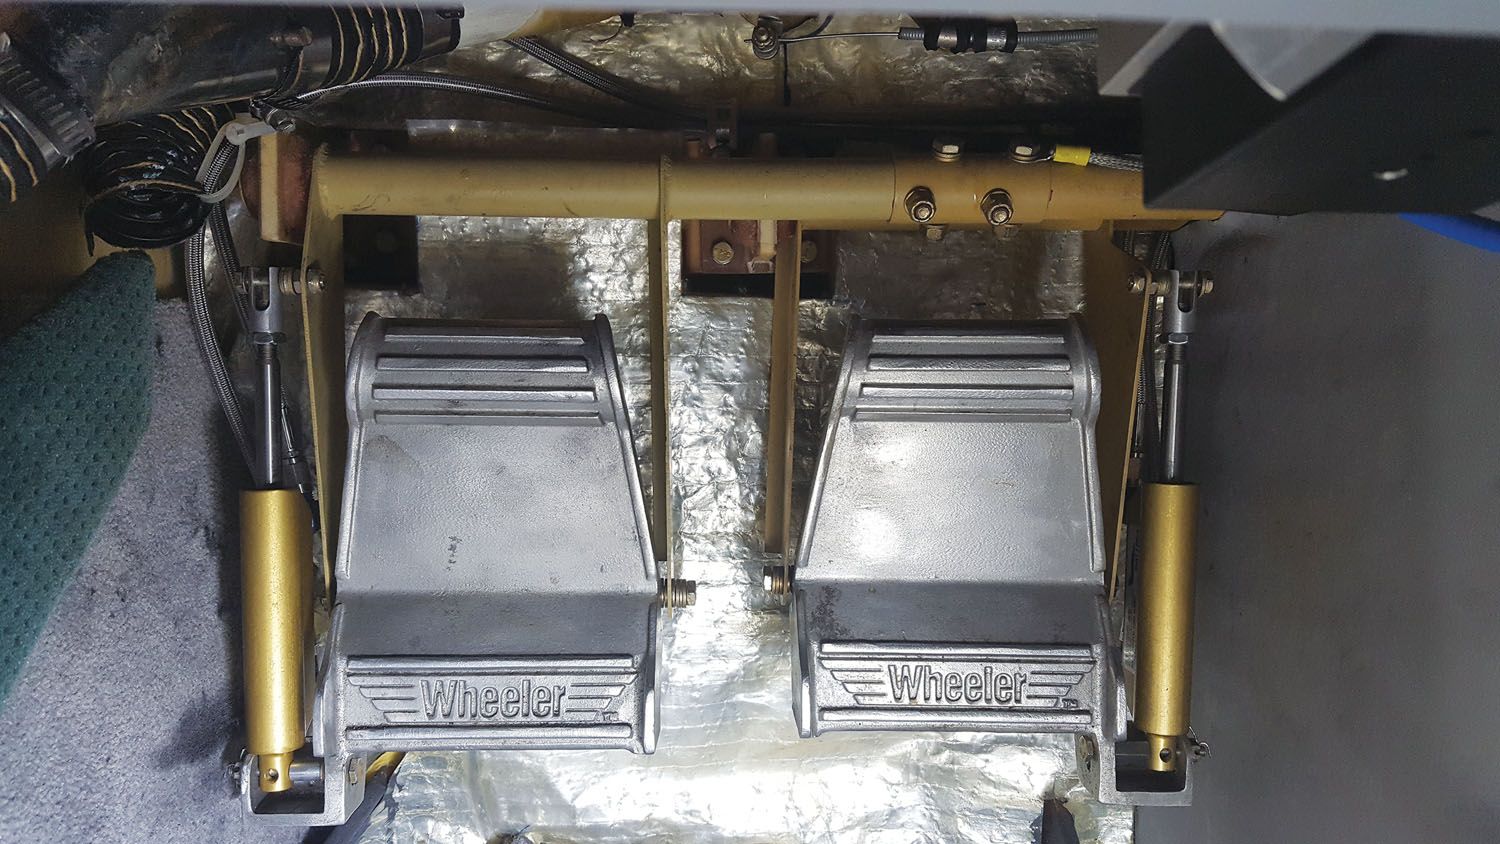
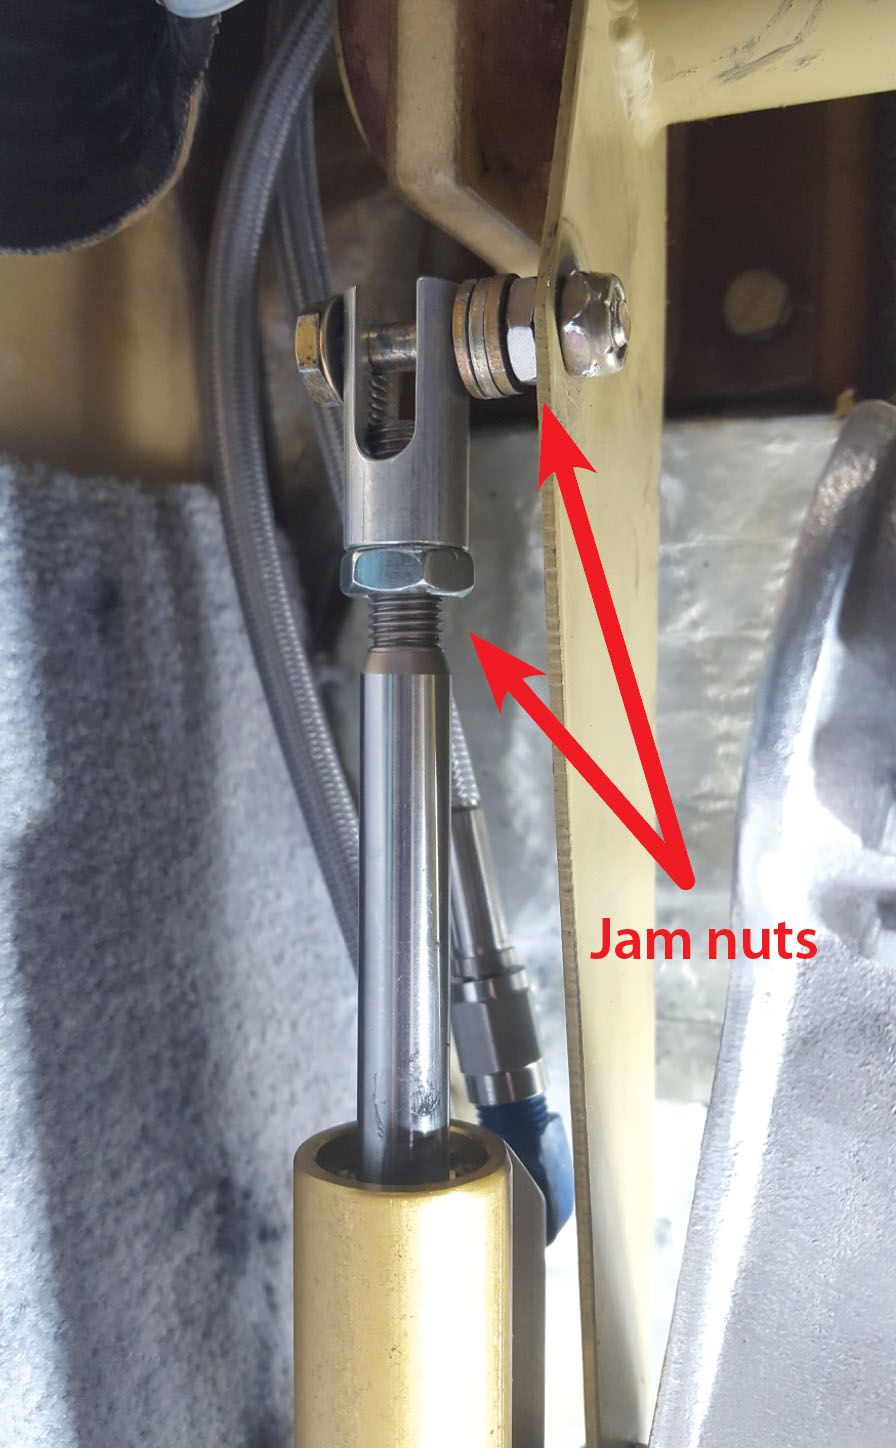
Something else to consider is brake pedal angle. In a certified plane, that design factor has been taken care of. But in your homebuilt, especially with, for example, the MATCO master cylinders where the piston rod end is threaded, you have the opportunity to adjust the length of the master cylinder and therefore the pedal angle. The trick is to find the appropriate median position where you won’t be on the brakes as you touch down with rudder action, but not so far forward that excessive foot pivoting is required to activate the brakes or your shoes interfere with the pedal support mechanism.
Lastly, if you look carefully at how the top end of the master cylinder is attached, the bolt has been threaded back just a bit to allow the addition of a jam nut that allows you to tighten the bolt in place at the fixed mounting hole. This way, the bolt does not “work” inside the hole, enlarging it over time.


I’d like to see an article on the pros and cons of what is available in terms of brake fluid.
Everyone agrees 5606H is old hat, but what about its replacement, compared to DOT 5 and DOT 5.1 and synthetic ATF ?