I hesitate to admit that I have played a few computer games in my life. A long time ago, in a galaxy not unlike this one, I was known to dabble in the earliest games of Star Trek, and even looked at something called The Crystal Cave. These were played on a tenuous teletype link from the back room of the high school math department, when the teacher wasn’t looking. (I think he was afraid we would learn that computer programs need not have an END command to be good, as he was wont to teach.) Many years later, I ran across an offspring of these early “thinking man’s adventures” (substitute “geek” for “thinking man” if you wish) in the form of a game that pitted the player against a whole assortment of troops and alien creatures. A way to lose more than a few airplane-building hours, certainly, but, when stuck in a hotel room with time to kill, definitely a form of entertainment.
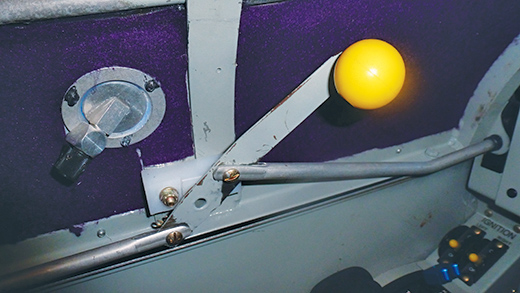
The RV-3 canopy latch is relatively simple and easy to build, but before you get to finish it, you need to go on a long and arduous quest.
What’s in a Game?
Why do I bring up this affection for computer games? Well, it came to me that such games provided excellent preparation for the toils and tribulations of building an airplane. The basic story in most of these games starts like this:
You are standing in a stone chamber. Ahead of you, on a dais, sits the magic goblet, the possession of which is your ultimate goal. All you need to do is reach out and take it! But as you take a step forward, out steps a hideous beast with fire and brimstone flowing from his terrible mouth, claws and fangs ready to rip your virtual character to shreds. Before you may touch the goblet, you must slay this dragon. And to slay the dragon, you must obtain the Magical Sword of Avendish, the only weapon that will penetrate his enchanted skin and reach his heart. Alas, the Sword has been lost for generations in a country far away. To reach it, you must slay many foes, fight many battles and acquire riches beyond measure to win the princess, which will make you king and sovereign of the nation and lead you to the one who knows the final location of the book that contains the spell that must be chanted to release the Knight Who Sleeps from his century-long slumber to ask him the key to the riddle that will…
OK, you get the point. A simple task that at first sounds quick and painless has become a quest that will lead you down many paths to acquire the implements and knowledge required to achieve the ultimate goal. As frustrating and time-consuming as the diversions will be, you must take them to succeed. If you have built at least one airplane, you know what I mean. And if you haven’t, then let me explain, for this model is the absolute essence of the task.
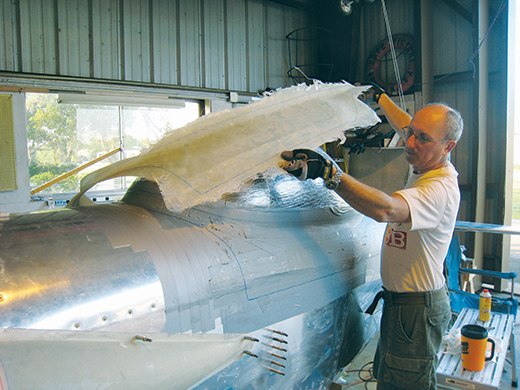
Before you build the latch, you must finish the fiberglass skirt, which determines the fit of the canopy.
Let’s look, for instance, at a simple task in the building of our RV-3: the details of the canopy latch. The latch mechanism is shown in the plans (though modern consensus is to reverse the operating function of the latch handle to match current standards), and the mechanism is fairly easy to understand and build. A little bit of fiddling with bolt lengths is required to avoid some interference in the moving parts, but this is a matter of an afternoon’s work. The real problem is that you can’t really finalize the mechanism until you fit it to the canopy skirt.
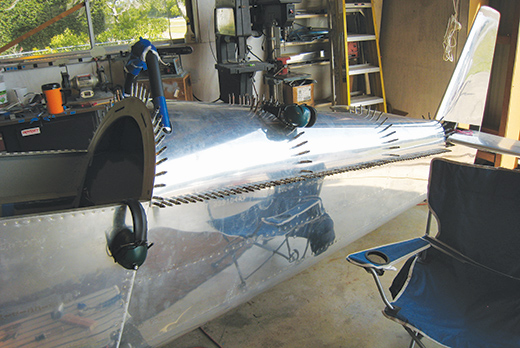
And before you can modify the skirt, you have to rivet on the turtledeck skin to get all of those Clecoes out of the way.
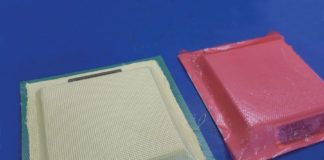
The canopy skirt was originally designed to be made out of several pieces of aluminum, which had to be formed into compound curves to fit both the canopy and the fuselage. No two canopies (and no two fuselages, for that matter) are identical in shape to the tolerance required for a good fit. Building an aluminum fairing for this airplane would require a master metalworker who has years of experience working an English wheel. You could go down that road of course, similar to Frodo’s quest into the depths of Mordor, but an easier track is to make it out of fiberglass. Now anyone who has fit the pre-made fiberglass skirt for an RV-8 might shrink in horror at the thought of building one from scratch, but once you get into it, you’d be surprised. It’s not a trivial task, but making it custom from the start sure saves time over trying to make it fit later on. Nevertheless, building the skirt requires you to make a paper, aluminum and clay “mold” on the airplane, over which you lay the glass. This is probably a week’s work and is followed by more weeks of filling, shaping and sanding to get it finished.
Ah, but before you can build the mold to lay up the glass, you have to have the fuselage in its final shape; both the front deck and the turtledeck (behind the seat) have to be screwed and/or riveted in place to ensure that they won’t change shape (thereby affecting the fit of the skirt). The forward deck is ultimately removable, so it is not that hard to spend a few days getting it shaped right and fitting it to the fuselage with screws. The forward screw holes are a bit tricky because they have to interface with the cheek cowls, cheek cowl extensions and the cowl itself, but you can defer figuring those two screws out until later on and make do with the side and rear screws. The turtledeck is drilled to the longerons, aft bulkheads and seat-back bulkhead when fitting up the fuselage, but you can’t have it Clecoed on when doing the skirt; it needs to be riveted to get that magical final shape, and anyway the Clecoes would be in the way. So get out the rivet gun, bucking bars and a very flexible (and tiny) helper and start pounding those rivets!
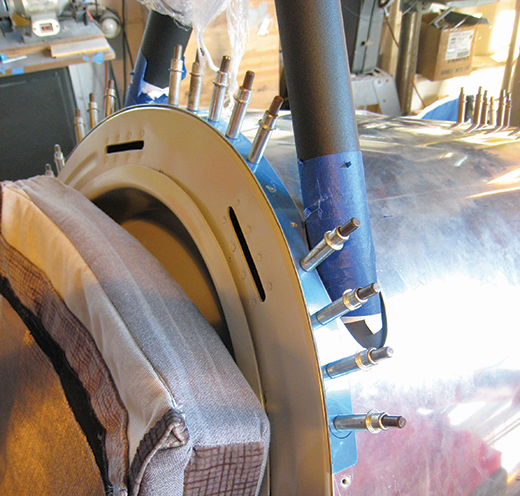
Of course, you can’t rivet on the turtledeck until you cut the holes for the roll bar…
Oh, wait a minute…we can’t really do that yet, can we? There is the matter of the roll bar. With the lightweight tip-over canopy design, there is nothing to keep the airplane off of the pilot’s neck and head should the airplane wind up on its back. The slider canopy has a roll bar in the windshield bow, but this version requires something be added behind the pilot’s head. Plans are included for a couple of different options, but they are more like sketches than plans, and in any case, no materials are provided, so the actual design and build are left up to the builder. The design I liked best wasn’t either of the suggested versions, but rather one that someone else had built from scratch out of steel tubing welded into final form. This exquisite piece of sculpture looked wonderful and promised outstanding rollover protection but required a welding skill beyond anything I possessed (or was likely to). I had to farm out this design to another builder who is also working on an RV-3 and had the necessary skills. As we worked on other things, he came and went with rulers, sketches, computer printouts and eventually templates. These were used to produce a beautiful roll bar, powder-coated and fitting the longerons to a T. We were ready to install this true work of art and cut out bits and pieces of the turtledeck to make everything fit.
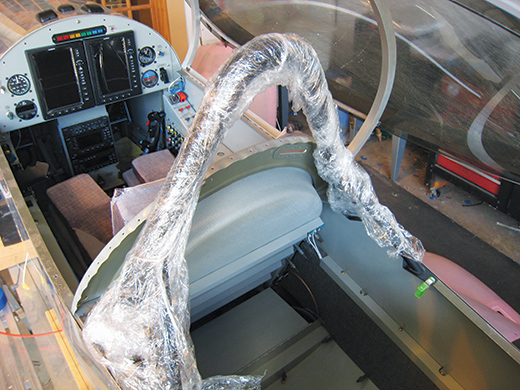
…and you can’t fit the skin to the roll bar until you design, fabricate and finish that roll bar.
With the roll bar in place, we could install the aft skin, allowing us to build the mold necessary to make the skirt so that we could finish the canopy latch, right? Well, almost. There was the baggage compartment to finish up (much, much easier with the turtledeck off), and that necessitated finishing up the battery box behind the pilot’s seat. Then there was final installation of the autopilot servo—that assembly was finished long ago—but now we discovered that to rivet that top skin on, we needed to lay a person’s body down right where the servo lived.
It wasn’t actually the servo that was in the way; it was the elevator bellcrank that was sticking up and was going to get the heck beat out of it. To get it off, the servo had to be removed, which meant that it all needed to be reinstalled after the deck riveting was done. Things are never really permanently installed, it seems, despite the fact that we confidently used a tube of anti-tamper lacquer the last time we put all those bolts in place. And so it goes.
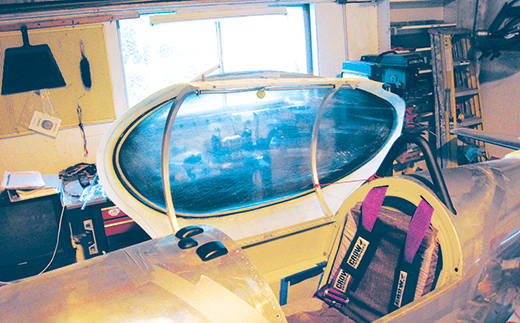
With the turtledeck finished, the skirt can be molded and installed, and finally the canopy latch can be made to fit.
Game on
I bet you never figured that building an airplane really is like a noble quest in a virtual universe, did you? The truth is, there are many such quests involved in building the aircraft of your dreams. Whether it is fitting an oil-cooler line, which first means the cooler needs to be installed on the baffles, which means that you have to fabricate and install the baffles to fit the cowl, which determines the position of the oil cooler…or the “simple” task of installing gear-leg fairings that ultimately means you need to have the wings on to jack the airplane so that the gear can hang freely so that you can align said fairings. It is all interdependent.
The reason this is important is that we want our brave warriors, er, I mean builders, to save heart and not abandon the chase. Trust me, the goblet or the princess or the kingdom is worth it in the end—or at least the airplane is. The princess, in fact, may have asked for a divorce before you get to that first flight unless you are willing to let her come along on the quest. And anyway, frustration should be shared, don’t you think?


