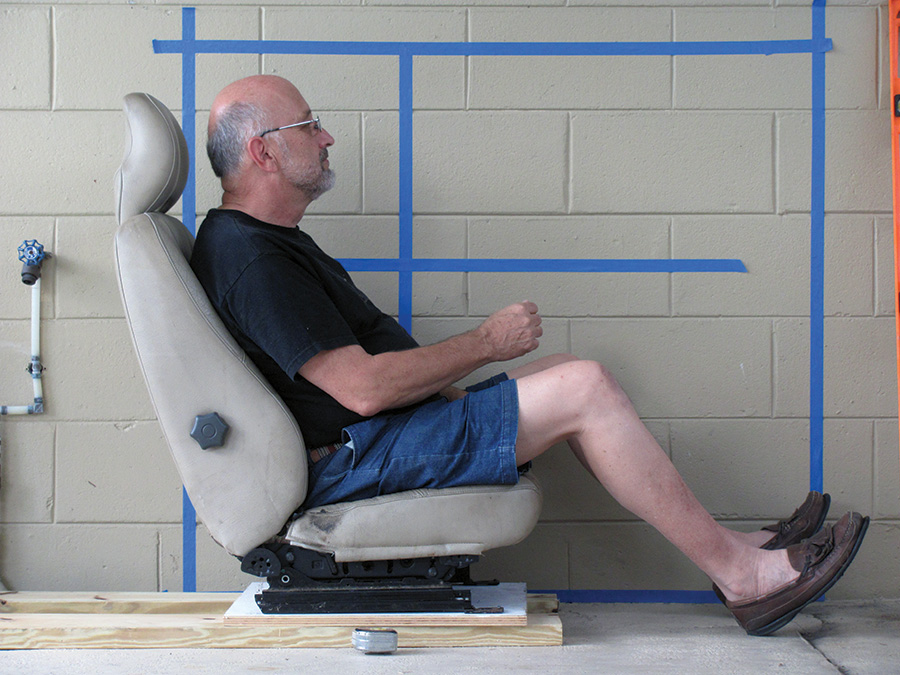
Blue tape on the wall behind the pilot and seat provide a way to scale the photograph for digital use.
Building an aircraft that fits the pilot is nothing new; one-off, single purpose experimental machines have been built that way since the Wright Brothers sized their hip cradle to fit the two of them. But many of today’s builders take plans at face value, not realizing that minor changes can make their cockpits much more comfortable—and the flying more enjoyable. Using the techniques shown here, a large number of would-be retiring pilots might very well continue enjoying aviation in an airplane that fits them like a glove.
Moving to LSA
I’ve been a Cessna 170A owner for many years. But like many other pilots, I’ve reached the point where I’d like to continue my love affair with flying in an LSA. Unfortunately, many LSA-compliant aircraft don’t seem to fit the aging/larger pilot population. Take myself as an example: I’m 6 feet 3, overweight, have a bad back, and reduced range of motion. Fifty years ago, while in college, I learned to fly in Taylorcrafts, Luscombes, and J-3 Cubs. All of these post-war, certified aircraft are LSA-compliant, and I recently considered buying one. Unfortunately, in my present physical condition, they all present challenges when I enter or exit the cockpit.
My next thought was to look at the newer, purpose-built LSAs like the Remos GXeLITE. Climbing in and out wasn’t a problem, but the price tag sure was. With a base price of $120,000 for a bare bones, no-frills model, my $25,000 budget would barely cover the down payment. It was obvious I’d have to look elsewhere to find an airplane that would fit my budget and body.
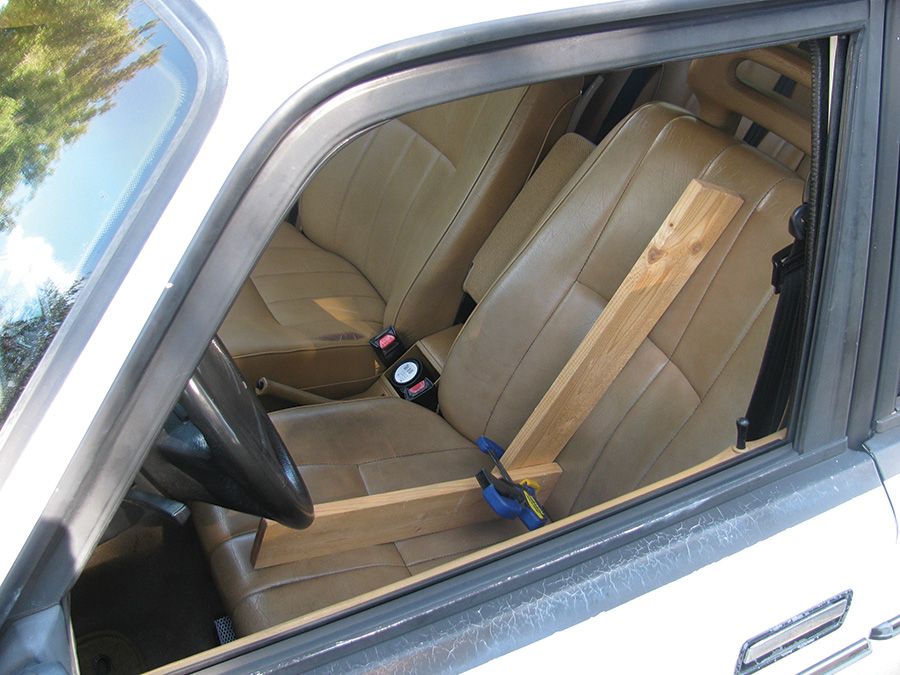
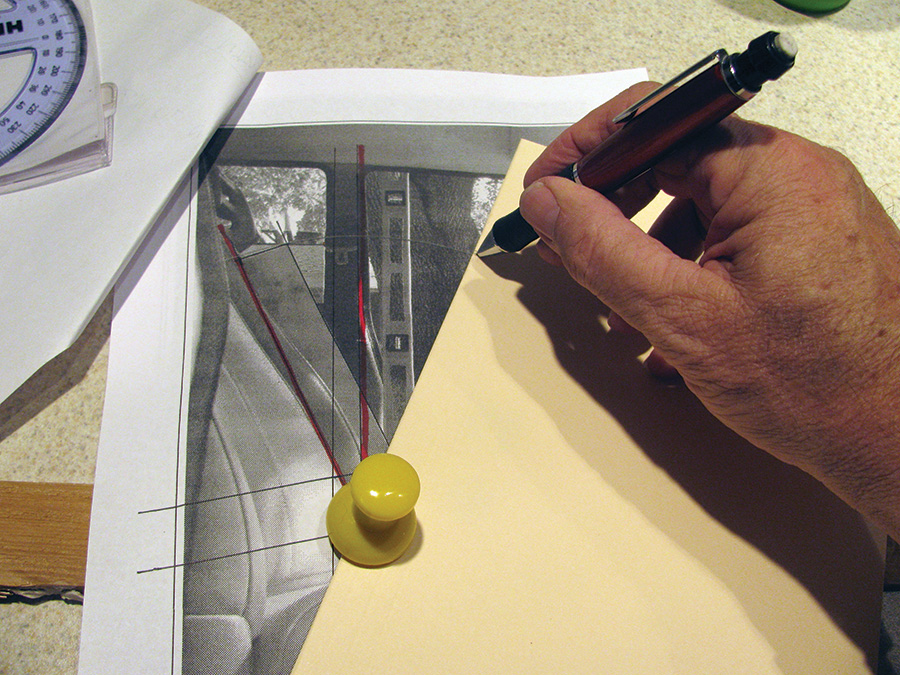
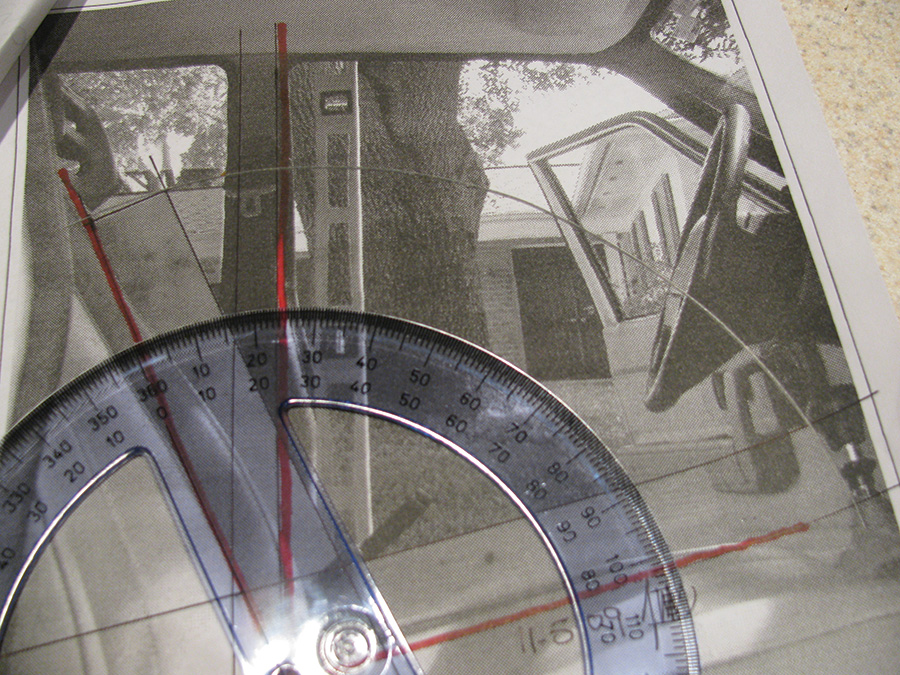
A seat can be measured using simple wooden boards that are clamped together or hinged with a bolt. The angle can be read when they are removed.
Buttercup to the Rescue
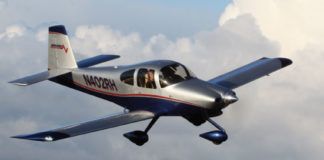
Way back in 1937, air racer Steve Witt-man designed and built a 2-place aircraft called Buttercup. (You can see it at Oshkosh in the Wittman Hangar museum at EAA’s Pioneer Airport.) Steve died in 1995, and although he was involved with aviation his entire life, he never did get around to creating plans to reproduce Buttercup—but Earl Luce did.
As a tribute to Wittman, Luce reverse-engineered Buttercup, drew up plans, and built a beautiful Buttercup replica. He sells plans and hard-to-fabricate parts at www.luceair.com. Buttercup materials kits are available from Aircraft Spruce (www.aircraftspruce.com/catalog/kitspages/buttercup.php).
Although the design is over 75 years old, it meets today’s LSA requirements. If you believe the builders’ logs that have been posted on Yahoo forums, folks are currently building Wittman Tailwinds and Earl Luce reversed-engineered Wittman Buttercups for less than $25,000. Scratch-built airframe material typically costs $12,000 to $15,000.
It appeared that Buttercup would fit my budget. But would my teenage son and I fit comfortably in Buttercup? A quick look at my licensed copy of the plans told me the answer was, “Maybe.” To find out for sure, I decided to use AutoCAD to build a 3-D virtual model.
The Digital Advantage
Computer Aided Design (CAD) offers many advantages over conventional drafting techniques. Dimensional integrity is easily maintained throughout the process of creating construction documents because the drawings of various components and assemblies are derived from the same 3D virtual model. As modifications are made to one drawing, the revisions migrate throughout all of the other drawings, assuring accurate plans with reliable dimensions.
Obviously, CAD has incredible practical advantages over traditional drafting. It’s also more interesting and fun. By overlaying scaled digital pictures on top of the drawings, I was able to see exactly how my son and I would—or wouldn’t—fit into Buttercup. As it turned out, I did need to modify the plans. But CAD made it easy to modify the original design to my exact specifications.
The Process
I began with the seat and cockpit and worked out from there. I wanted the cabin to be wide enough to give the occupants plenty of elbow room. Headroom was important, too. I didn’t want to worry about the button on top of my baseball cap mashing into my skull every time I flew through turbulence.
Since I’m reasonably comfortable in my daily driver, a 1993 Volvo 240 wagon, I decided to use it as the starting point for my design. Using simple measuring tools, wood clamps, a bubble level, protractor and digital camera, I measured my car’s interior, including seat, headroom, legroom, seat-to-dash, and door-width dimensions. (Yes, I want the seat in my LSA to be much like the seat in my car because that’s what works for me in my present physical condition.)
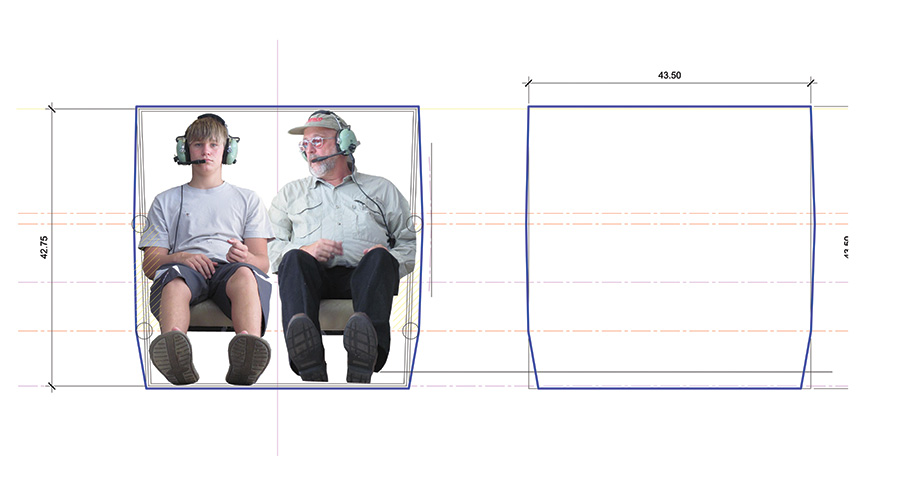
After measuring my car, the next step was to use these dimensions with AutoCAD to create a scaled side-view drawing of my proposed LSA cockpit. Finally, after drawing my cockpit, I put myself in the pilot’s seat by overlaying scaled digital side-view pictures of myself on the computer-generated sketches.
Shooting Photos
My son and I both shot digital pictures to proof my design sketches. While assuming the pilot position, we took side and front views on the back porch with a digital camera. We included a yardstick in the picture for scalability. Through trial and error, we learned to place the yardstick in the picture about the same distance from the camera lens as from the surface on the body that we wished to measure. This technique reduced parallax error in the scaled image. For instance, we didn’t shoot head-on views with the yardstick placed at our feet, as the headroom representation would not be accurate.
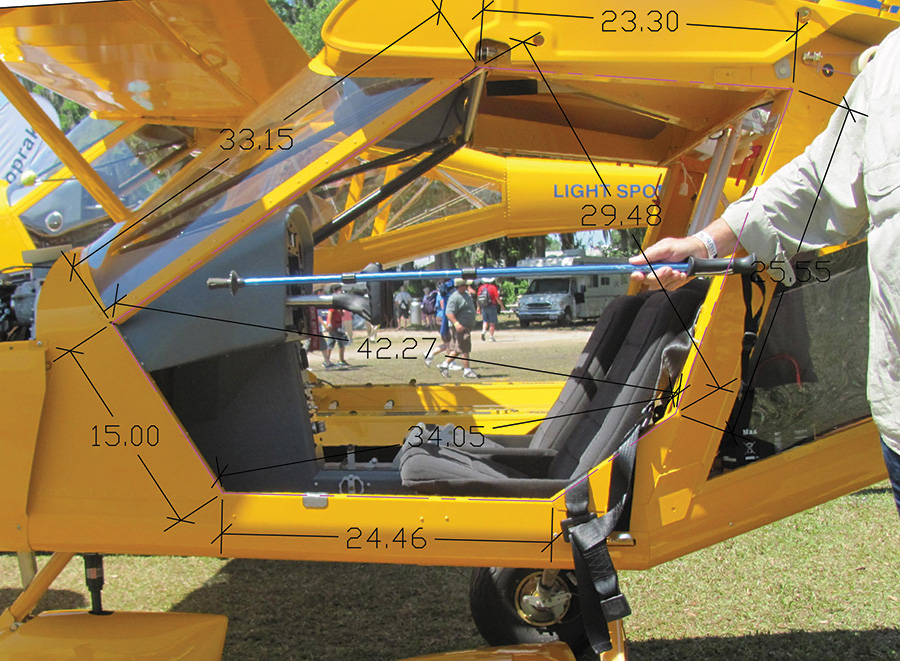
Photographs can be scaled later if you use a known object in the picture (here, the author’s walking stick) to give relative dimensions.
Adding Photos to Drawings
In AutoCAD, I overlaid the scaled pilot pictures on top of the airplane plans. Where the pictures showed dimensional conflicts with the plans, I revised my design sketches, raising the roof/wing to increase headroom and widening the door openings.
Scaled pictures bring dimensional reality to the design sketch. For example, Buttercup’s cockpit height (per Earl Luce’s plan) is 1-7/8 inches lower at the rear spar carry-through than my measured cockpit height requirement. In reality, it’s not much of a stretch, but it is enough of a change to influence headroom and visibility.
Designing the Doors
Once I had the seat and cockpit dimensions worked out, I began working on the doors. Since damaging my back, it’s difficult for me to get in and out of my car. But it’s still a lot easier than climbing
into most of the latest LSA models at airshows, so I decided to use the door width of my Volvo as the minimum opening width for my LSA design. (I must also remember to reinforce my door frames when I build this aircraft, because I pull myself out of my car with my elbows pressing against the outside of the door frame.)
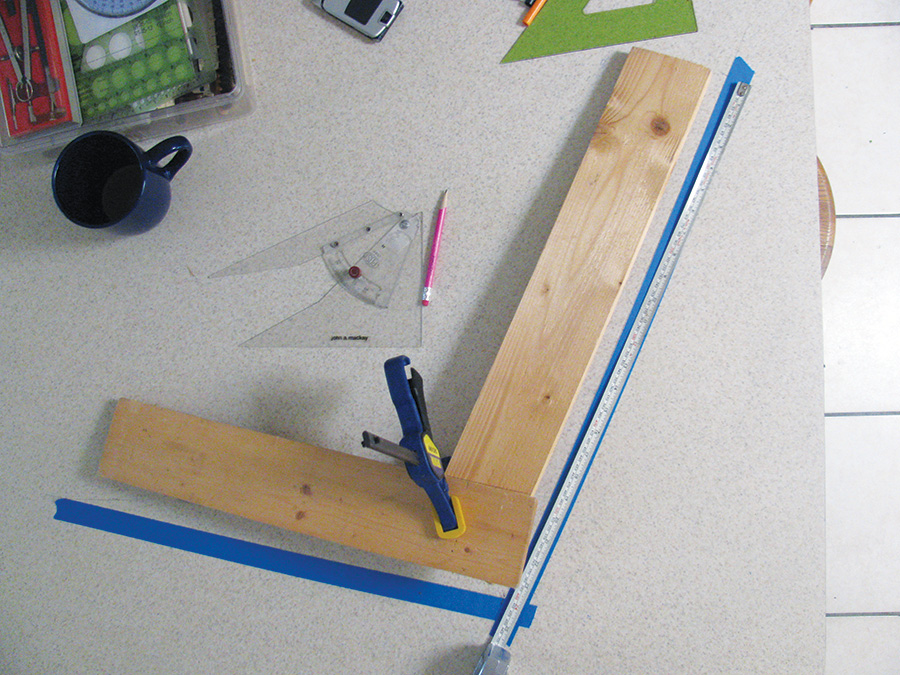
Two boards—one representing the seat bottom, one the seat back—can be measured after removal from the seat.
Getting a Second Opinion
My efforts resulted in a 3-D virtual model in AutoCAD that is easy to revise and any improvements or modifications will be kept dimensionally stable. But is my design actually feasible?
Jim Clement is a recognized, award-winning Tailwind expert, who has built more than a dozen Tailwinds. His Butterburger is a blend of Wittman Tailwind and Buttercup, and the Clement mods are popular and desirable modifications. Jim is about 5 feet 8 and 170 pounds. My aircraft will be a bit taller, but with similar fuselage construction.
I showed my initial computer-generated sketches to Clement, Luce, and other designers, builders, and owners attending the annual Wittman Tailwind gathering, held the weekend before AirVenture. With their helpful comments, plus flight time in Mike Matte’s Buttercup and seat time in Clement’s Butterburger, I came home with real data to update and refine my virtual model. Clement’s modified door opening, when applied to my design, significantly eased ingress and egress issues.
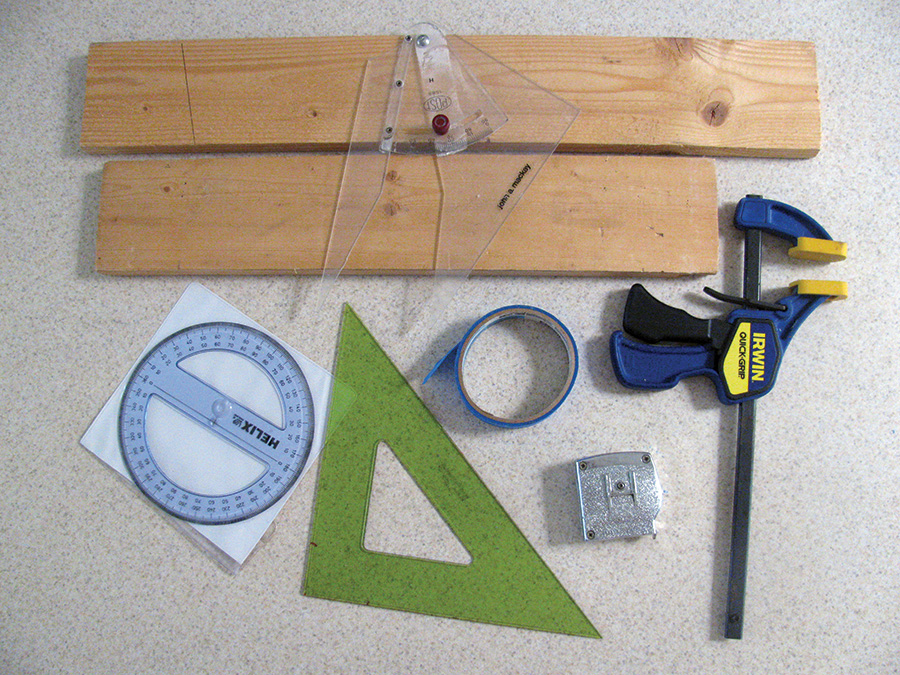
All the tools necessary for measuring the geometry of an existing seat are easily acquired at a local art or hobby supply shop.
Making a Design Your Own
For your own project, you might begin with your personal dimensions and then build your plans around your constraints. You can also reference Ron Wanttaja’s Cockpit Dimensions for Homebuilt Aircraft on the web at www.wanttaja.com/avlinks/cockpit.htm.
Airshows, fly-ins, and trade shows offer valuable design verification opportunities. Not only can you sit in manufacturers’ products to confirm your fit requirements, you can also take detailed photos of design elements, door openings, etc. Be sure to include imported objects of known dimensions in your picture. For example, my walking cane is included in my photo of the Aerotrek A220 door opening for scale. As this was one of the easier LSA models to climb into, the A220’s door opening, once photographed, could then be measured in detail (in AutoCAD) using the known dimension of the cane.

Once the seating position and dimensions are determined, they can be overlaid on the aircraft drawings to determine if modifications are called for.
Scratch-building a custom homebuilt aircraft is a big undertaking that will likely take years. If you’re going to do it, and you intend to modify the plans, first spend a few hours with AutoCAD. It’s a sure way to know that the airplane you’re about to build will also be comfortable for you to fly.

