There are two things you can do that will extend the life of your engine more than any others: fly your airplane regularly and change your oil as specified by your engine’s manufacturer. There are other things you can do to help or hurt your engine to be sure, but if you made two big piles, one with engines killed by infrequent flight and lack of oil changes and the other with engines destroyed by all other causes, it wouldn’t even be close. So go fly! And change your oil every four months or 50 hours if you have an oil filter, and every 25 hours if you don’t.
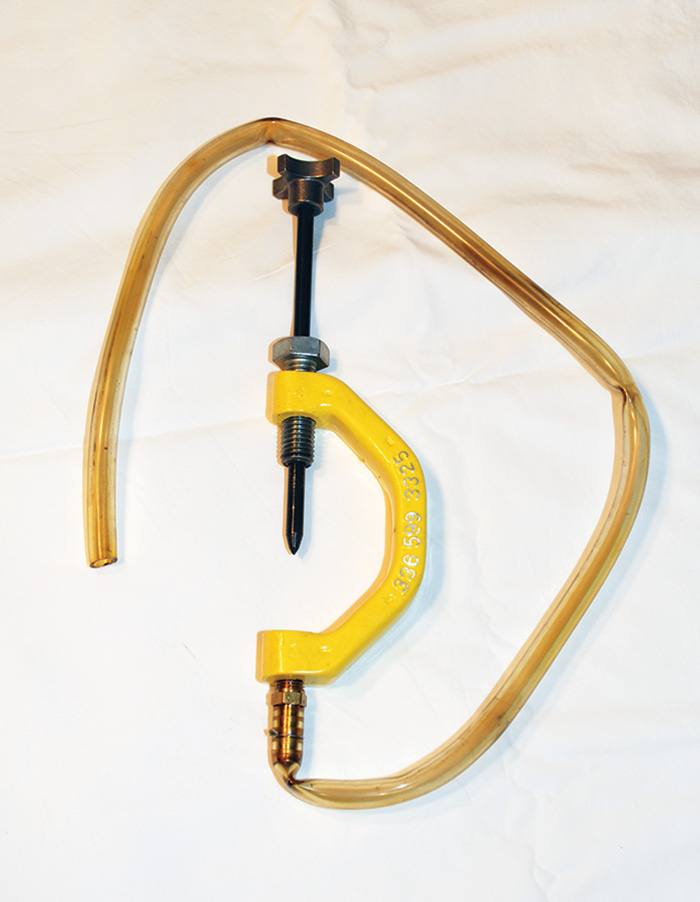
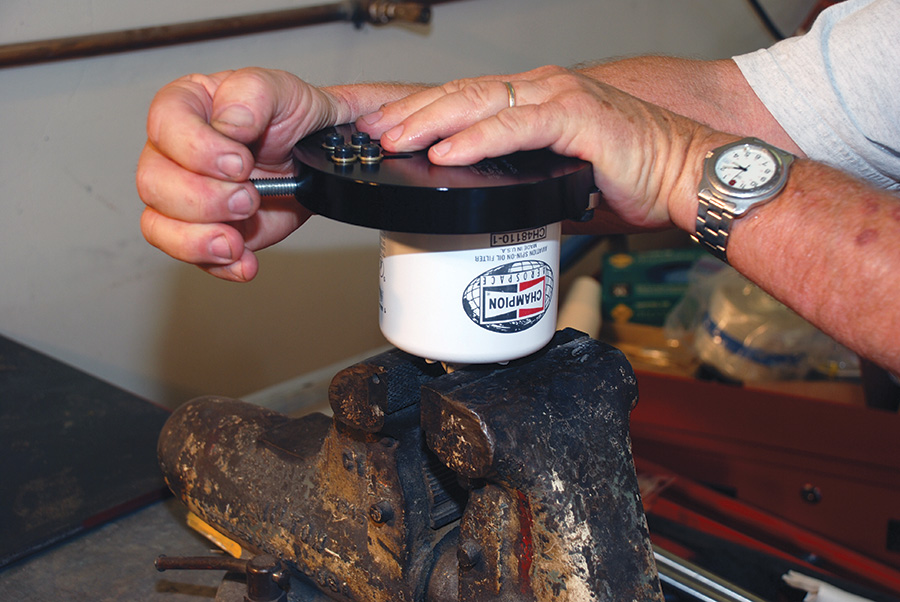
This special tool allows you to drain your oil filter before you remove it. The clamp tightens around the filter and the pin is driven through the filter can, allowing oil to drain out the tube.
Step-by-Step Oil Change
Changing your oil is a fairly simple process, but like anything else there are better and worse ways to do it. Here are the basic steps for a Lycoming engine:
1. Warm the engine up to operating temperature. (There’s that “go fly” thing again.)
2. Drain the engine oil into an appropriate container, one that you can use to recycle the used oil.
3. Retrieve a small sample of oil from the stream of draining oil to send in for oil analysis.
4. Give the engine a chance to completely drain before you shut off the quick-drain or reinsert the drain plug.
5. If you don’t have a quick-drain valve on your engine sump, now is a good time to install one. They run about $79 for a Lycoming engine or $39 for a Rotax, and they are definitely worth it.

Use a one-inch wrench to remove the oil filter from your Lycoming. If the filter will not yield, some large water pump pliers may work better.

A quick-drain valve replaces the standard sump drain plug and makes oil changes so much easier. Install one at your first opportunity.
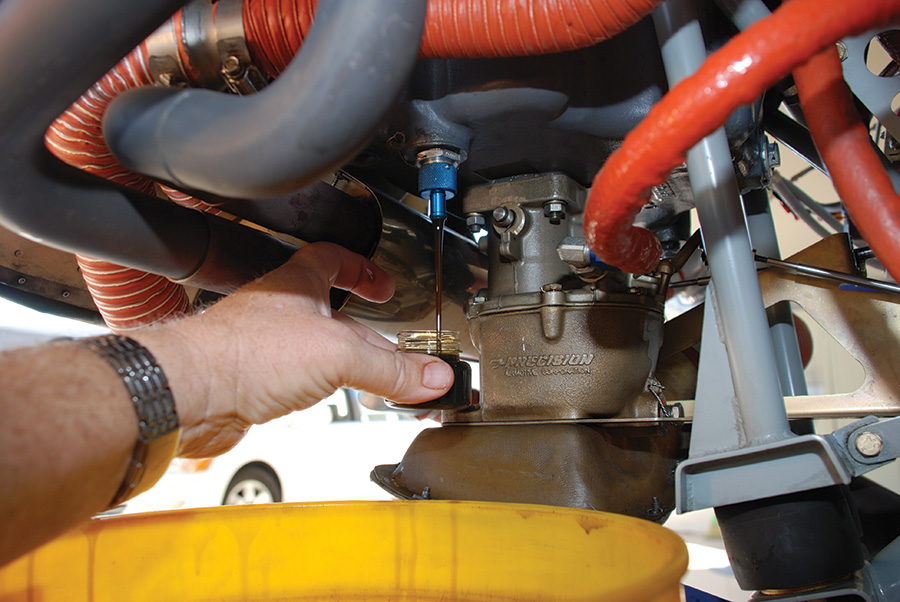
Be sure to take an oil sample from mid-stream as the oil drains out. Oil analysis can provide a valuable early warning of many engine problems.
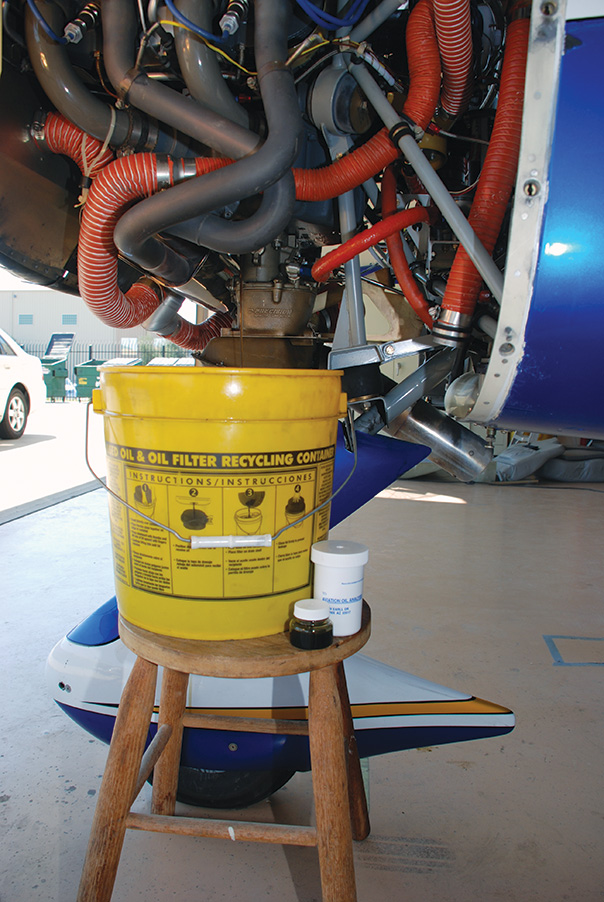
Oil needs to be drained into a suitable container and recycled. Most airports have oil recycling stations for your use. Be sure not to contaminate the oil with other chemicals or avgas.
6. Remove the oil filter and save it for examination later. Begin by loosening the filter with an oil filter wrench or a one-inch combination wrench. In some cases a large pair of water pump pliers may be needed to break the filter loose. Once the filter is loose enough to turn by hand, place a plastic bag around it to catch oil draining from the filter and unscrew the filter. There is also a special tool you can buy to remove oil from the filter before loosening it. I never bought one because they cost over $100. Be sure to have a few rags or paper towels handy to deal with the inevitable mess.
If your engine does not have an oil filter, you should consider adding one. Your wallet will suffer to the tune of $300 to $400, but a new engine is so much more.
7. Drain any remaining oil from the filter and take it over to your workbench to cut open and examine. Oil filter cutters begin at around $60. Airwolf makes a pretty good one for about $88. This is a “must-have” tool for any Experimental airplane owner.
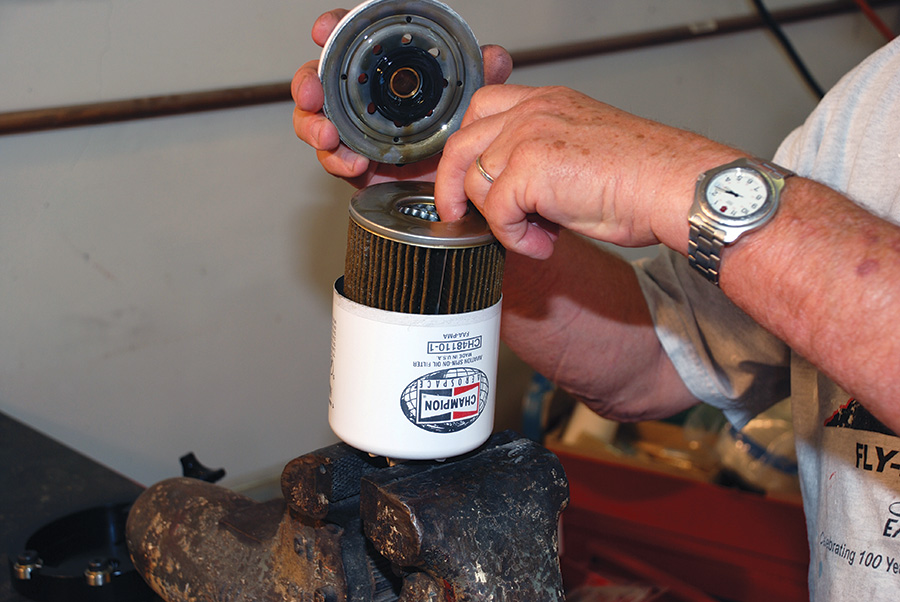
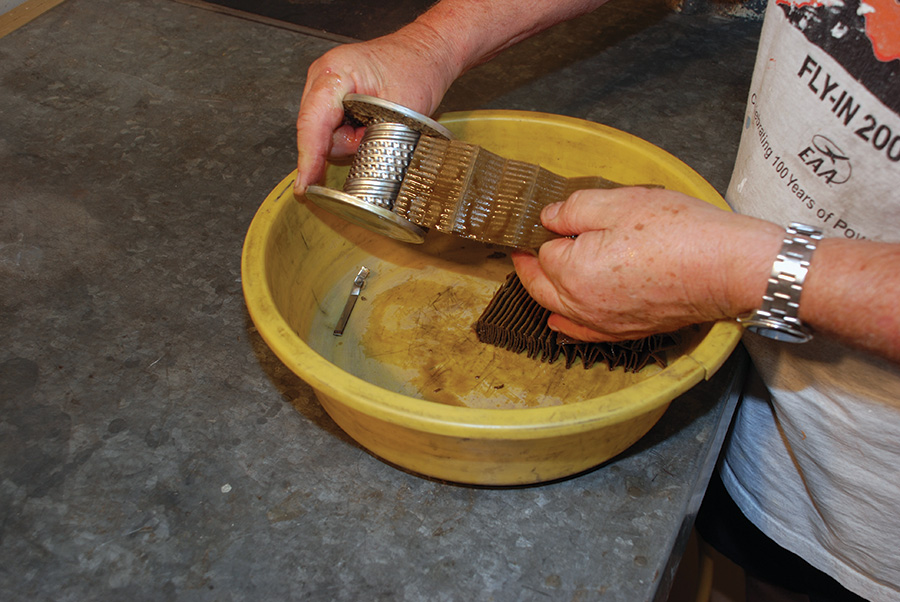
Once the oil filter has been cut open, remove the filter media for examination. Be sure not to introduce foreign material into the media.
8. Secure the oil filter in a vise and use the cutter to remove the bottom (part that goes next to the engine) from the filter can. Set the can bottom aside and remove the filter media, being careful not to contaminate it with any foreign material such as filter can cutting remnants.
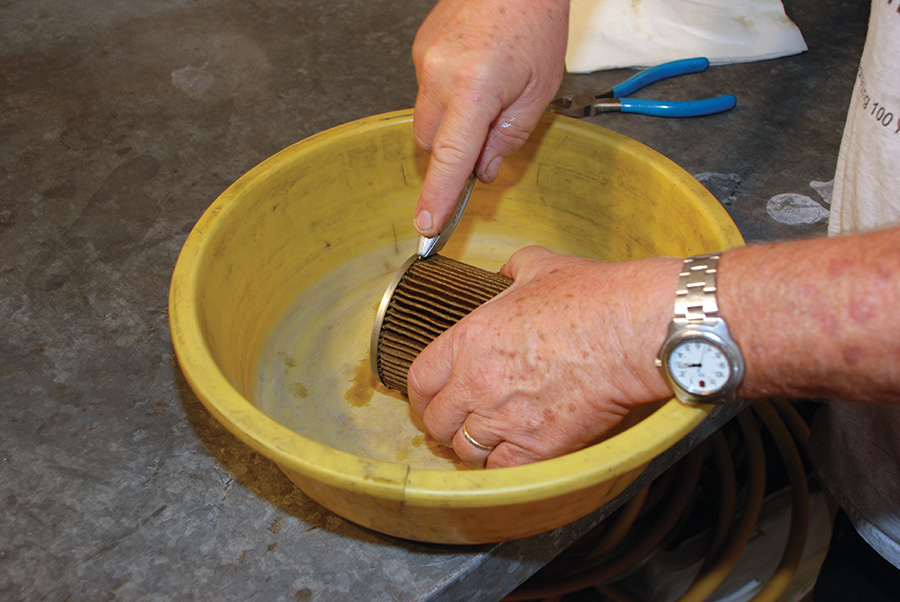
9. Place the media in a clean pan or tray and cut the media (folded paper) loose from the core. Use some side-cutting pliers to remove the metal clip that holds the paper media together, and then use a filter media cutter or just a plain old utility knife to separate the media from its metal end plates.
10. Once the media is cut loose, open up the folds and look for trapped particles. You should expect to see a few and hope not to see a lot.

A few small flakes of aluminum turned up in this filter. This small amount is of no concern, but the quantity and type should be noted for future reference.
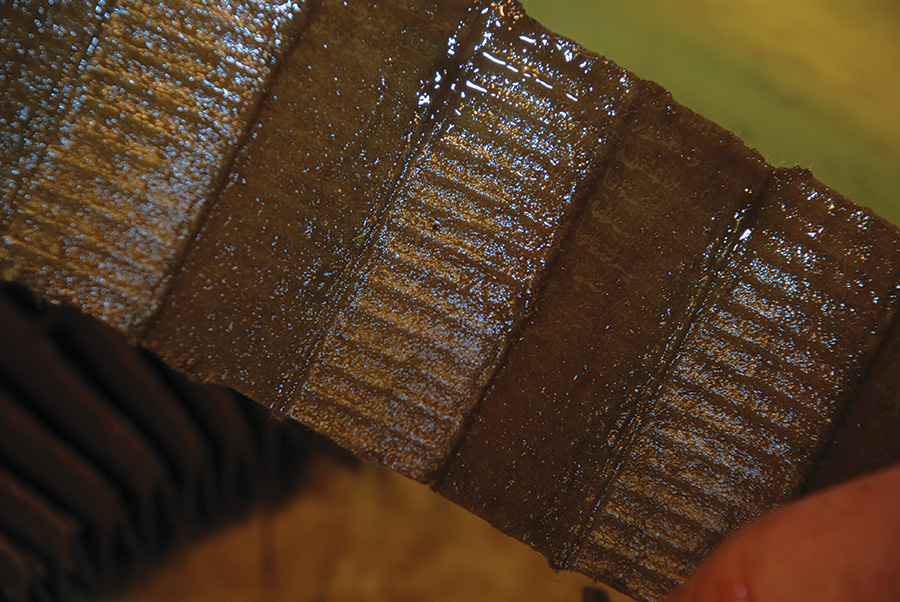
A few small specks of carbon also turned up in this filter, but again the tiny quantity of material present is of no particular concern at this time.
11. If there is anything more than a small amount of metal found in the filter media, you should also remove the sump screen and look for larger metal pieces. Lycoming recommends that you inspect the sump screen at every oil change, but at a minimum you should check it once a year no matter what, and whenever any significant metal is found in the filter.
12. Assuming there are no unpleasant surprises in your oil filter or sump screen, write your tail number, tach time, and date on a new oil filter with an indelible marker and install it on the engine. Place some grease such as Dow Corning DC-4 on the threads and tighten the filter to 17 foot-pounds. Then safety-wire it to keep it secure. Don’t forget to replace and safety-wire the sump screen, too, if you removed it.
13. Refill the crankcase with aviation oil approved for your engine and operating conditions. Usually a quart below the maximum is plenty.
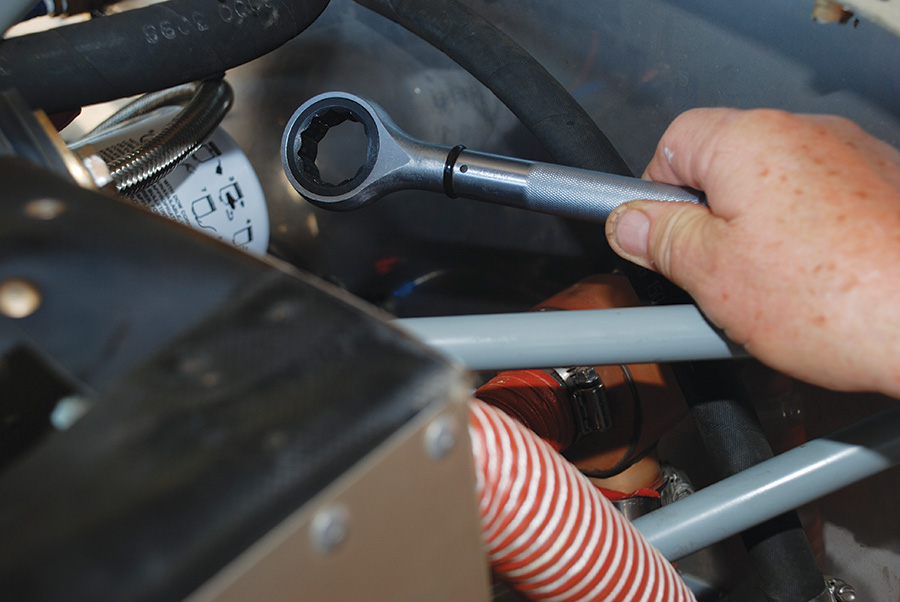
It is best to use an oil filter torque wrench to install your oil filter. This one made by Champion is preset to 17 ft. lbs.
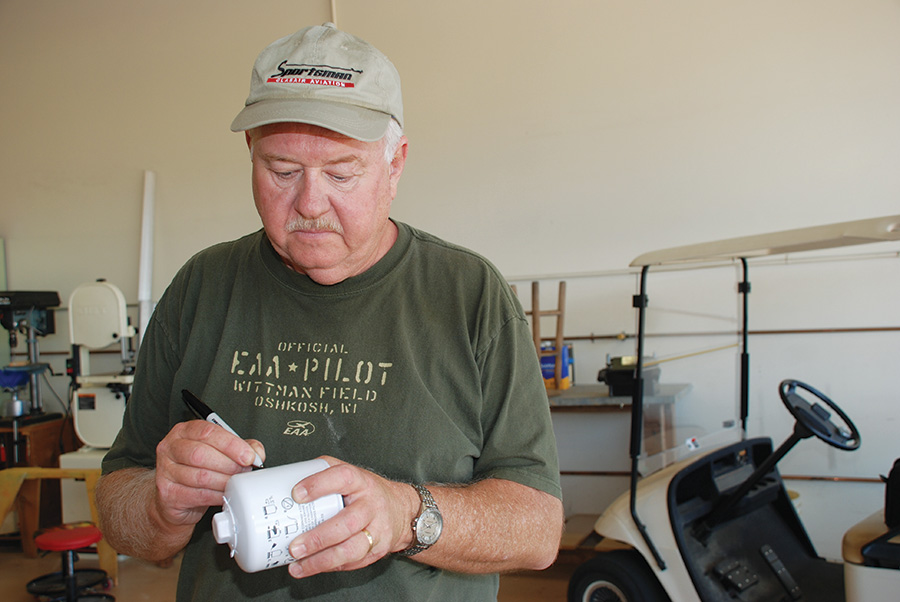
The author writes the tail number, tachometer hours, and date on the new oil filter before installing it. Be sure to use an indelible marker such as a Sharpie for this.
Oil Analysis
Oil analysis is another important tool for monitoring the health of your engine. Take a sample from mid-stream when you drain your oil, being careful not to let any foreign material fall into the sample jar. Always use a clean jar as provided by the oil analysis lab. Oil analysis works best over time where you can note trends and changes. A single oil analysis is not all that useful unless there is a large problem that is probably already obvious from material in your filter and/or sump screen. Set up a file system to track your results over time, and try to stick with the same lab for greater consistency. Lycoming Service Letter L171 goes into greater detail on oil analysis. It is available online.
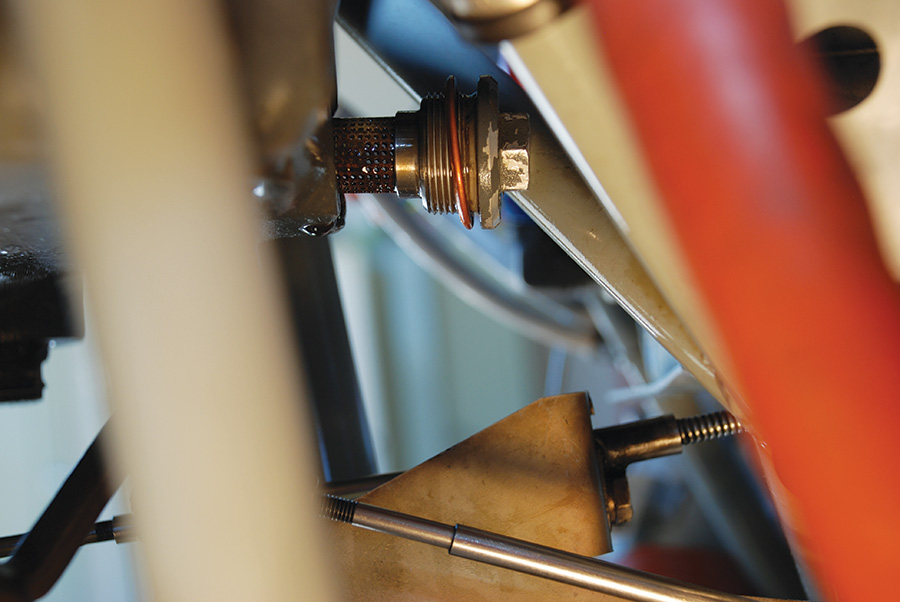
Lycoming suggests inspecting the sump screen at every oil change. At a minimum you should check it at every annual inspection and whenever any metal of a large size or quantity appears in your oil filter.
What Oil Should I Use?
When selecting an oil for your aircraft, stick with products by the major aviation oil manufacturers such as AeroShell or Phillips. Aircraft engines have very specific lubrication needs that are not well served by oils not specifically designed for aircraft. After that, the answer depends on the operating conditions you will be likely to encounter, especially temperature. Phillips recommends their X/C 20W-50 oil for all standard conditions except when dealing with Lycoming 76 series engines (O-320-H2AD, etc.) AeroShell recommends their multi-viscosity 15W-50 oil for all standard uses, but also sells single-grade 100W for use above 60 degrees F. The 100W oil has the benefit of being less expensive and is fully compatible with the 15W-50 oil. By the way, it is fine to use Aeroshell 100W in the summer and then switch to 15W-50 in the winter. You can save a bit of money and be no worse off for it.
With any engine, the first time you start it up under power after an oil change, you should check for leaks and be sure you quickly establish a safe oil pressure. Leaks and low oil pressure are problems you need to find while you are still on the ground. If everything looks good, close up the cowl and go fly.

![]()
Dave Prizio is a Southern California native who has been plying the skies of the L.A. basin and beyond since 1973. Born into a family of builders, it was only natural that he would make his living as a contractor and spend his leisure time building airplanes. He has so far completed three—a GlaStar, a Glasair Sportsman, and a Texas Sport Cub—and he is helping a friend build a fourth, an RV-8. When he isn’t building something, he likes to share his love of aviation with others by flying Young Eagles or volunteering as an EAA Technical Counselor. He is also a member of the EAA Homebuilt Aircraft Council.





Please tell me where I can get the special oil drain tool that you talked about in this article.
“Changing your oil.” By Dave Prizio -January 20, 2014 (https:/ /www.kitplanes.com/maintenance-matters-13/)
The tool is the yellow one that pierces the can and drains out the oil via an attached tube.