 I have an airplane. But it’s covered in blue. And no, not blue paint. This is fuel.
The tanks on N2165U were originally sealed with a “sloshing compound,” which was a popular way to seal Van’s tanks in the 1990s. (Today they’re basically seam-sealed with Pro-Seal.) The sloshing compound was poured, sloshed around, then left to dry, sealing the tanks. However, over time, builders came to realize that sloshing compound could flake, fall off and end up in the pickup tubes, which was quite dangerous as it would starve the engine of fuel. My sloshing compound was starting to flake, so I had to find a way to get it out of my tanks.
The Solutions
We had a few options. One, I could buy new fuel tanks and build them myself. Two, I could buy used ones, if I could find any for sale. Both options would take an extensive amount of time and money, as I would have to fit them to my wings. As RV-6 kits did not have predrilled holes, this would be an incredibly difficult task to match different tanks to my wings.
Third, I could pay someone else to clean and reseal my tanks, but the shipping costs and labor would be very expensive. Or four, I could do number three myself.
Fixing my own tanks was the option we chose. Cleaning and resealing them would take time and it would be challenging. However, it was a great first project for me as it wouldn’t take much expertise—just some sweat and frustration. It was also by far the cheapest option.
The Stuff
Removing the slosh compound required more tools and supplies than I’d ever imagined. Here’s a partial list: MEK (methyl ethyl ketone) and MEK substitute; lacquer thinner; Klean Strip KLE-EAR2000 Aircraft Non-Methylene Chloride Paint Remover; plus paint scrapers, brushes, fingernails, sponges, gloves, masks and non-plastic cups. (Ever seen what MEK does to plastic?)
Removing the Slosh
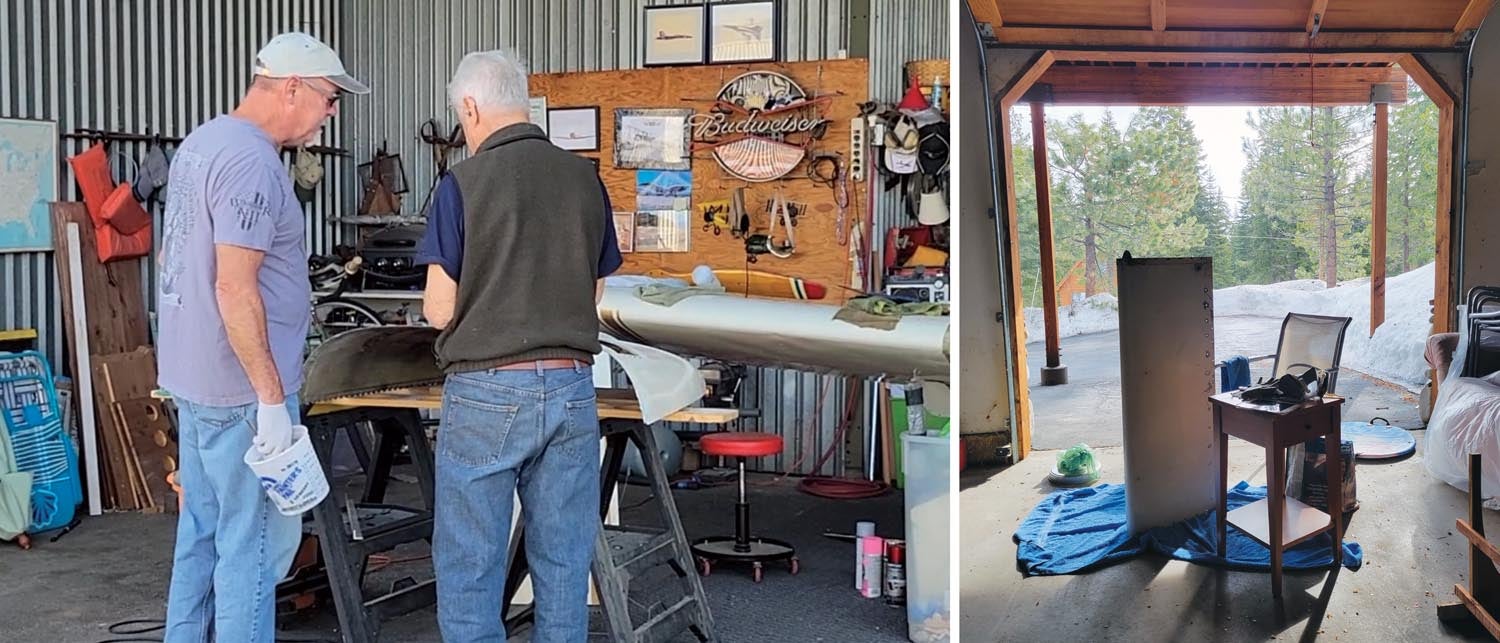
First, we had to remove the tanks from the wings. The screws holding them on were filled with paint and corrosion, so I had to drill them out. Then, we had to make the insides of the tanks accessible. For this, we purchased a fuel tank cleaning kit from Van’s Aircraft and followed the instructions. Using a 5-inch hole saw, we drilled five holes in each tank on the spar-face side. After drilling the holes, we sanded the edges so I wouldn’t slice my arm open. Then, Stan Lawrence (my CFI and general mentor in these things) cut covers for the 5-inch holes. He drilled six holes in each for screws so we could attach the covers when we resealed the tanks. After that, we started looking into cleaning solutions.
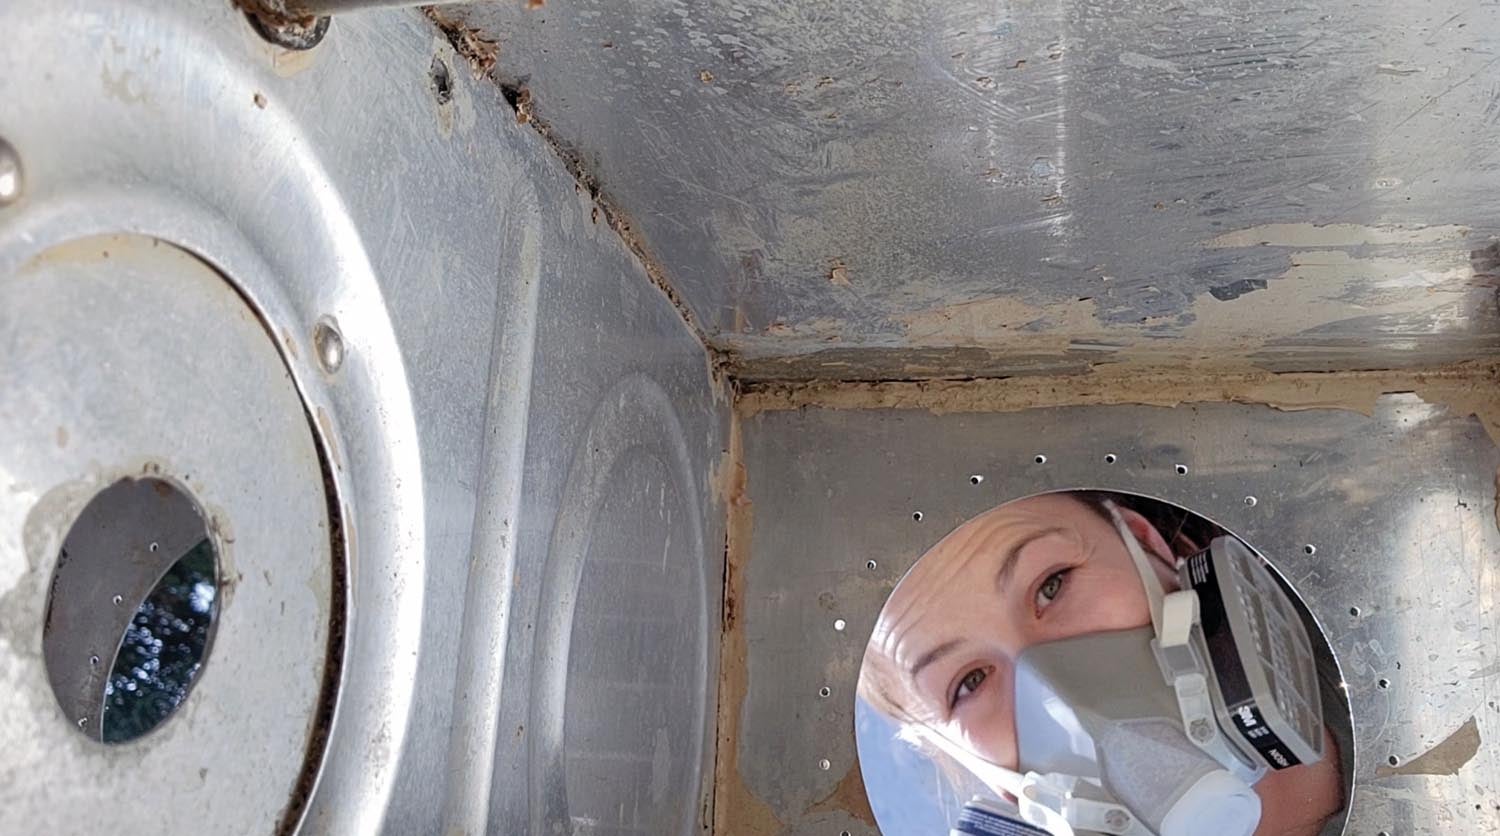
First, we decided to try MEK. This is an old and dangerous chemical that Kerry, another helper in the project, happened to have in a cabinet in the back of the hangar. I purchased a mask and some heavy-duty gloves and got to work.
I started with a small tuna tin and paintbrush, dipping the paintbrush in the MEK and then spreading it on the slosh. It loosened as I used the paintbrush to scrub it, but not enough. Kerry and his airport partner Hal tried pouring the MEK straight into the tank and letting it sit. This worked. However, the MEK only puddled in the lowest points and it was hard to tip the tank sideways, so we only got the slosh out of the bottom.
After experimenting with it, we eventually started to run out of MEK. We didn’t have much MEK and live in California, so of course it’s banned. I took a trip to Reno to buy some more only to find out it had been banned there as well. I bought two 1-gallon containers of MEK Substitute instead and headed home.
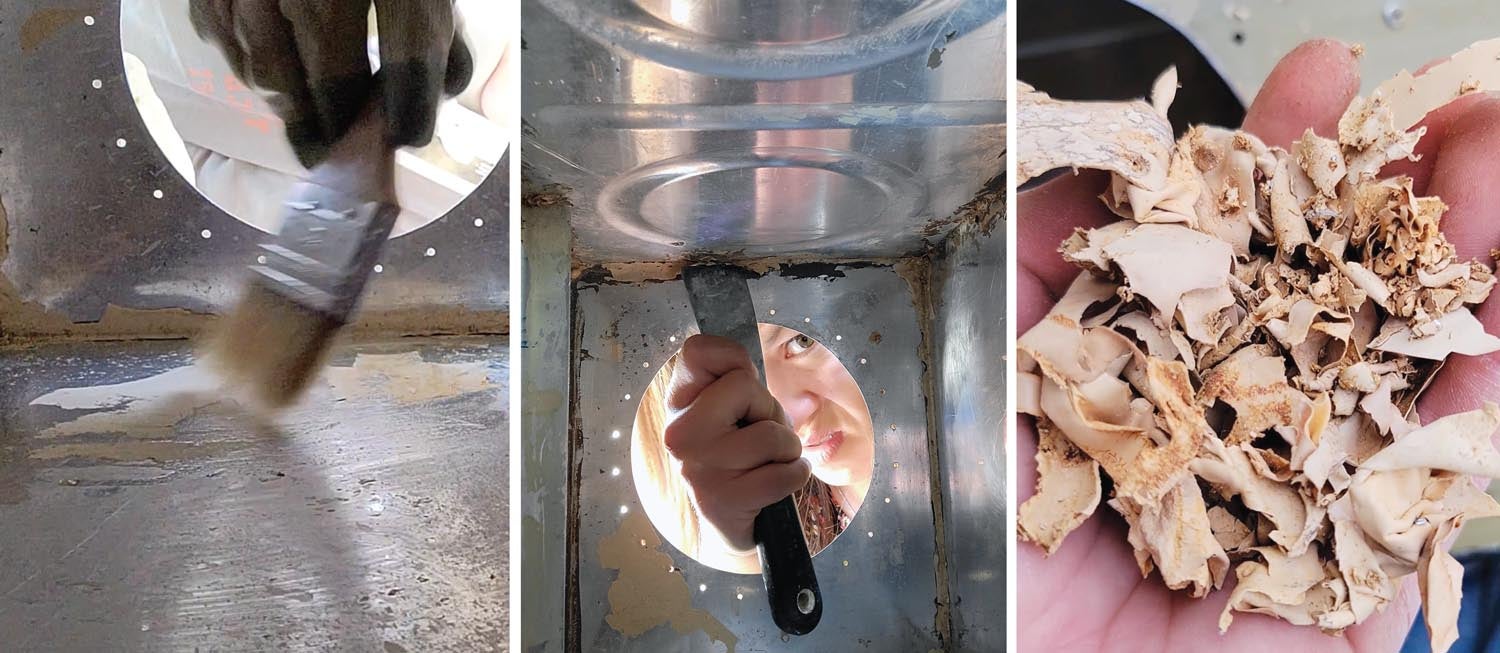
The paintbrushes were proving to be a little too delicate for the project, so I also decided to invest in a three-pack of multi-purpose wire brushes at Home Depot to scrub with. There were three different types of material: stainless steel, brass and nylon. I found that the stainless steel one was too mean, as it scraped the tanks and left scratches. The brass one worked well to get the tricky areas but it also left small scratches. The nylon one quickly became my favorite, as it was stiff enough to loosen and remove the slosh, but it didn’t leave marks on the tanks.
The MEK and MEK Substitute were working fairly well. However, I was starting to get uncomfortable with the constant exposure to the chemicals. When I got “in the zone,” I found that I could work on my tanks for hours at a time. Peeling and scraping slosh was addicting, kind of like picking a scab. I found that sometimes I was getting frustrated with my protective equipment. My mask and gloves kept getting in the way, causing me to work slower and less efficiently. I wanted to pick the slosh with my fingernails (which was also very effective), but the slosh and MEK would build up underneath my nails and I knew that wasn’t healthy.
This led to trialing a slightly less toxic solution: lacquer thinner. We had some of this in the back of the hangar as well. I poured some of it into my little tuna can and tested it out on the slosh. Surprisingly, it worked even better than the MEK and I ended up using it for the rest of the project. It was also a much easier material to find and buy, as most home improvement stores carry it. So, pro tip here: Forget the MEK, start with the lacquer thinner!
The last solution that I tried was given to me by my friend Bruce. It was Klean Strip KLE-EAR2000 Aircraft Non-Methylene Chloride Paint Remover. It comes in a 15-ounce spray can. We sprayed the slosh compound with it and it loosened quickly, bubbling up a little bit then becoming floppy and rubbery. The only thing I didn’t like about this solution was that it left a residue that I had to clean off in addition to the slosh. Whenever I had to clean the residue, I just wiped it down with a damp towel soaked in lacquer thinner.
Meet Bruce Walters
Aside from his full-time job as a land planner, Bruce has restored an RV-1, built an award-winning RV-7 and is currently building an RV-14. Bruce has also been helping me with this giant project, offering many tips and tricks along the way. I’ve found that if I don’t have something, he probably has it. With his wisdom comes the occasional silly snarky comments, which always crack me up.
Finishing Up the Cleaning
I eventually got most of the slosh out. However, there were still some slosh flakes left. It was important that I get every piece out, as they could clog up the fuel tank outlets and gascolator screen. I used a mirror to see the insides of the tank on the sides where the holes were drilled. Sometimes to free up my hands it also worked to turn on my phone camera, put my phone inside of the tank and then use it like a mirror to see where the slosh was.
The OCD/perfectionist in me came in handy. Some of the slosh was attached to some Pro-Seal that was inside the tank as well. I ended up scraping out that sealant and removing the slosh completely.
The big parts and pieces of the slosh removal were not actually that difficult to remove. The most difficult part was making sure there weren’t any tiny pieces left behind. I used the mirror to examine all parts of the interior and ran my fingers along each seam of the interior. Then, I vacuumed any fragments that were left inside. After that, Kerry and I filled the tanks with water to see if any remaining slosh flakes would loosen up and float to the surface. I finally concluded that the fuel tanks were ready for sealing.
Sealing the Tanks
Sealing the tanks sounded easy enough at first. All we needed to do was apply sealant to the rivets and seams inside of the tank. I didn’t think it would take more than a few hours.
I began the tank-sealing process by learning about Pro-Seal. Like all of the cleaning solutions I experimented with, Pro-Seal contains toxic chemicals. Stan and Kerry told me not to get it on myself.
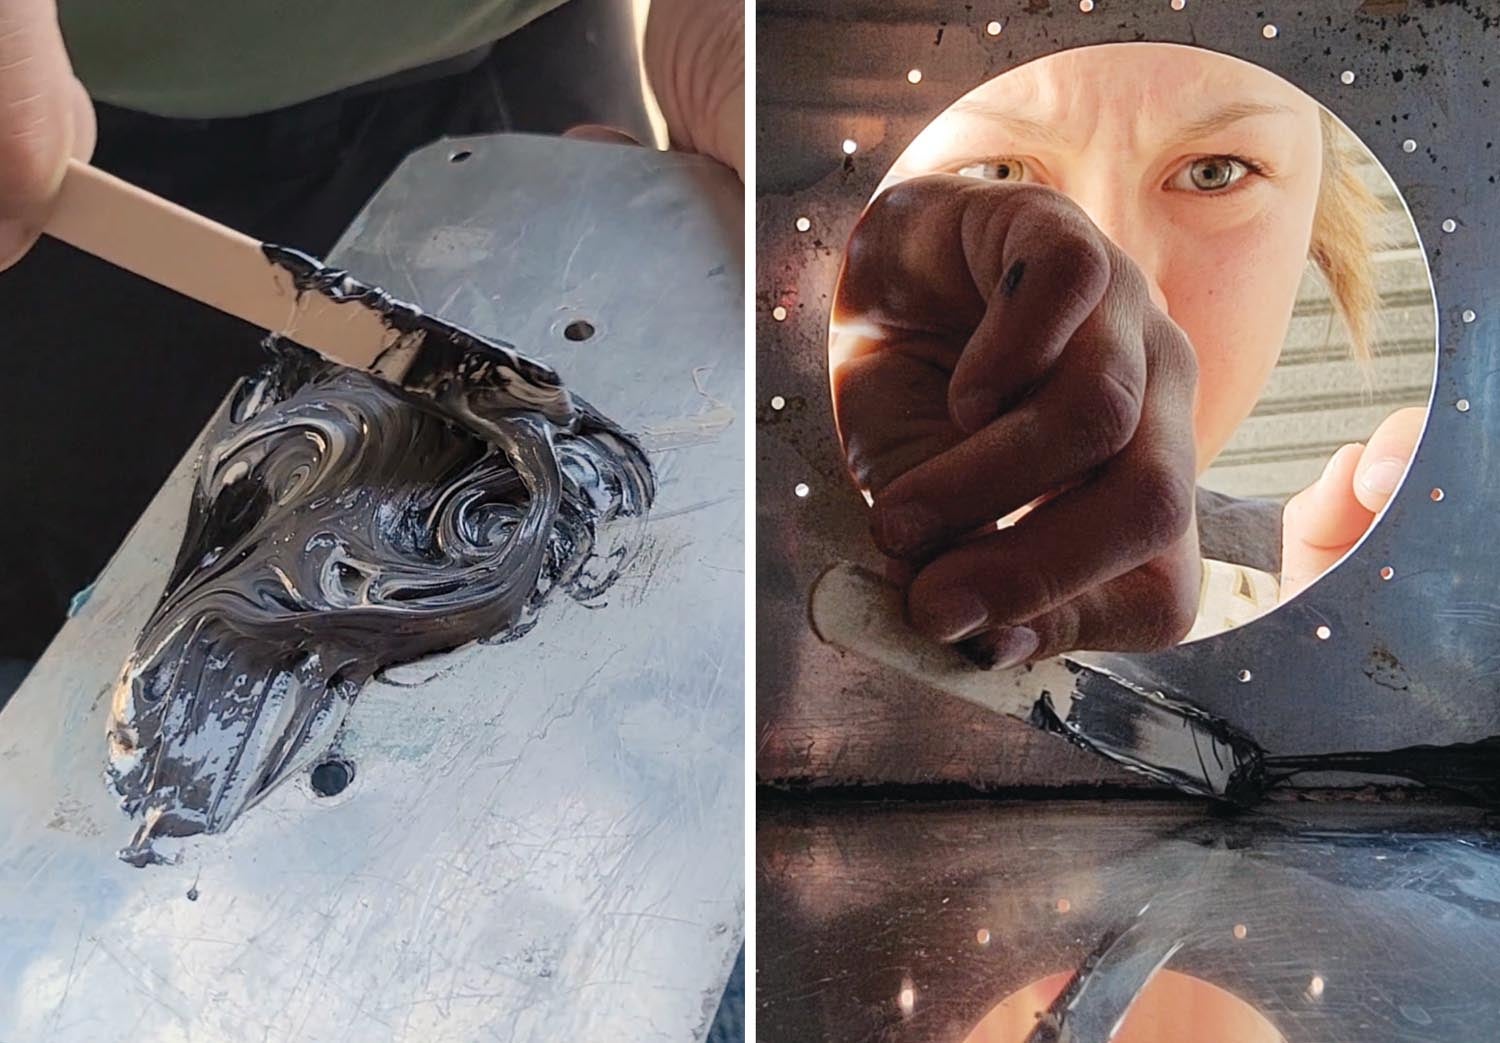
Pro-Seal contains a catalyst (black) and a base (white). In order to create the correct product, you need to mix them together, which Stan showed me how to do. First, he took a swab of the white Pro-Seal out of the container. Then, he swabbed a tiny bit of black (about 1/10 the size of the white lump) and added it to the black. We mixed them together thoroughly, so that the different colors blended into one, dark gray.
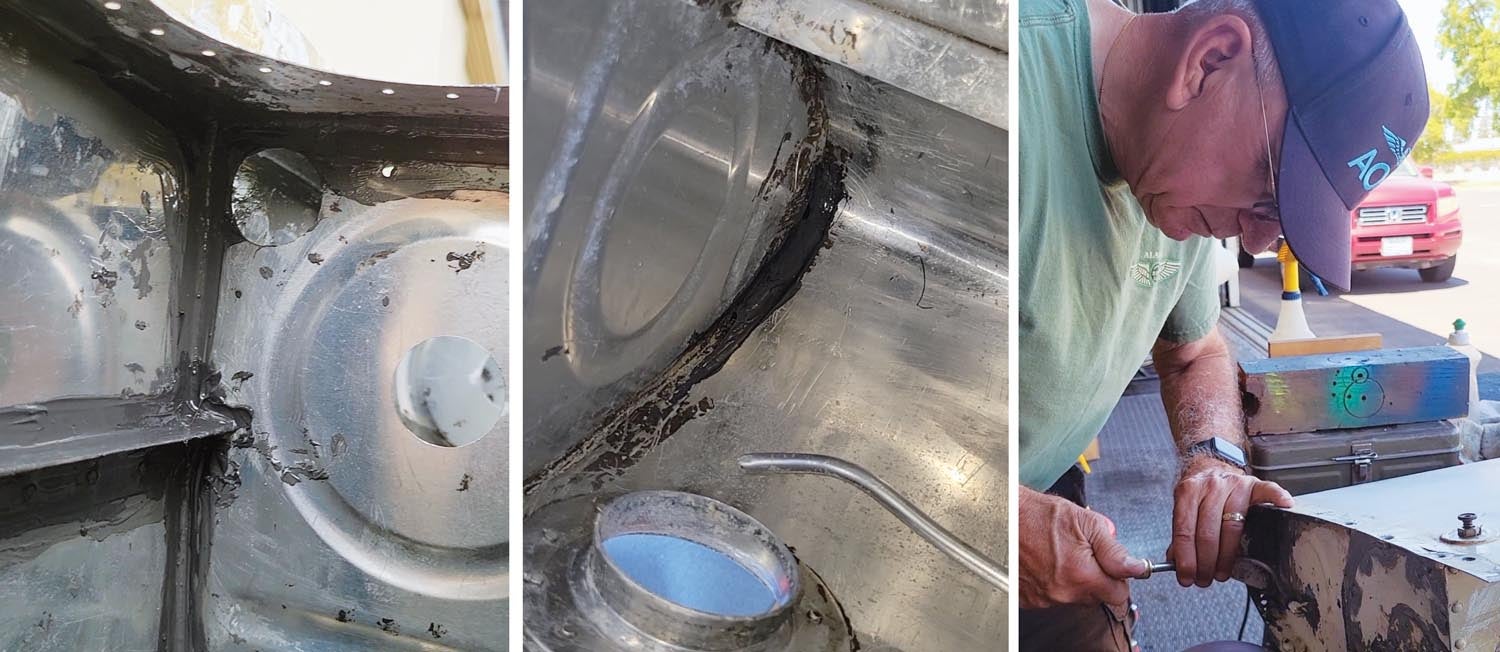
The rate at which Pro-Seal cures depends on the temperature. We had to work efficiently while it was still malleable. We loaded a swab of the sealant mix onto wide popsicle sticks then carefully applied it to the seams. I did this to the interior of both tanks, using gloves and a mask when I could. However, over time I found that it was easier to make a better seal if I used my finger.
Once the insides of the tanks were sealed, we had to put the covers on and seal the last part from the outside. We put a bead of Pro-Seal around the edges of the openings, then screwed on the five circular aluminum plates. After that, we applied Pro-Seal to the screw heads and around the edges.
The sealant process took about a month, as it required a large time commitment every time I wanted to work on the tanks. Sealing part of a tank was a 2- to 3-hour time block, so I had to make sure I was prepared to commit to that time frame.

Tank Testing
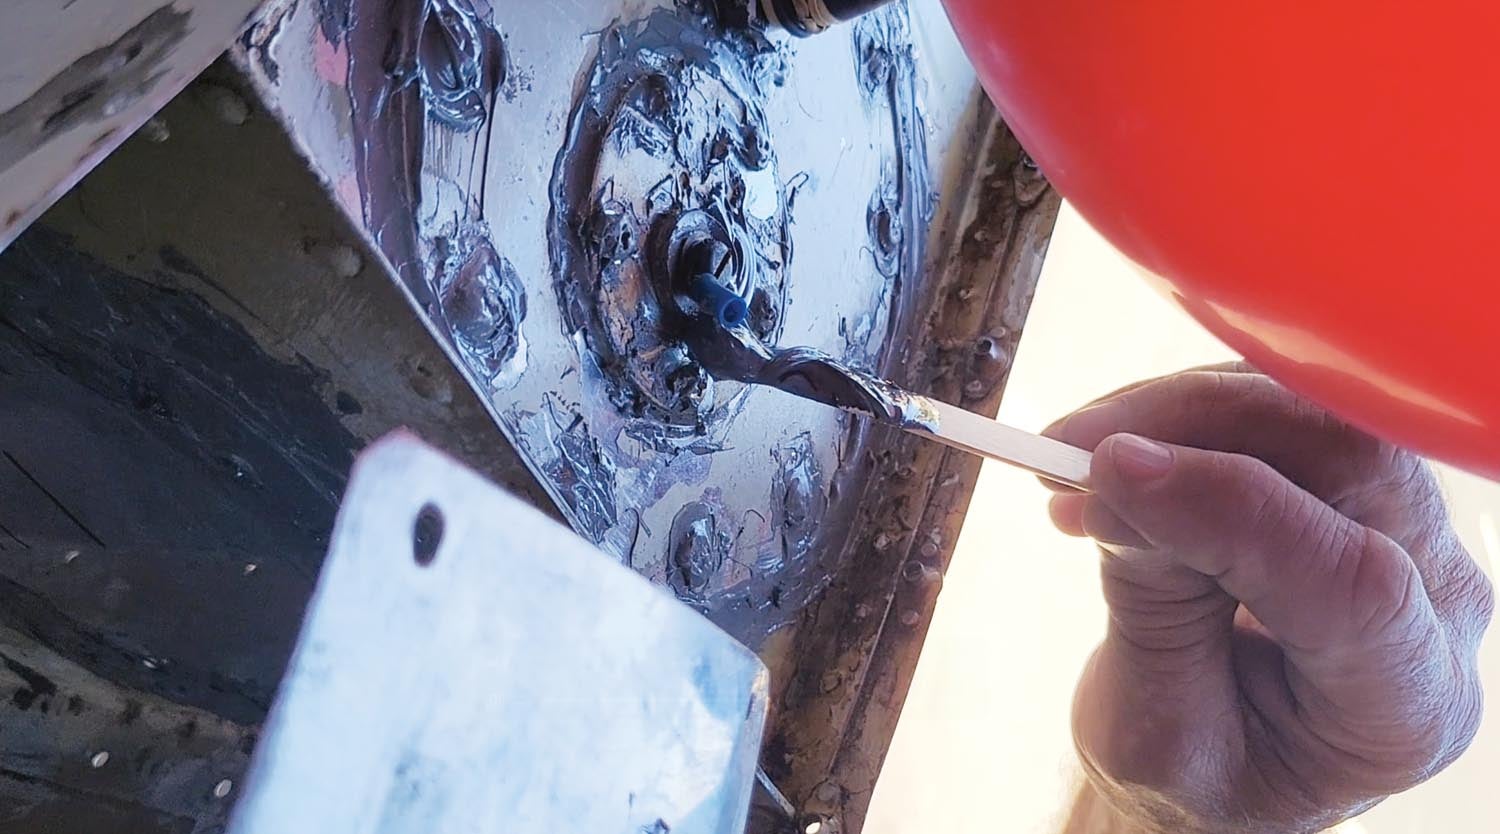
After sealing the tanks, we needed to test them for any leaks! Van’s Aircraft sells a fuel tank testing kit, but we chose to create our own. We accomplished this by creating a fitting to attach an air chuck to the fuel tank vent. Then, we attached a balloon to the fuel outlet. Using the air compressor, we pumped the balloon up and waited to see if it would hold air.
After about 24 hours, we returned and the balloon had shrunk. We had a leak. To find it, we reinflated the balloon and then slowly sprayed soapy water on the outsides of the tank in any places where there could be leaks. We knew when we found a leak because the soapy water would begin to bubble up.
There were a couple of leaks on the ends of the tank that attached to the fuselage. We spent a few weeks testing the leaks and then adding more sealant to them. It was a long process of trial and error, but after a while the balloons finally held air.

Next Steps
When the tanks were done, we could finally move on to other parts of the project. I needed to continue working and saving money for my panel from Advanced Flight Systems. I also needed to start sanding all control surfaces so we could take them to my friend’s auto shop for painting. Between sanding, working and pursuing my instrument rating, I was expecting to be quite busy for a while.
There’s still so much to do, but getting the fuel tanks in order felt big, an important milestone in a long project.
![[Credit: magniX]](https://www.kitplanes.com/wp-content/uploads/2026/04/Magnix.jpg?w=218&h=150&crop=1 "magniX Opens Pre-Orders for an Electric Engine Aimed at Homebuilders")


![[Credit: Mike Davenport]](https://www.kitplanes.com/wp-content/uploads/2026/02/DSC_0053.jpg?w=324&h=160&crop=1 "Pre-War Porterfield")

Be careful sending aircraft control surfaces to an automotive paint shop…aircraft control surfaces are delicately balanced and extra paint can affect the handling of the airplane while it has no impact on a car.
Comments are closed.