 Fastening an ordinary solid fiberglass panel to your airplane is easy; just drill a hole and install a screw. Composite panels with foam or honeycomb cores require a bit more preparation.
The design issues are crush strength and bearing strength. Unlike a solid composite, foam or honeycomb cores can collapse when subjected to the clamping force applied by a tight fastener. In addition, cored composites often have thinner face plies than solid panels, even when the two face thicknesses are added together. After all, the whole point of a cored composite is to achieve the higher panel stiffness with less material. The thin faces mean a fastener loaded in shear may collapse the edges of the hole, making it egg shaped.
The answer is the installation of a hardpoint. It means replacing the soft core material with something much tougher. For homebuilders, the choice is usually a simple flox and epoxy mixture. When cured, it is tough indeed.
To start, jig your panel into place on the airframe and drill a pilot hole precisely where the finished fastener will go. Now place the panel on the bench and select a suitable hole saw. The diameter is not critical. Typically 1 inch is plenty, but smaller or larger will work. In general, the capacity of the hardpoint to transfer load to the panel is increased as circumference becomes larger.

Using the hole saw, cut through the face plies on the inside of the panel (Photo 1, previous page). Do not cut deep into the core, and definitely do not cut or scar the opposing face plies.
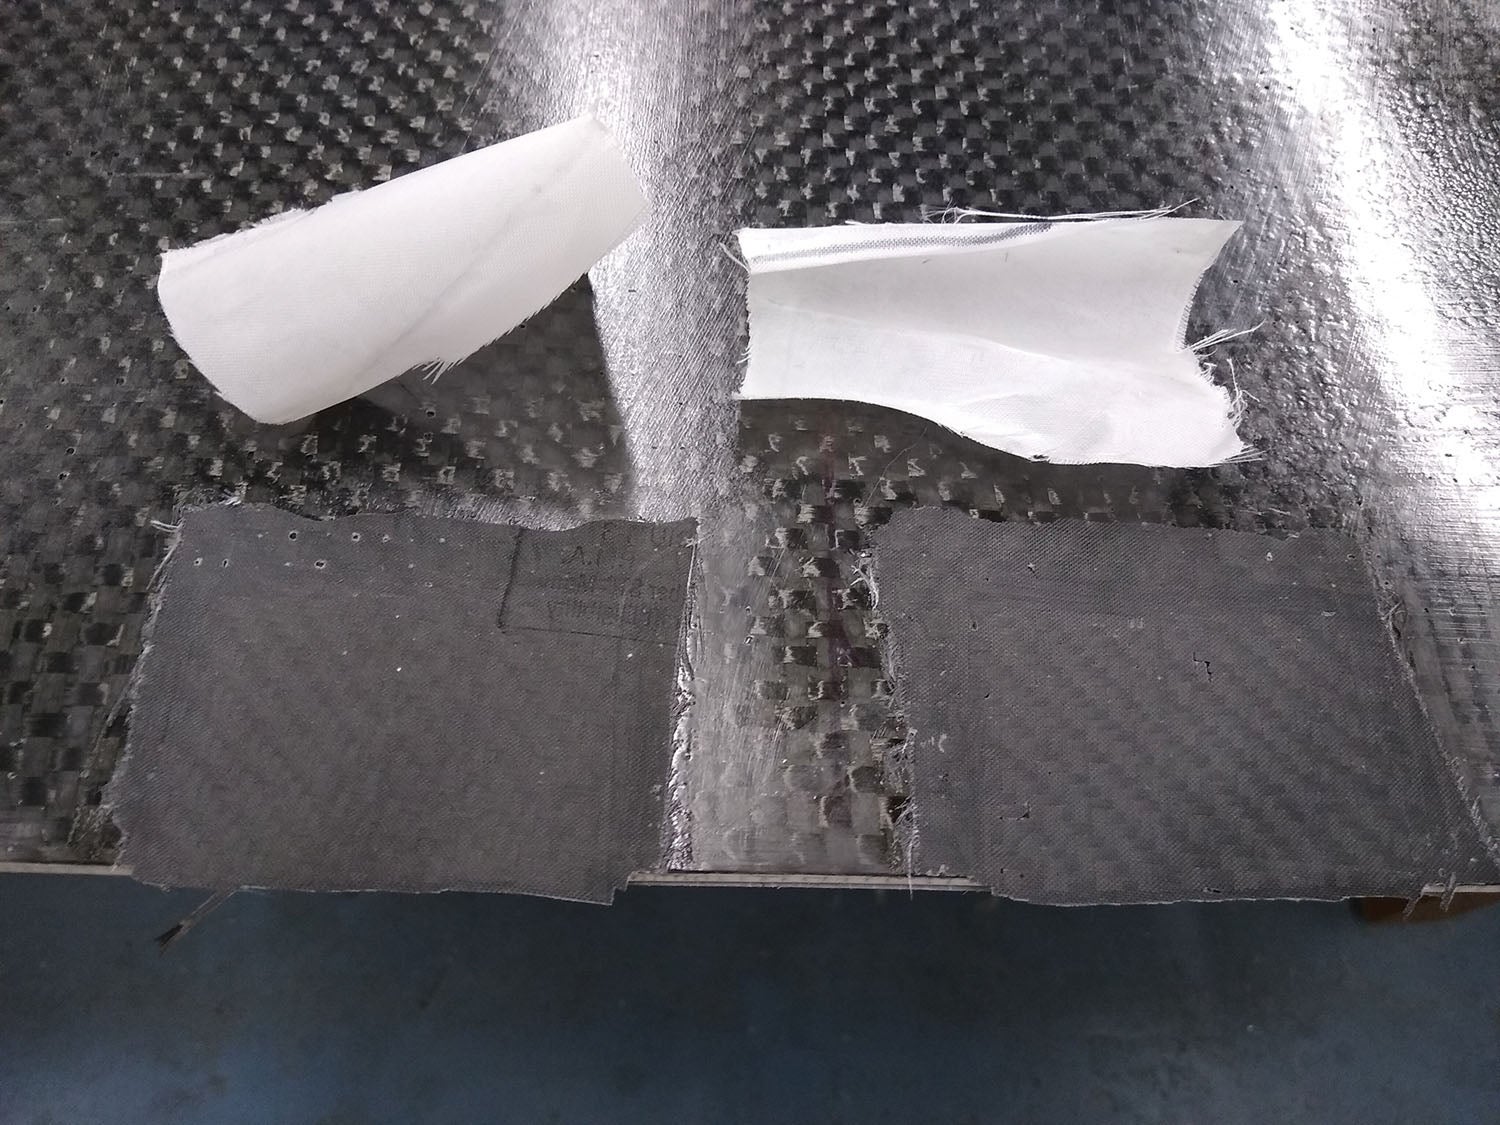
Next, pry off the cut face ply to expose the underlying core material (Photo 2).
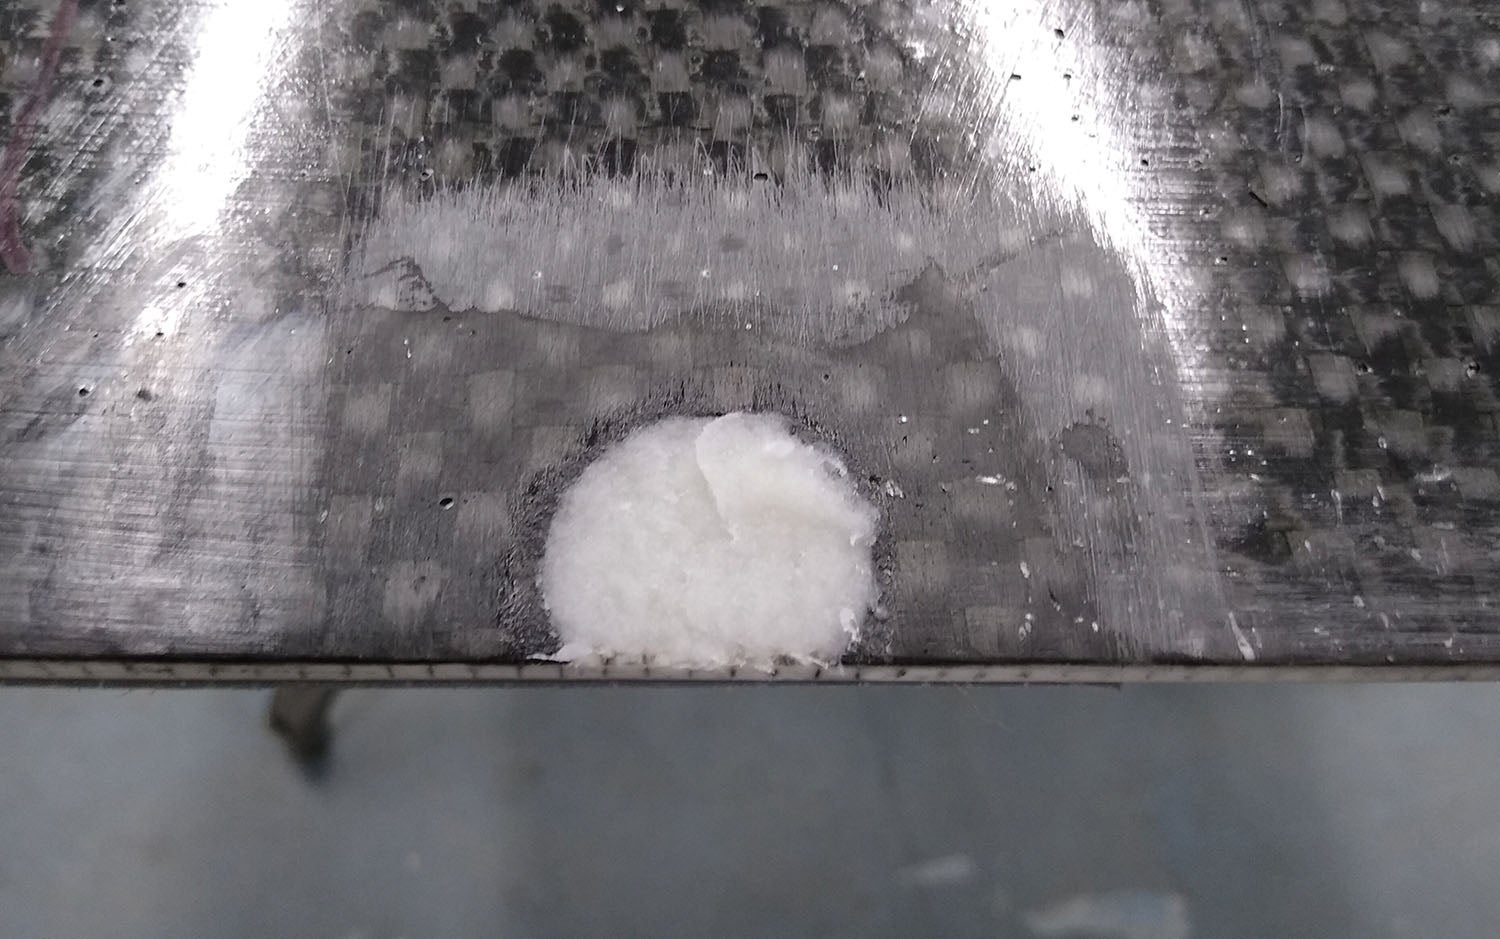
Using whatever tool is appropriate, remove the exposed core. Again, do not damage the opposing face ply (Photo 3).
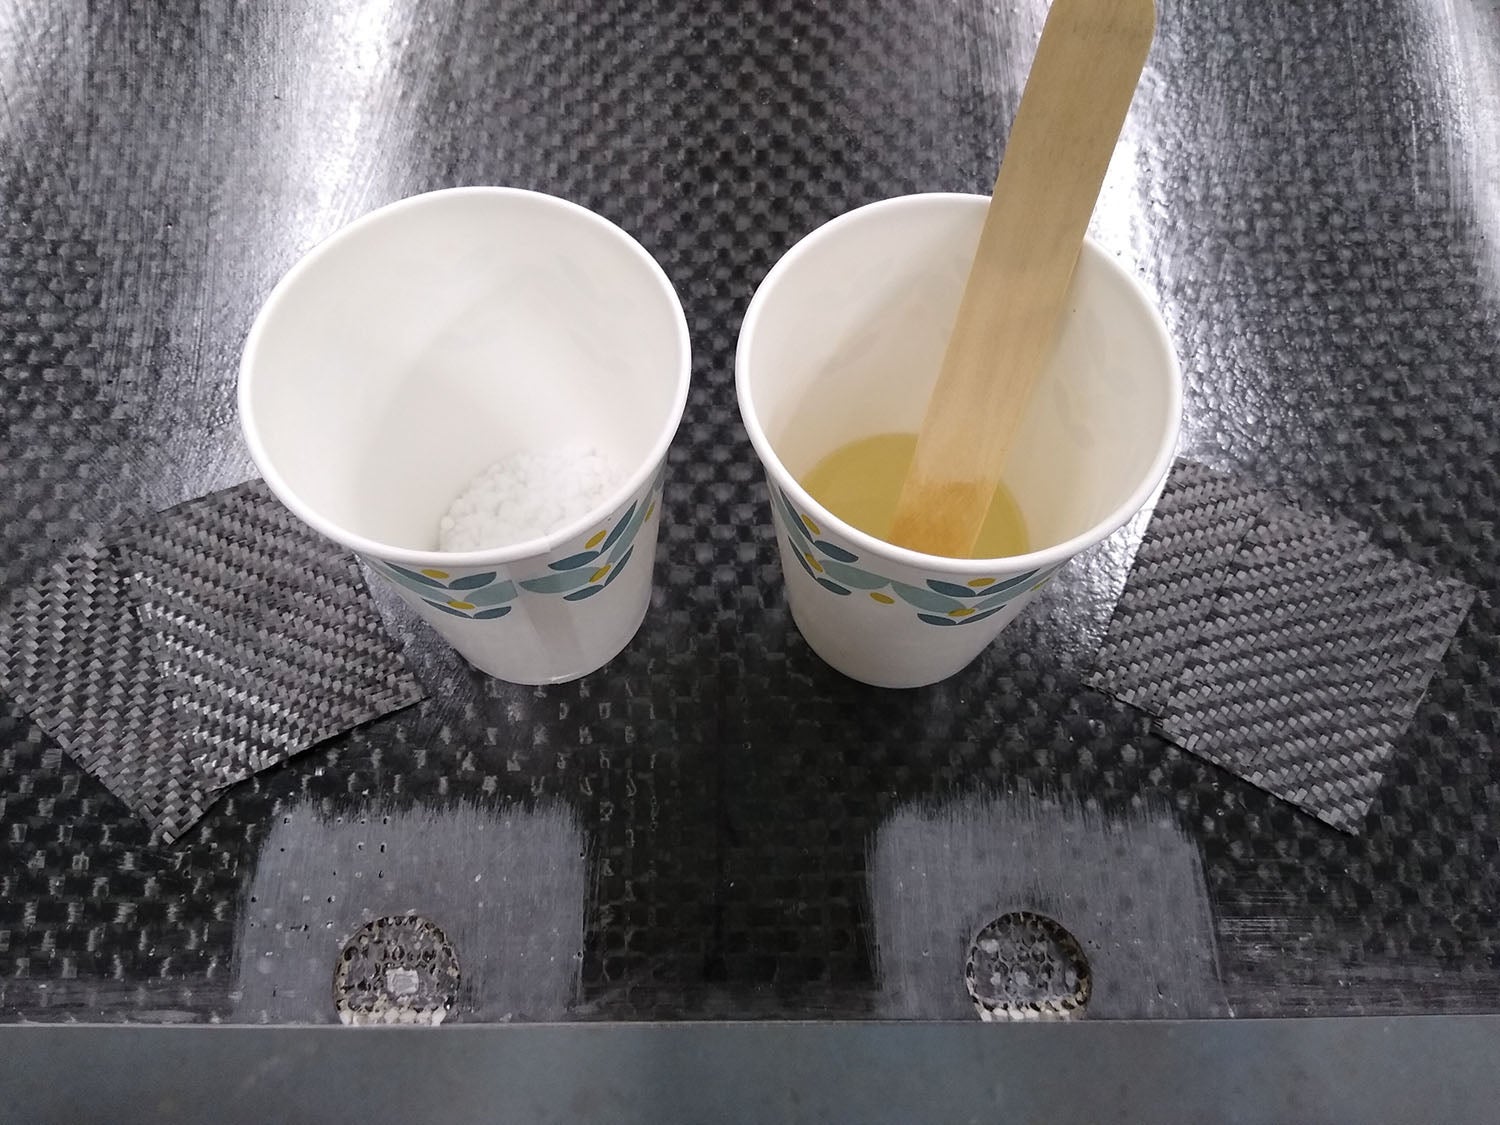
Scuff sand the area around each hardpoint in preparation for bonding. Prepare new face ply patches. As a practical rule of thumb, make them three times the open hole diameter. When the area is prepped and the new plies are ready, mix a small quantity of epoxy. Pour off a little bit of it into another cup and mix it with flox to form a stiff paste (Photo 4).
Use your mixing stick to add flox/epoxy paste to the hardpoint. Butter it full and flush with the surface (Photo 5).
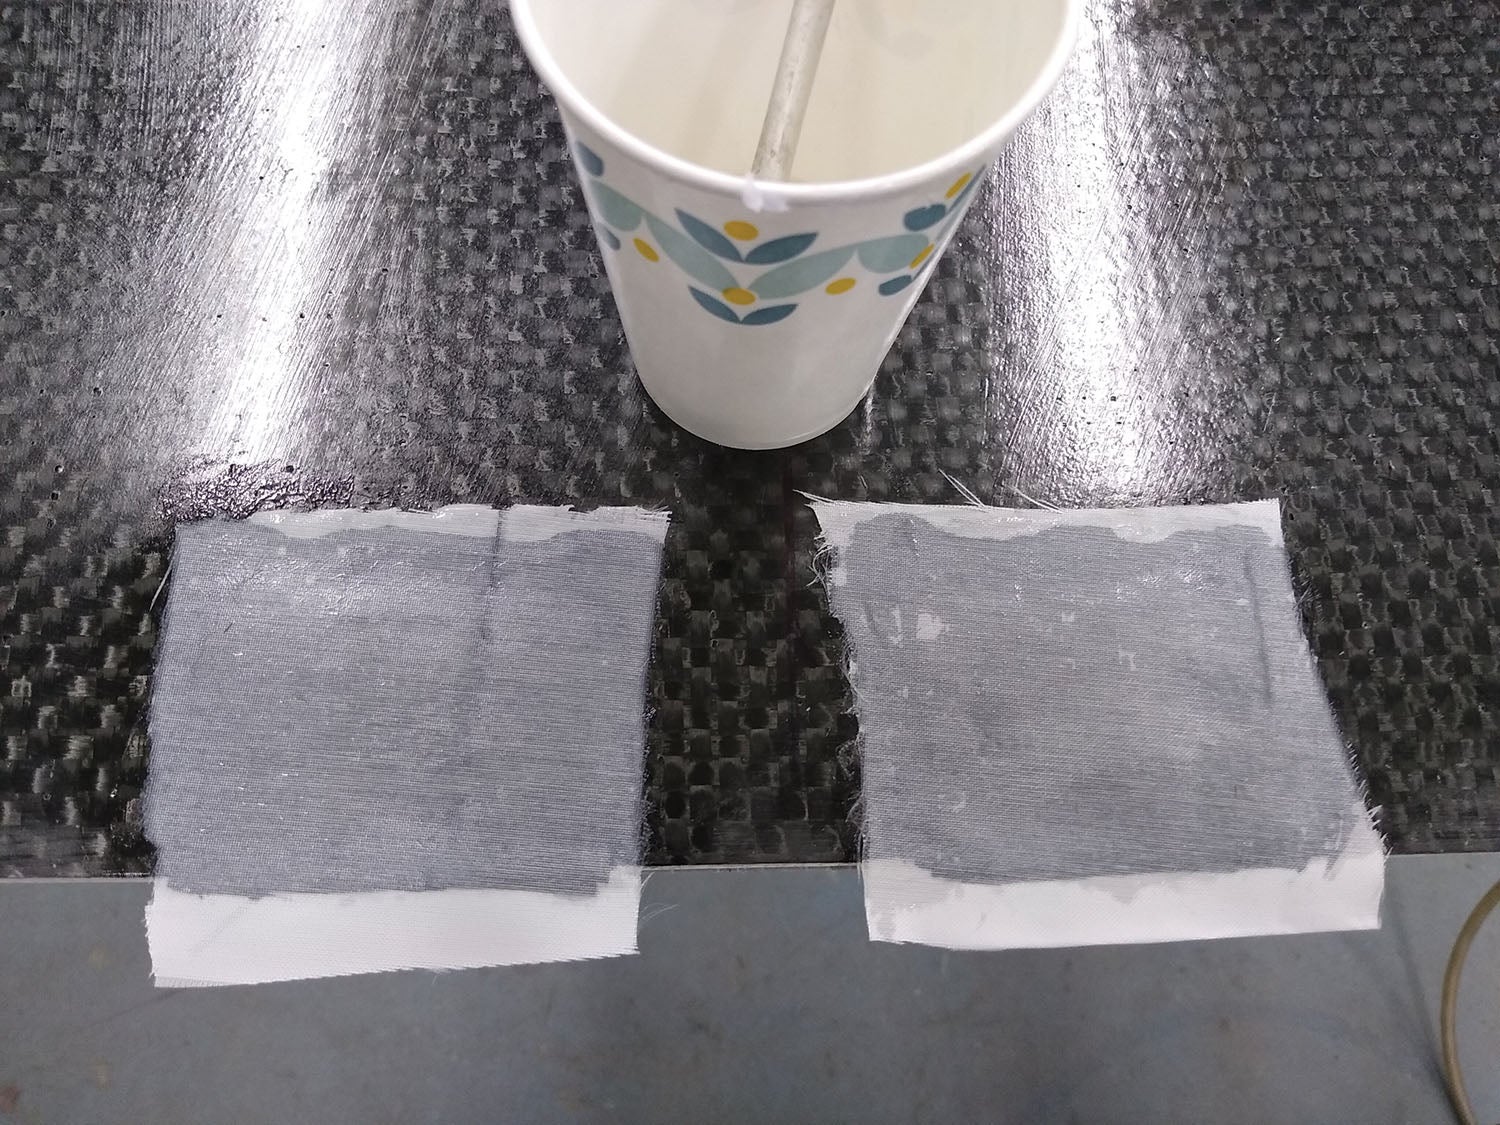
Immediately, while the flox is wet, add the fabric cover ply patches and wet them with neat epoxy as you would any other layup. Add a small peel ply patch to the top of the layup if desired (Photo 6). Peel ply (ordinary dacron aircraft fabric works fine) will soak up excess epoxy while fairing the edges of the cover plies to the underlying surface.
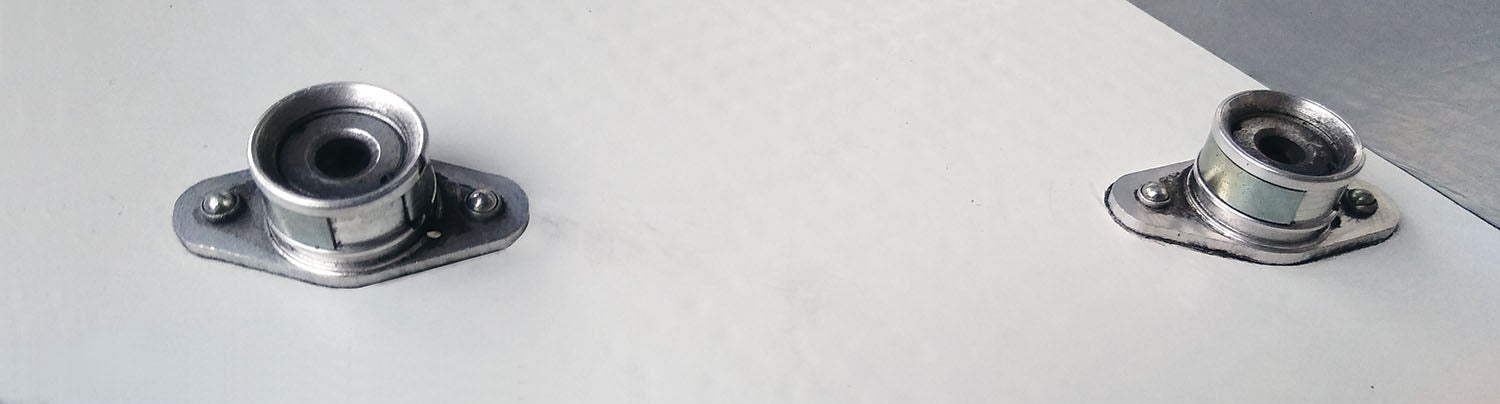
Later, after the epoxy is fully cured, rip off the peel ply (Photo 7). The fracture surface is bond ready, although you may wish to sand a bit to smooth the edges. Again jig the panel to the airframe, redrill the fastener hole(s) and add nutplates or 1/4-turn sockets where needed. If desired, sand smooth and wet the surface with a thin epoxy coat to restore clarity, allowing the underlying fabric pattern to be seen.
If the hardpoint will form the base for a K1000 nut plate riveted near the edge of a cored panel, hollow out the core by working in from that edge. Bend the tip of a junk screwdriver into a hook, and grind it to the same width as the core. Use it to rake the core from between the face plies, then fill the open space with flox/epoxy mix.


Flox + epoxy mix is great stuff, and you can also pick an epoxy to match the task. In making aluminum instrument panels, I’ve patched with flox + a “toughened” epoxy. (I used G-Flex, by West Systems.) Standard epoxies are strong but can be brittle, but a toughened one is great match for the very slight flex that comes with aluminum, and the very thin sheet I needed to shape. So heck yes on hard points, and it’s not just for composites!
Well that’s fine for epoxy, but if using vinyl ester resin I fill with cabosil and add some milled fibers. Don’t use micro balloons as they will still compress when tightening.
I prefer using phenolic micro balloons or even glass spheres for an epoxy filler-light and strong!
I like to use an allen wrench in a drill stuck through the hole to hog out the core material
Comments are closed.