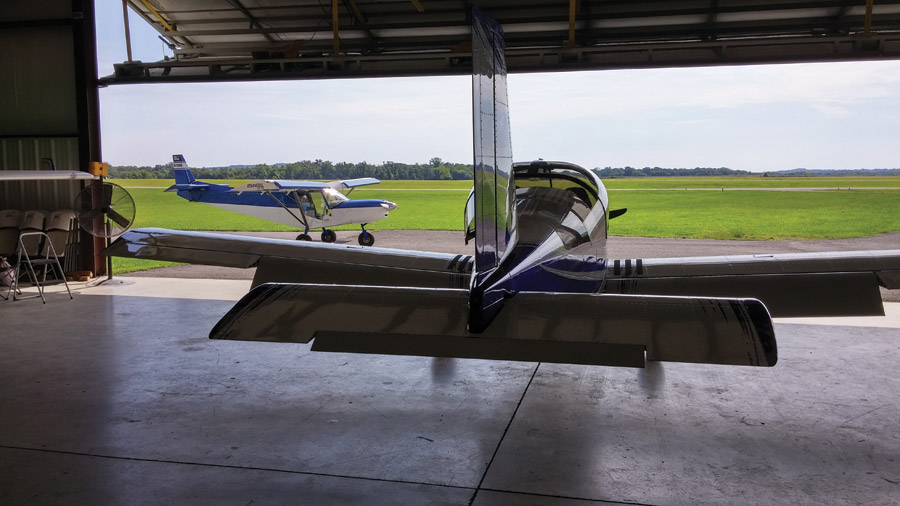
When my husband and I bought a beautiful flying RV-8 a few years ago, we were thrilled when the seller brought out a large, musty cardboard box full of documentation. Inside was a marvelous jumble of important stuff—receipts from the original kit components, the full set of plans, manuals for the propeller and engine, electrical diagrams for the professionally-wired panel, and more. It made us confident in the purchase because the collection was much more complete than other aircraft we’d looked at in our search, which often only had a set of logbooks and maybe the original plans. As far as a usable set of documentation, however, the marvelous jumble was just that—a jumble. Looking up anything useful was akin to an archaeological dig. It made me wonder why more people don’t take the time to organize their paperwork into a working maintenance manual for their custom airplanes.
I can hear the mutterings flowing from every T-hangar armchair and airport bathroom. “Me? Write a maintenance manual? Come on! I’m a builder, not a writer.” Or…”I’m a pilot, not an engineer.” Or my personal favorite…”I’m an engineer, I can write anything.” Uhh… sure you can, friend. Honestly, to do this, you don’t have to “write” a comprehensive paragraph. Any aircraft owner can create useful maintenance documentation just by doing some research and compiling their existing information in a meaningful way.
I know it seems like a daunting task, and it’s not even required in the U.S. for Experimental/Amateur-Built aircraft. But just because it’s not required doesn’t mean it’s not a good idea. The FAA and Transport Canada recognize “lack of knowledge,” mainly lack of current and correct instructions for maintenance tasks, as one of the “dirty dozen” pitfalls of human factors that cause maintenance-related accidents. This situation has been listed by the NTSB as a contributing factor in accidents of vintage aircraft, including Harrison Ford’s well-known forced landing in his Ryan PT-22. It is also a hazard for maintainers of custom-built kit aircraft, for which there is often no manual at all—and one reason many A&P mechanics simply refuse to work on them.
If you need to hire out your condition inspections, a complete set of maintenance documentation will save your mechanic’s time and your money.
In terms of safety, a detailed set of inspection checklists is even more valuable than the manual. By taking time to think about the inspection and maintenance items that are important for the longevity of your particular airframe and engine, your condition inspections will really take on a new level of quality—a level above and beyond the required “scope and detail of CFR Part 43, Appendix D,” the generic catch-all inspection list in your operating limitations. Just the act of compiling the manual will make you more aware of what needs to be done, and your checklists will serve as important future reminders. Your creation is a custom aircraft—so why trust it to a one-size-fits-all, government-issued checklist?
To Begin: Find a Good Example to Copy
The first step is to find an existing outline and fill in your relevant information. You could get lucky and find a nice manual that someone has already made public for your type of airplane. If not, certificated and Light Sport Aircraft make good examples because their manuals are subject to a strict set of requirements. Some LSA manufacturers publish their manuals for free download on their web sites. If your aircraft has a factory-built LSA counterpart, most of your work will already be done for you. If you have a different engine or avionics package, you can substitute your own relevant information.
You can also find old certificated aircraft maintenance manuals on the internet free of charge. For example, do a search for “Cessna maintenance manual,” and you’ll come up with several links. It might help you to cruise through a complete manual to see what type of details were included.
You probably know the old adage, “When the weight of the paperwork equals the weight of the aircraft, it will fly.” Maintenance documentation counts!
The following list is a typical general outline, with the majority of each section containing complete component descriptions, diagrams, and maintenance procedures. Remember, the beauty of Experimental aviation is that none of this is required—you can pick and choose what’s important to you.
- General information (such as tire inflation, required fuel and oil grades, ground handling, etc.)
- Airframe components and structure
- Flight controls
- Engine
- Fuel system
- Propeller
- Landing gear
- Utility systems (such as cabin heat and ventilation)
- Instruments
- Electrical system
- Paint and coatings
Step 2: Build the Structure Using the Obvious
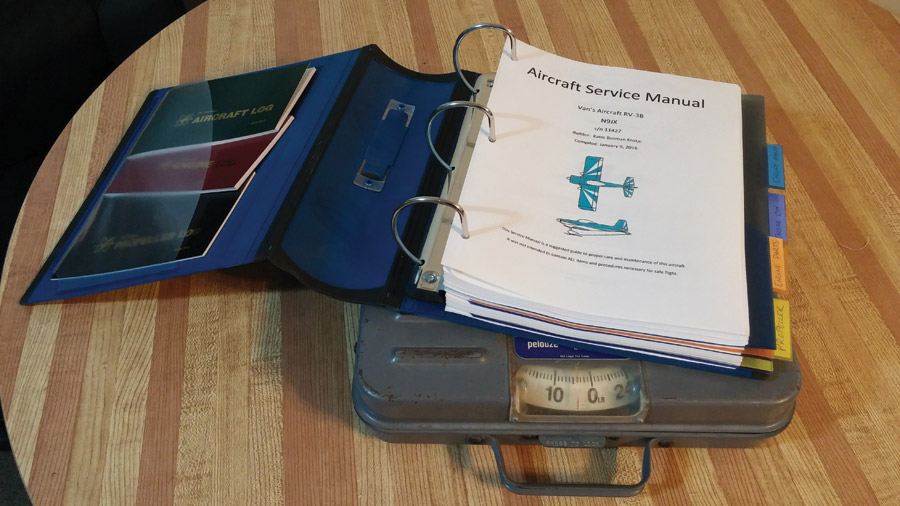
Once you have your outline laid out, it’s time to organize what you already have. You may want to compile your manual on the computer in the form of PDF files. This is a great option because you can keep all the materials up to date without spending money on printing, plus you can easily keep multiple copies. One meticulous builder-pilot I know keeps a copy of his entire maintenance manual on his iPad and carries it with him wherever he flies. He is one of those Boy Scout types.
If you want to keep a paper copy, it will take more space and more money, but get a couple of sturdy three-ring binders at least 3 or 4 inches thick, some divider tabs, and start digging up your paper component instructions, plans, and engine and avionics manuals. If you’re like me, they’re scattered from your office to your T-hangar, your living room, and everywhere in between. Place each publication in its relevant section, and soon you’re off to a great start. Miniature-sized preview plans, such as those published by Van’s and Zenith, are perfect for this type of situation.
From there, it’s time to do a little research. Go to the internet and see if you can find any required maintenance items, such as service bulletins or airworthiness directives, that apply to your aircraft, engine, and avionics. Compliance with airworthiness directives on certificated components are not required for Experimental aircraft, but important to know and consider. Many mechanics will not sign off a condition inspection until all ADs are complied with, no matter what type of aircraft it is.
Step 3: Complete the Custom Touches
Go through each section and add your own content to describe in detail your off-plans excursions. Proud of your hidden cowl pins or retractable steps? This is the place to use your catalog of bar-napkin concept drawings and build-log photos. The more detail, the better.
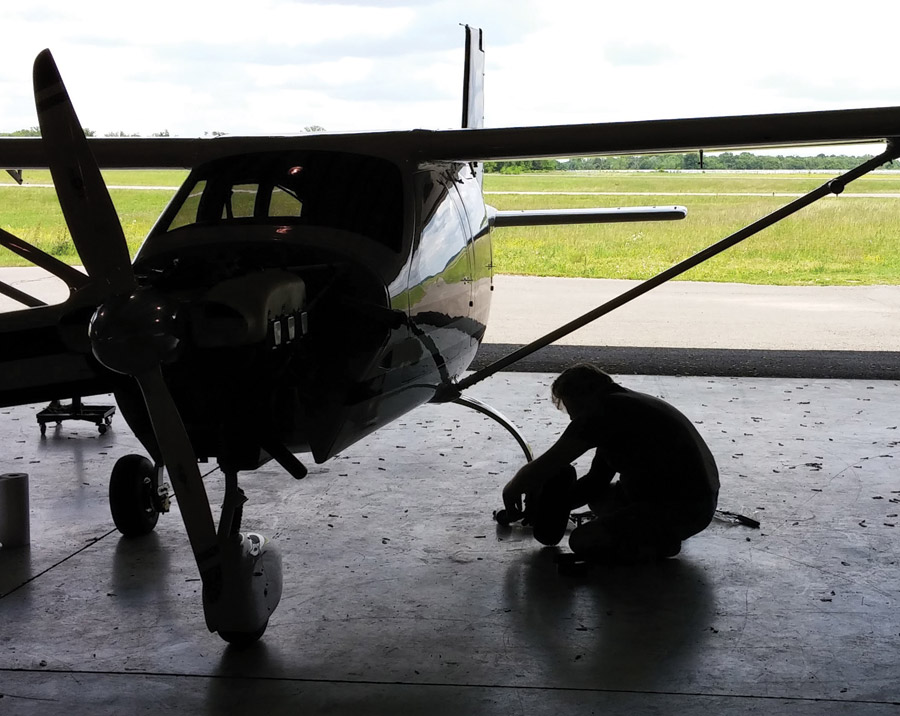
Pay special attention to your electrical system, which is probably the most customized and least documented of all Experimental aircraft systems…even though proper flow of electrons is essential to modern flight instrumentation and even some engines. From the most simplistic generator/battery/starter system to complex mazes of buses, batteries, and computers, this is the stuff that will most likely cause you to want to bash in the cowl with your head when components start to fail. If you had your panel built by a professional, you’ll have a beautiful wiring diagram to place in this section. If not, then use whatever plan you had when you wired the airplane. Even a simple spreadsheet detailing pin and serial port assignments and wire colors for various components can be a big help later on, after labels fade and you’ve forgotten which wires run where.
Step 4: The Inspection Checklists
This is perhaps the most important section of them all, one that will prove its usefulness every time you do a preflight, oil change, and condition inspection. This section can be as basic as the relevant parts of Appendix D of Part 43, but ideally, it’s a custom-written set of inspection and service items for your own airframe and engine—even periodic software updates for your avionics package.
Sometimes you can get a suggested type-specific condition inspection checklist from the kit manufacturer or from experienced members of type-club groups. If not, start by copying the text of Appendix D to a blank word processing document. Go through and delete everything that is not related to your aircraft, like envelopes, gas bags, and trailing antennas (unless you fly a Zeppelin or a Super Constellation). Then, start adding things that are important to you. Include all the items that are specific to your engine, propeller, landing gear, and avionics, along with special airframe requirements. Note due dates and hour limits on time-limited components, such as a 500-hour mag service and 24-month transponder check, so they don’t go forgotten. Include special inspection of custom features, like those retractable steps, to monitor their durability in service. There will also likely be a list of vulnerabilities, such as hot spots for fatigue cracks, that have been occasionally found by other owners in the field, but not formally acknowledged by the kit manufacturer. Your inspection checklists should grow over time as you learn about your airplane and its fleet. As the years go by, keep the completed checklists as part of your ongoing maintenance records for the airplane. Think about how much more valuable this will be to future buyers than a series of simple logbook endorsements.
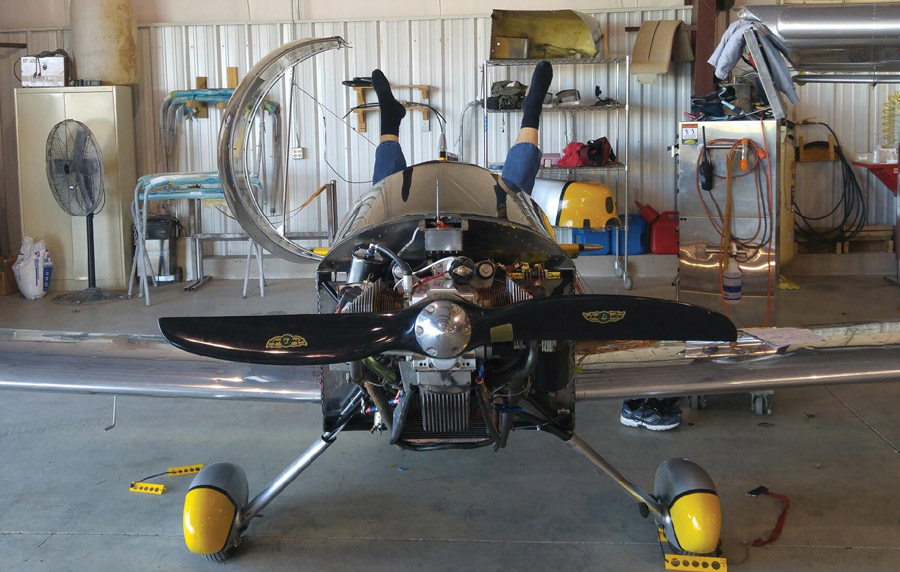
Studying a wiring diagram before getting into this position is a good idea.
It’ll be Fun—Really!
So, yes, this project will take some time. But quality time spent now should save you time, money, and frustration later. It could even head off an in-flight issue somewhere down the road because your inspections will be more thorough and consistent. I’ve created a sample set of checklists for my Van’s RV-3B based on Appendix D to Part 43 (see sidebars). Try editing them to fit your own airplane. I’ll bet you’ll find it easier than you ever imagined to create a useful custom maintenance manual to go with your beautiful custom aircraft.


