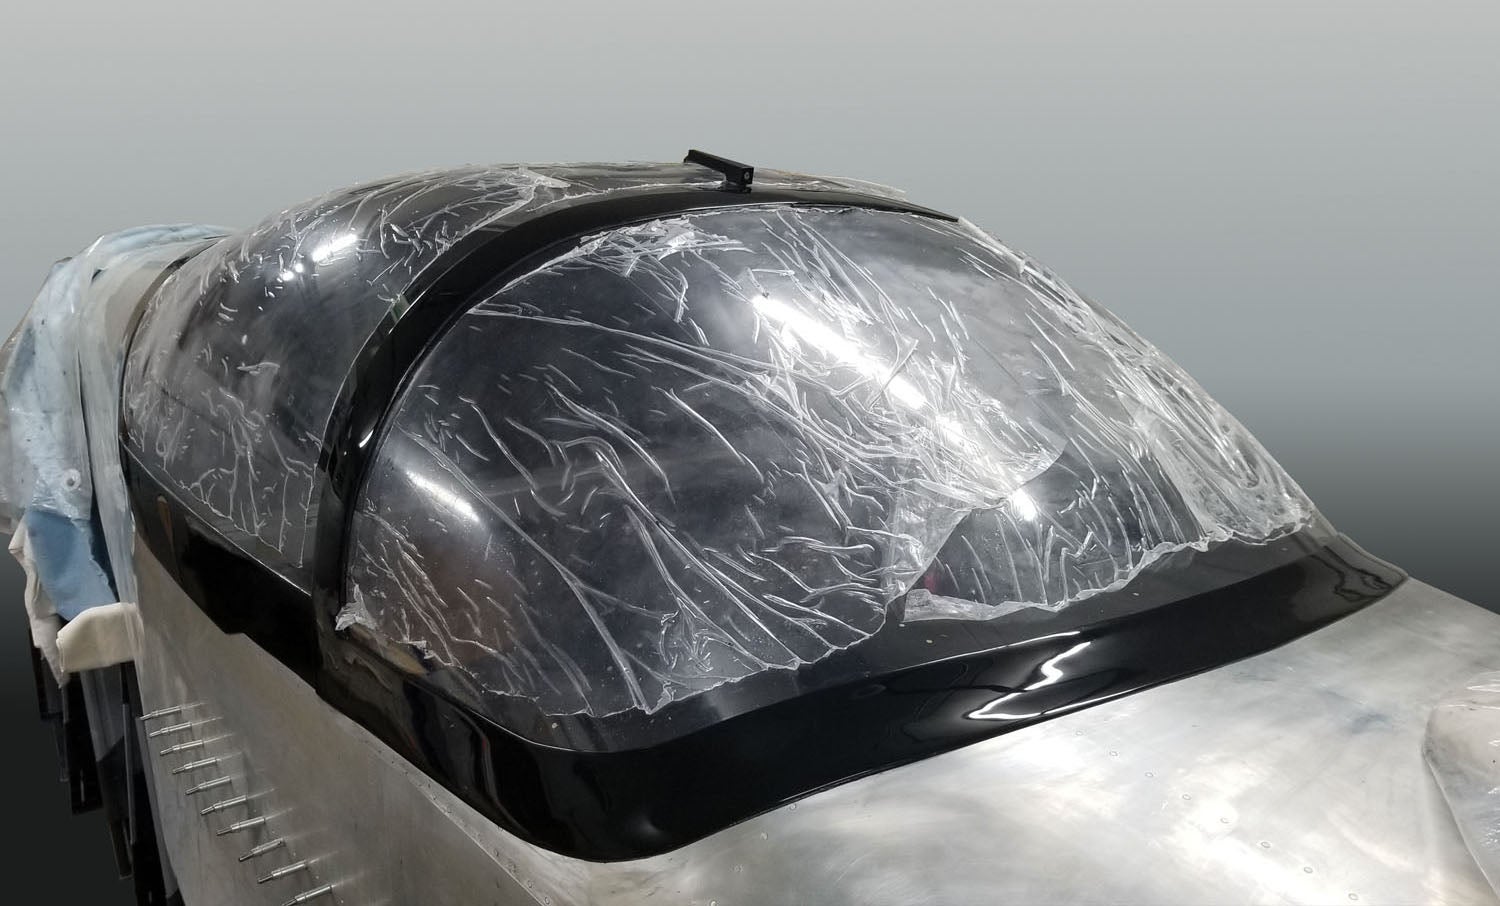
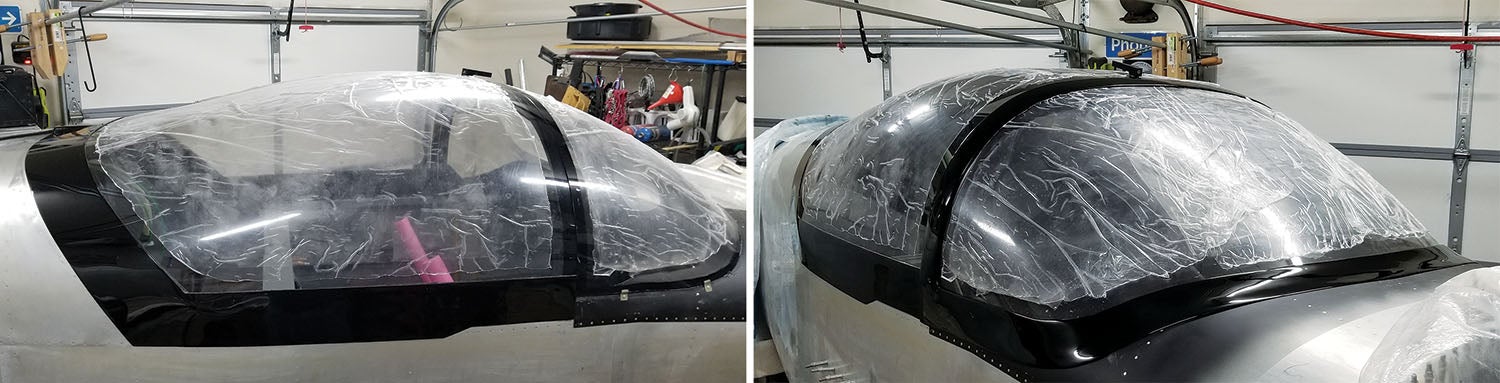
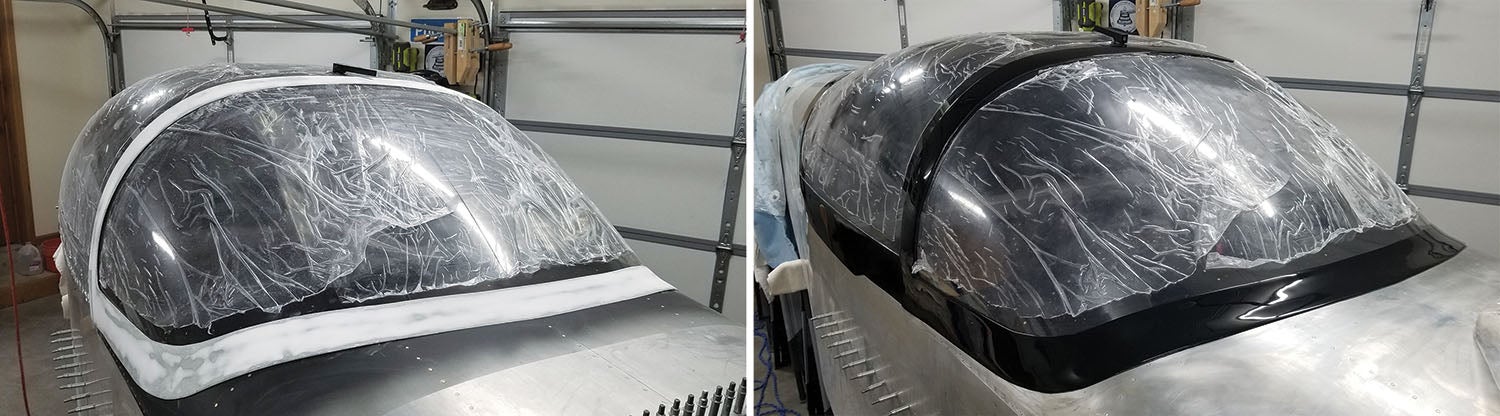
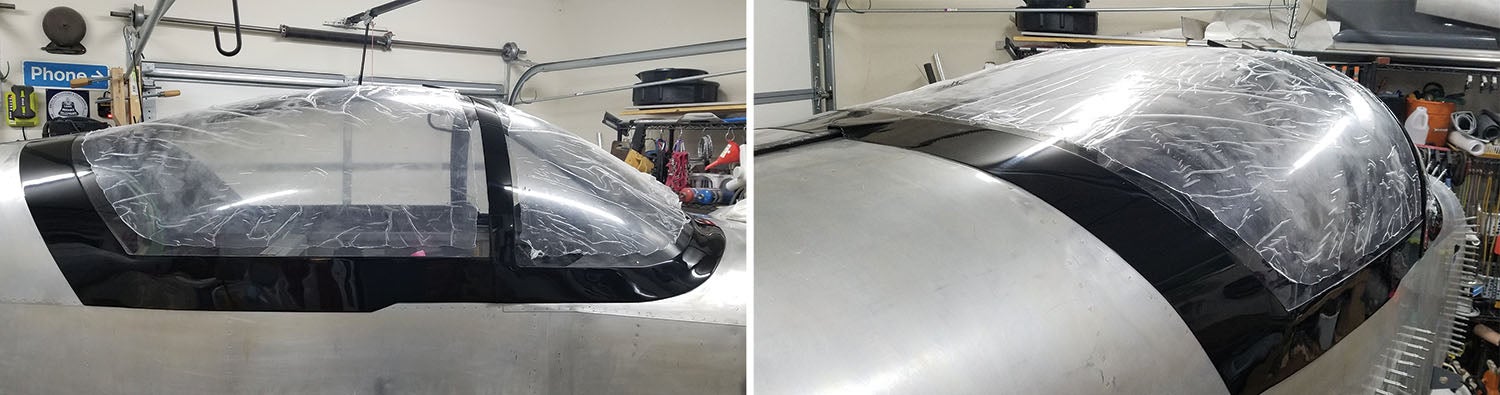
 In Part 2 we applied the last coat of primer and fixed any flaws. After wet sanding with 800-grit and one last cleaning, we’re ready to spray the final coat of paint.
Kirker Ultra-Glo Single-Stage Urethane is my paint of choice. Of course, you’ll need a few other items besides the paint itself. Here’s a product list:
- Kirker Ultra-Glo UA-70333, Ultimate Jet Black, 1 gallon (substitute your color choice)
- Kirker Ultra-Glo UA-1600S, Urethane Activator (Slow), 1 quart
- Kirker Ultra-Glo UA-8085, Reducer (Slow), 1 quart
- Kirker UFE8, Fish Eye Eliminator, 1 pint
- Kirker 600, Surface Wash, 1 gallon
By the way, Kirker is sold under different names. I’m told that Summit Racing and Eastwood are rebranded Kirker paint. I find it easier and basically the same price to purchase from Auto Body Toolmart. They carry most of the products I use, and their customer service and shipping are really good. Look for coupon codes for free shipping. You may have a few of these already. Stick with compatible systems.
Paint mix rate is on the label. Activators and reducers are available in cure speed. Typically, you use them according to the ambient temperature. The colder it is, the faster the product you select. I prefer a slow paint cure to allow more time to flow and flatten. I like the slowest of the available products. Feel free to experiment.
The most important tip I can share is never, ever spray your beautiful creation with an unfamiliar product or tool. Test, test, test!
I’d never sprayed Kirker Ultra-Glo, so I prepped an old part and thank goodness I did. It was a mess of orange peel and pinholes. I suspect the paint needed reducer. Orange peel shows up when paint is too thick or sets too fast. Pinholes show up for the same reasons. The paint skins before the solvent flashes, so tiny bubbles float to the surface and pop.
I spoke with Kyle at Kirker. They have really good customer service. He confirmed my suspicions but also shared some very interesting information: Even with the slow activator, the paint was kicking off too fast. My test part spray was going on like sand. Basically, the paint was kicking off in the fan and not flowing at all. Thicker coats were forming a skin and pinholes were forming.
Pinholes are caused by outgassing. The second coat was applied too soon. Even though the manufacturer’s directions say 5–10 minutes between coats, Kyle said to wait 60 minutes between coat 1 and 2, then an hour or more between 2 and 3. Paint needs time to flow and outgas. Don’t spray too thick. He also suggested adding slow reducer to the third coat to allow it to flatten and shine.
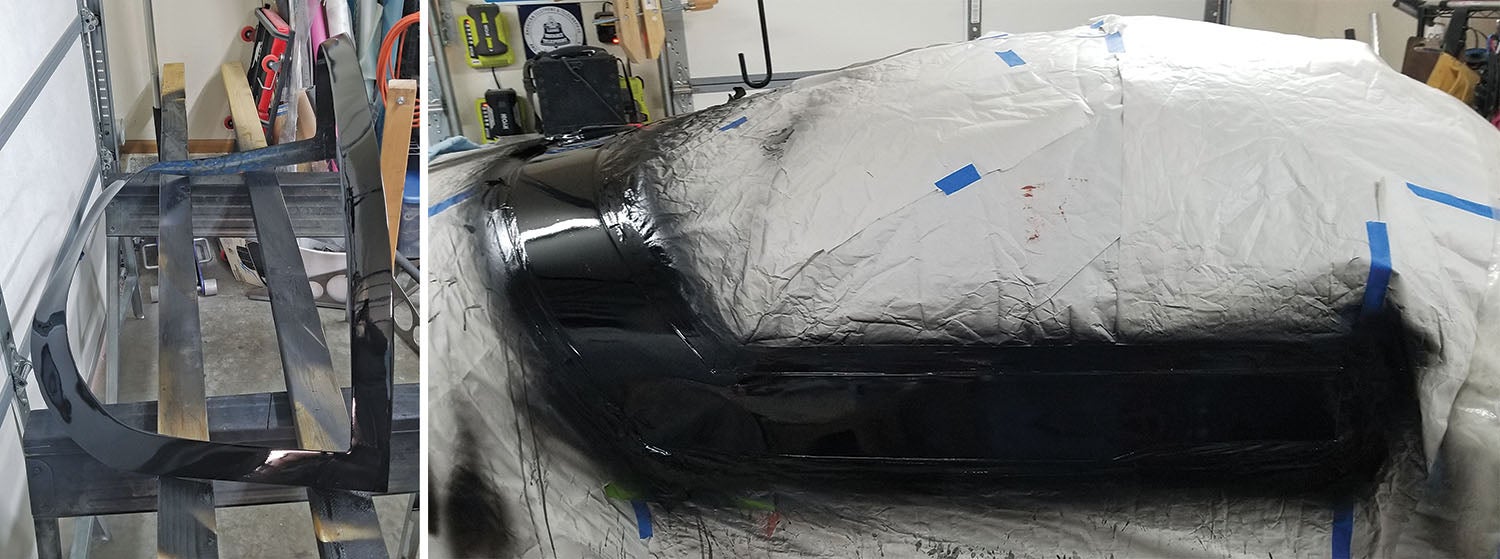
Final Paint, Round 2
OK, let’s try and paint again! But first, a few things to keep in mind.
I used a DeVilbiss FLG-3 FinishLine gun with a 1.3mm tip.
The spreadsheet in the Epoxy and Paint Calculator has been edited to reflect the results of trials. If you want reducer, enter the percentage and the quantities will calculate accordingly. I settled on a 20% reduction with Enduro Prime and 15–20% with Ultra-Glo.
Coverage rates are about 2.75–3 square feet per ounce (30 mL). Adjust the coverage rate to suit your style. The square footage is adjustable to reduce waste. Adjust square footage to mix what you need for the coverage required. I found this useful in adjusting for coverage on the fly.
Primer and paint don’t cover the same. The numbers I ended up using (~2.75–3.0 square feet per ounce of paint) leave about 10–20 mL of waste in the cup. I hate to cut it much closer. There’s nothing worse than a paint job flashing while you rush to mix another few drops of paint.
The percentage for thinning with reducer is a variable on the spreadsheet for all of the paints. Adjust as you see fit. Enduro Prime can be used as mixed or thinned up to 20%. It depends on how you want to use it—no reduction as a high-build primer or thinned for paint work. Brush two coats for pinholes or reduce it 18% to spray for paint. Very light sanding is all that’s needed before final paint. Wish I had known about it before. I would have used it as an interior paint. Tough stuff.
Fish Eye Eliminator is an old trick. It improves flow and helps with pinholes, fish-eyes and orange peel.
Let’s get to work. Mix the paint. Wipe with Kirker 600 Surface Prep, then wipe dry immediately. Wipe with a tack cloth right before spraying.
Crank open the flow on the gun. Usually I shoot one turn out. I sprayed the test piece two turns out and restricted the fan even more than usual. The idea is to lay down an even coat really fast, but be very careful to keep it thin. Even a tiny bit too thick and it runs. Even more so if the paint has been reduced.
Apply one light fog coat (a single pass) and walk away. Yes, it looks like bloody hell. No worries. It’s the glue to hold the next medium-heavy coats. Wait 60 minutes to flash.
Spray a second coat medium thickness. Medium thick looks like a wet surface after the pass. Wait a minimum 60 minutes and spray a final coat medium thickness. If you plan to cut and buff, spray a fourth coat. Trust me—spray the fourth coat.
After the last coat, walk away and don’t come near it until morning. The paint actually flows for hours. Sounds crazy, but it does. You won’t see it, but it’s noticeably flatter the next day. The light coats add some “glue” for the last thicker coats.
Runs, drips and sags happen. The good news is everything can be sanded out. If you get this sort of thing, don’t worry. It can be fixed.
It goes without saying, but clean the gun after each coat of primer or paint. It doesn’t have to be super clean, but don’t leave paint in it. It will flash and clog or worse splatter particles all over the work.
Also, don’t attempt to use the leftover paint or the disposable cup. The leftover paint won’t spray correctly, and the material in the cup will contaminate the fresh paint.
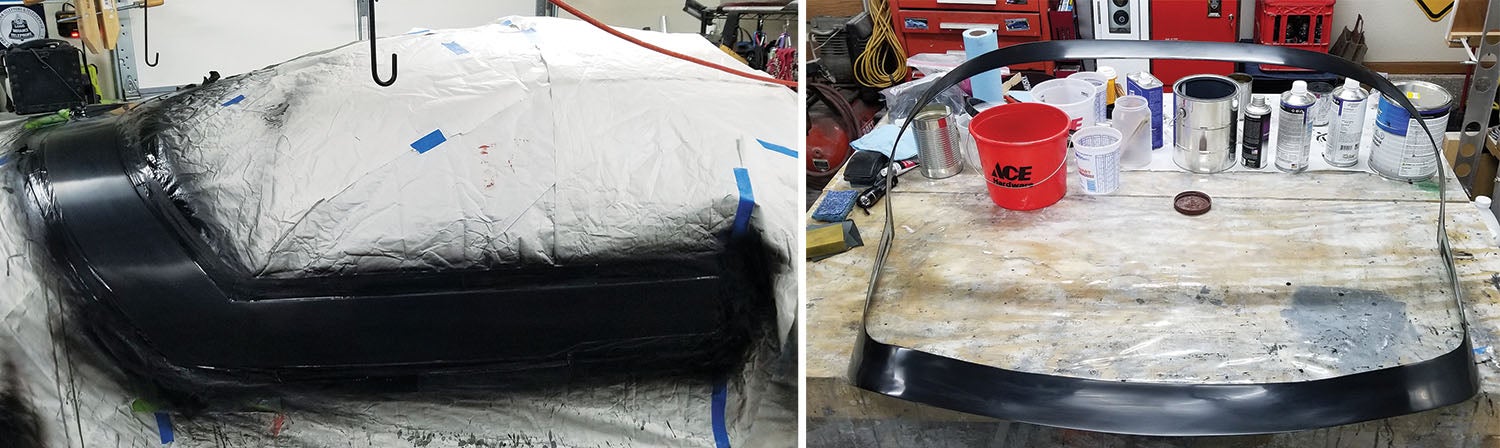
If all four coats went on smooth, Congratulations! Let it cure and proceed to cut and buff.
Cut and Buff 1.0
We will assume you sprayed paint and it’s not perfect. There goes those yoga pants again! Paint shows every flaw. Usually the problem is orange peel, pinholes or debris. Cut and buff means sanding down the paint to a flat surface then buffing it shiny again. Easy, right? Actually, it’s a bit of work.
First, you need at least three coats of paint to cut and buff because quite a bit of paint will be wet-sanded away. I recommend four coats because the first one is usually just a fog coat.
You’re going to need some sandpaper. Check your local hardware or auto parts store for single-sheet racks. 3M WetOrDry is best. Norton is a good second choice. The cheaper brands tend to lose grit, which finds its way into the surface and leaves scratches. Buy one sheet of each grit from 220 to 2000. One of each is plenty to start. Cut them in half, then cut a half into two quarter-sheet pieces. That leaves a half sheet if a longer strip is needed. Use a marker to label all the sheets with the grit on the back. Stack them in order and place into a folder until needed.
Drips can be removed with a razor blade. Credit to KITPLANES® contributor Dan Horton for this trick. Label a single-edge blade with a mark on one side. A single-edge blade holder is useful. Drag the opposite side over 400-grit sandpaper a dozen or so times. The marked side has a microscopic curl. Use it to scrape at a 45° angle, marked side down, and watch the drip go away. Don’t worry about the scrape marks. Stop as soon as the drip is gone. Resharpen the blade as needed.
Chances are good it’s less than perfect—maybe there’s some orange peel or scuff marks from removing drips or particles embedded in the surface. Here’s an easy fix:
Let’s cut. Prep a bucket with a quart of warm water and a few drops of Dawn dishwashing liquid. Drop the 1/4-sheets of wet sandpaper into the soapy water to soften the paper.
You need a good light, an old dish sponge and some paper towels. Work as much as possible with a block. Do not sand with your hands or fingers! A fairly stiff sanding sponge also works well. The idea is to knock down paint until it’s flat. It goes really fast, so check progress often.
Lay FrogTape yellow painter’s tape along edges and over high spots. These areas are prone to break through and are easily cut after the major areas are flat.
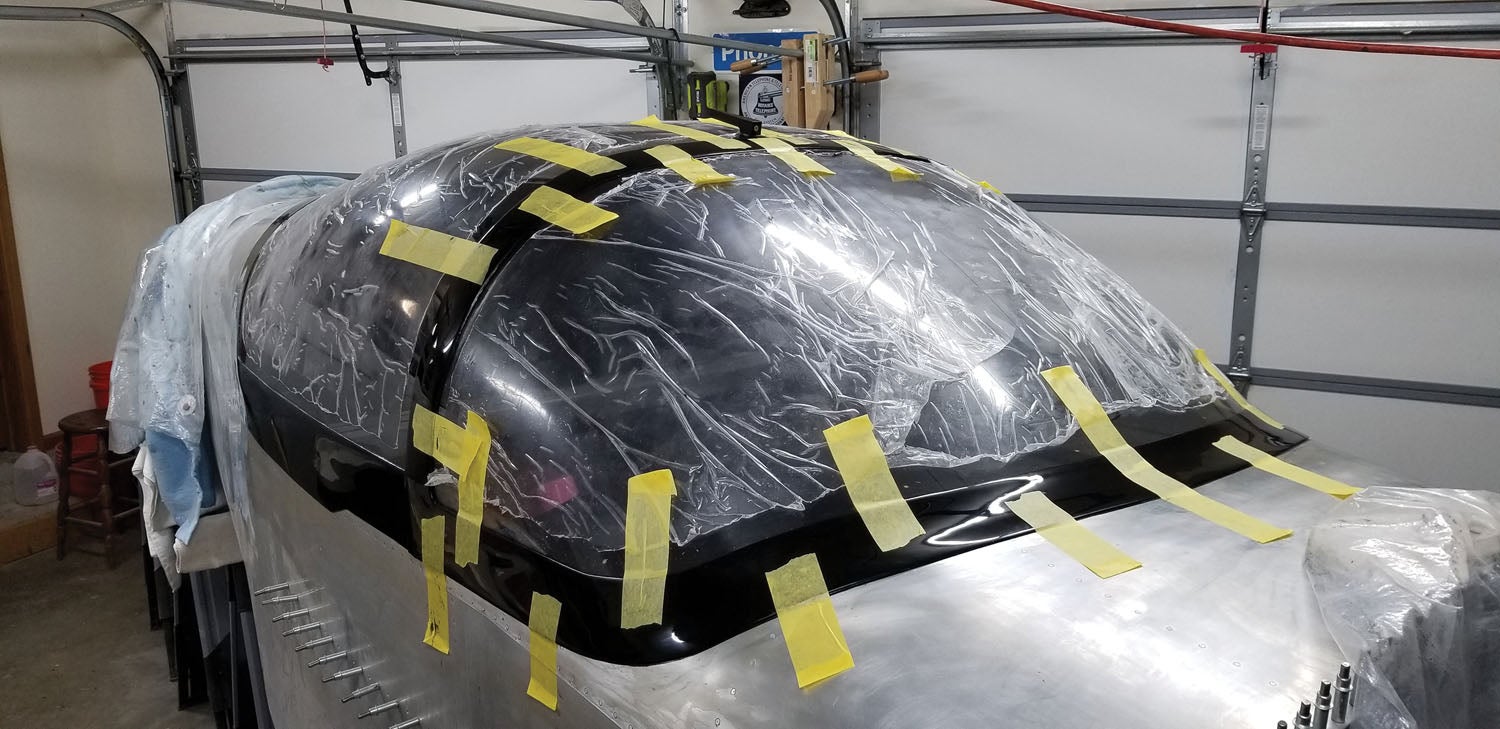
Start with 1000-grit first. You can always use a coarser grit, but breaking through means more paint work. Use 1000 unless the orange peel is really bad. Wet sand in varying patterns. Avoid edges. It’s really easy to break through into the primer. Start with just 10 or 20 passes. You’ll see a slurry like mud form.
Stop! Wet sanding is fast. It’s easy to blow right through. You’ll get a feel for it.
Wipe off the slurry with a dry paper towel.
Blow lightly to completely dry the surface. Shine the light. See any shiny speckles like glitter? Those are the low spots in the orange peel untouched by sandpaper.
Keep wet sanding that area until the low spots are almost gone and the surface is sanded uniform. The last of them will get sanded out on subsequent passes.
If the surface hasn’t broken through, wet sand up through 3000. Each pass is removing the sanding marks from the previous grit sandpaper. That’s why I start with 1000. Each pass removes more paint.
If you break through, congratulations. You get to spray more paint and cut again. Oh, bother!
Remove the tape on edges and cut the edges, but start with a higher grit paper and keep a close eye on breakthrough. If the edges are OK, feel free to leave them after a quick pass with 2000.
If the breakthrough spots are minor edge areas, mix an ounce of thin paint and use a fine touch-up brush to apply multiple coats until it’s blended. Cut those in the morning, after it sets, but be very careful. It’s easy to blow right through touch-up paint.
Compound and Polish
Let’s start this next step with a list of supplies:
- Meguiar’s 105 Ultra-Cut Compound
- Meguiar’s 205 Ultra Finishing Polish
- Soft cotton rags
- Paper towels
I actually get a little emotional seeing the finished product because, holy cow! A beautiful cut and buff looks like wet paint.
I bought a DeWalt rotary buffer, but for small jobs, it’s totally unnecessary. It may actually be a hindrance. This is so easy and takes just a little elbow grease.
I chose Meguiar’s 105 Compound and 205 Polish. 3M products are fine, too. Turns out a gallon of each is probably a good quantity for an airplane. I’ll be buying more 105 eventually.
Cut up some old 100%-cotton rags like T-shirts. Twelve-inch squares are good for applicators. Save the big pieces for buffing.
Shake the products well. Apply a teaspoon-size dollop of 105 to a patch. Rub it on a section maybe 2 square feet. If you are OCD, always rub fore/aft on sides and up/down on vertical areas. Don’t rub in circles. Nothing’s worse than trying to remove swirls. Rub until it starts to dry to a wax-like haze.
Buff off with a dry rag. Repeat. Two or three passes should be adequate. Feel free to repeat, but you are removing a bit of paint so it’s possible you may break through.
Use the same procedure with 205. Use a clean cloth. Repeat. You will probably be amazed as well.
Yep, it’s that easy. Now go out there and make a beautiful canopy skirt and windshield fairing!


