When I was nine years old and struggling with a tetherball at John L. Webster Elementary School, I had no idea that scientists in the big Hughes Laboratory on the hill above were inventing a solution to a puzzle I’d encounter 50 years later. But by 2011, lasers were everywhere, and one of them provided me a neat way around an airplane builder’s dilemma.
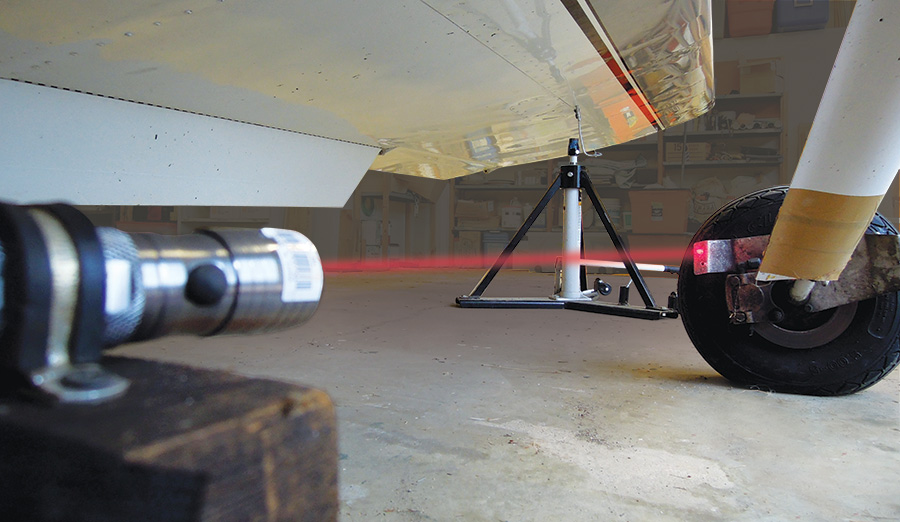
The position of the laser is adjusted until the beam is centered on the nutplate in the wheelpant bracket. The distance from the part isn’t critical, but the closer the better.
So, the problem: the Mole Ranch runway had taken its toll on the wheelpants fitted to my Van’s RV-6. Constant vibration had eroded all the holes through the fiberglass until the bolts and screws fastening the wheelpants to the brackets were hanging on by their metaphorical fingertips. Larger washers provided a Band-Aid solution over the summer flying season, but now, with winter approaching, it’s time to fix things for real.
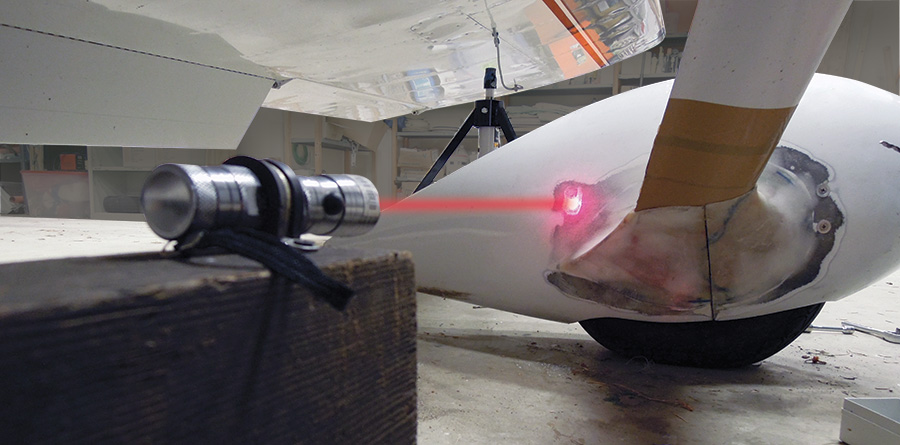
The wheelpant is installed. Only the rear holes needed to be relocated, so the front half of the pant serves to locate the rear.
Repair & Redrill
It wasn’t hard to patch the oversize holes with fiberglass and flox, but fitting them back on the airplane was more difficult. When the airplane was first built, neither the brackets nor the wheelpants had holes for the attachment screws. During original construction, it was simple enough to tape and brace the wheelpant to the bracket and drill a hole through both. The bracket had enough surface area that, even though it was hidden behind the fiberglass pant, you couldn’t really miss with the drill. Well, you could, but you’d have to really be trying.
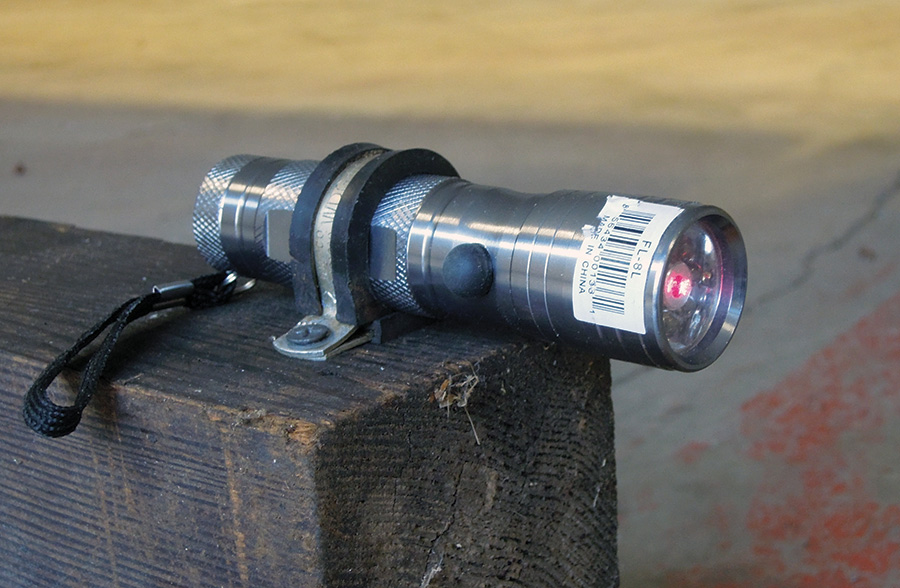
For security, the laser is mounted to a substantial wood block with a spare Adel clamp and a drywall screw.
Now, however, instead of aiming for a 11/2 x 3/4-inch rectangle, I had to drill a hole that would exactly center on the #8 nutplate already in the bracket. A #8 screw uses a hole 0.1660 inch in diameter (a little less than 3/16 inch), so there wasn’t much wiggle room.
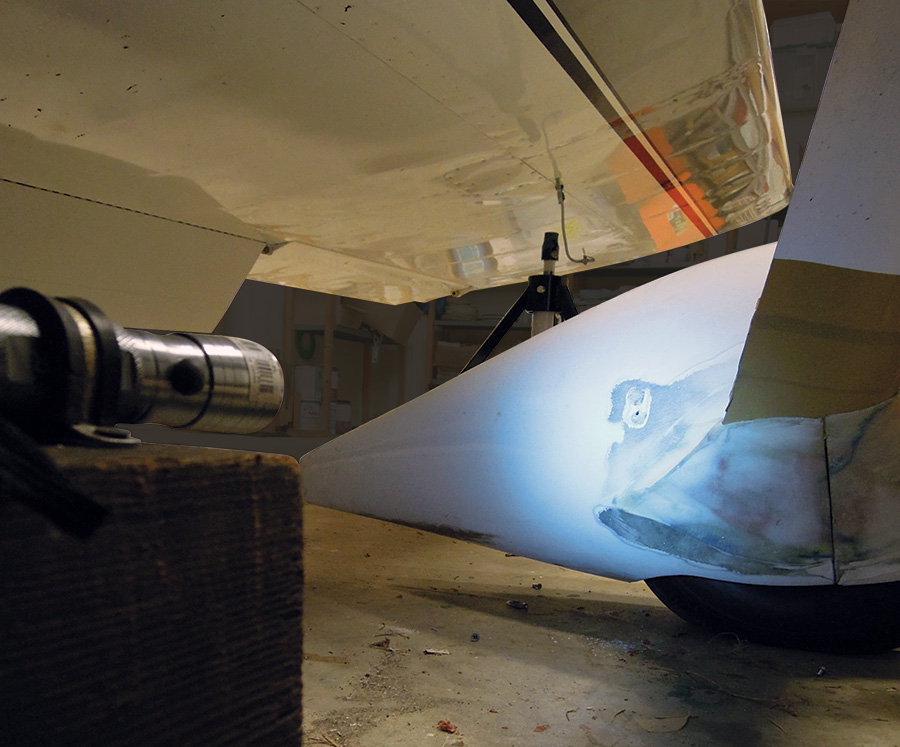
At first I tried shining a bright light into the wheelpant from underneath, hoping the hole I needed to hit would show up as a point of light on the translucent fiberglass wheelpant. Without the wheel and tire in the way, that would have worked, but no lamp I had in the shop was small enough to maneuver inside the pant. Then I set up a pointer made from six inches of stiff wire attached to a block of wood. I tried centering the pointer on the hole, moving it back slightly and sliding the wheelpant into place. Almost every time, I managed to bump the pointer. If I moved it far enough away to get the wheelpant on without interference, I couldn’t trust it to be accurate. What I needed was some kind of pointer that was small, accurate, and out of the way.
The Light Goes On
The solution was at my local hardware store and cost a stunning $4.99. What was that? Simple: a small LED flashlight with a laser pointer in the center. I secured the light to a big, stable block of wood with an Adel clamp and a drywall screw. I set the arrangement on the floor about three feet away from the wheel, flicked on the laser and adjusted the height with a shingle tucked under the block. I was very careful not to look directly at the laser, but it was still simple to adjust the beam until it centered directly on the hole in the center of the nutplate. I could easily install the wheelpant without disturbing the laser. Once the pant was on, the garnet-colored beam drew a little red dot exactly where I wanted to drill.
It worked! The drill went right into the center of the hole, and by repeating the operation a few more times, all the attachment holes were located and drilled. I know this trick will work in lots of places where it’s difficult to use tools like a hole duplicator, especially when the part on the outside is irregularly shaped.
I love a simple solution that actually works. It’s even better when it’s cheap.

![]()
Ken Scott is a longtime employee of Van’s Aircraft and also a multi-airframe builder (RV-6, KK-1, RV-12) whose quest for new skills remains unabated. He lives with his wife, Camilla, on a residential airpark near Canby, Oregon.




Love it! I have a laser pointer so should be able to employ your method if needed. Thanks!
While using a laser to locate the “patched” hole on the wheel pant works well there are several simpler methods that can be used. As the hole will be located in an “un-painted” area a bright light behind the nut plate will illuminate the hole exactly. I used that method for my entire fiberglass instrument panel. Second, a clear template laid over the area to be patched with the hole location marked can later be applied back on the wheel pant and the hole drilled. Just be sure to mark the location of the clear template outside the area to be repaired.
Good idea. I have used a spring steel strap duplicater.
Most laser pointers use a spring switch (you have to hold it with your finger). Probably to avoid overheating the laser die. Did yours stay on without a finger? Did you have to rig something to hold the button down?
What brand local hardware store did you find the laser flashlight. I can’t find one anywhere
My experience is that laser works well in many places, but you have to be sure that positioning the wheel pant does not push the bracket out of alignment, which would cause the laser to be pointing at a wrong spot. In my Van’s RV-7 kit small magnetic balls were included for this purpose. In some cases I find them to work better and sometimes not – it might be a good idea to verify the location using different methods to get the hole position just right.