Light at the End of the Tunnel

0
Another detail completed.

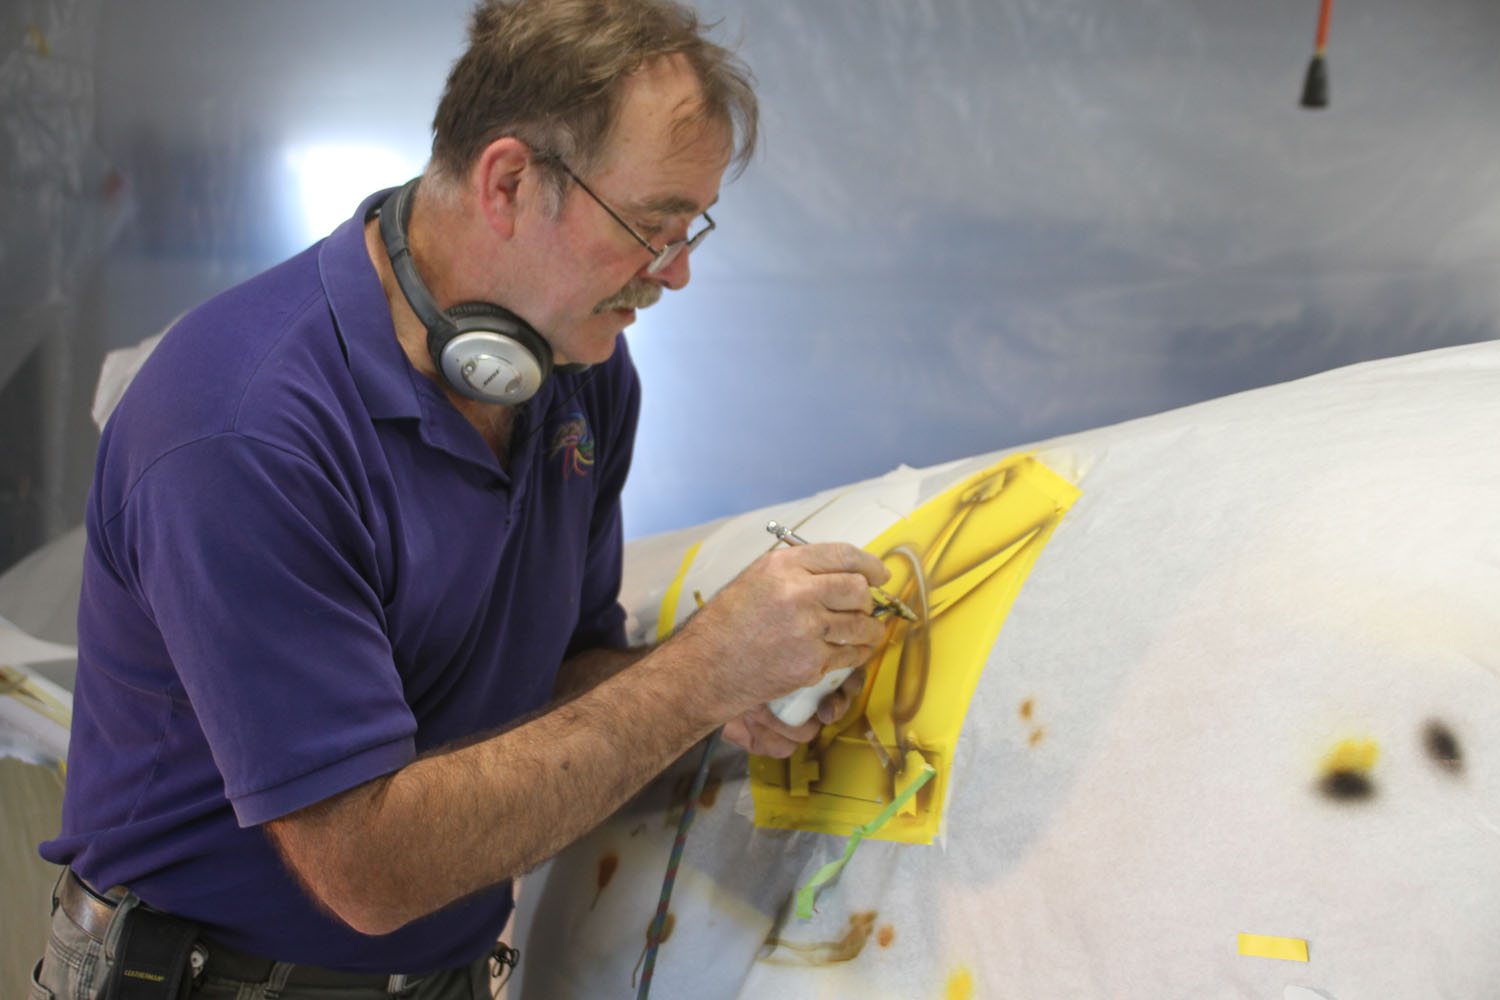
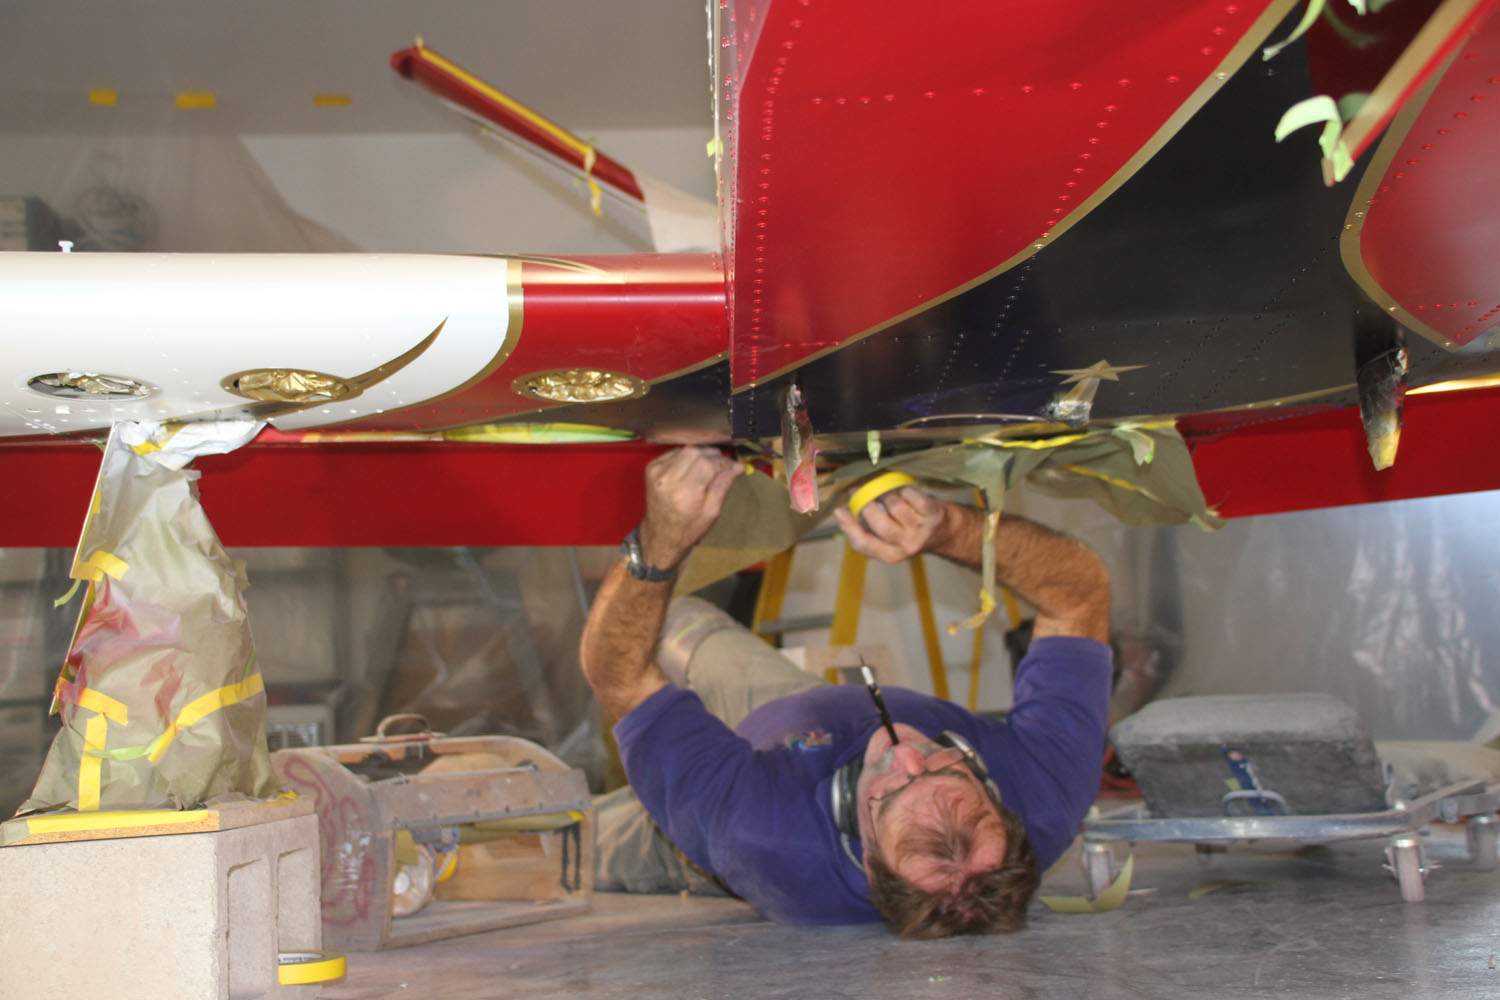
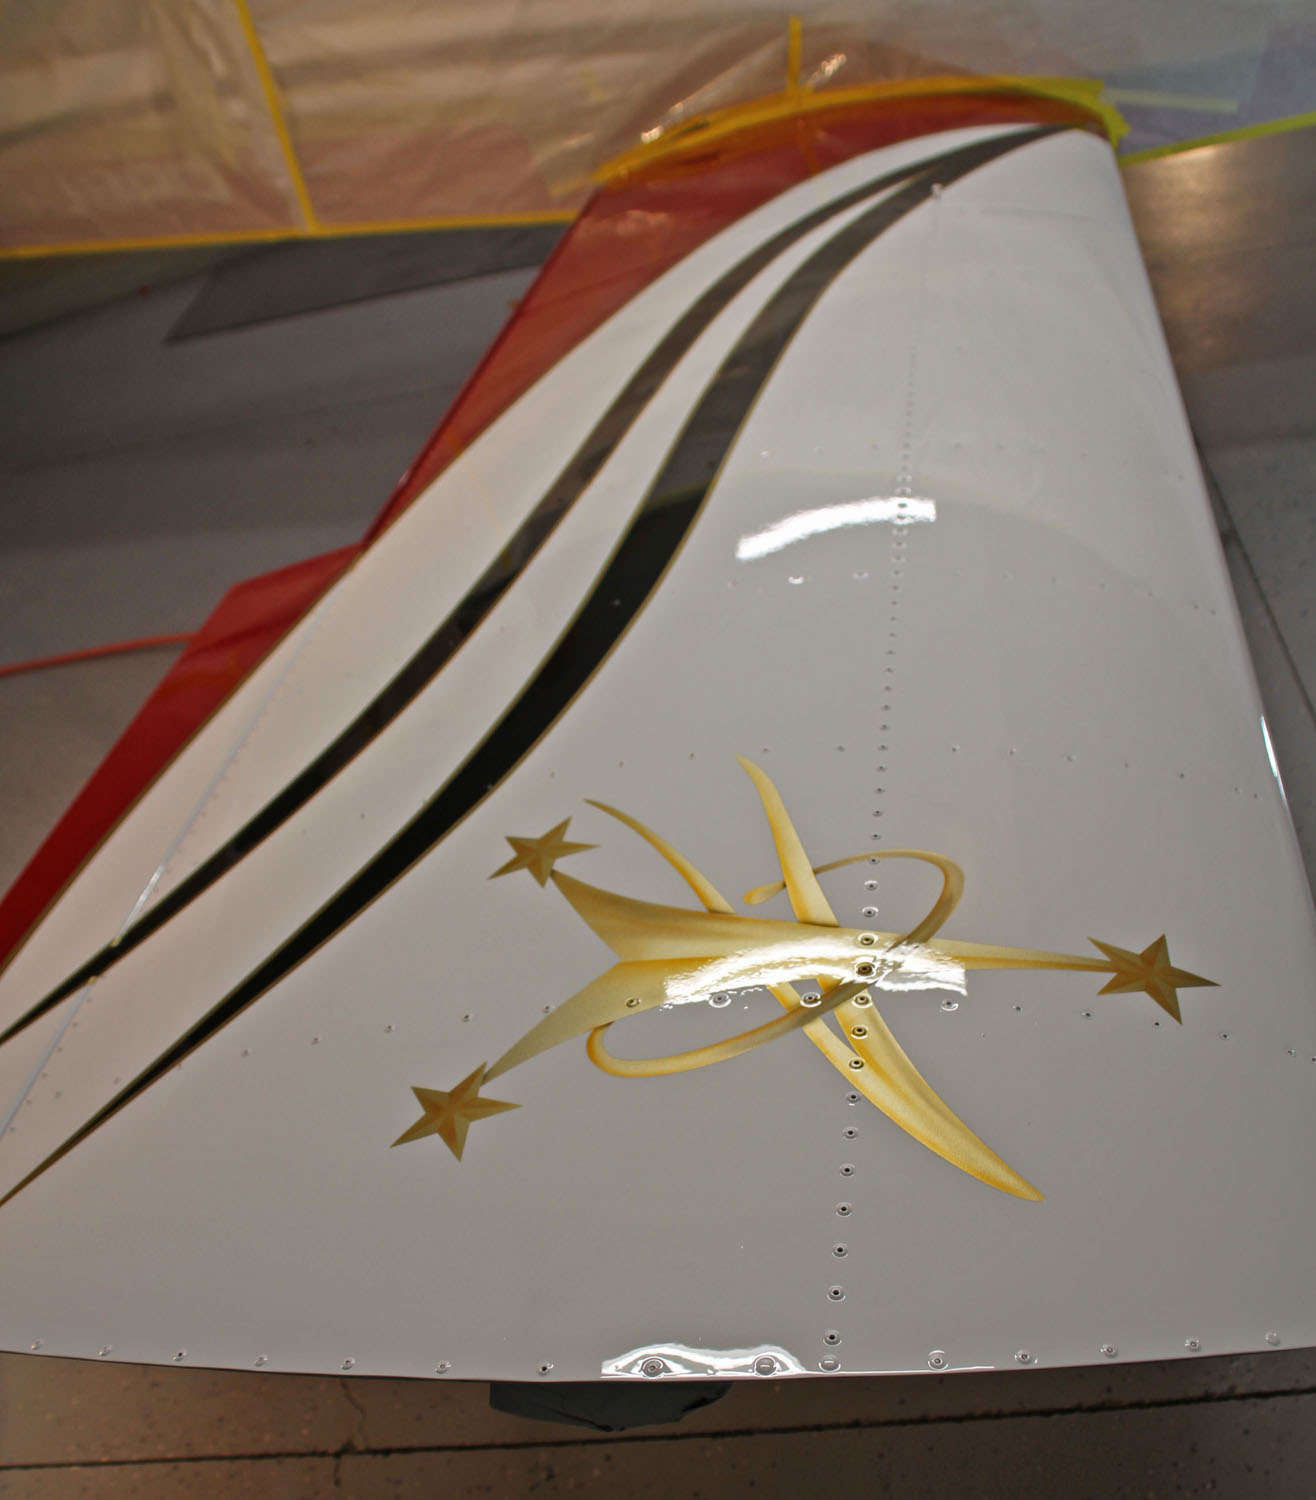
John Stahr continued working on N958PD, KITPLANES Editor-in-Chief Paul Dye’s recently built SubSonex jet on Thursday. With the large area painting completed and detailed art work started, it was another day of mostly detail work… addressing minor flaws in the original spray painting and air brushing on more details. Some of the details were air brushed on while others were shot through stencils… both prepared and made on the spot.
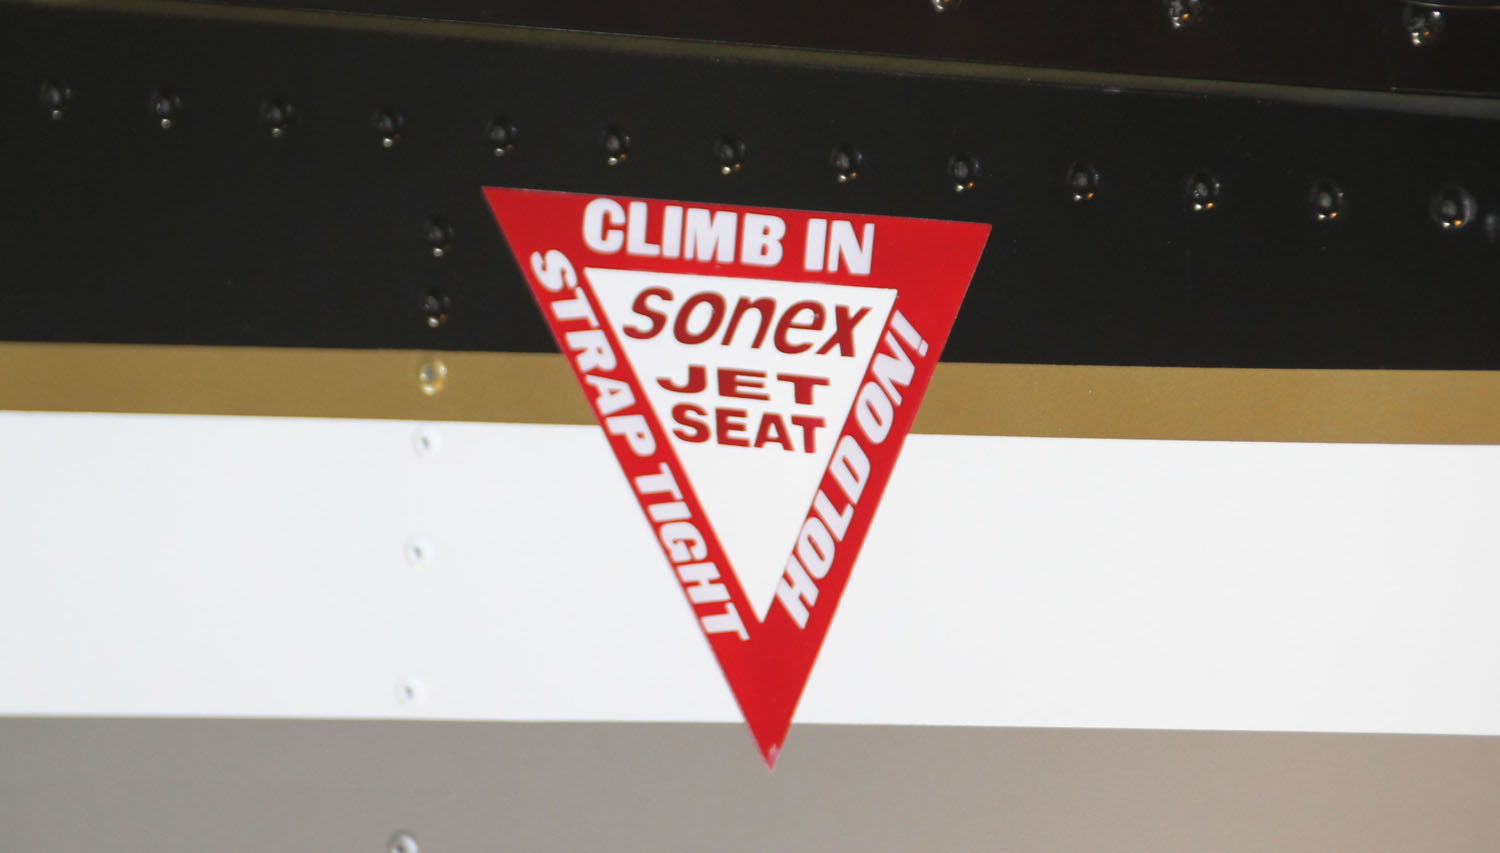
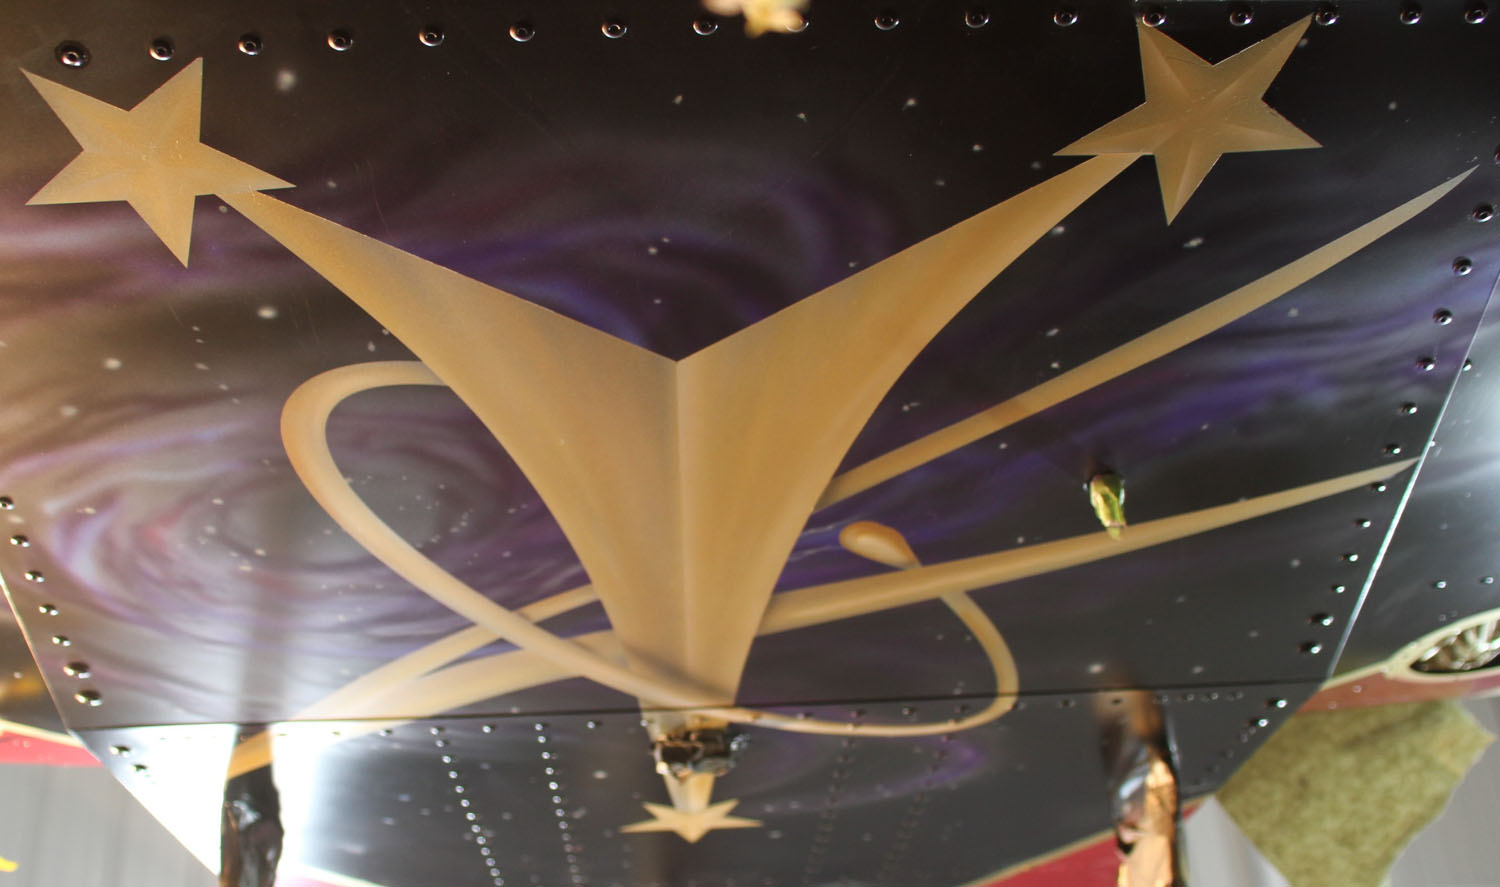
Details make a John Stahr creation.
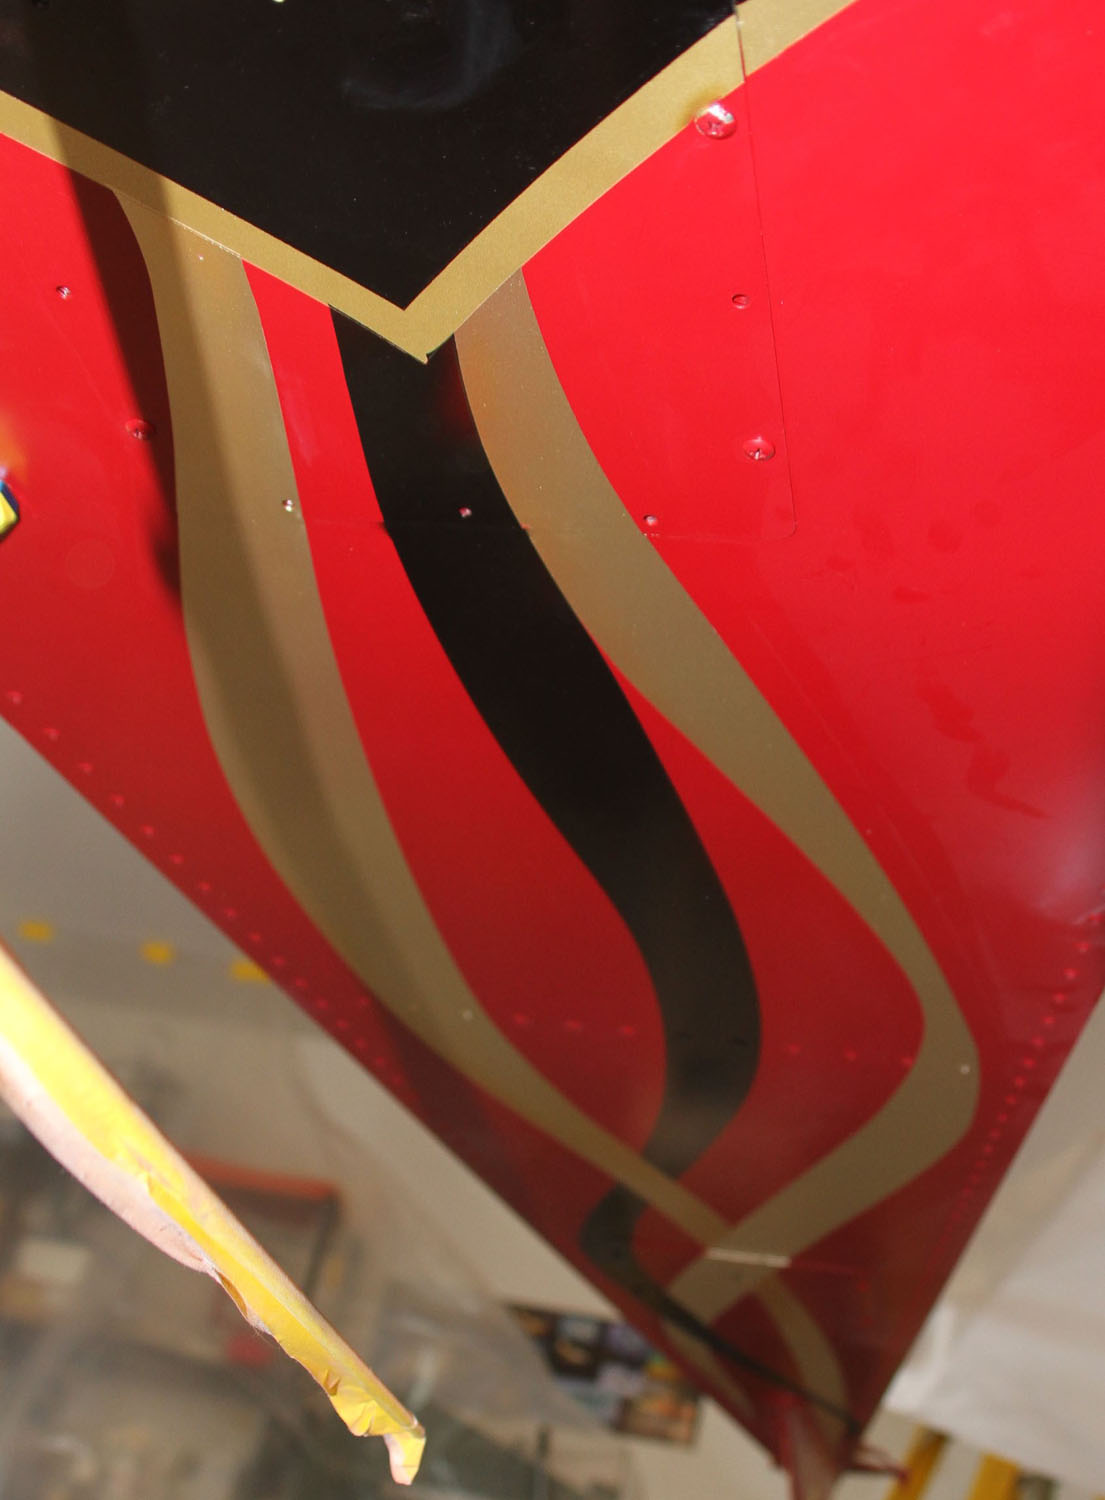
Even the belly gets attention with a NASA Flight Director logo with a nebula background.
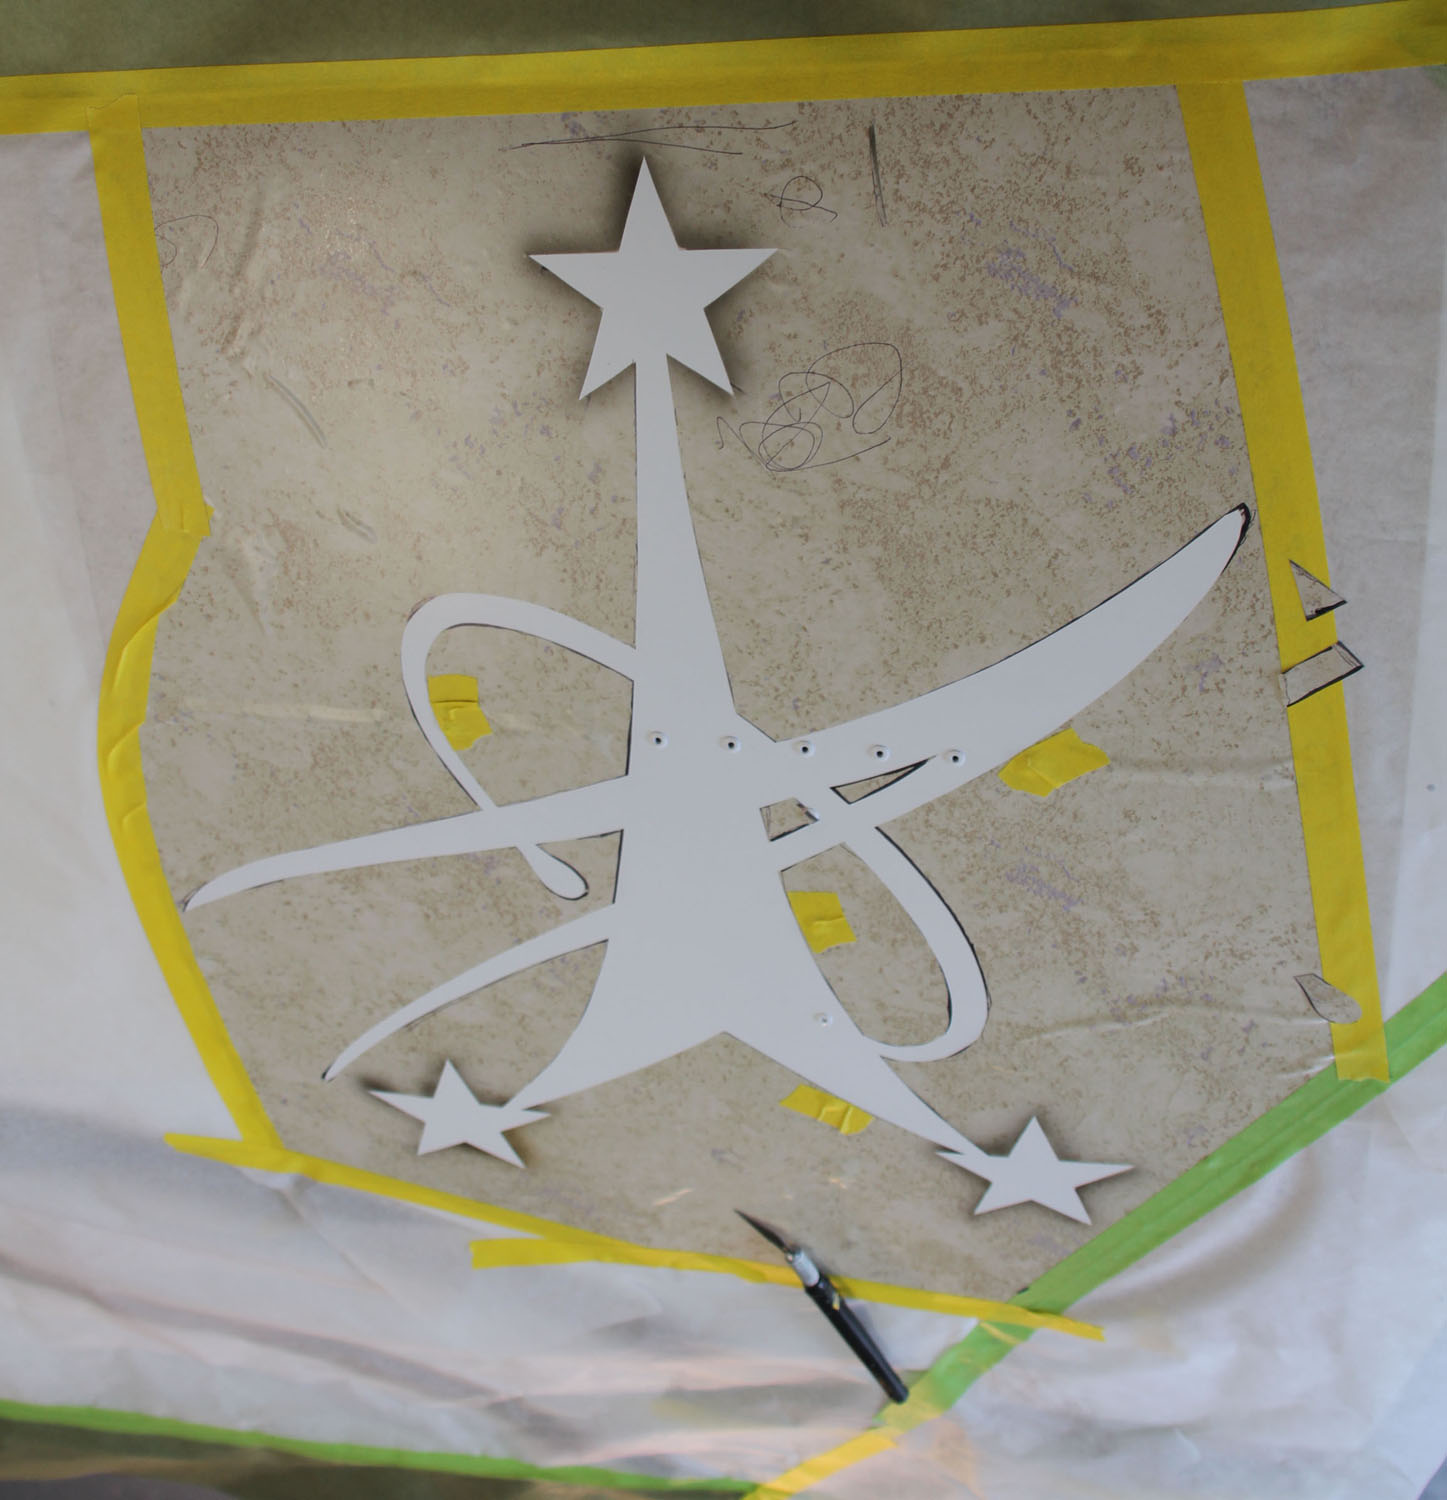
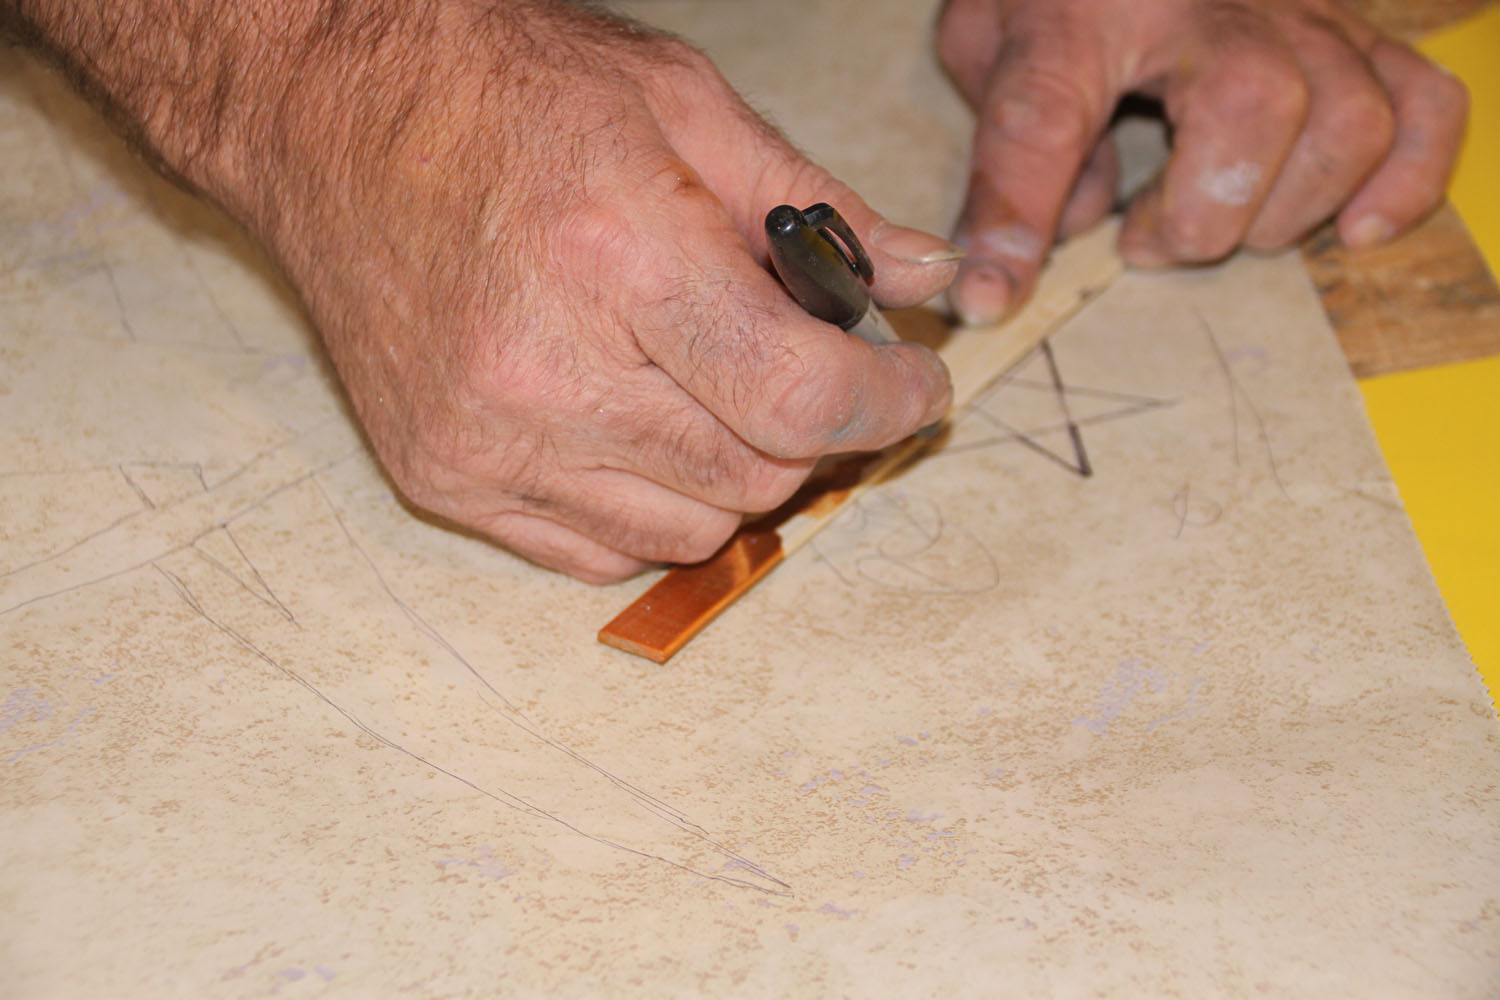
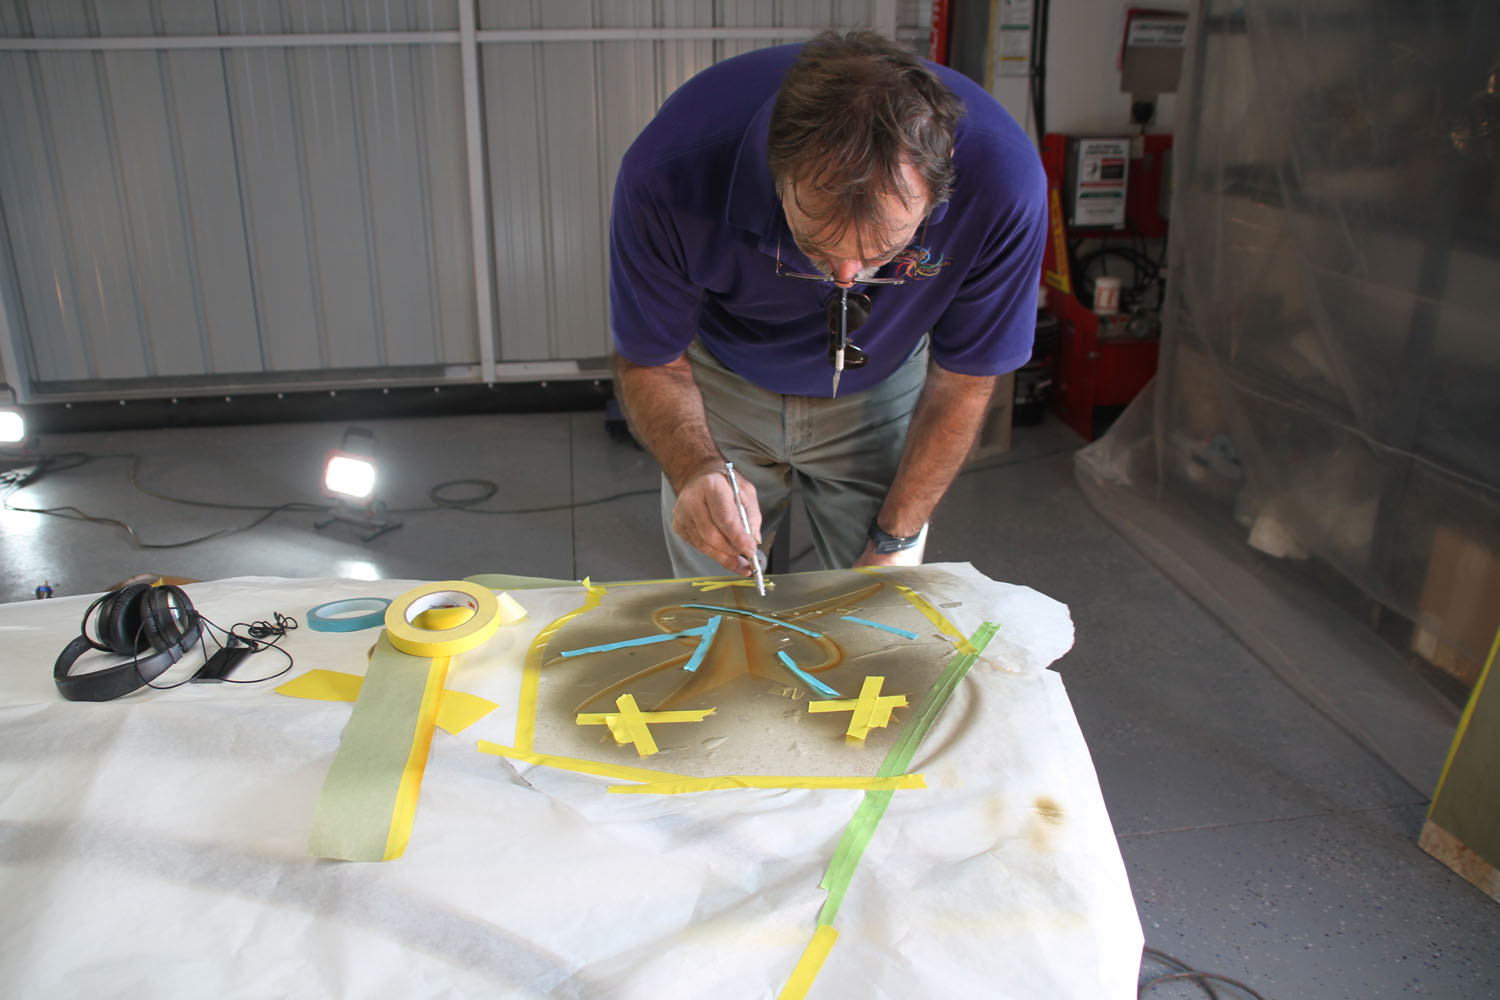
Extensive use of hand-made stencils facilitated the process.
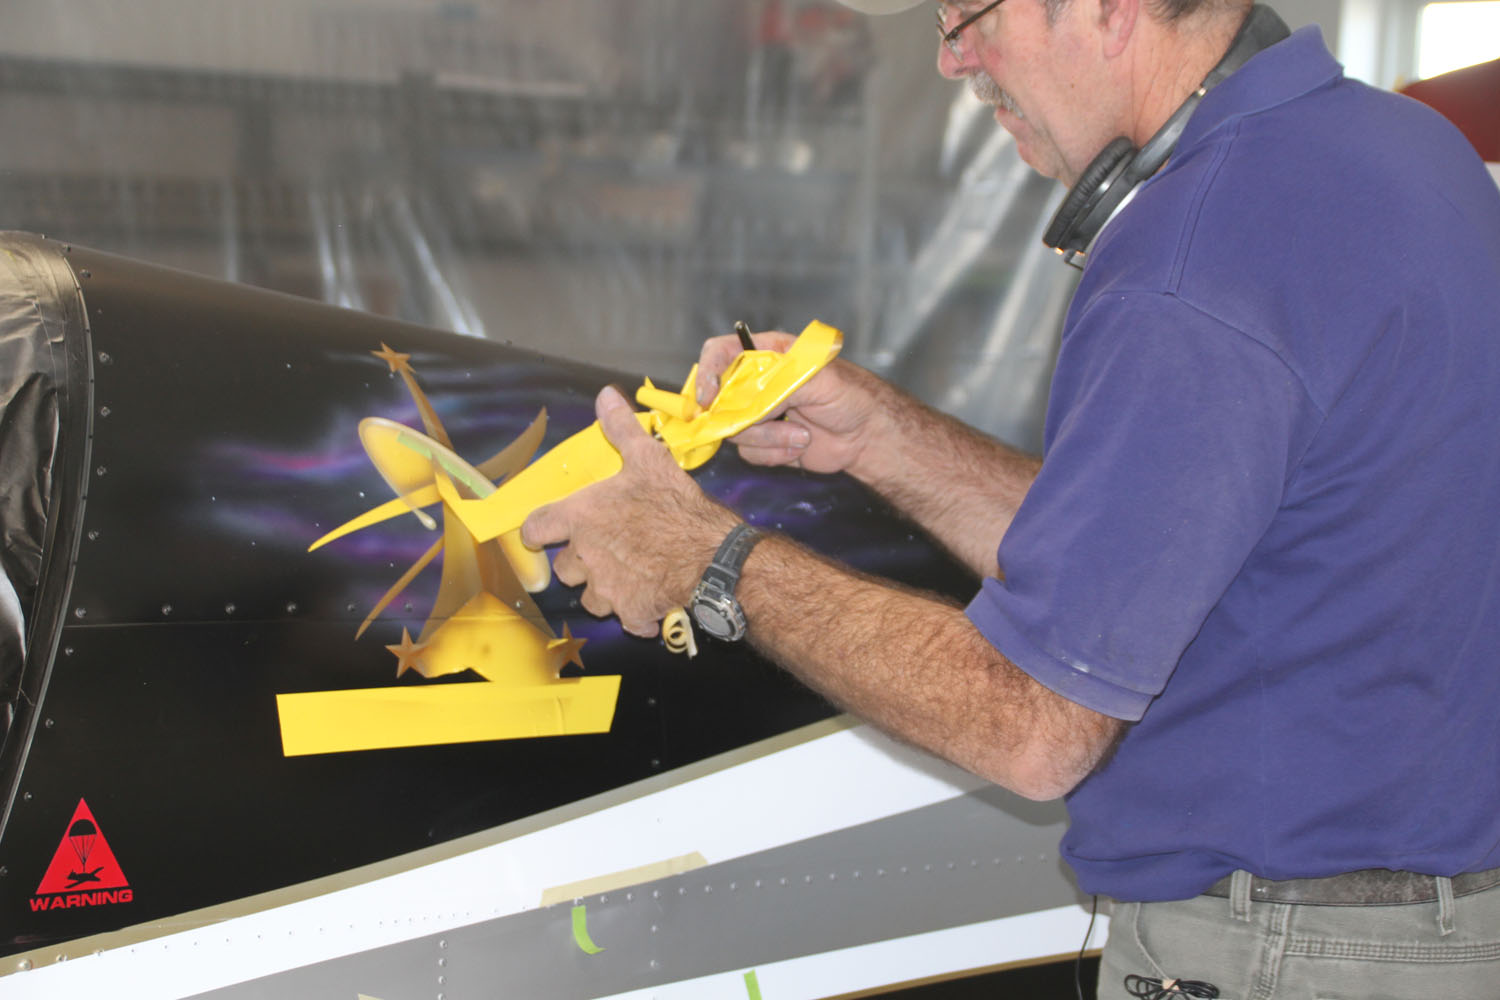
The stencil (and additional masking) were taped onto the plane at the intended site of painting.
Once shot, the stencil was removed to reveal the detailed painting.
Touching up some minor flaws on the tailfeathers.
Touching up some belly paint.
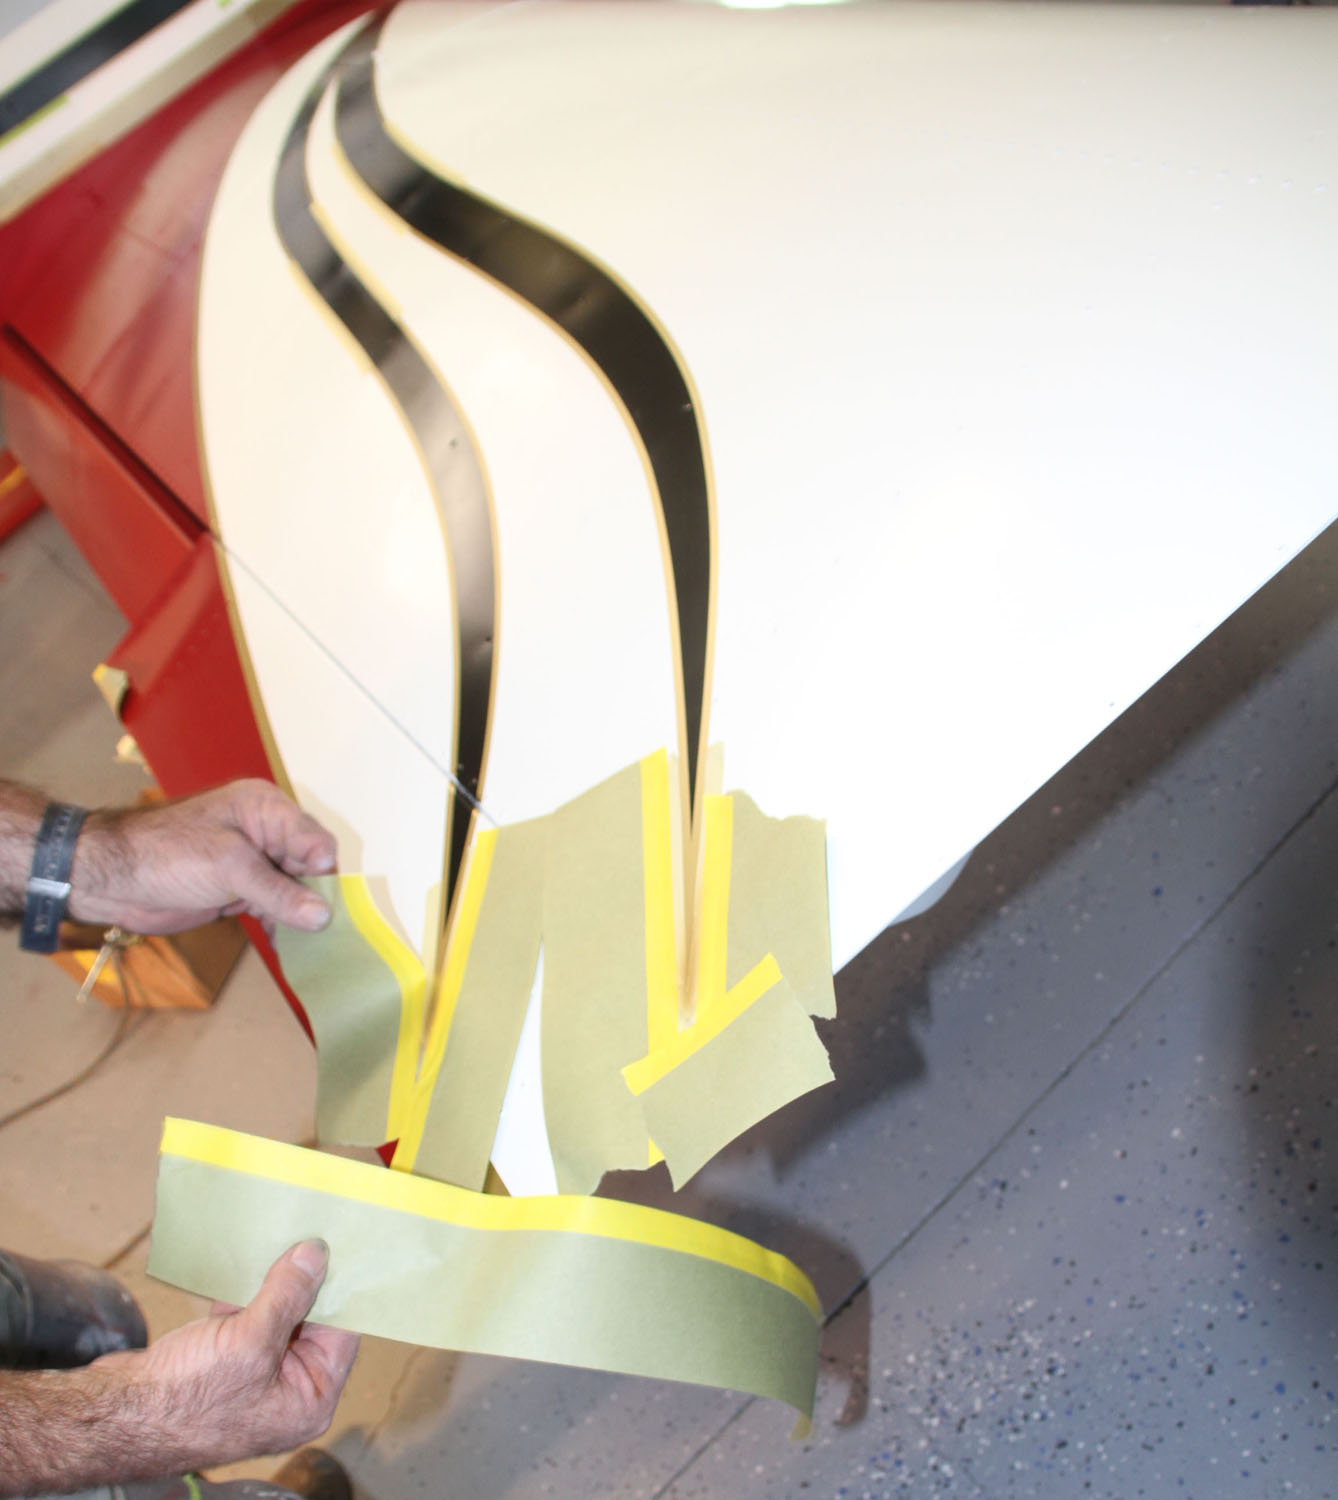
Some previously forgotten belly ribbons were added on Thursday.
When the planned logo was too large for one area, Stahr made a smaller version by hand in the shop.
Air brushing the Flight Director logo on the starboard wing.

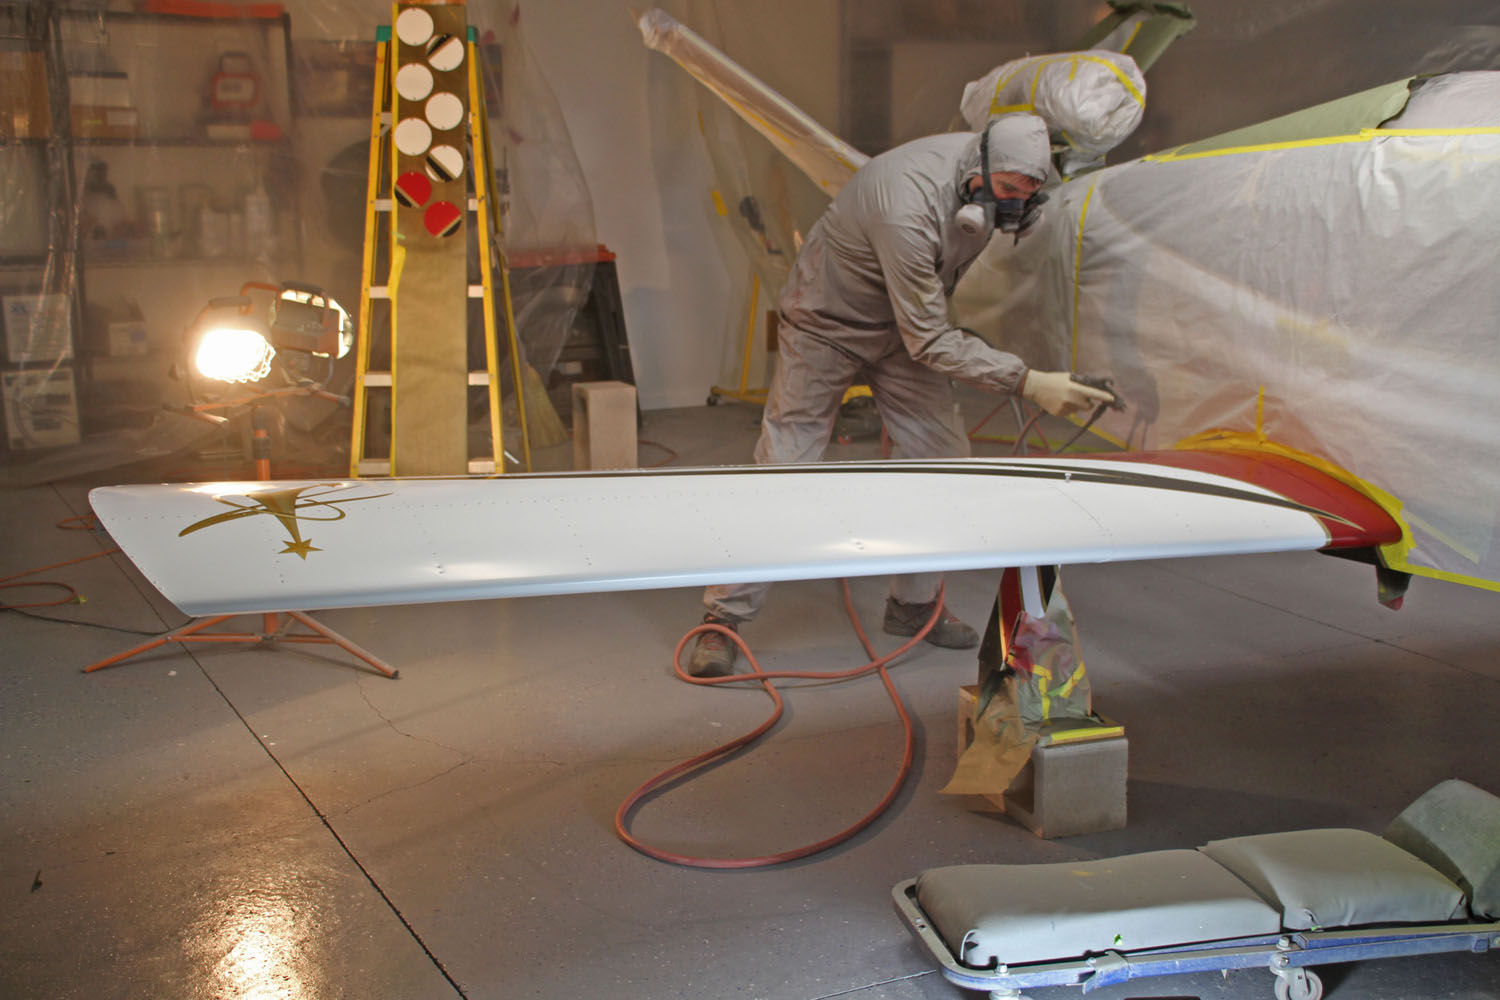
The day ended with clear coat sprayed on the wings. Two coats on the bottom of the wings and three coats on the top. Stahr likes to paint the wings and fuselage separately to avoid build-up at the intersection of the two. Before applying the clear coat, he carefully cleaned the surface with high-pressure air followed by whipping with a dry cloth. Then, it was time to spray. By the time we left the hangar, the wings sparkled in all their glory.
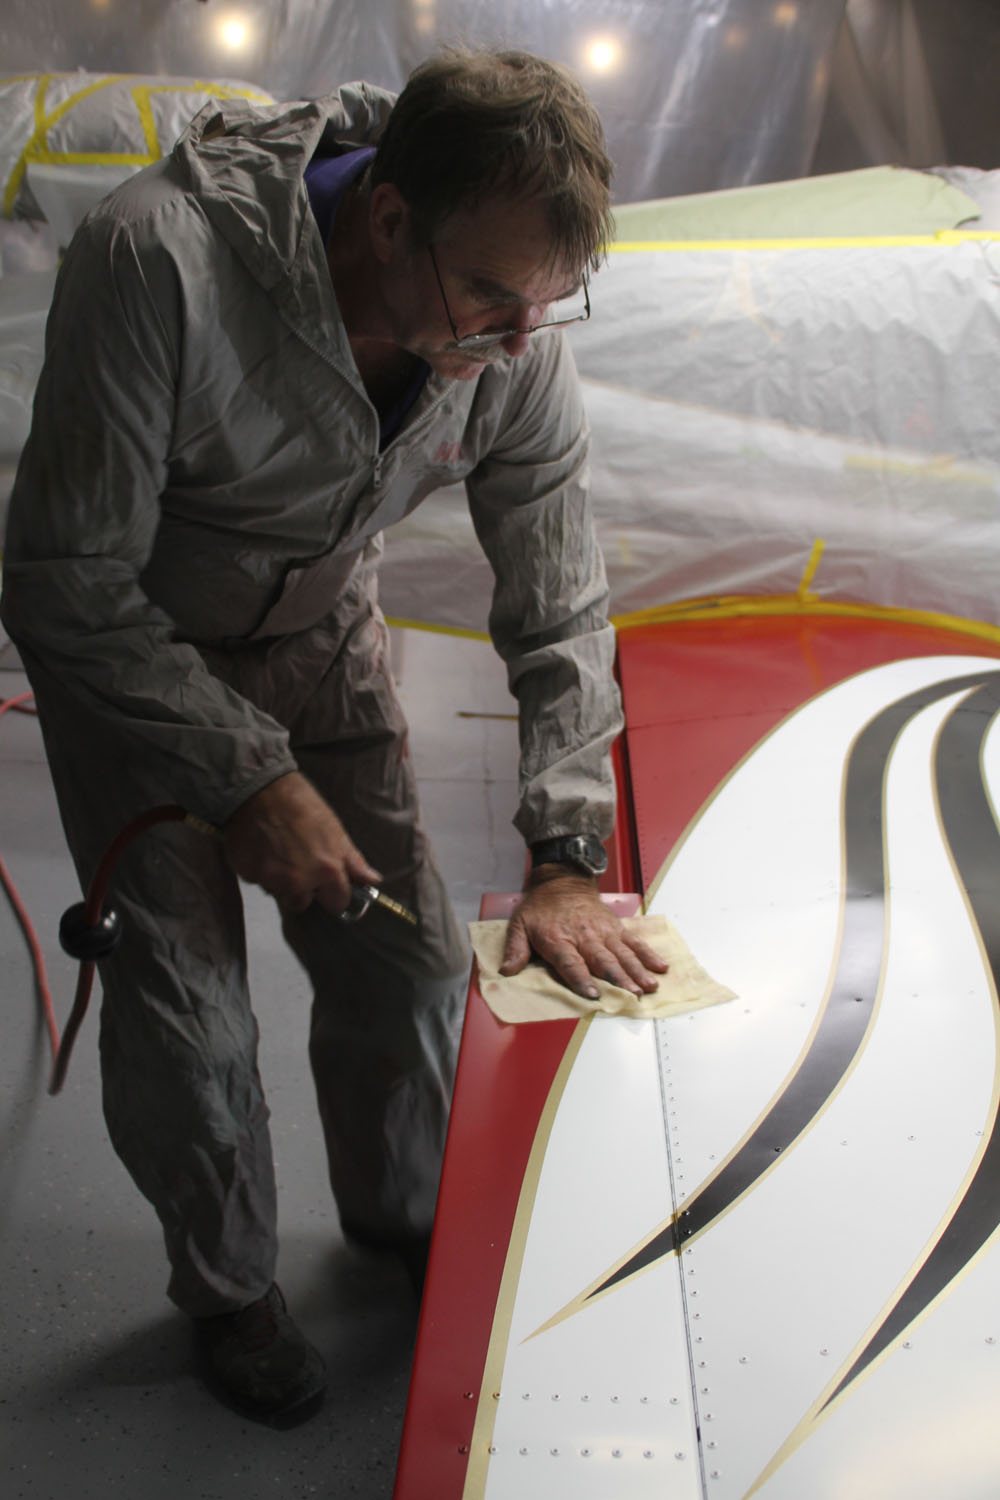
High pressure air and a dry cloth were used in the last step before applying clear coat.
The clear coat process began with spraying inspection plates hanging on a board and then coating the wings.
Oooohh. Shiny!
Oooohh. Shiny!

Watch the time-lapse video of day 6:


Previous articleKit Stuff
Next articleA Day of Fussy Fuss
Louise Hose
Louise Hose is an instrument-rated, commercial pilot who regularly flies her RV-6, her husband’s RV-8, and an RV-3B and a Dream Tundra, which they built together. They live in Dayton Valley Airpark in Nevada. She also edits the monthly, free digital newsletter, The Homebuilder’s Portal by KITPLANES®.

LEAVE A REPLY

Please enter your comment!
Please enter your name here

This site uses Akismet to reduce spam. Learn how your comment data is processed.