The majority of homebuilt airplanes these days are built of sheet aluminum, and the basic fact of sheet aluminum airplanes is:
Holes.
Lots and lots and lots of holes. Everything about holes is repetitious and boring—layout, drilling, deburring, dimpling—so anything that makes a lot of those operations quicker and easier is a good thing.
Take the tedious job of “deburring,” for instance. When you look at wingskins for an RV or a Sonex or (ahem!) a Bearhawk, there’s what—1000 holes? More? And every hole has two sides, so there’s at least 2000 deburring operations. And that’s just one wing…
There must be some way to reduce the time involved.
Deburring Usually Isn’t.
What about just dispensing with it altogether? Most holes drilled with a sharp bit don’t leave a lot of burrs and chips, and those can be easily brushed away. Isn’t that sufficient?
The answer is that deburring is a misnomer. When we deburr a drilled aluminum sheet, we aren’t necessarily removing burrs or chips. We could do that with a flick of a finger or a piece of masking tape. What we are really doing is changing the shape of an edge.
The reason lies in the material itself…aircraft aluminum alloys are strong and light, but they are also a bit brittle. A sharp edge on a brittle panel is a delicate thing (and holes are nothing more than a pair of circular edges). Small impacts can cause chips and nicks in the corner and a nick can be a place for a crack to start.
Visualize a sheet of glass. Freshly cut, the corners of the edges are sharp enough to draw blood, and an unfortunate tap right on the corner of an edge will crack the pane in an instant. That’s why glass shelves and door panels have the edges beveled and rounded over, a process known as chamfering. By changing the geometry of the edge, the chance of cracking is dramatically reduced. Think of aluminum as slow-motion glass. A sharp edge is still a place for a crack to start, although in aluminum it may take days or years to crack as far as glass does in a split second.
Decades of experience building aluminum airplanes has shown that deburring is good practice, and there’s no good reason to ignore those who have gone before.
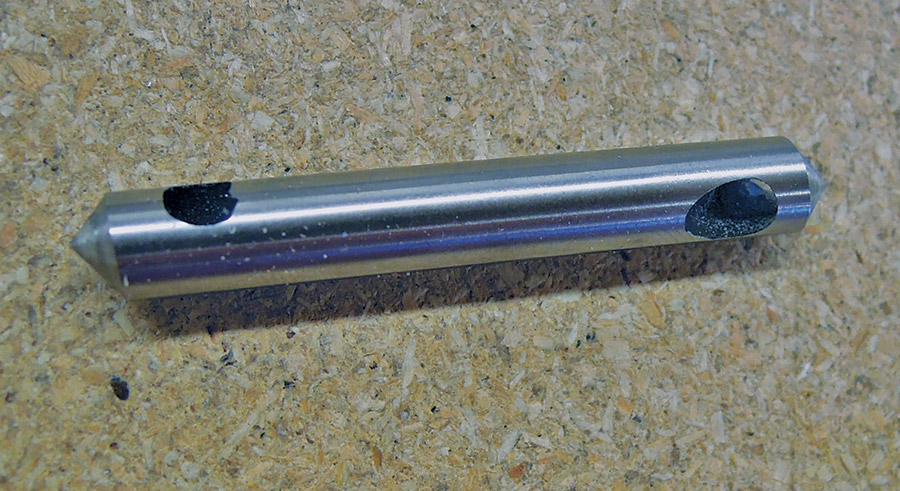
This short, double-ended, single-flute deburring tool never chatters or produces “washboard” surfaces.
The Tools
Holes are deburred with spinning bits that look a bit like a woodworker’s countersink (in fact, if you’re using standard aircraft tools, you can use a deburring bit to countersink the odd few holes since deburring bits and countersinking bits share the same 100-degree included angle at the tip). Bits come in several styles. Some have three “flutes” or cutting edges, some have six, but the best have just one. A short, double-ended, single-flute deburring tool is an elegantly simple tool. It never chatters or produces “washboard” surfaces.
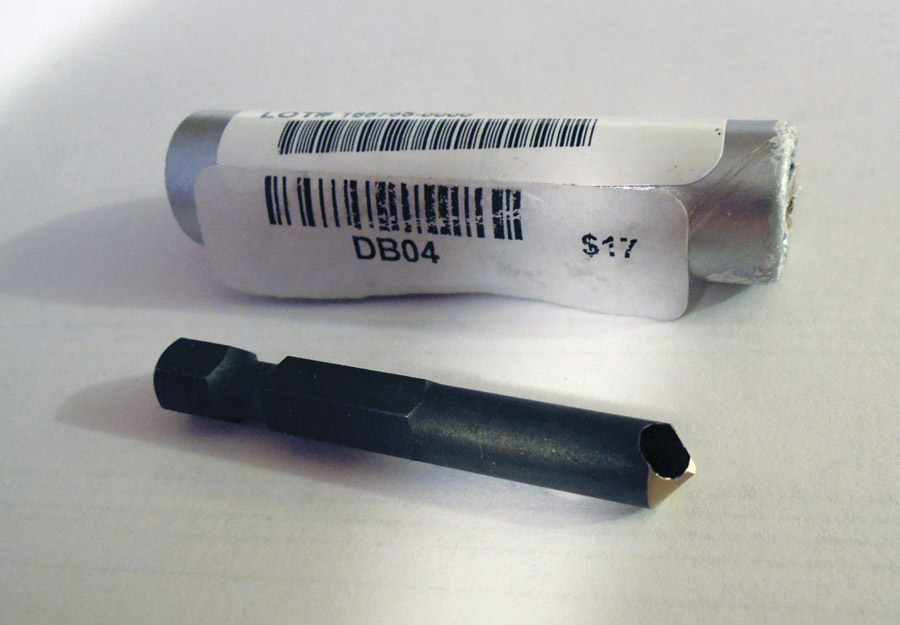
Cleaveland Aircraft Tool’s DB04 deburring bit combines a single-flute cutter with a hex shank that fits into a cordless screwdriver.
What spins the bit matters too. Some texts on airplane building suggest deburring holes by twiddling a large drill bit in the hole with your fingers. Given the age of most of us building airplanes, forget it. We’re not young enough for 2000 twiddles. The tool that’s included in every new builder’s tool kit is the hand-crank deburring tool. This has interchangeable threaded bits, usually three flute (unfortunately it’s difficult to find a single-flute deburring bit with threads that will fit the crank), and sometimes comes with an extension that allows reaching far-away holes. The hand crank is a good tool, and does the job well—but it’s slow.
Why turn a hand crank when electrons work so cheap? For big skins, you can make things go a lot faster with a cheap slow-turning electric drill or screwdriver. Most electric screwdrivers don’t have a chuck—they’re set up for hexagonal screwdriver bits—but you can make a simple adapter from a screwdriver bit and a short chunk of stiff plastic tubing that will let the deburring bit and screwdriver work together. Better yet, at Oshkosh this year Mike Lauritsen of Cleaveland Aircraft Tool showed me his new, specially manufactured DB04—a deburring bit combining the single flute cutter with the hex head standard on electric screwdrivers. Perfect! I owned one within minutes.
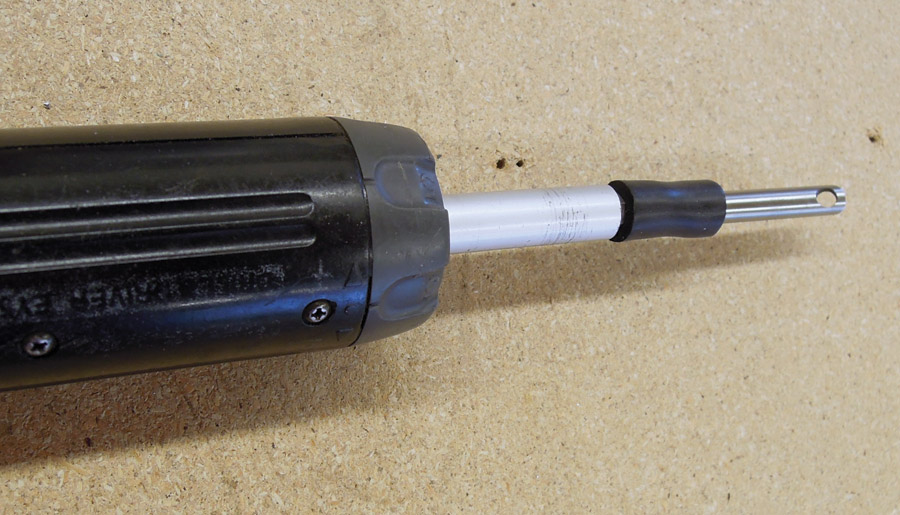
A hexagonal screwdriver bit that is covered by a short chunk of stiff plastic tubing makes it possible for a single-flute deburring bit to work with an electric screwdriver.
What about holes that will be machine countersunk later? The countersink bit will be cutting away metal, just like the deburring bit. Do these need to be deburred, too? Probably not on the side that will be countersunk…but there aren’t many countersunk holes in skins. The absolute minimum skin thickness that can be countersunk for an AN3 (3/32-inch shank diameter) rivet is 0.032 inch, and most manufacturers prefer dimpling 0.032 and even 0.040 whenever possible. Given the size of airplane most of us are building, you won’t find skins thicker than 0.040 inch—and not many of those. You might as well just deburr them all.
To the Mattresses
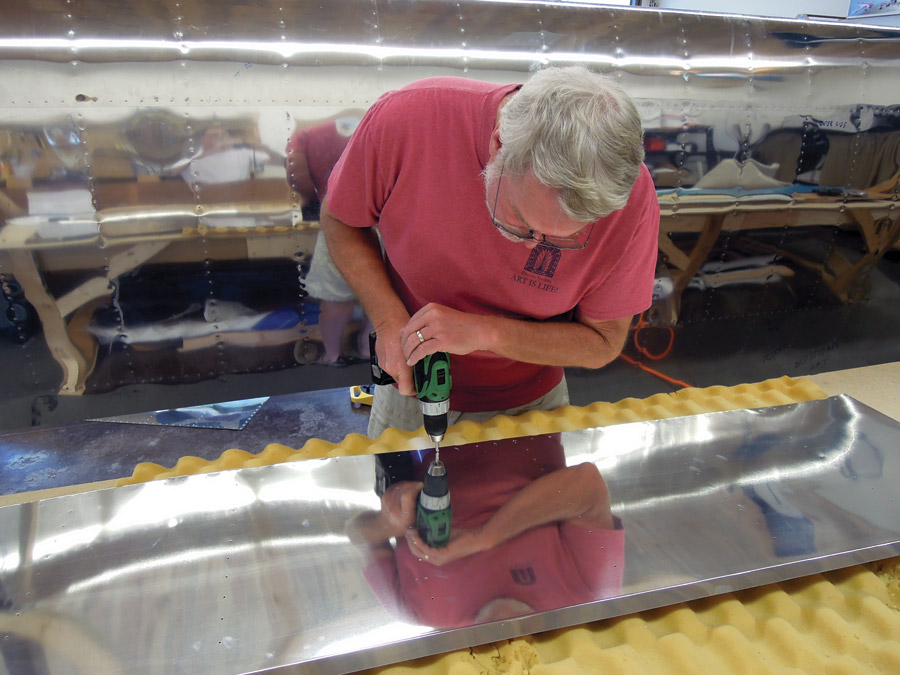
One cool trick for deburring skins quickly has no cutting edges at all. It’s simply a big piece of egg-crate mattress foam. This stuff is perfect. It provides a cushion for the thin skins, with just a bit of flex and spring-back. It allows the bit to penetrate the skin (which it couldn’t do if the skin were flat on a solid surface like a workbench), and all the chips fall to the bottom of the indentations where they won’t scratch the metal.
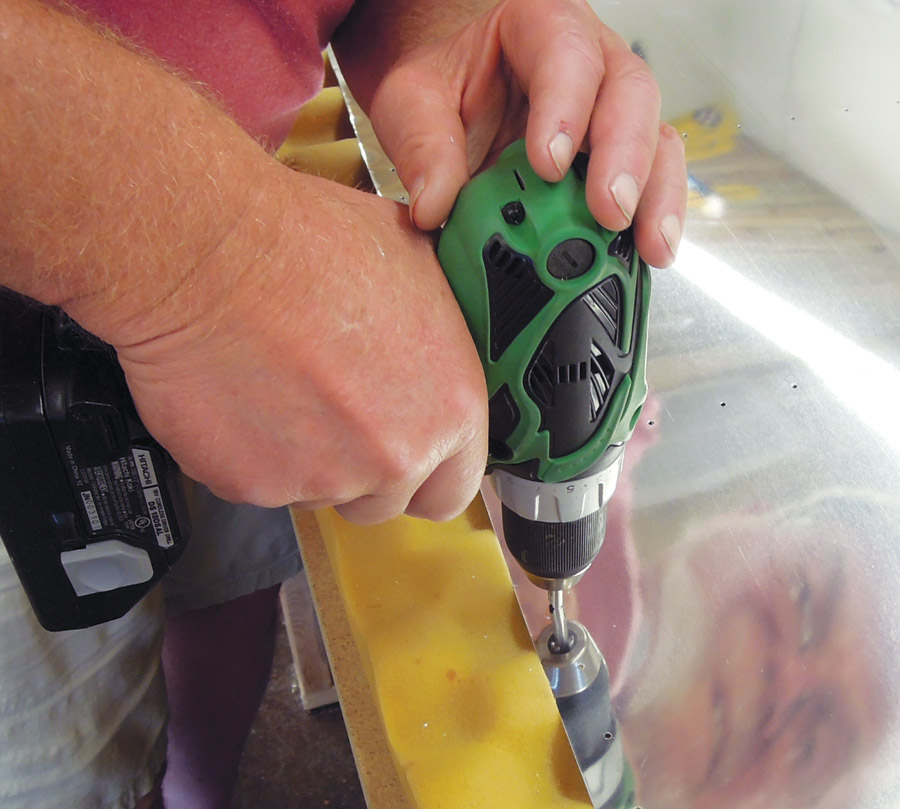
Egg-crate mattress foam is the perfect surface for deburring. It allows the bit to penetrate the skins, which it couldn’t do on a solid surface like a workbench. All of the chips fall into the indentations where they won’t scratch the metal.
When you’re ready to deburr a large skin, simply lay it on top of the “mattress” at a convenient working height. Take your electric screwdriver or drill with the deburring bit installed, and rubber-band the trigger down until the bit is turning 100-150 rpm—it will seem quite slow. Hold the drill perpendicular to the sheet and touch the bit to the hole with just enough pressure to feel the resistance of the foam. Let the bit turn one and a half to two revolutions as you release the pressure. The biggest mistake beginners make is using too much pressure and duration and cutting deeper than necessary, sometimes to the point of enlarging the hole. The resulting bevel should be visible—but only just—to the eye.
You’ll establish a pattern and rhythm, moving quickly and just touching each hole for a second or two. It takes little practice to get consistent results, and you’ll be surprised how much quicker the job goes. If you save a second on every “deburr,” you’ll save 2000 seconds on 1000 holes…about half an hour.
Or just about the time it takes to draw and sip a short pint of home-brew IPA from the hangar kegerator while you admire your work.




I like the article but end, you talked about brewskies My thoughts on that is, When the brew comes out the work on the plane stops No Mistakes
Sure, which is why he talked about enjoying that brew while admiring your work. Meaning: The work is done.
I know the article is four years old but I was using a deburring tool back in 2006 that did both sides with one application.
Saved a lot of hours and did a great job.
Check it out. https://cogsdill.com/products/deburring-tools/
How about some close up photos? Show what is an acceptable chamfer and what is not?