There you are on the taxiway, doing the taildragger weave, canopy rolled back, elbow on the sill, new headset forming a 50-mission crush in your favorite baseball cap. With each swing of the nose you check your path carefully for small animals, loose children, and the old guys from the FBO porch who don’t run very fast. You’re being safe, smooth, and yes, very cool … until the little wheel in the back suddenly pops into full swivel and you run over a taxiway light. Oh the shame!
OK Ace, maybe your tailwheel maintenance is overdue. After all, the poor thing lives in a dirt storm. If it’s giving you a bum steer, follow these simple instructions.
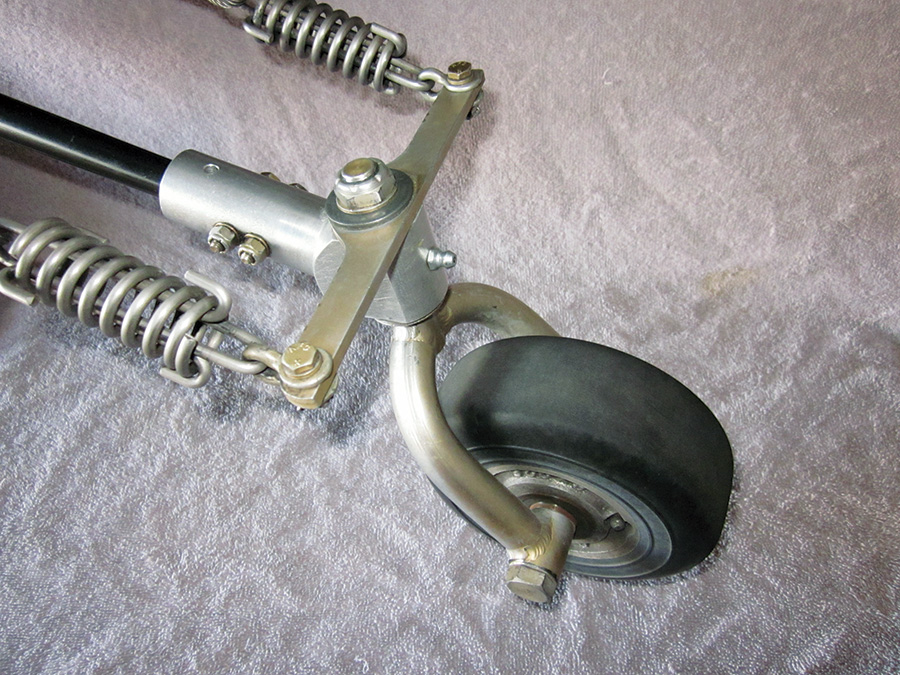
The unit shown here is from Aviation Products, and is typical of the Homebuilder’s Special from Aircraft Spruce, a Van’s RV fork, and the popular Bell, Screaming Eagle, and JD Air Products. If it looks generally similar, chances are it works the same.
Maule units are different, but operate on the same principle. For Bushwheel, Lang, Scott, and Matco, you may wish to obtain a manufacturer’s drawing.
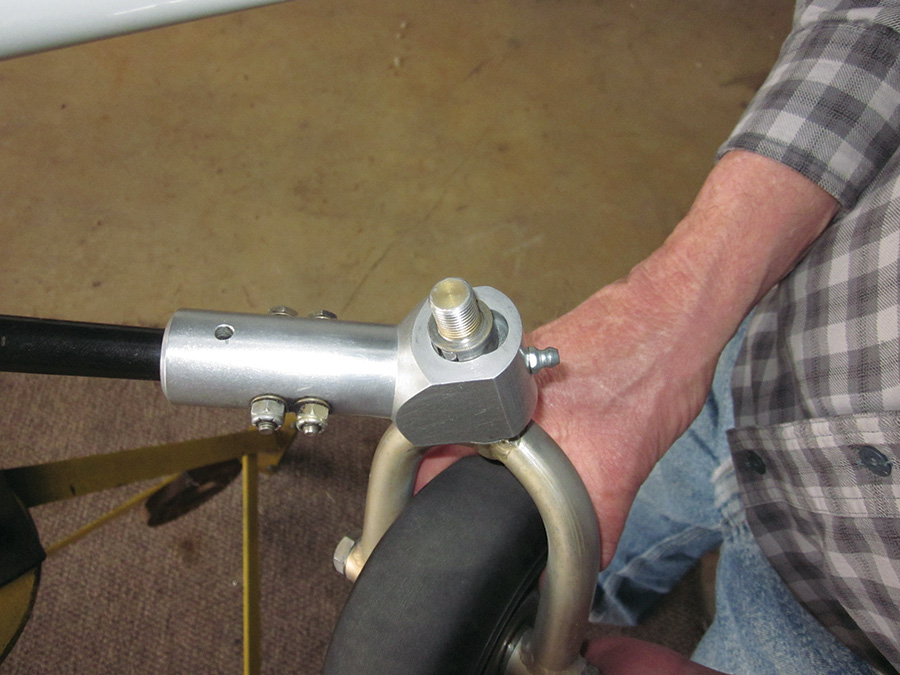
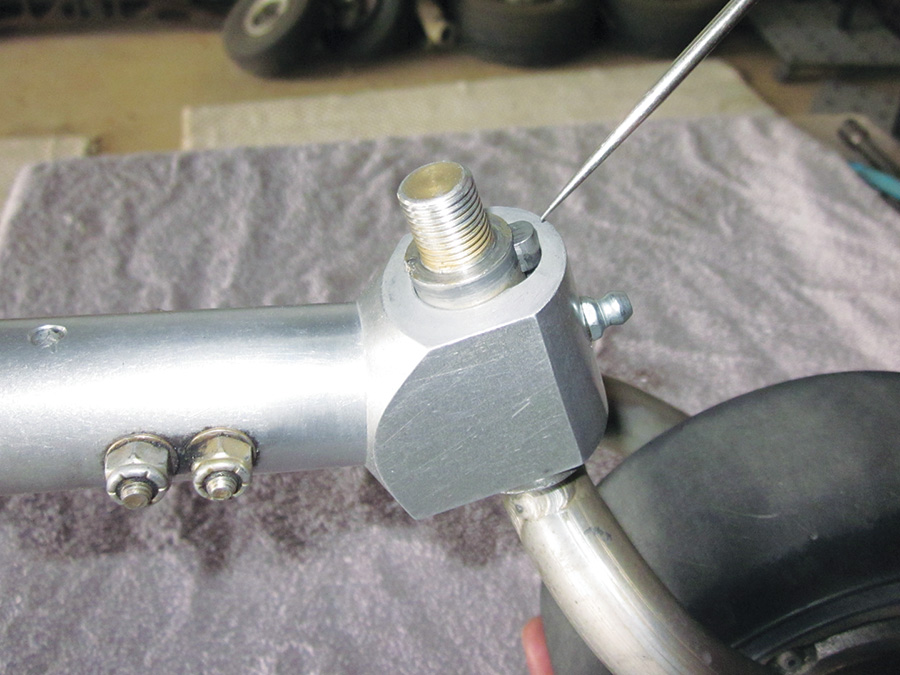
Start by propping up the tail with something sturdy. Remove at least one tailwheel chain, and then remove the big nut and washers on top. Lift off the control arm and wipe it clean. Let it hang to the side for now.
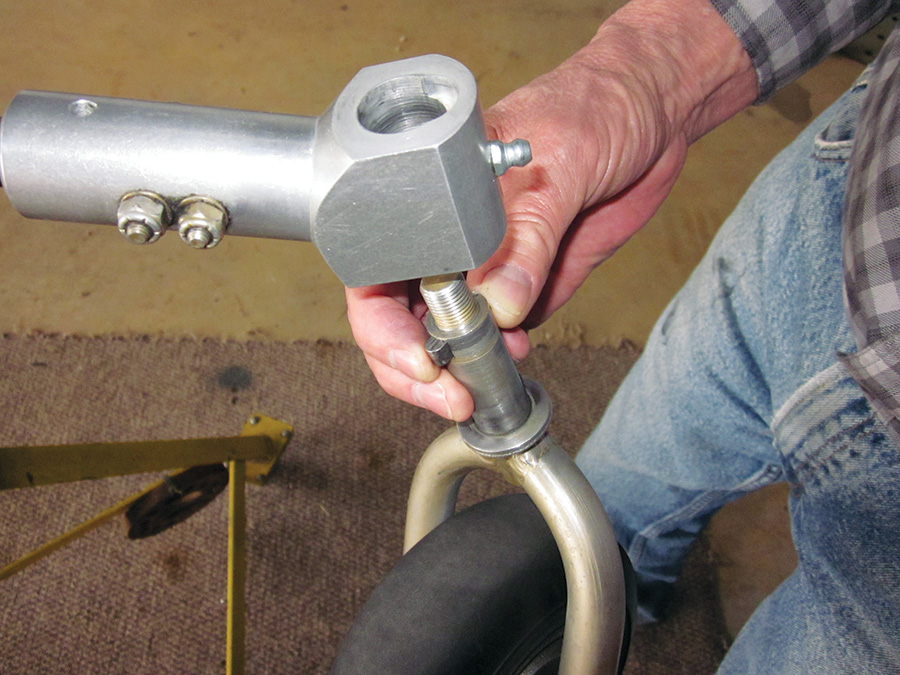
Rotate the fork 90 degrees or more and the pin will be pushed back into the shaft.
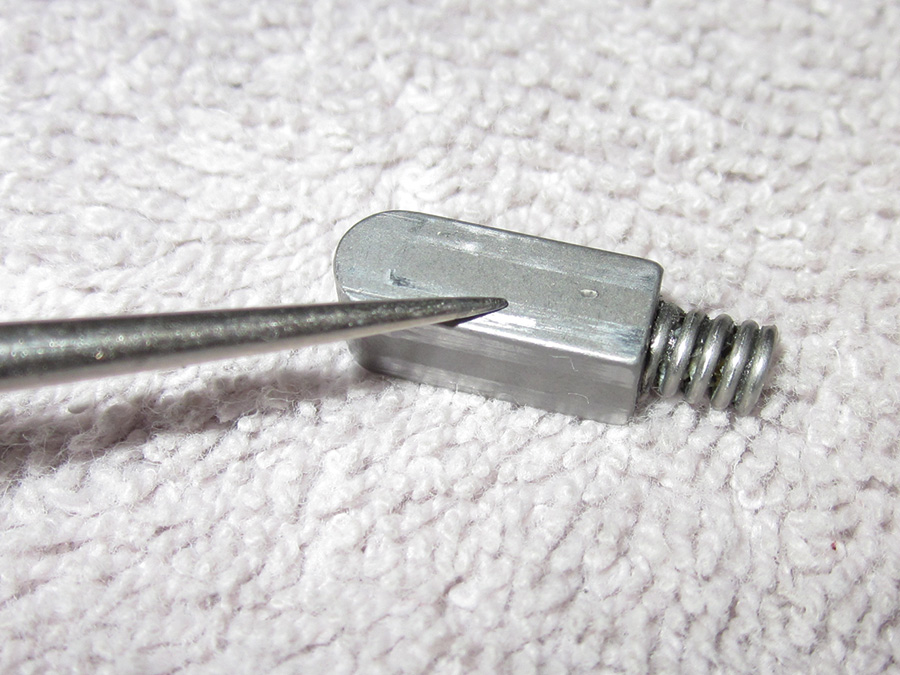
The fork will now drop out. As it does, catch the spring-loaded pin with a fingertip. If the pin doesn’t pop out of the shaft, pull it out with pliers. Drop it and the spring in some solvent to soak.
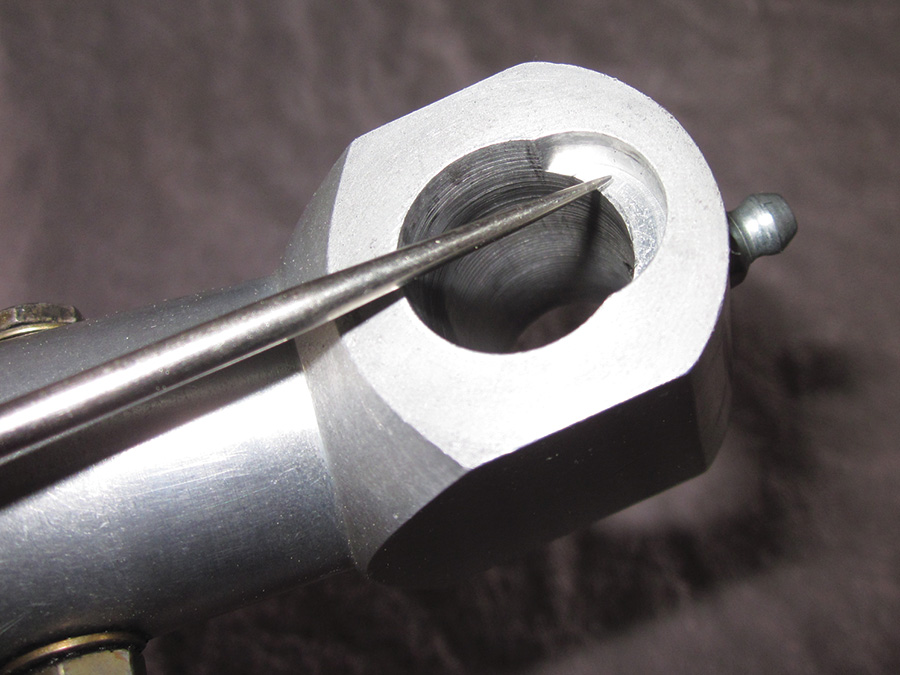
Carefully clean the square bore where the pin fits in the shaft. Your best bet is a spray can of brake cleaner. You want to flush it thoroughly.
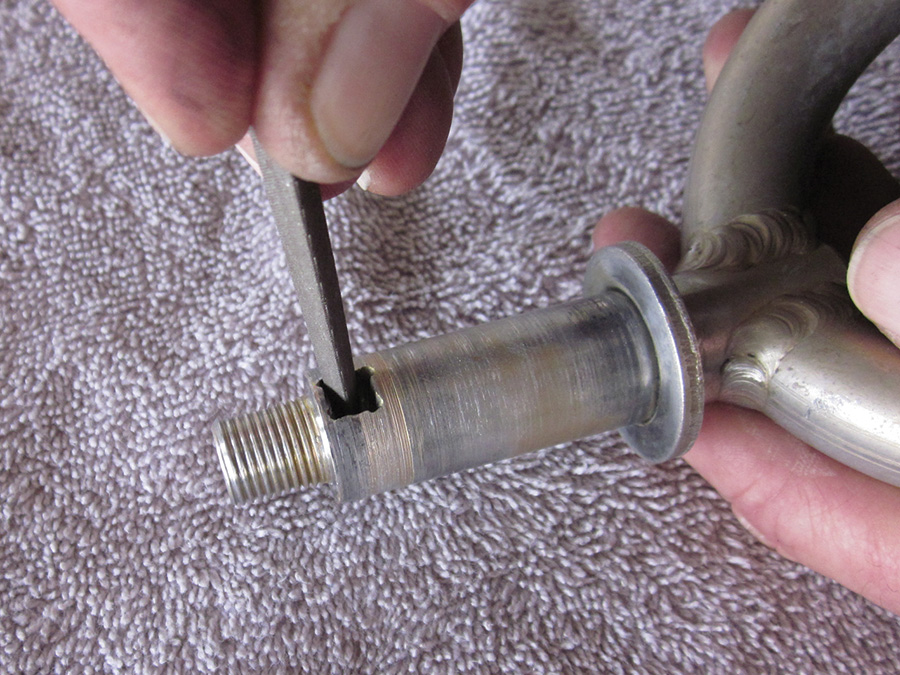
Now look carefully for burrs or damage. File or stone as needed. Flush it again until perfectly clean.
Inspect the square pin. Burrs, scars and gouges are common.
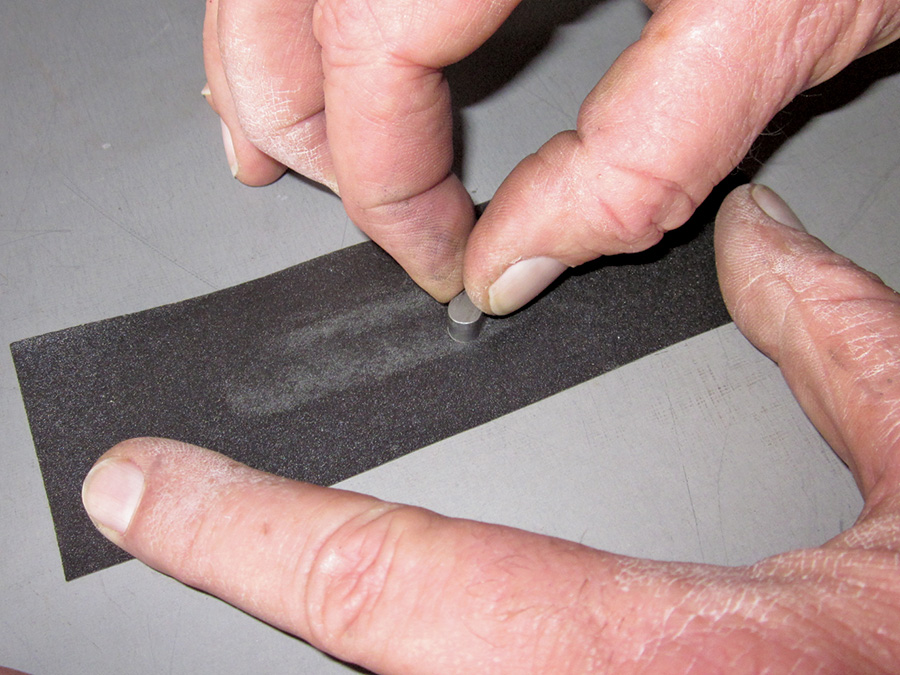
Lay a new sheet of 400 or higher grit on a hard, smooth surface. Lap the pin surfaces until the bumps and burrs are gone. Clean it carefully.
Inspect the slot adjacent to the main bore. Again, smooth and clean are the operative words.
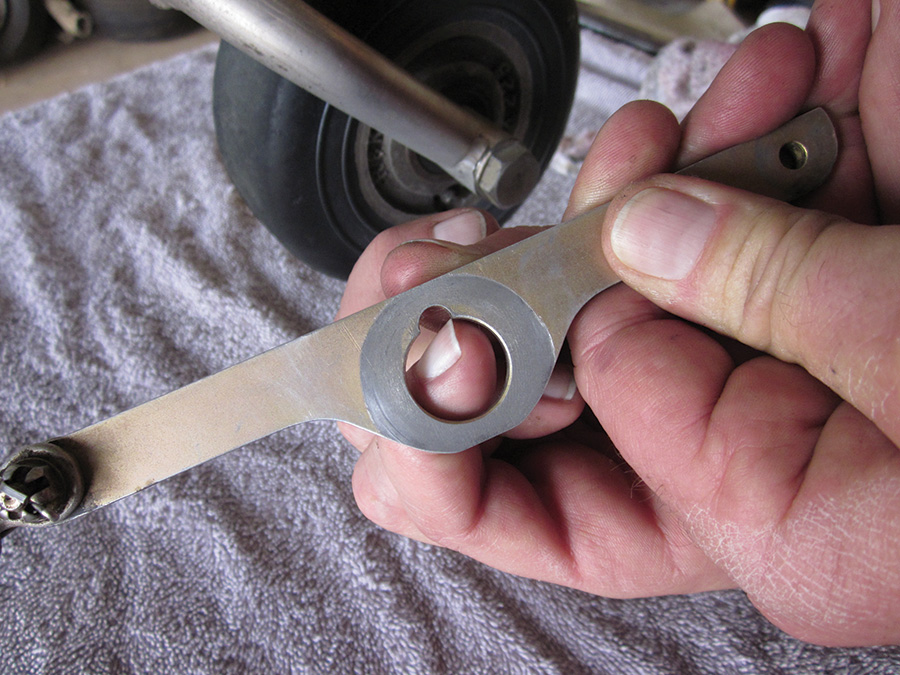
Last, clean the control arm and inspect carefully right at the ends of the half-moon cutout. If burred, use a file or stone, but do not round off the sharp corner. If the corner is worn to a rounded shape, your best bet is a new arm.
Let’s reassemble. Clean and grease the main bore. Grease the pin and its recess. Slide the pin and spring into the recess, push in the pin until flush with the shaft surface, and slide the shaft up into the main bore. If the fork points rearward, the pin will snap into the slot when the shaft is fully inserted. The fork assembly will not fall out.
Add the arm, washer(s), and the big nut. Connect the steering chain. Push a grease gun on the fitting and pump until grease squeezes out around the top and bottom of the shaft.
Now might be a good time to check the wheel bearings for smooth operation. Most are sealed, but yours may need to be cleaned and repacked. You’re done! Go fly—just watch out for the old guys crossing the taxiway.

![]()
Dan Horton says he is “just a homebuilder”. He has been a pilot more than 30 years and currently flies a custom RV-8.

