I built my first homebuilt, an RV-6, using the relatively modern method of sheet metal construction. After flying for a few years, the urge struck to start another project. I was attracted to the idea of an open-cockpit, low-and-slow design, and many of these designs are of tube-and-fabric construction. After an exhaustive search, I settled on the Breezy. After all, it doesn’t get any more open cockpit (or slow) than that!
When building a tube-and-fabric airplane, one of the important skills to learn is how to fishmouth your tubes so that they fit together nice and tight, and give you a good weld joint. One of the things that always impresses me about older, highly-experienced builders is their ability to eyeball a joint, take a piece of tube to the grinder, and come back with a perfect fishmouth. It is definitely a learned skill that takes years to perfect. In the meantime, there is a tool to help the rest of us while we are learning those skills.
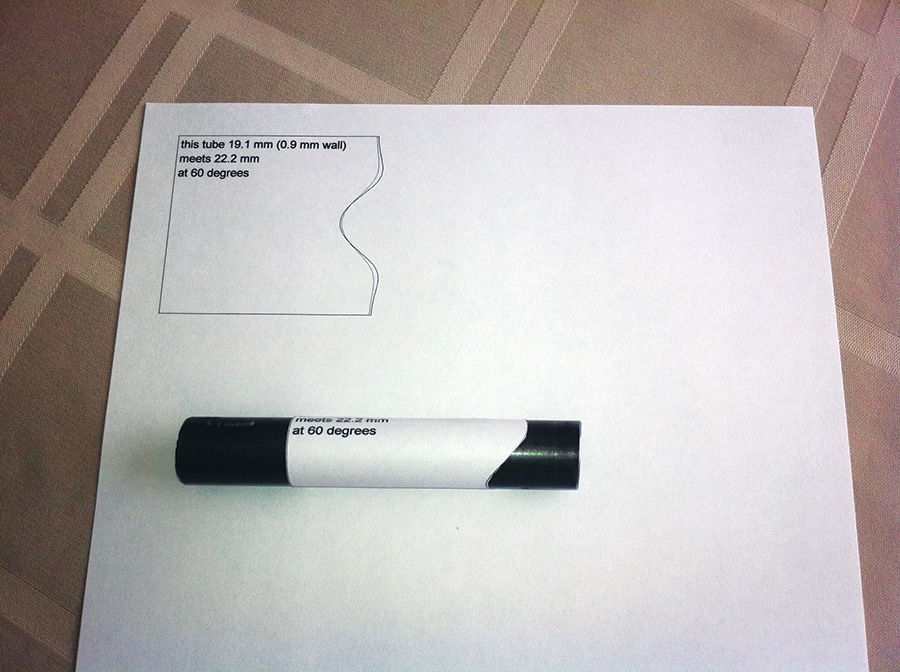
Tubemiter plots out a curved line that can be wrapped around a tube and used as a template for cutting.
New Technology Meets Old-School Know-How
Tubemiter is a computer program that was written by an Australian gentleman named Giles Puckett. It is a simple (and free) shareware program that has been around a long time and runs as a simple .exe file. You can find it at www.ozhpv.org.au/shed.html. It doesn’t need to be installed on the computer, so many users run it from a thumb drive. Being Australian, it is written to use metric measurements, so some simple conversion is required.
With Tubemiter up and running, the first thing you need to do is enter four measurements in the program’s settings box: diameter of the tube to be mitered, thickness of that tube, diameter of the mating tube, and included angle. After entering those parameters, the program plots out a pattern with a curved line. With a little scissors and tape work, the pattern becomes a tubular template that can be wrapped around the tube you need to cut.
You’ll notice that the pattern actually shows two curves. The dashed curve is the theoretical line, if your mitered tube were only one molecule thick. The solid line represents the actual cut line, which will vary depending on the tube thickness.
Once you’ve made your template, simply slide it over the tube and transfer the cut lines onto your tube. I prefer to use a silver marking pencil, as Sharpies can bleed through the paper. Use your preferred method (tin snips, files, or grinder) to cut the tube to the marked line. Voil-a perfectly notched tube every time. Make your measurements for the opposite end of the tube and repeat the process.
Here’s a helpful hint: Mark the centerline of your tubing and use the splice line where you tape the template together as a centering guide. It takes a little time to make these templates, but with practice, you can turn one out in a couple of minutes. The templates can save you a lot of time in the long run, and will cut down on your supply of wind chimes in the process!

Enter the parameters for the cut, and Tubemiter will print a paper pattern. The dashed line is the theoretical line, if the mitered tube were only one molecule thick. The solid line is the actual cut line.

Here are the settings and pattern for the first notch of a 45-degree diagonal tube that will form a cluster with a 90-degree T.

Tubemiter configured for the second notch in the diagonal tube. The second pattern will be printed directly on top of the first pattern on the same piece of paper.
Beyond the Basics
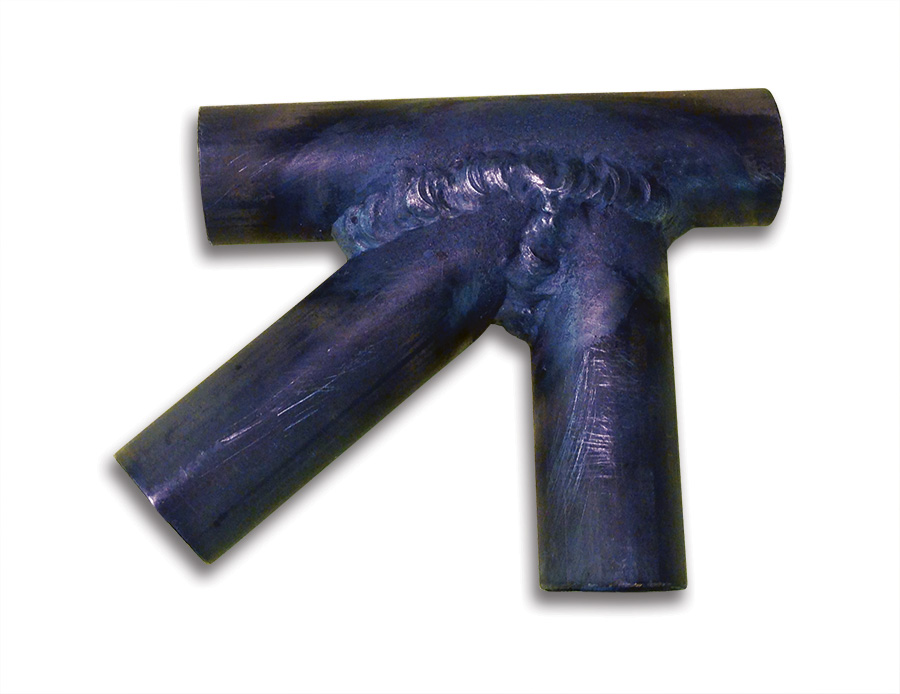
Once you’ve mastered the basics of Tubemiter, it’s time to get down to the advanced stuff-notching both sides of a tube for a cluster. To keep it simple, let’s use the most common of clusters: a 90-degree T with a diagonal coming right down the middle at a 45-degree angle to each tube. To keep the math simple, we’ll use -inch diameter, .035-inch thick tubing for this example.
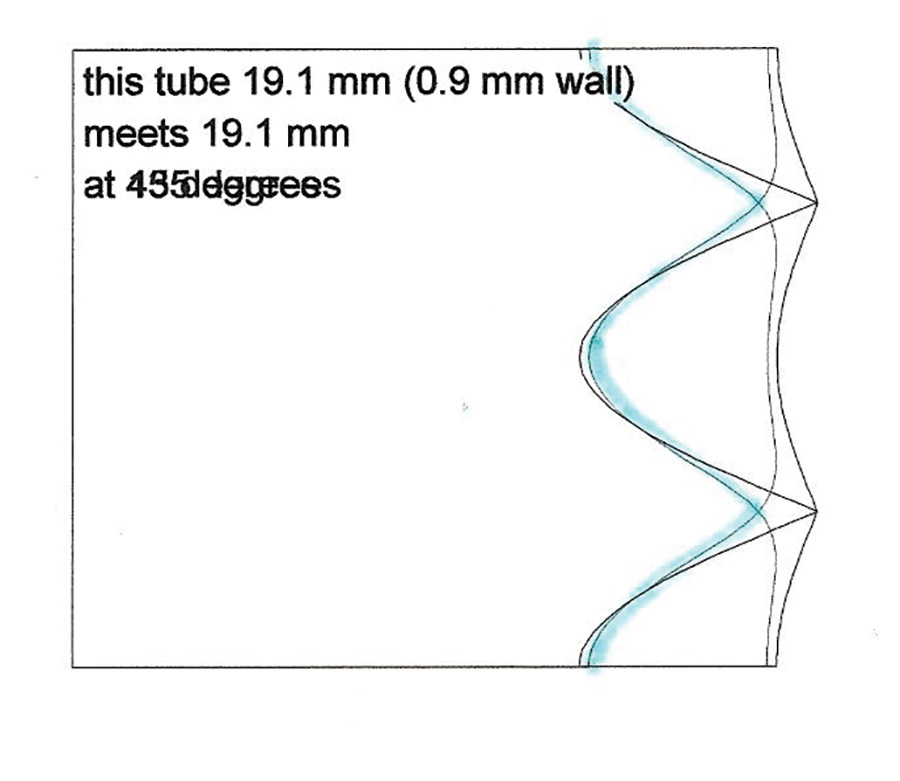
Start out by setting up Tubemiter for the first notch. Print out the pattern, but instead of cutting it out, feed the paper back into your printer so it will print on top of the pattern that you just made.
Next, configure Tubemiter for the second cut. A little high-school geometry and math reveals that the proper angle for the second cut is 135 degrees (180 – 45 = 135). What you’ve just done is tricked Tubemiter into showing you a 45-degree cut, 180 degrees opposite.
Now print out the second pattern on top of the first. Then take your scissors and cut out the pieces that are common to both patterns. When done, wrap and tape the template around your tube, and double voil-you’ll have a perfect template for both cuts!
As you can see in the photo that shows a drawer in my toolbox, I’ve used dozens of these little Tubemiter templates when building my Breezy fuselage. For longer-lasting patterns, you could transfer them onto poster board or similar, but I’ve found that the plain old paper ones will last for a few cuts before they get worn out, and that’s plenty good enough for the homebuilder. I hope you find this hint helpful, and good luck on your project.
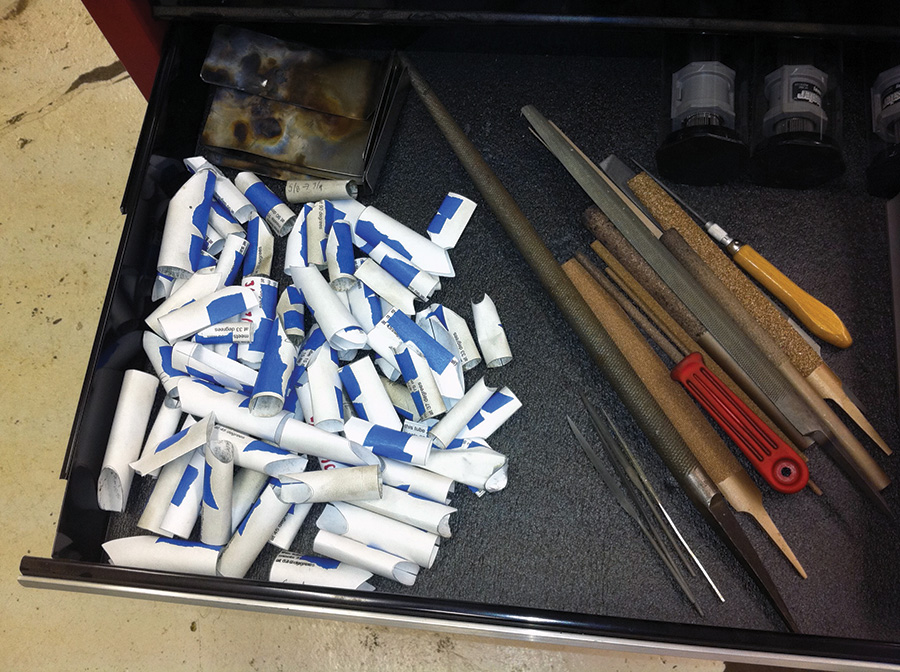
The author’s collection of Tubemiter templates. Patterns can be transferred to poster board for longer life, but even printed on paper they will last for several cuts.



Jeff, nice article. And Giles is the guy! I will say, I created an alternative program with some nice features, including alignment marks, and length reference for highly engineered products. I’ve also included a tab for air frame cluster joints, similar to what you’ve done here with the double print. Free, no ads. https://dogfeatherdesign.com/ttn_js/
Hi Zip.
I (and some other bicycle frame builders around me) have been using your program with great satisfaction. It has some really unique features.
It seems that dogfeatherdesign.com has been recently discontinued, though. Is your program hosted anywhere else now? Or maybe the source code is available by some mean? We’d love to see it running again. 🙂
(And by the way, thank you Jeff for this instructive page. The advanced technique is a valuable trick!)
Hi Erwan,
I also built my plane in tube entirely with the ZIP program which is magnificent and which is the most successful of all the existing programs because it allows you to make more than just round tubes with round tubes.
I must have used his program again a few months ago (March 2023 and last use in December 2022) because I am still on my project. I also had the unpleasant surprise of seeing the website down.
After much research, it turns out, unfortunately, that ZIP alias Lee Bennett Corney from Las Vegas passed away suddenly (Lee Bennett Corney, age 68, of Las Vegas, Nevada passed away on Tuesday, January 3, 2023/ https://www.dignitymemorial.com/obituaries/las-vegas-nv/lee-corney-11092564 ) and his servers were shut down. Peace to his soul and great gratitude for all the work he has done over all these years without me being able to thank him.
Unfortunately all of its programs were only available on its servers. There is no other access or archives available. All his work is lost forever.
Lee Corney’s legacy is safe.
I can confirm that I found a working archive of his website including working Javascript code and printable PDF files. After you load the website, look at the top for a gray-colored tabbed menu bar. Simply select the tube notcher you want to use, type in your measurements, click “Calculate”, and then print your results. My favorite tool is the Round Tube Bracing tool that calculates patterns on both sides of the tube!
https://web.archive.org/web/20220813002626/http://dogfeatherdesign.com/js-graphics-presentation-22-sept-2015/
Hi Julien:
Thank you for the kind words. Lee is my brother. Sadly and suddenly, he did indeed pass away in January.
I’m not a programmer type at all, but I do have access to all of the Dog Feather Design coding (I THINK).
Pretty sure he’d be stoked if someone in the know wanted to take it over.
Not sure how best to share my contact info without a public posting,
but if you are (or someone else) is interested, post here and we can figure something out.
Best,
Marc
Happy Thanksgiving to All.
BTW
I only found this post because I was doing an Obit search for Lee.
Hello Marc and Rick, thank you very much for your help.
It’s amazing, we can still use Lee’s work. It’s as if he was still with us!
Really thank you again.
Greetings from France.