In last month’s column I introduced our video project for building the Affordaplane. To review, this is the plans-only project I demonstrated on YouTube for building an ultralight from raw materials. (You’ll find this free 50-part series here.)
My objective was to build an “FAA-legal” ultralight using approved aircraft materials and techniques. This month, I will review some of the challenges encountered while building. My approach on making these videos was to show and explain to first-time builders how to take a set of plans and translate them into a series of steps for completing the project.
From a construction standpoint this ultralight design is quite unusual in some ways and very traditional in others. The designer, Dave Edwards, had a goal of making sure the aircraft could be built by an amateur with common shop tools and readily available materials. Most of the aircraft is made from round and square 6061-T6 aluminum tubing. The square tubing is used primarily for the fuselage; the round tubing is used for the wings and other flight surfaces.
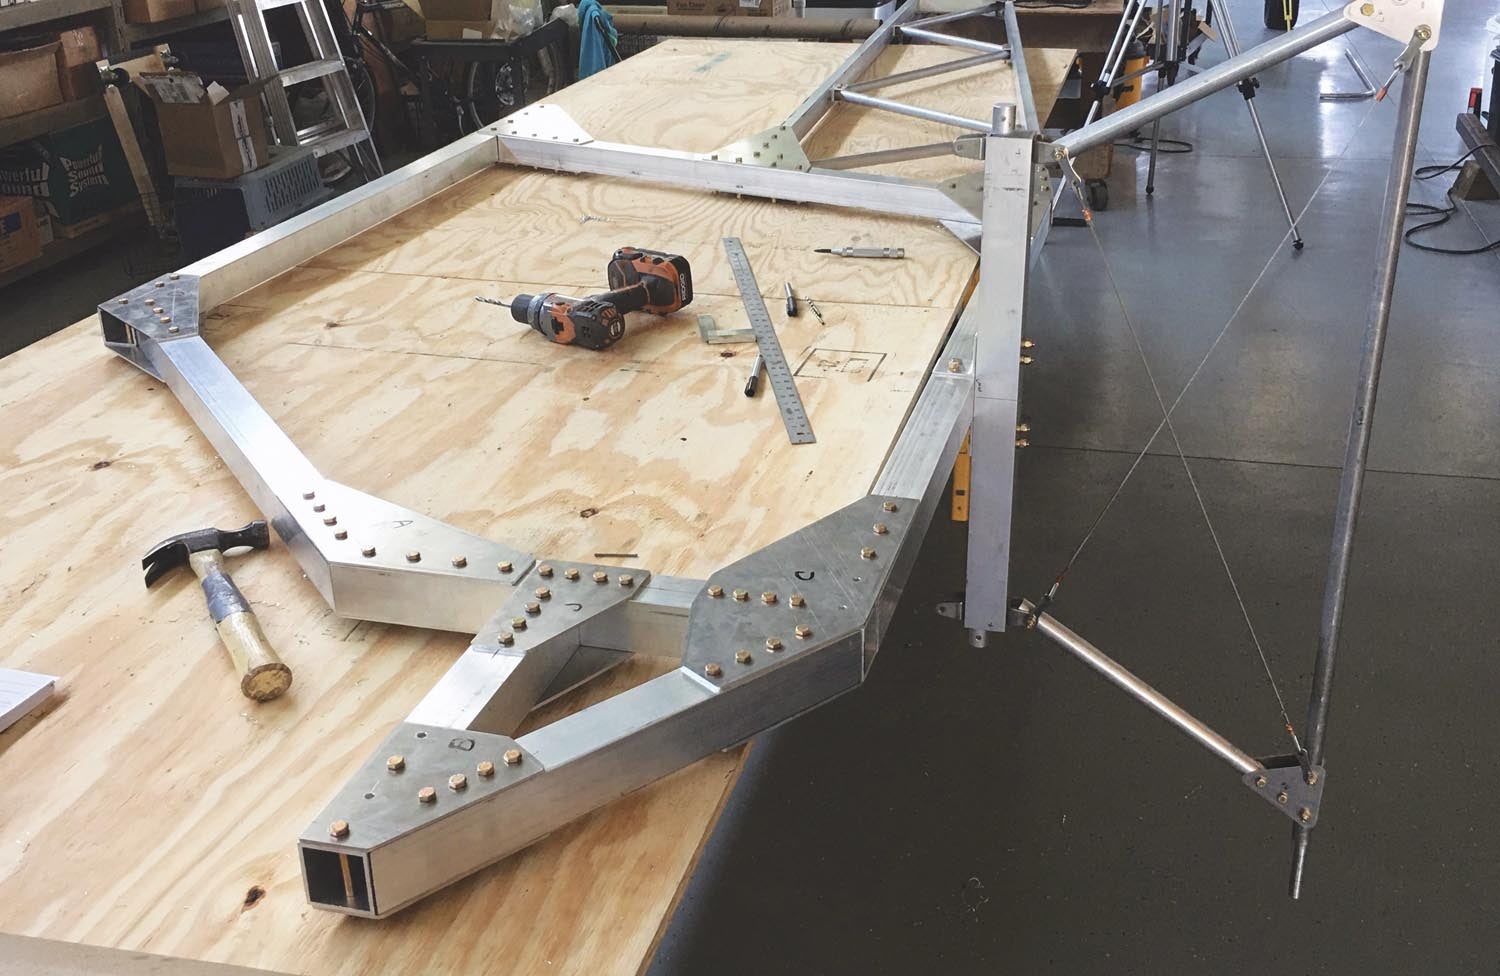
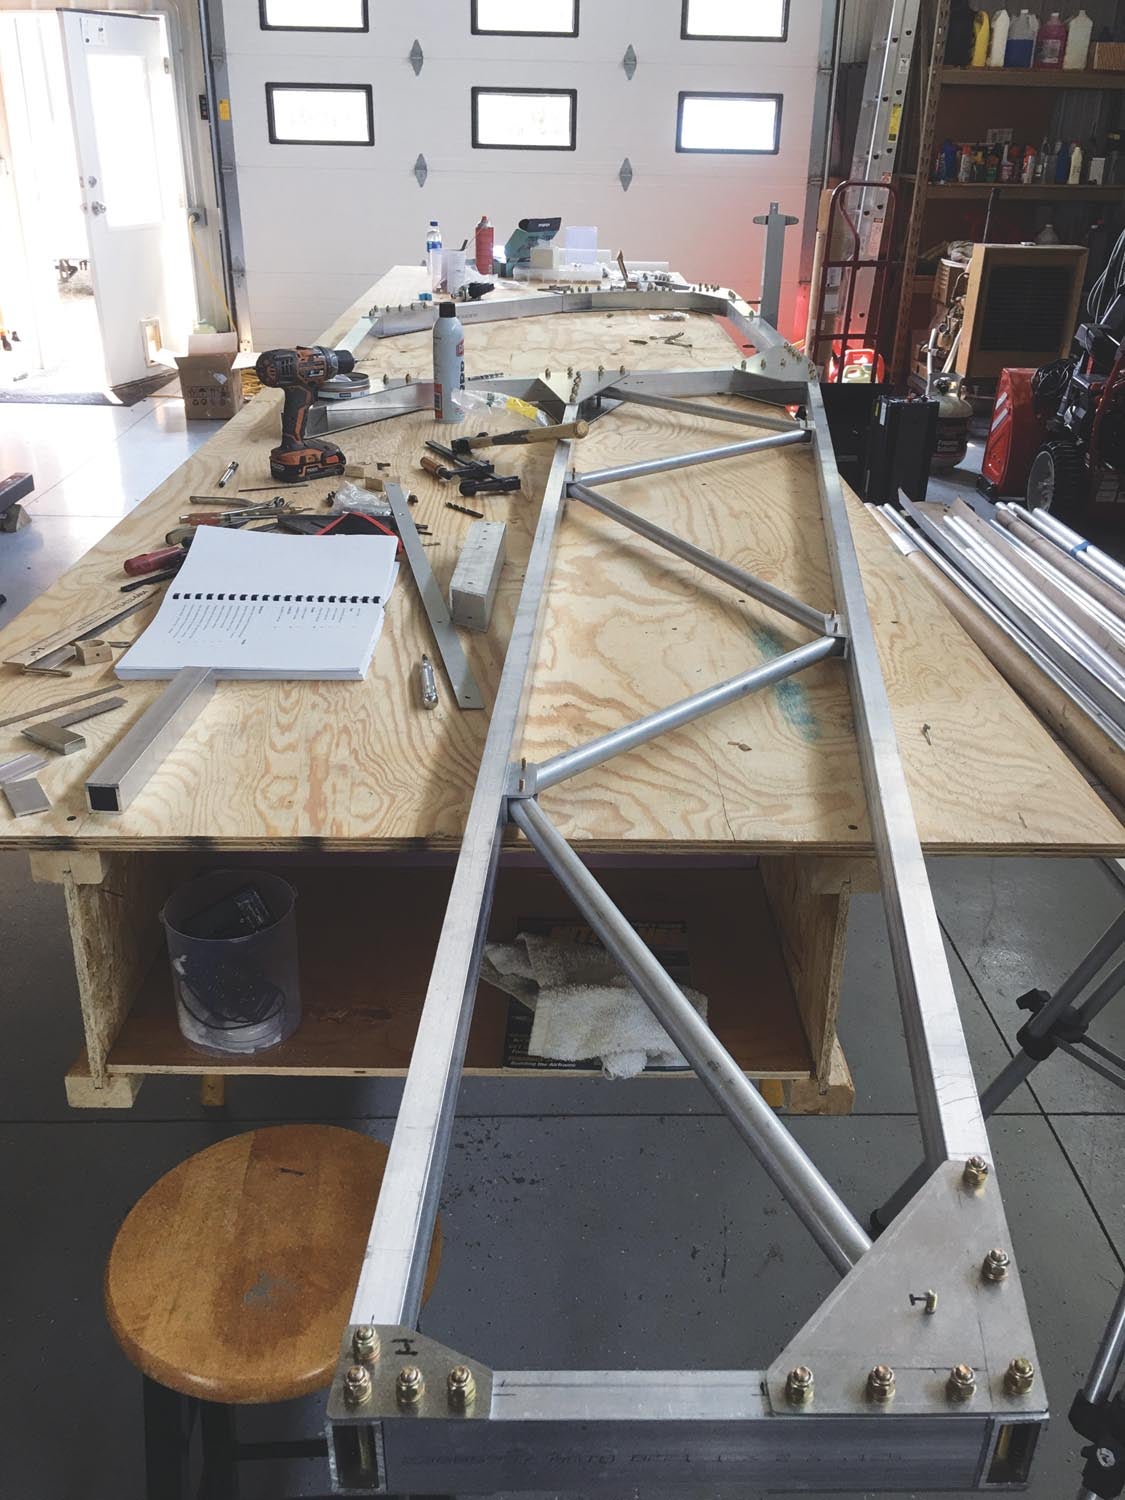
The fuselage is unique in appearance as it resembles a ladder turned on its side. Yes, it is a thin, flat fuselage that the pilot straddles while sitting in an attached seat. The fuselage is fashioned from a dozen various lengths of 2-inch square aluminum tubes. These straight, square tubes are joined to one another by 1/8-inch-thick aluminum gussets attached on each side of the ends where they connect to the next tube. A set of AN-4 bolts pass through each “sandwich” of tube and gussets on either side to hold them tightly together. The construction skills needed to build this fuselage consist of cutting the square tubes to proper length, along with using a bandsaw to shape the gussets to match the full-size templates included in the plans. As holes need to be carefully drilled through the gussets and square tubing for the AN bolts, I show a technique for match drilling these items so that everything lines up when finished. You should get the idea that there are no difficult tasks required—just some easy techniques and careful use of drills and saws.
Due to the two-dimensional ladder-type fuselage design, there can be enormous stress developed at each square tube and gusset junction. These in-flight stresses include tension, shear and twisting (torsion) between the connected tubes. The AN-4 bolts that hold these joints together provide more than enough strength to do the job. A problem that arose was that many builders inquired about substituting the AN bolts with rivets, and others wanted to just weld the gussets to the tube! It is reasonable and encouraging that builders question construction alternatives—maybe for saving weight or cost. However, I felt it was my job as a teacher to address these desires by new builders to divert from the plans so that the aircraft can remain safe and strong, as well as communicating the reasons for these decisions.

One of the Facebook forums used for information about the Affordaplane seems to entertain modifications to the plans. (I refuse to participate in this forum.) On repeated posts, “professional” welders explain how their welding expertise and industry experience results in an aluminum welded joint that is superior in strength compared to using AN bolts as depicted in the plans. Forum moderators have tried to explain that eliminating the bolts, regardless of how perfect a weld might be, will drastically reduce the joint strength that comes from the side-to-side load transfer that the bolts provide with their clamping strength on each side of the tube.
The same issue is found with substituting rivets. While most builders can understand this and respect the decision to never weld or rivet, others are vocal about not agreeing and telling the community that they know better. My concern about this forum is that future new builders will read these comments made by “professional” welders and believe that it is OK to skip the bolts. It is certainly OK to experiment with your own butt on the line, but giving life to the idea that this might work well for others is not something I want my project to be associated with! This is the nature of public forums. But when it comes to building airplanes, we should take special effort to guard the facts that ensure safety. Remember—ultralights do not get inspected by the FAA. This places a huge responsibility on the builder.
The desire to eliminate AN bolts is just one example of the many requests to modify the Affordaplane design on this forum. I am genuinely surprised at how often the topics of changing things come up—everything from making the wings longer for better performance to adding reinforcements to make the landing gear “better.” It seems like a full-time job for the moderators to explain that it is best to build the plane properly first before changing things!

Learning to respect the plans while building an aircraft seems to identify which builders will have a future for more complex aircraft projects. Desiring to make changes and questioning a design is a hallmark of Experimental aviation, but only when done responsibly by way of researching known principles first and then testing.
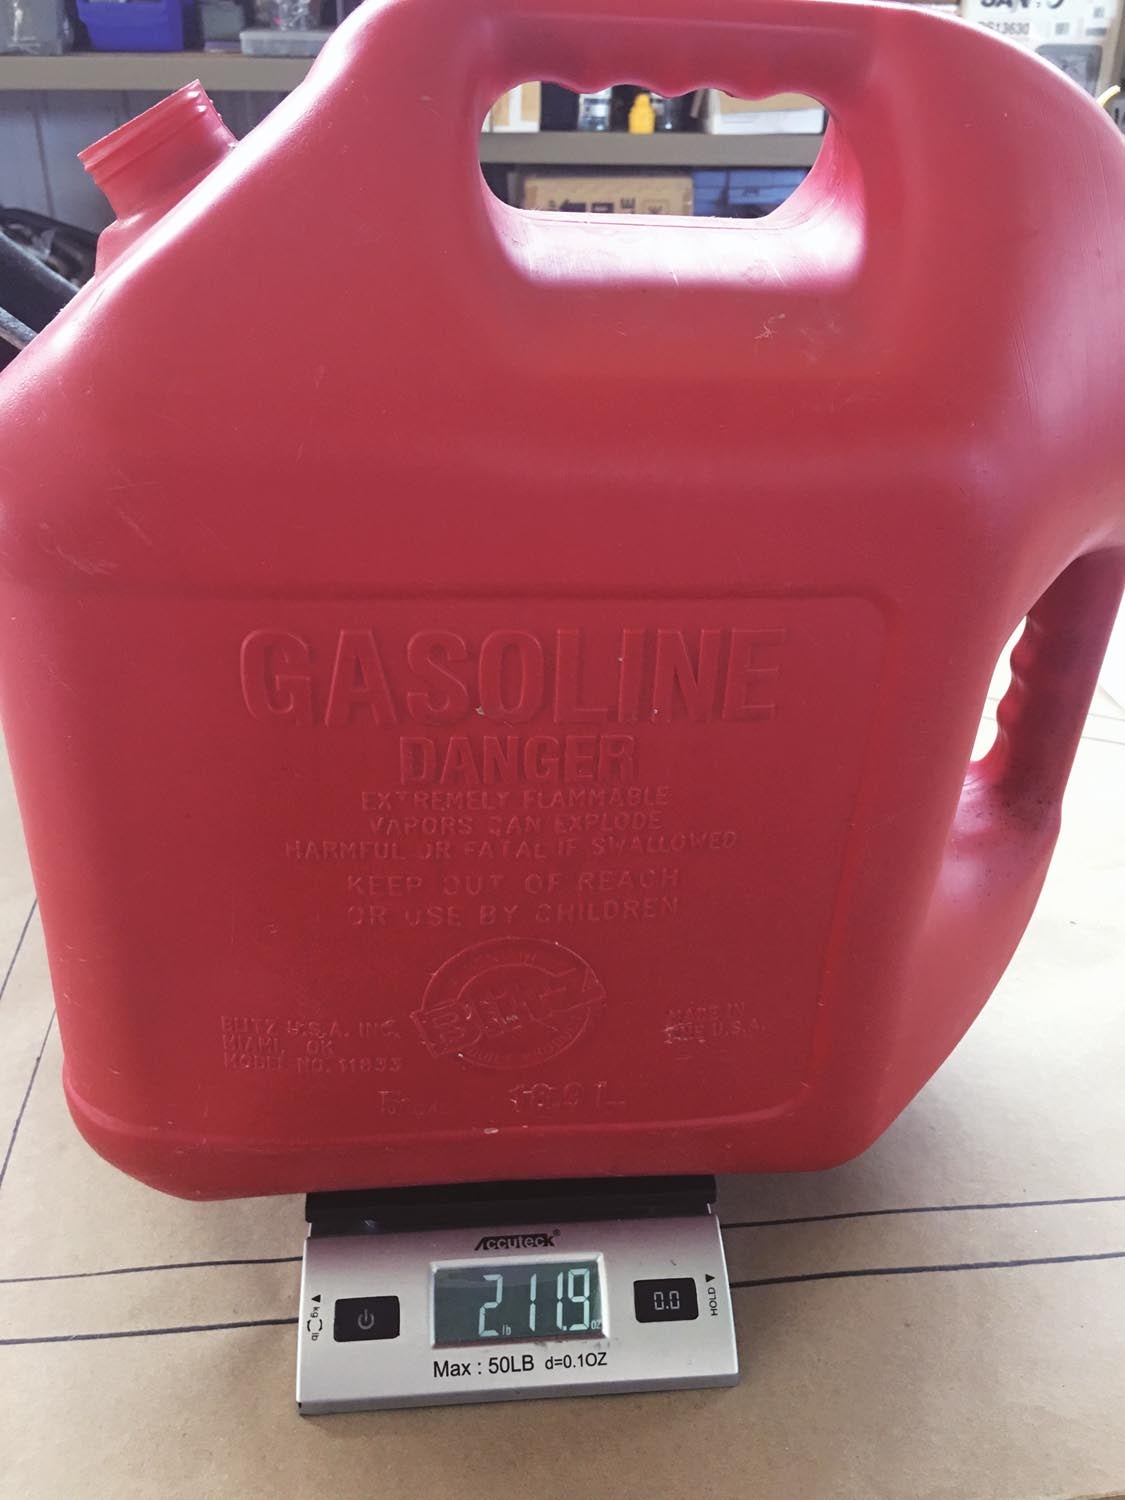
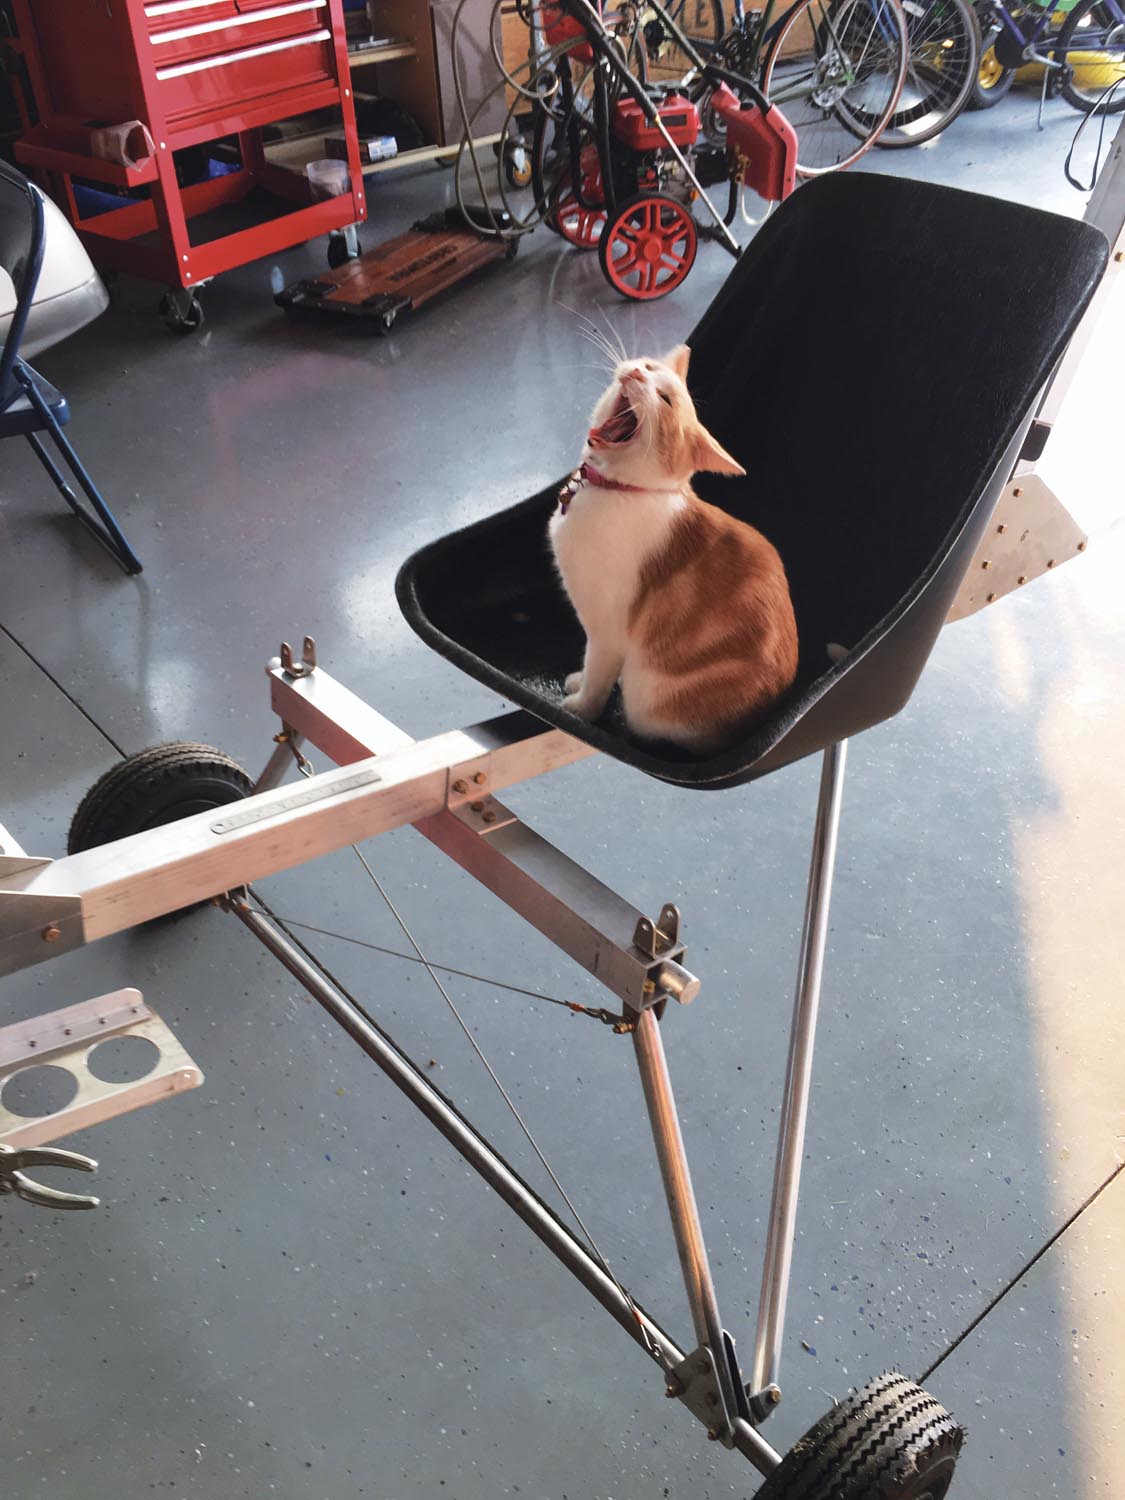
Some components of this design are left to the builder. For example, the pilot seat, wheels and gas tank are to be of the builder’s choosing. It is in selecting these items where too much weight can creep into the final project. Take, for example, the wheels. We know the weight and size can vary widely. I made some choices that I thought would provide a good compromise. You cannot know in advance if your choices will bust the 254-pound final weight limit. I did weigh each of these “optional” components for later reference in case I needed to choose something lighter.
With the fuselage on its wheels, it was now time to construct the tail section along with the wings. Lots of round tubes of various diameters are used for these assemblies. However, these tubes need to be bent into shape following templates drawn on the table. We will discuss this building process in our next installment. Here, stainless steel rivets will now be our main choice of fastener. Plane and Simple!


Great article, good points brought out. I like the fact the author addressed the changing of the construction by some builders. Please stick to the plans unless your a professional designer. I will say the people who chop and change designs and try to fly it make great you tube videos, 😎
I bought Affordaplane plans too because they were so cheap and, why not. Looking forward to following this series of articles. I was never planning on building one but now, who knows?
Comments are closed.