Your engine gets so much attention-oil changed, spark plugs cleaned, timing checked, sensors constantly scrutinized. But what would an airplane engine be without a propeller? Not much.
Propellers need very little maintenance, especially the metal propellers that most of us use, but what little they do need, they really need. A fixed-pitch metal prop needs to be protected from corrosion and from foreign object damage; in return it will be a faithful servant for many years. A constant-speed prop needs one additional thing: occasional lubrication to keep its internal parts working and free of corrosion. Sounds pretty simple, and it is, but as with anything, there are better and worse ways of keeping your prop happy.
Aluminum corrodes when exposed to air, especially moist air, and even more so to moist, salty air. Corrosion then leads to weakness, possibly cracks and, in extreme cases, blade failure. Blade failure in turn not only deprives your plane of its motive force, but the imbalance can tear an engine loose from its mounts. If the engine parts company with the plane, you have an unrecoverable center of gravity shift that virtually guarantees death to the occupants of the airplane. Obviously, maintaining the integrity of the propeller is of vital interest to every aviator.
To protect against corrosion it is merely necessary to keep the prop painted and to keep water out of its internal parts. Paint will erode from the leading edges of any prop with normal use. It will wear faster if the prop flies through rain, dust, and gravel, or water spray from float operations. That means that the paint on your prop needs to be touched up from time to time, or in some cases completely replaced. Regular lubrication and inspection will keep internal parts corrosion-free.
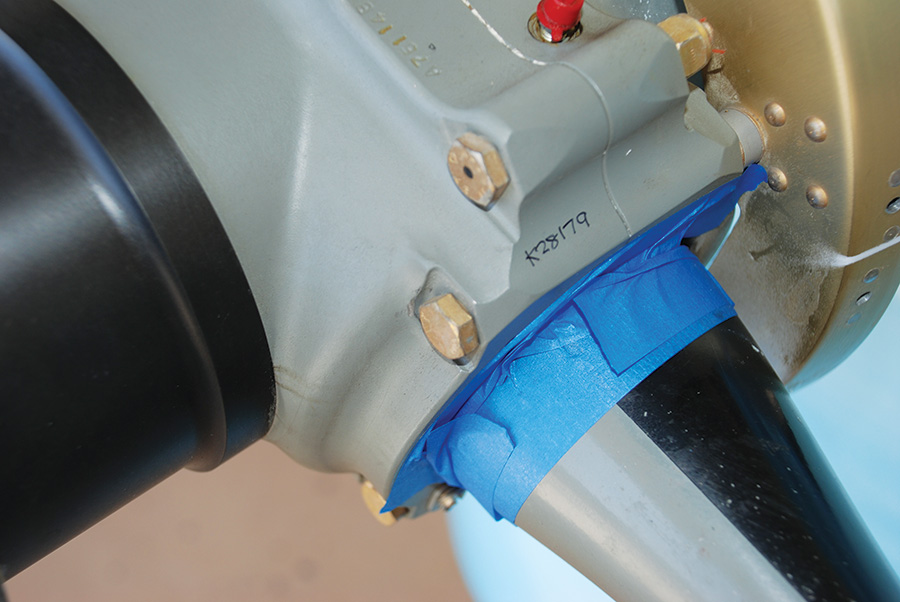
If you need to completely repaint a prop blade, be sure to write the blade serial number on the prop hub before you remove the sticker with the number on it. Mask off the last inch to prevent chemicals and abrasive dust from damaging the prop seal.
Paint Repairs
To touch up the paint on your prop, always first go to the manufacturer’s recommendations. They have a strong interest in maintaining the integrity of your propeller. They have tested paints and processes and found what works best for their products, so you should take advantage of that knowledge. Hartzell says that just about any paint is better than no paint, but Sherwin-Williams and Tempo paints have proven to be the best for their props because of their toughness, flexibility, and durability. Paint specifications can be found in the Hartzell Propeller Owner’s Manual. McCauley recommends the same paints.
To prepare for painting, first repair any dings or scratches, as long as they are within repairable limits as outlined in the owner’s manual. More on this later. Next, sand the surface to be painted with progressively finer sandpaper until you are down to 600 grit or crocus cloth. You will need to do this in stages, starting with 180, 280, then 400, and finally 600. Each step should remove all of the scratches of the previous step. The object is to end up with a scratch-free, almost polished surface. After that, a light pass with Scotch-Brite will give the surface enough roughness to hold the paint.
Before you repaint the blade, you will need to remove all the paint and get the metal shiny smooth and free of scratches. Strippers may not do the job. You will probably have to sand the old paint off.
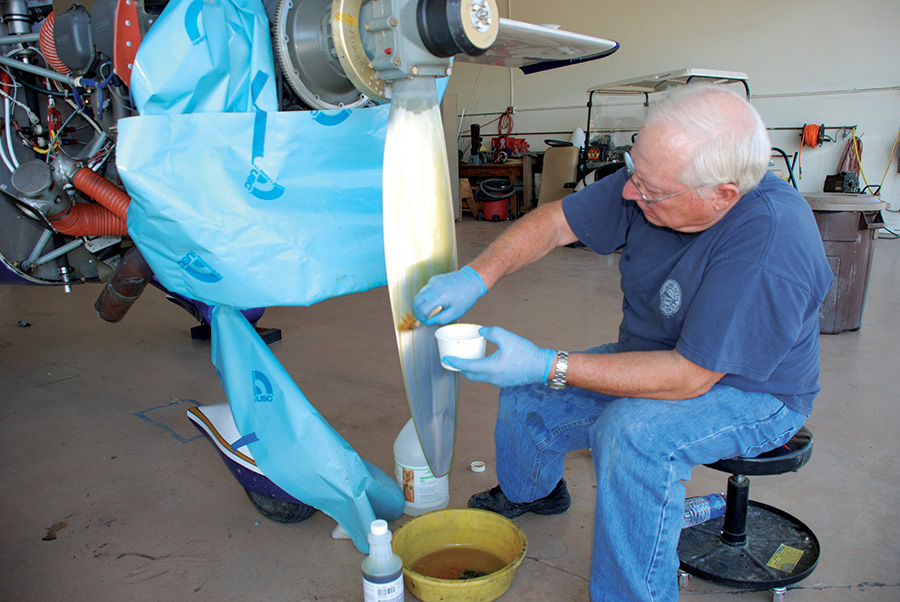
Next, use an etching chemical such as Alumiprep 33 to absolutely remove any oxidization from the metal surface. Once etched, immediately treat the metal with Alodine 1201 and then rinse clean. Each blade should be done in the vertical position so chemicals will run down off the tip of the blade. Never allow these chemicals to run into the hub area of the prop. Be sure to wear gloves and safety glasses when working with these chemicals, catch excess, and dispose of it properly.
Once the blade is completely sanded smooth, apply Alumiprep 33 to get the surface ready for alodining. Next, immediately apply Alodine 1201 to each blade, taking care to place the blade vertically so the excess chemicals run down the blade into a pan. Do not let the chemicals run back towards the propeller hub.
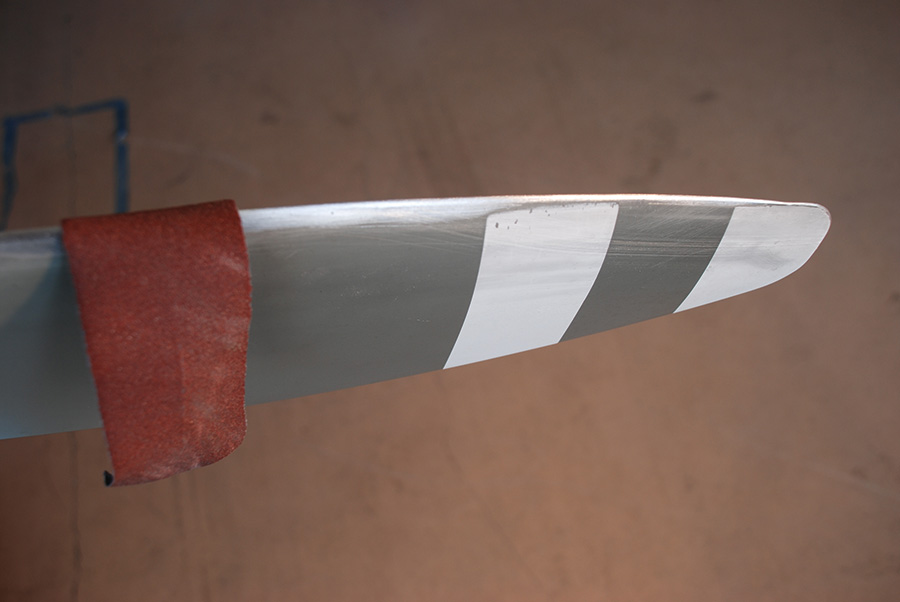
After the Alodine has dried, the surface may be painted. Note that the back of the propeller should be painted flat black and the front gray, and don’t forget to replace the white stripes near the tip of each blade.
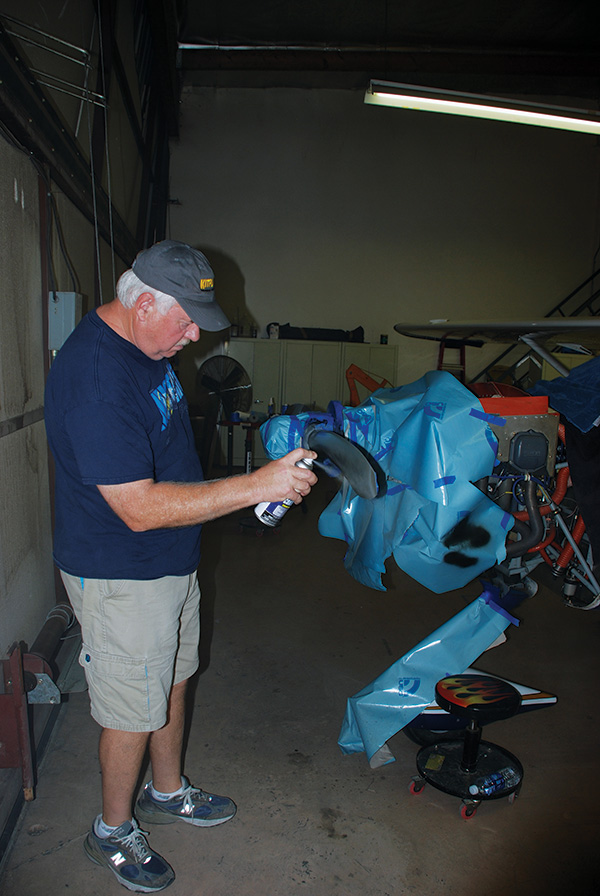
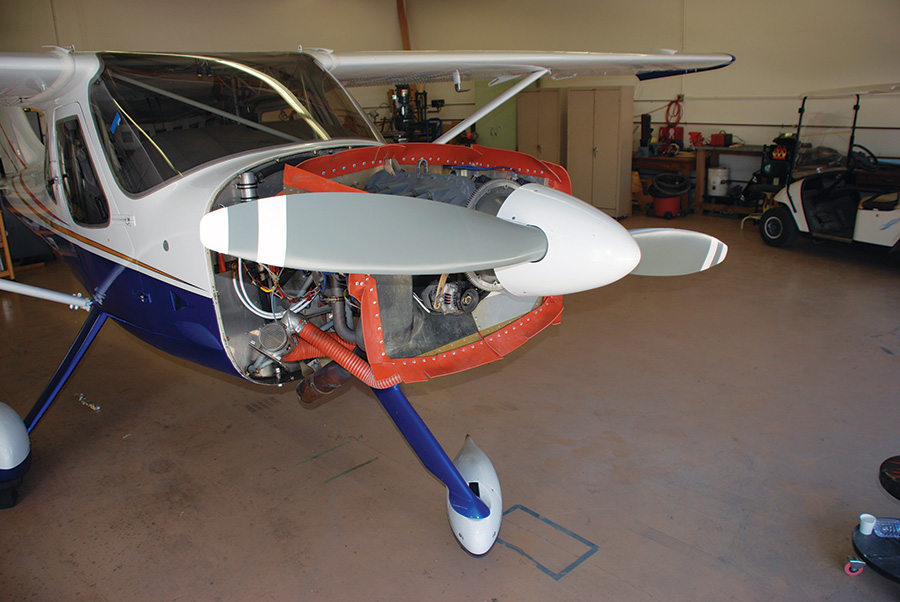
Paint the blades with approved paint-either Sherwin-Williams or Tempo. Tempo prop paint is available in spray cans from Aircraft Spruce. Be sure to mask off everything you don’t want painted.
If you need to repaint the entire propeller, you will need to strip the old paint off first. I had no luck with chemical strippers on the gray paint, and only modest success with the black paint. In the end, good old sandpaper proved best at removing old paint. This is really tough paint. If you decide to try a paint stripper, be sure to avoid letting the chemical run into the hub area where it may get past the seal and damage internal parts of the prop.
If you have a constant-speed prop, the serial number decals will be lost in the process. Be sure to record the blade serial numbers on the hub with an indelible marker and then protect them with clear tape or clear paint. New Hartzell decals can be purchased from Hartzell, but new serial number decals are not available. The painting and preparation processes are the same as before. Repair, sand, clean, etch, alodine, then paint. Be sure to protect the plane from overspray, recover any chemical waste, and dispose of it properly.
After you paint the prop, be sure to replace the white stripes at the tips. A dynamic balancing of the propeller is also a good idea after painting.
Repairing Nicks and Scratches
When it comes to repairing nicks and scratches, the big question is, what is repairable in the field and what needs to go to a prop shop? Again, your owner’s manual is the best place to look for answers, but there are some pretty good rules of thumb. A nick or cut in the leading edge of a prop is usually field-repairable if it is not more than 1/4-inch deep. A scratch or gouge in the face of a blade is field-repairable if it is not more than 1/8-inch deep. The decision to field-repair versus take it to a shop becomes more critical as the damage becomes wider than a simple V-notch or single scratch. The larger the width, even if the depth is within the allowable range, the more inclined you should be to take the prop into a certified propeller repair station for a closer examination. When in doubt, take it in.
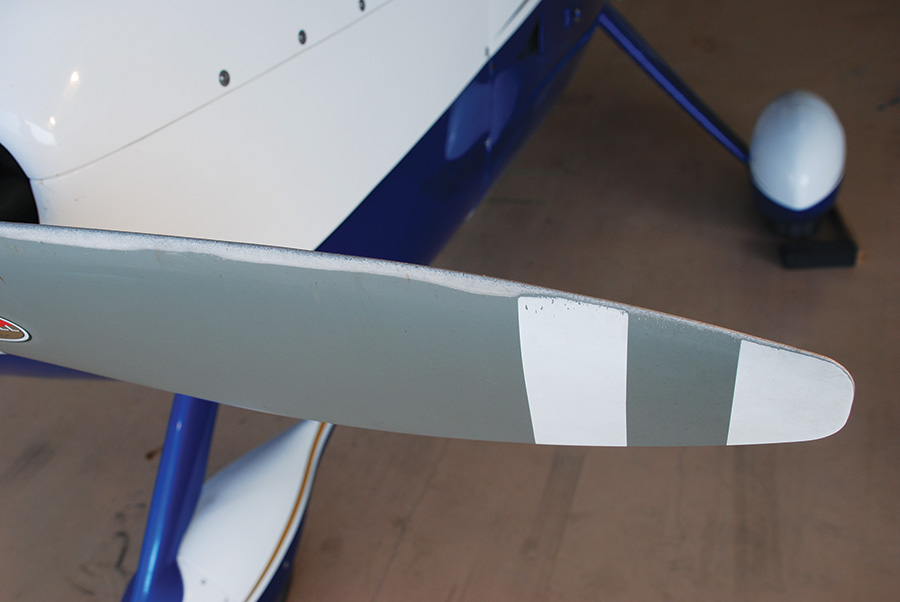
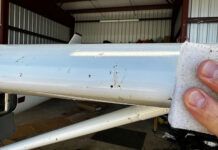
There are a number of small nicks in this prop blade. They all need to be removed. Also note the badly eroded paint on the back side of the blade. This invites corrosion.
What if you have a -inch deep nick right on the tip of one blade? Can’t you just grind it off and take the same amount off the other blade? That may work, but that is not a call you should make on your own. Some propellers are very sensitive to alterations in their length and others not so much. In the field you don’t have the information to make that decision, so such a repair should be reserved for use only in the case of a true emergency. Then follow up with a professional inspection by a prop shop.
The next question is, what needs to be fixed and what can just be let go? Hartzell says if you can catch your fingernail on it you should fix it. That isn’t much of a nick or scratch, but it should be easy to fix.
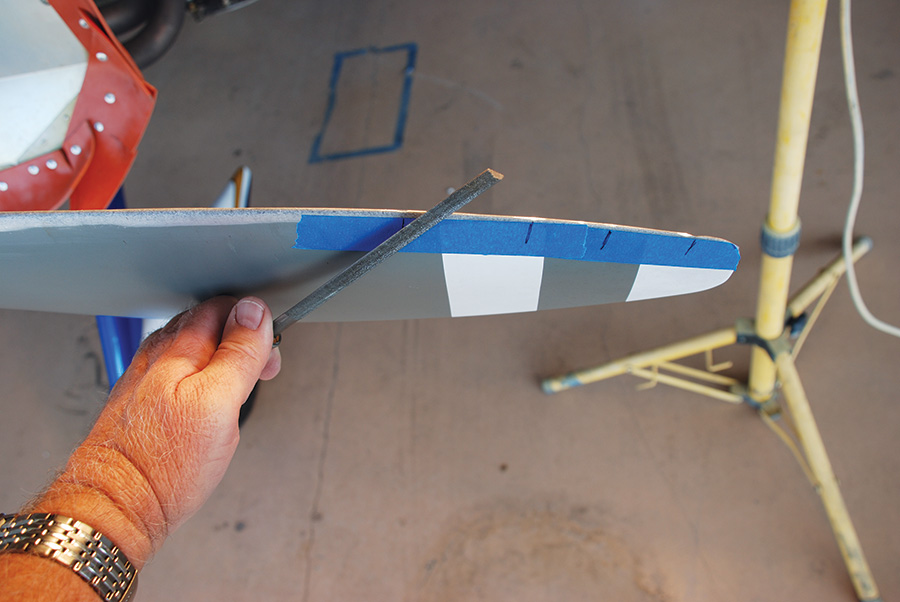
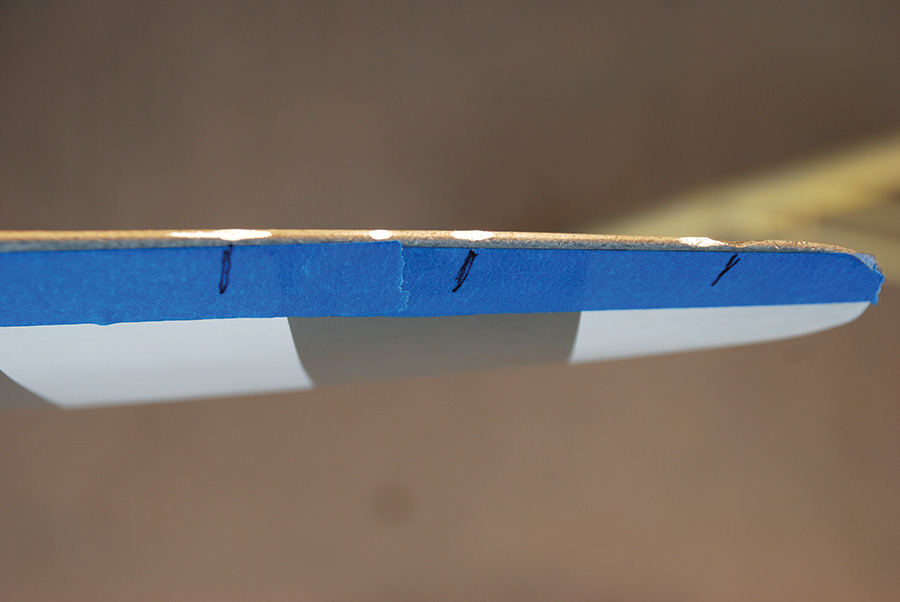
By marking the location of each small nick it is easier to keep track of them as you file each one out.
Repair Step-by-Step
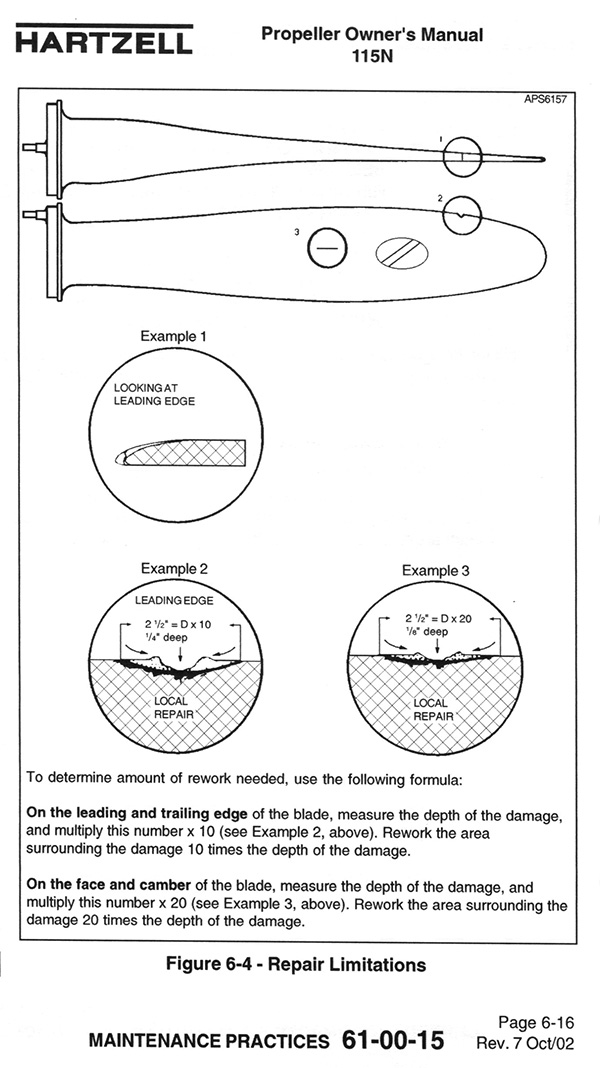
First, measure the damage to see if it is within repair limits. Assuming it is, mark out an area on the prop that is five times the depth of the nick on either side (10 times depth overall). If you are looking at a scratch or gouge in the face of a blade, the repair width needs to be increased to 10 times the depth on either side (20 times depth overall). Then use a half-round file to file out the nick or gouge until you have completely removed it. Do not leave even a tiny trace of the damage at the bottom of the repair area. Once you have entirely removed the nick or gouge, use the flat side of the file to extend the repair to a total width of 10 or 20 times the depth as may be required. Use the full width to taper the material removed from the bottom to the outer edges of the repair area. Remove any sharp edges, and smooth the transitions from the repair area to the rest of the prop to blend everything in.
A half-round file works best for removing nicks in prop blades. Be sure to file down until all traces of the nick are removed, then taper the repair area out to five times the depth on each side of the nick. Go 10 times depth on nicks in the face of a blade.
With the file work done, it is time to get out the sandpaper. Start with 150 or 180 grit and then work your way up to 600 or crocus cloth. Each step should remove the scratches of the previous step until you achieve a near-polished surface. Make smooth transitions, blend things in, and then make it shine. Lastly, a pass with a Scotch-Brite pad will give the surface enough roughness to hold paint. When you are finished it is time to etch, alodine, and paint as per the steps above.
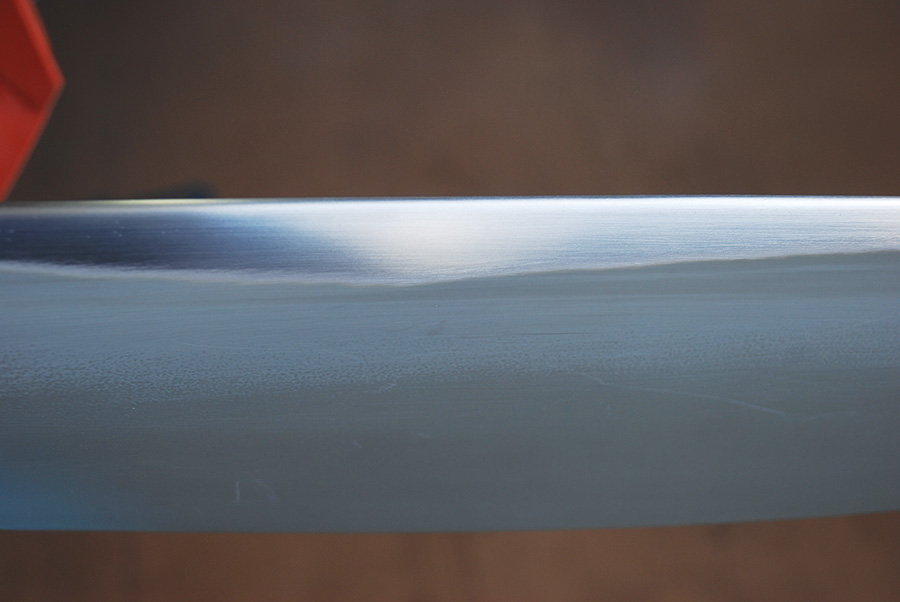
Work out each nick with the file and later coarse sandpaper until the nick has been blended in and is completely smooth.
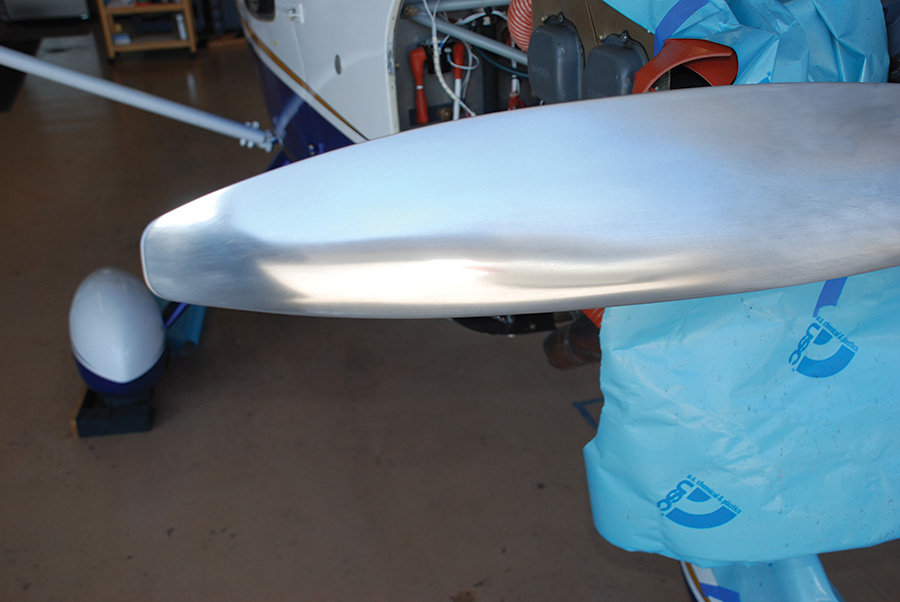
The final result should be a repair that is shiny smooth. Go from coarse sandpaper up to 600 grit or crocus cloth in steps to get the final finish with no scratches left.
Lubrication
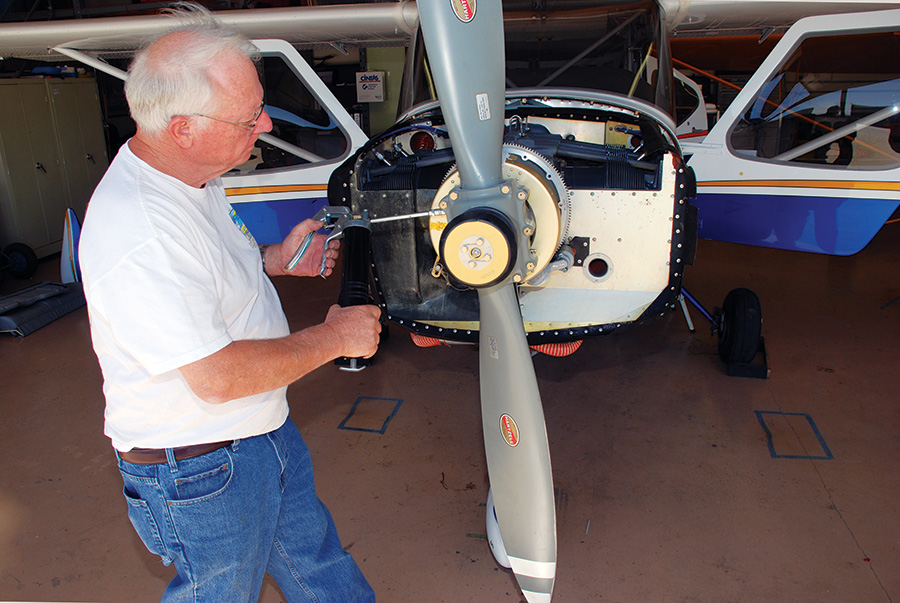
Fixed-pitch props need no lubrication, but constant-speed props do. Every year you should pump six squirts of approved grease into your constant-speed prop, according to Hartzell. If you have another brand of prop, be sure to consult their literature for any recommended service. The old recommendation used to be that you should remove the grease fitting on the trailing edge side of the hub at each blade and then pump into the leading edge grease fitting until you saw grease coming out the other fitting. After a number of incidents where mechanics emptied a whole grease cartridge or two (or five or six) into the hub of a prop, Hartzell changed their recommendation to just adding one ounce (about six pumps of a typical grease gun) per year per blade. If your plane is flown 50 hours per year or less, you should perform this lubrication twice a year instead of once. Pump grease into the fitting nearest the leading edge for typical tractor (prop in front) installations. For pusher applications pump grease into the trailing edge grease fittings.
At the very least, your constant-speed prop needs to be lubricated once a year. Six pumps will do the job.
Two things are important when it comes to prop grease: Use a recommended grease, and do not switch from one grease to another during the life of the prop. Decide on a good general purpose grease that will work for your prop and your wheel bearings, such as AeroShell 22, and stick with it. Write the type of grease on the prop hub with a Sharpie as a reminder.
Lubrication not only allows for smooth operation of the internal parts of your prop, it also protects those parts from corrosion. Lubrication is a simple thing, but it is important to make sure it gets done properly.
Time Between Overhauls
As an Experimental airplane owner, you are not bound by the manufacturer’s time between overhaul (TBO) recommendations, but it is a good idea to give these recommendations your due consideration nonetheless. They are based on a great deal of experience with a large number of propellers. Hartzell recommends a TBO on their constant-speed propellers of 2400 hours or six years. Very few owners will hit the hour limit before the time limit, but it is important to remember that some parts such as seals are just as sensitive to time as they are to hours in service. In any event, if you need to take your propeller in for repairs, expect any reputable prop shop to insist on a complete overhaul if you are beyond the time limit, regardless of hours.
Seaplane operators, especially those who operate on saltwater, will need to expect shortened TBOs and service intervals and be even more vigilant for corrosion and leading edge wear. Water is tough on props.
This page from the Hartzell Owner’s Manual shows the repair limits approved by them. Repair limits for Sensenich and McCauley props are similar, but always check with the manufacturer to be sure.
Airworthiness Directives
If an airworthiness directive (AD) comes out on your prop, do you have to comply with it? Unless the AD says it applies to Experimental aircraft, the short answer is no. But the long answer is you should think long and hard about ignoring an AD on your prop. It was issued for a reason-usually because at least a few people had big problems-so it needs to be taken seriously. Remember, you will need to certify that your airplane is in a condition for safe operation once a year. If your airplane crashes because you ignored an AD, you will have taken on a great deal of added liability. It’s your call, but you shouldn’t make the decision lightly.
Prevention Pays Off
Keep your prop painted and lube it as per your manufacturer’s recommendations. Those are pretty easy things to do, and they will extend the life of your prop. Try to prevent nicks and gouges by first building your plane with adequate prop clearance-at least nine inches from tip to ground when the plane is level. Less than that is asking for trouble. Be especially careful when flying off of dirt or grass strips. Apply power slowly and raise the nose as soon as you can. No run-ups on dirt; instead use a rolling run-up to keep the prop from sucking up debris. Repair damage as soon as you see it to keep it from getting worse, and when in doubt get some help from a good prop shop. Take care of your prop, and it will take care of you.

