 An old joke goes: “There is a rumor that Lycoming once built two identical 360 motors—but no one can prove that it is true!” In fact, there are so many versions of the venerable parallel-valve engine that it is close to not being a joke—the variations in oil-filter adapters alone is astounding. In the early days, all engines came with simple oil screens that attached to the rear of the accessory case. Then it was decided that spin-on filters might be the cat’s meow in cleaning the oil, and adapters for various
filters came to be.
Not all engine installations are alike, so there were adapters whose attached filters shot straight back while others attached at a 90° angle. Not just 90° up, either, they also angled to the side. Then there are adapters that allow you to attach two hoses so that the filter can be installed at a convenient spot on the firewall. Just to confuse things more, the clone companies started making their own adapters that were both cast and machined from billet, creating such a variety of filter options that it is hard to find two engines alike on the same airport. Maybe even the same state.
Attachment Issues
The reason I bring all of this up is that along with the variety of filter adapters comes a wide variety of points to attach the safety wire that keeps the filter from loosening up in flight. (If indeed this is possible. Many argue that the safety wire is superfluous. We’ll avoid that debate for now and pick it up another time.) In addition to an attach point for the filter safety wire, there are other items on the accessory case that need safetying—the Vernatherm, for one, has a solid metal gasket, so the torque is not guaranteed to hold it in place. Many oil-temperature sensors also have a safety-wire hole—even though they install with a crush gasket that should ensure they are held with sufficient friction. Then there are tach drive covers that have popped up everywhere with the popularity of electronic or EFIS-based tachometers.
The problem is that you quickly run out of places to attach safety wire. This can be exacerbated by the fact that oil-filter adapters, such as the original Lycoming one that mounts the Vernatherm straight down, have a very tiny bit of soft aluminum metal through which the safety wire hole is drilled. Over a period of many years, the stainless steel wire cuts a slot through the edge, eventually pulling through and leaving no place to attach the wire the next time the filter is changed. Once this occurs, I have seen mechanics and owners wiring the filter to all sorts of places, most often wrapping it around an oil cooler hose fitting or the breather fitting. It’s probably fine, but not very elegant.
The Tab’s the Thing
If only there was a way to take advantage of all those bolt heads on the back of the case—the ones that attach the adapter to the case, for instance—or the ones that hold a cover on the vacuum pump adapter (that no one ever uses anymore, either). Well guess what? Anyone with a couple of tools can make a little fitting in just a little bit of time that solves this problem—and if you have a little scrap steel sheet around, you can do it for no cost!

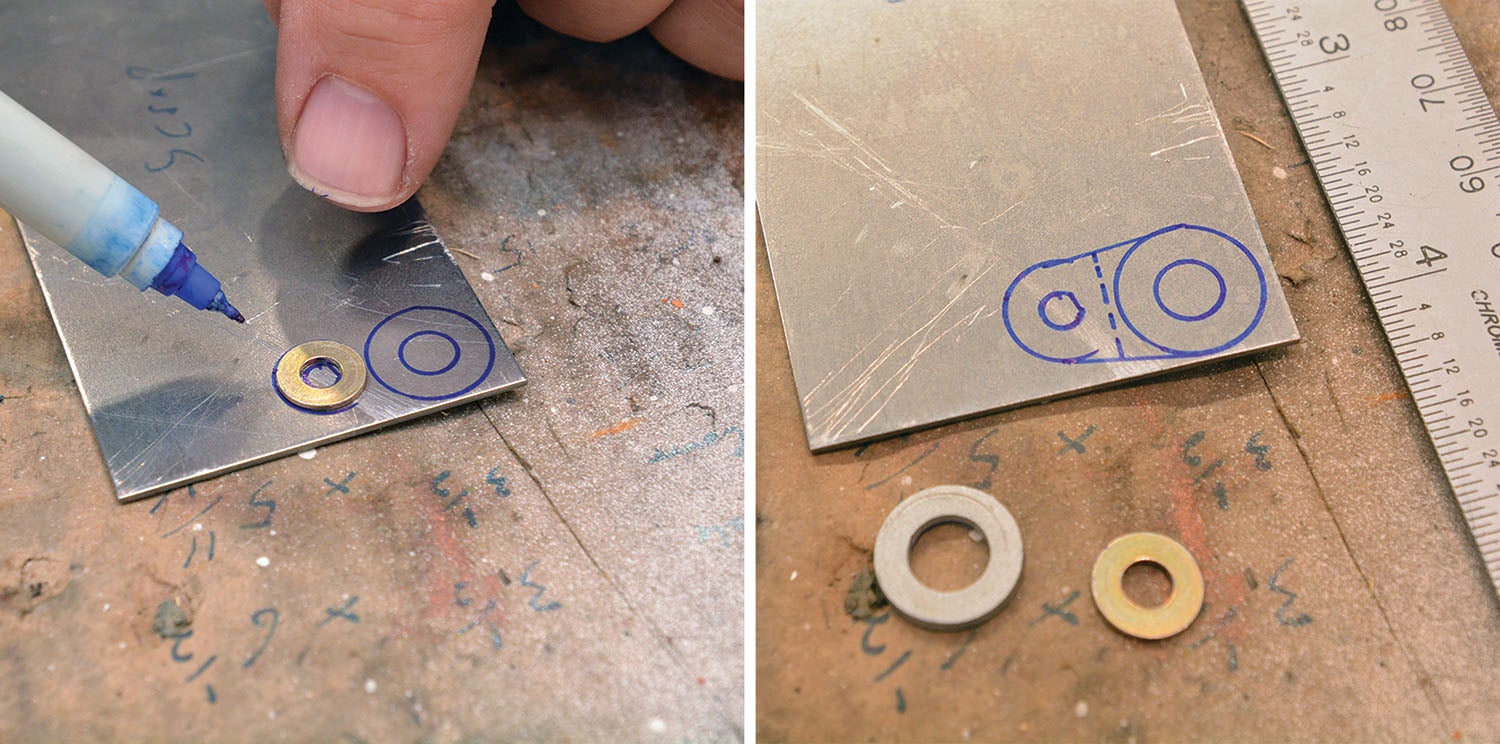
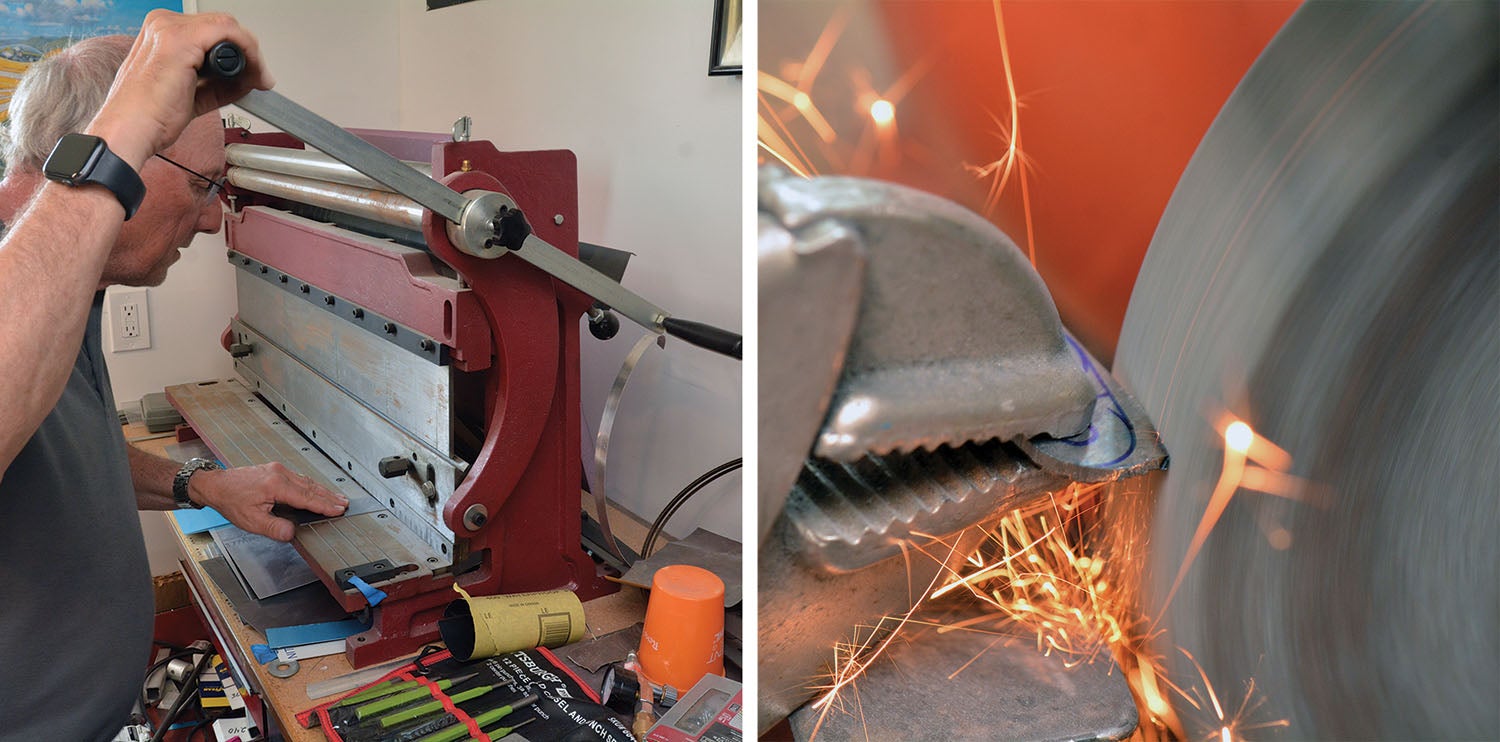
Fabrication is simple—take a piece of 20-gauge steel. (4130 will keep it “aircraft,” but you can probably use something from the big box store’s aviation aisle in a pinch.) Find a 1/4-inch washer and trace it next to an edge. Now find a #8 washer and place it against the same edge, touching the first circle. Trace it as well, inside and out. Now draw a line tangent to the side of both these circles, opposite the edge of the sheet. The result is a two-ball snowman inside a wedge. Use your favorite method of cutting along the line, then chop off the bit above the small circle. Use a grinder or other favorite method of working steel to round the top and bottom. Center-punch each circle and drill pilot holes (#40 works well) in each spot.
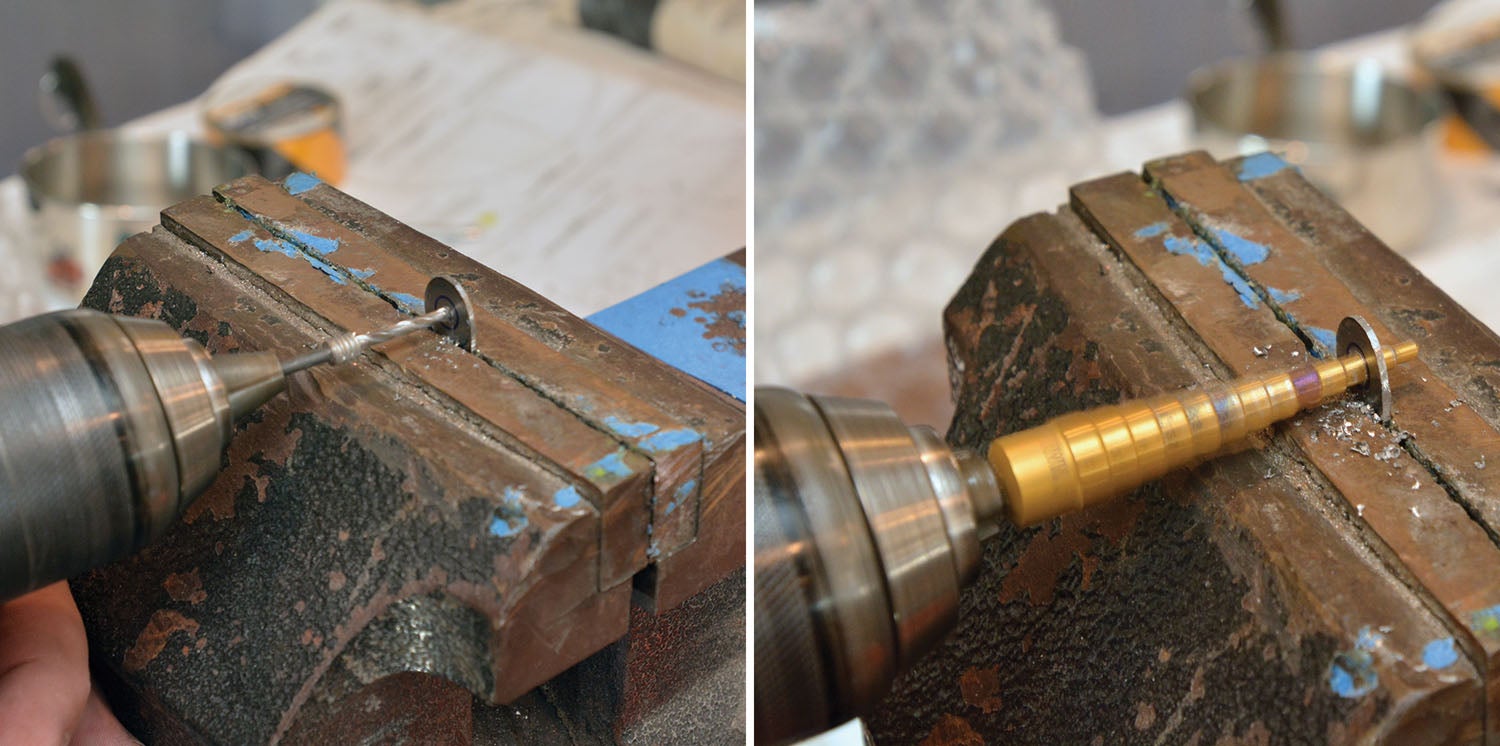
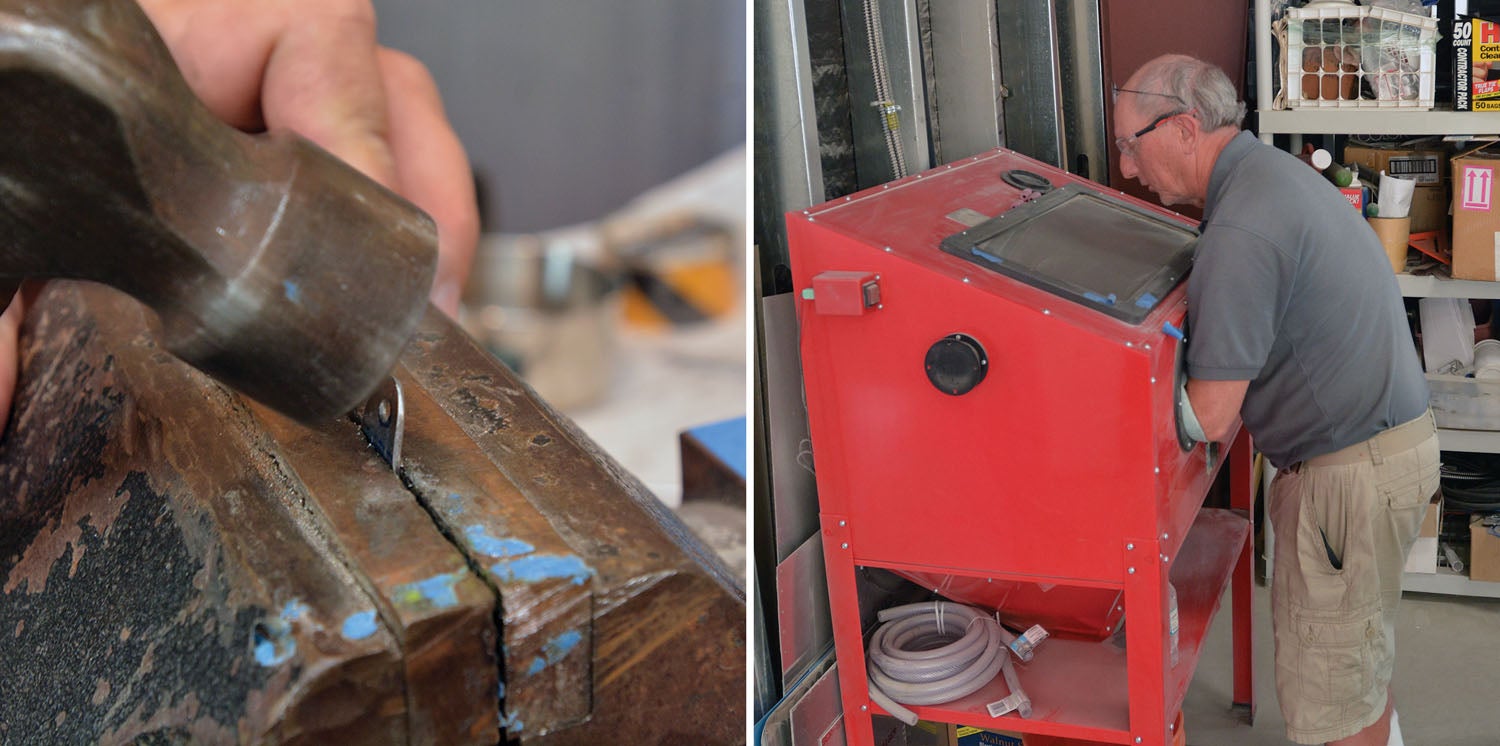
Leave the little circle hole #40, but up drill the one in the big hole to 1/4 inch. Now put a 30–45° bend in the little egg-shaped piece about halfway between the two holes—maybe a touch closer to the small hole. This little bracket can now be attached to any convenient bolt or stud on the back of the accessory case where you want an anchor for safety wire. It is steel, so it should last a lot longer than the original aluminum hole, and can be placed wherever is most convenient.
This simple little bracket fixes a new problem or gives you options if you want safety wire anchors in different places. It’s simple to make and can really clean up the back of your engine to make it look like you’ve customized things a bit. Heck, these tabs might even impress a judge someday!
![[Credit: Lisa Turner]](https://www.kitplanes.com/wp-content/uploads/2026/02/Fuel-Selector.jpg?w=218&h=150&crop=1 "Fuel Follies")


For motorcycle racing where most things need safety wiring the spin on oil filters were initially problematic until I used a hose clamp around the oil filter and applied the lock wire to that .
Have used that hose clamp idea many times on bikes and aircraft, but be very careful not to crease or dent the oil filter casing as it may create a weak point and eventually fracture
Has anyone ever documented a properly installed oil filter coming loose? I have been using K&N on my Jabiru powered Zodiac but now I hear through the grapevine that the nut welds can break and loose the oil with a tight safety wired installation. No other filters that fill the bill have tabs. Guess could do like DA says but is it really necessary?
better safe than sorry. Being a mechanic I hear the stories of oil filters (and mainly adapters) coming off during flight. Be safe out there people.
Prevention is better than cure
Does anyone else wonder about the condition of the electrical wires coming out of the safety-wired nut in the last picture? Seems like there ought to be a strain relief on its replacement.
Also, I wonder if the tab increases the risk that the fastener it’s under will loosen up?
Good questions! The second one first – the safety-wire eyelet is essentially just another washer, so with proper torque on the nut, there shouldn’t; be any loosening – and if you take into account he direction of pull fro, the safety wire, that shouldn’t loosen it either.
On the first question, the wires aren’t coming out of a nut – that is a standard oil temperature sensor from Garmin or Dynon – the wires are coming out from the potting in the center of the sensor, and like it or not, that is pretty much a standard installation. It is not, however, the final installation – this photo was taken with the edge in on the stand – the final bundling of the wire is different, and secures the wire to a bundle which is supported appropriately.
Comments are closed.