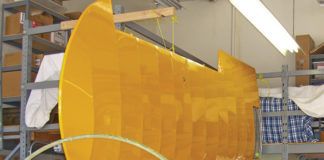
To be, or not to be? I think it was Shakespeare who coined that phrase, many generations before the advent of homebuilt airplanes. Said a little differently though, I think it has some relevance to the trials and tribulations of building your own aircraft: to repair or to replace? Anyone who has constructed a homebuilt airplane has certainly been faced with that question at least once, and most likely many times, over the course of the project. I know on my first airplane, an RV-4, I think I messed up the most valuable part in every one of the subkits, and I will share a couple of them with you.
Of course if you are in the kit manufacturing/supply business, the easy answer is to replace. Plansbuilt aficionados don’t get a choice. Neither do any who happen to be doing certain aircraft restoration projects, of which Glacier Girl comes to mind as an example. I’ve been hearing the answer “replace” given so many times, that I often wonder if we are constructing Amateur-Built aircraft or amateur-assembled aircraft?
Remember, we actually sign an affidavit that we constructed the Amateur-Built aircraft for our own education. Somehow, in today’s fast-paced world of “let’s get it done as fast as we can,” we can get frustrated too quickly with a mistake, rather than taking the time to learn from it or even develop or enhance new skills. Sometimes it’s just a matter of stepping back with the right attitude. In the scheme of a 1000-plus-hour project, a few hours spent remaking a part can actually be rewarding.
Now, there are certainly some items that really do require specialized skills and/or machinery not commonly found at home, and trying to repair these parts may get into some safety issues. In this category I would put things like engine mounts, wingspars, spinner bulkheads, landing gear legs, and certain other weldments that are usually provided in the 51% kits. However, many of the supplied aluminum and fiberglass parts can be readily made at home, and sometimes for even less cost. I have also learned that the repair can usually be done in less time than it takes for the new part to arrive. This was especially true when I first started building, as there wasn’t an Internet or UPS overnight shipping, and no cellphones with unlimited calling. I remember waiting until after 9 p.m. on weekdays so I could afford the reduced long-distance rates to call Van himself with questions. (Yes, we did have electricity!)
By the way, many of the pre-punched parts in the kits today were not supplied in earlier kits. Only raw materials were supplied and we had to fabricate the parts. For those of us who grew up assembling Heathkits, this was quite a change. I soon learned I had to scour the blueprints for specifications regarding parts I had to build before I was able to assemble some of the items depicted on other pages.
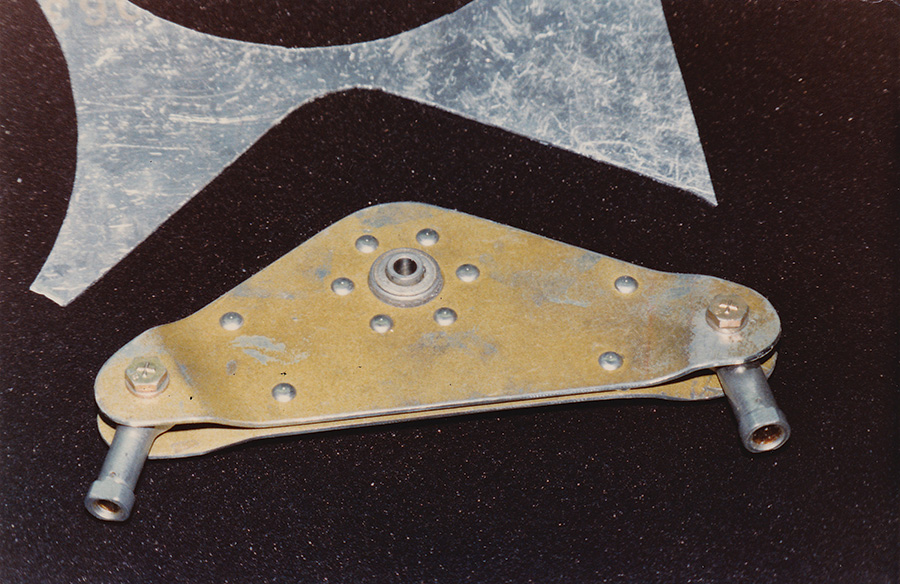
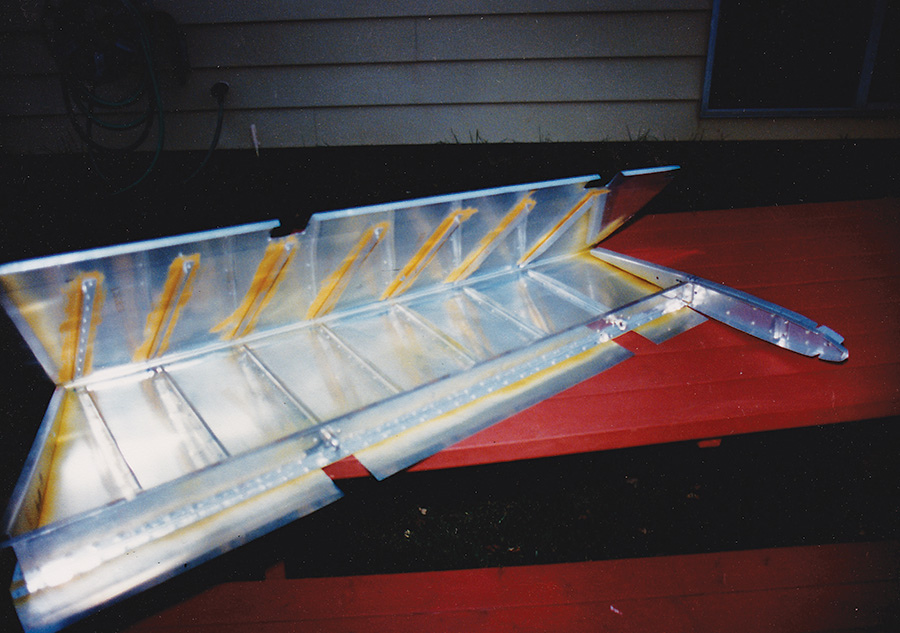
I remember making my first mistake, and I was so mad with myself for being so careless. As is still the practice, the first kits from Van’s were the empennage kits. Making the trimtab for the elevator really gave me fits. On the first attempt, I just cut it out wrong, not leaving enough material for the root end. However, the second one came out pretty nice. So there I was admiring the completed and assembled empennage sitting on the workbench when it proceeded to fall off of the workbench. I managed to somewhat stop a total disaster from occurring, but unfortunately, the trimtab and left elevator skin acquired a not-so-nice crease in them, rendering them un-airworthy. Now I got the opportunity to make a third trimtab and re-cover the left elevator, which actually came out better and gave me some new confidence in working with sheet aluminum.
The next mistake was really embarrassing. Carol and I were at Oshkosh when we noticed an RV-4 with a rather ugly looking “extra” hole exactly the size of a gas cap located in the right wing tank close to the wingroot. Carol asked what that was all about, and I quickly said that it looks like the builder had constructed two left wing tanks and had repaired the hole. Now the table was set! I had just completed the left wing tank prior to Oshkosh and was in the process of completing the right tank. In less than 2 weeks I had my nicely completed right wing tank with the gas cap hole very accurately drilled—for a left wing tank!
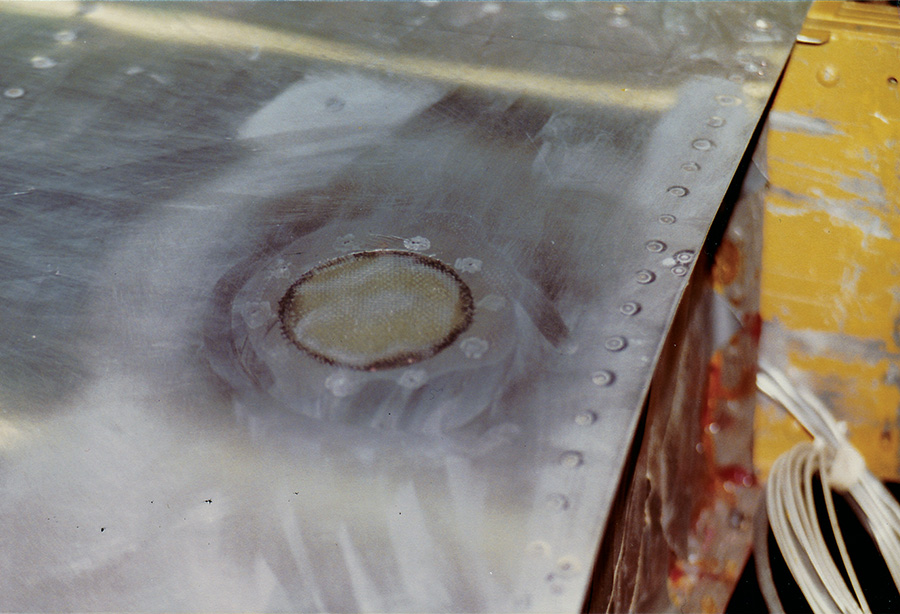
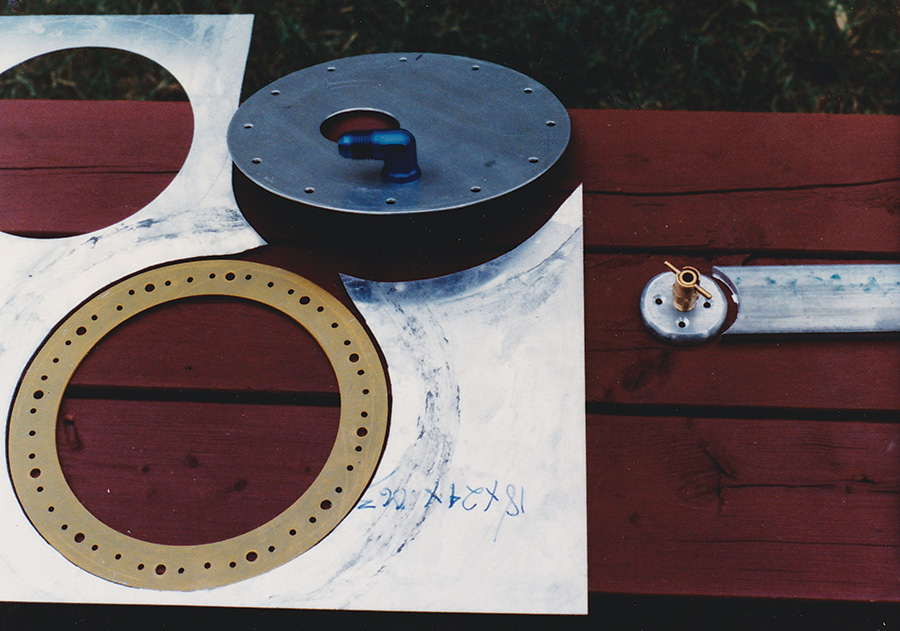
Here is the author’s repair of a mislocated fuel cap hole. Rather than replacing the whole skin, an aluminum patch was fabricated and covered in fiberglass.
I couldn’t believe I did that. I felt like I was hit with a hammer. And two weeks earlier, I had been shown what not to do. Unfortunately, as is the practice with most construction drawings, only the left side of the airplane was depicted. You had to be on your toes when making parts for the right side. Clearly I was now back on my heels. But I kind of chuckled in knowing I wasn’t the only one out there who had done this. It was still very embarrassing to explain to Carol what I had just done.
Although it wasn’t my first mistake, it was the largest one to date. I had told myself earlier that the only way to not make any mistakes was to not do anything, so I needed to get past this one, too. The options were just more ugly. Shipping a new tank skin and the associated ribs from Van’s was probably going to be pricey, and I really couldn’t afford it. But even more so, I really dreaded having to Pro-Seal in a new set of ribs. If you’ve ever worked with the Pro-Seal, you understand. No matter how many rubber gloves you wear, it isn’t enough. I don’t know how many times I got asked at work if I ever washed my hands! No amount of acetone ever worked to get it off. It just had to wear off.
So now I had a real conundrum. I actually thought about just putting in an extra gas cap, but came to my senses and realized that would be silly, albeit probably a good conversation piece. So, I concocted a repair that lasted the lifetime of the airplane. I Pro-Sealed and riveted a piece of aluminum inside the tank with a circular aluminum filler plate the same thickness as the metal skin. Then I used fiberglass to fill in the gaps. It ended up being a non-event and was only so slightly noticeable if the sun angle caught it right and you knew what you were looking for.
Remember I mentioned that sometimes taking the time to repair something would help enhance skills? Well, this silly mistake really paid off a few years later when I was building a Prescott Pusher. I now understood the axiom of “measure 2-3 times, and only drill once, lest you fabricate some more junk!” We had to actually build the spars for the Prescott Pusher, and once you had them built, you called the factory and they shipped you a drill jig assembly that you attached to the spars to drill the holes at the root, which set the dihedral. Well, I got to carefully looking at the jigs when they were attached to my spars and something didn’t sit right with me. No matter how I measured it, if I drilled them according to the instructions, I would end up with negative dihedral. Sure, that looks cool on the tail of an F-4 Phantom, but I wasn’t so sure about my Prescott.
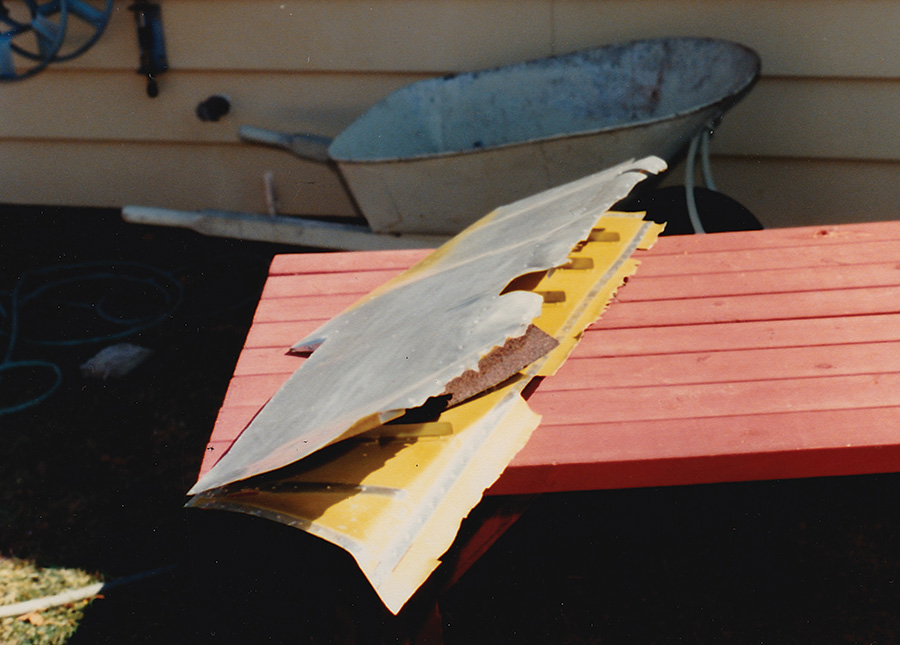
After falling from the workbench, the elevator spars were salvaged and a new skin and stiffeners were riveted together.
Since it was the weekend and no one was at the factory to call, I decided to flip the jigs around and drill them for positive dihedral. No small decision here, I assure you, as the spars took weeks to construct. Monday morning I called the factory, and sure enough I was the first one to use any of the spar jigs, and it turns out they were labeled incorrectly. While I was pretty confident that I had done it right, I am pretty sure it was my first full breath since drilling the holes!
One of the things I find disturbing is the number of mistakes I see out there that are covered up and are potentially flight-safety items. With today’s abundance of available resources to help or give advice during the construction process, there is really no excuse for this to occur. Most recently I removed a propeller to install a new alternator and alternator belt and was shocked to see the state of the forward spinner bulkhead. Clearly, this was a part that should have been replaced, as it was severely damaged sometime during the build process. It never should have been installed, and I proceeded to replace it.
I know the glass-aircraft builders think nothing of cutting off a part and starting over, except when it comes to some of the more intricate carbon-fiber materials being used in some of the fancier kits. I hate working with fiberglass and try to avoid it. It takes the fun out of building for me. Others love it, and that’s what makes the world go around; we all have different interests and skills.
Fabric-covered airplanes are usually very easy to repair, and another somewhat embarrassing episode taught me so. We had just finished covering and shrinking one of the wings on the Kitfox. There was a thread sticking up right between two ribs, so I grabbed a razor blade thinking I could shave it off. Carol’s admonition of getting the razor near the taut skin went unheeded, as I jokingly replied that the “brain surgeon” was going to work. Faster than I could blink I managed to put a very nice one-inch slice into the fabric. Yes, things got very quiet and I tried to shrink into a crack on the garage floor. However, the Stit’s fabric guidelines are very clear as to how to patch the fabric, and I proceeded to do just that, cutting out a pinked 2-inch circle of fabric and gluing it over the cut. Just like the extra hole in the RV-4 fuel tank, it was nearly invisible to everyone except us.
In this column I have covered repairing or replacing during the construction process. I will cover repair and replacement of wear items in a future article. Until then, keep the fun factor alive!

![]()
Vic Syracuse is a Commercial Pilot and CFII with ASMEL/ASES ratings, an A&P, DAR, and EAA Technical Advisor and Flight Counselor. Passionately involved in aviation for over 36 years, he has built nine award-winning aircraft and has logged over 7500 hours in 69 different kinds of aircraft. Vic had a career in technology as a senior-level executive and volunteers as a Young Eagle pilot and Angel Flight pilot. He also has his own sport aviation business called Base Leg Aviation.

