Jacking up an airplane is one of those things that few of us are trained for, yet it is very important. As an RV builder, I had my airplane in jigs and on blocks for several years. The goal was always to get it on the gear—not jack it off the gear. So I was poorly prepared for my first flat tire and then my first condition inspection. I didn’t know jack!
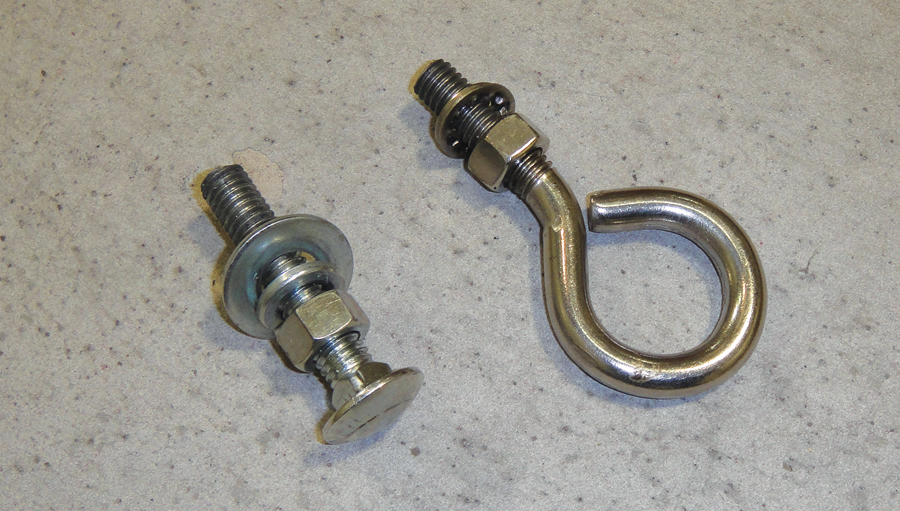
I am not offering any photos of my original makeshift solution, which was both scary and embarrassing. The kludgey solution involved an auto jack, a 4×4, and a carriage bolt in the tie down ring position. Each pump of the jack handle was an opportunity for injury to both myself and the airplane as it rocked and shifted on the makeshift solution. Last year I vowed to never do that again.
In 2012, I completed two welding courses at the community college in preparation for future projects. With some basic understanding of welding, I was now a solution looking for a problem. Jack stands were the perfect opportunity to make something useful.
Custom Jacks for My RV-7
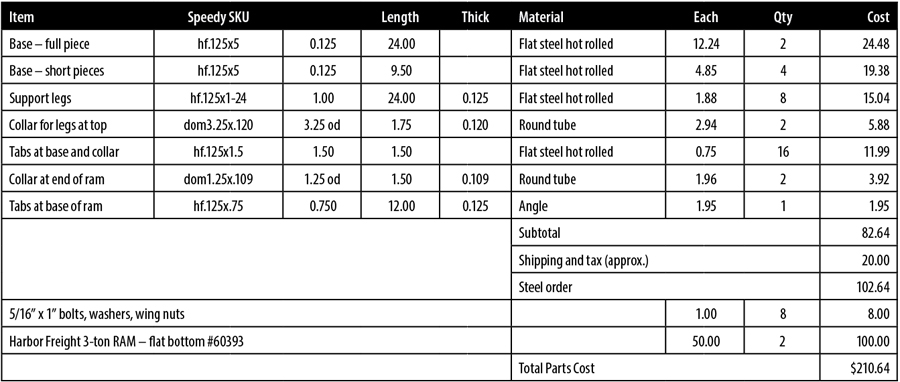
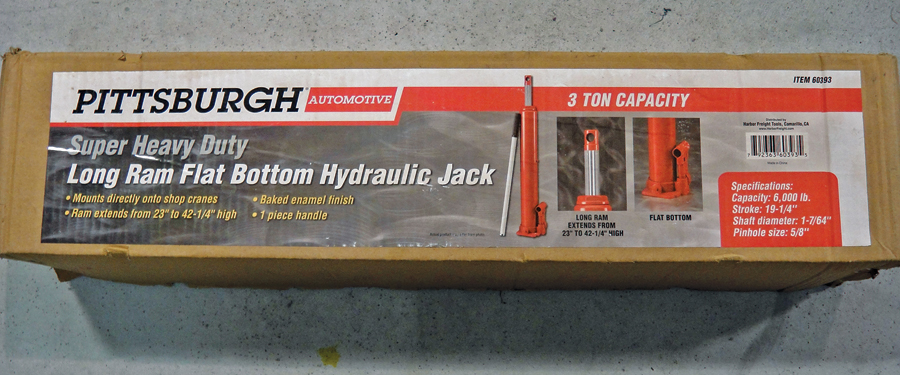
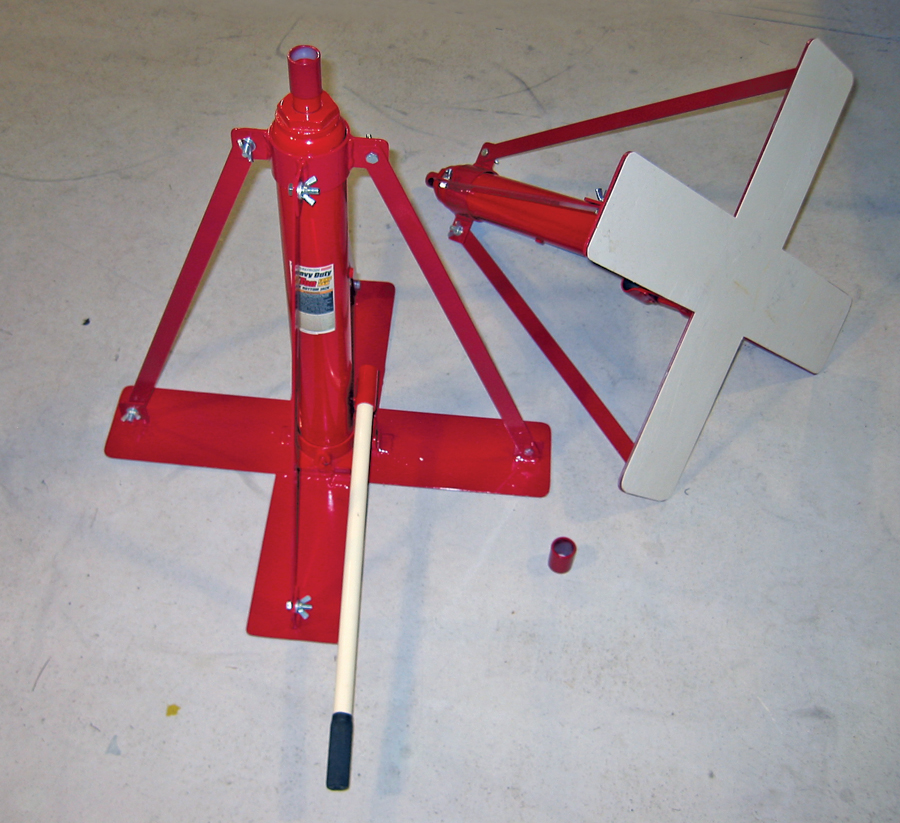
Others have designed jacks around the Harbor Freight ram, which lifts from 24 to 44 inches. My plan was to use these rams and design my solution around them. Due to my inexperience with metal, I worked hard to design the supporting structure to minimize cutting and finishing of metal. Speedy Metals (www.speedymetals.com) will cut to length, so I spent a considerable amount of time designing the solution so that it could be built with precut pieces. The bill of materials lists the specific pieces.
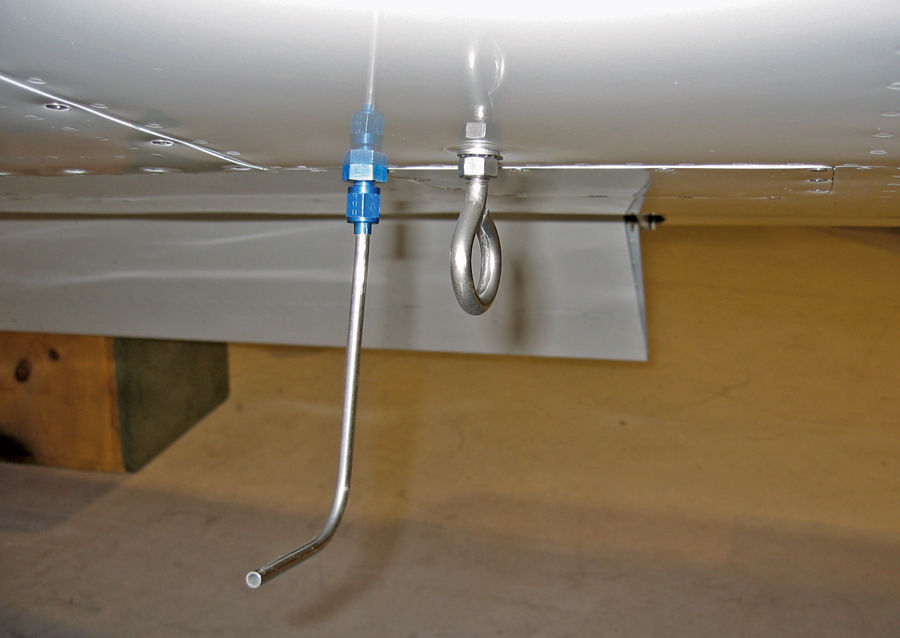
My jack solution was designed from the wing down for my RV-7. With inflated tires and a carriage bolt protruding 1.25 inches from the tiedown location, there is 27.25 inches to the ground—less with a flat tire. The ram starts at 24 inches, so my stands would need to be flat; wheels were eliminated due to height.
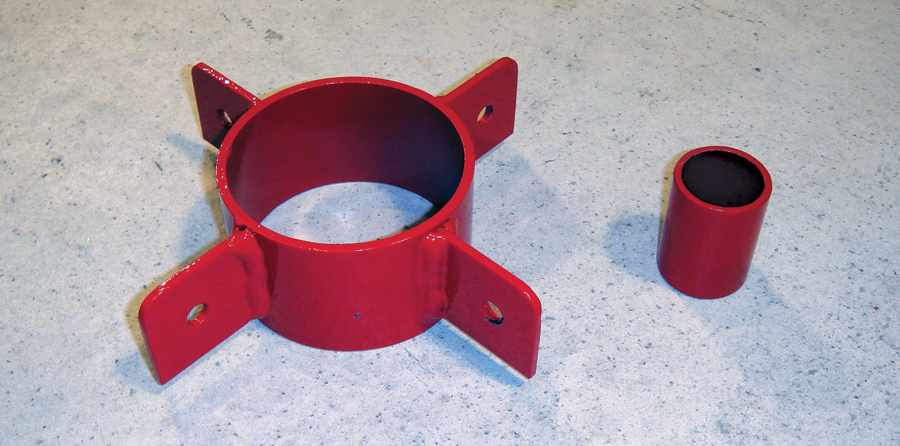
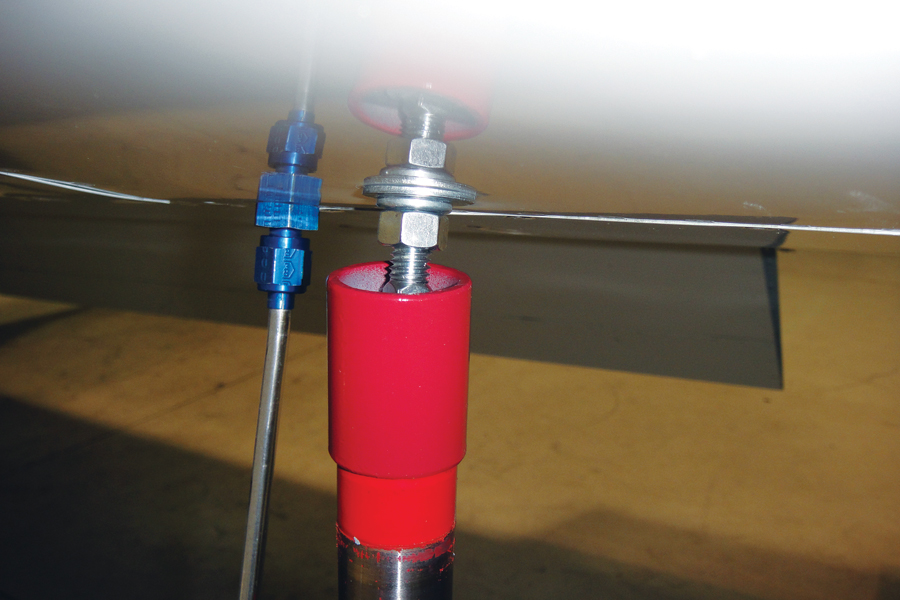
How would the ram carry the carriage bolt under the wing? Speedy Metals had round tube stock that fit as a collar around the top of the ram. The specified length provided about a half inch to receive the carriage bolt, which would ride on top of the ram.
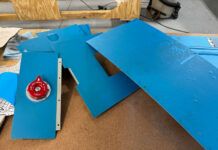
Support arms that hold the jack attach to the large tube with tabs. The small tube keeps the carriage bolt on top of the ram.
Next, another round piece would be required at the top of the ram to receive the arms. This was probably the most critical piece, and it took a couple of orders from Speedy Metals until I got the correct tube. The tabs, support arms, and the base pieces are all flat stock cut to length by Speedy Metals.
The tabs and arms were drilled for 5/16-inch bolts so the jacks can be disassembled for storage 360 days of the year. There are four small angle iron tabs at the base of the ram to keep it in position—the ram is not fastened to the stand. Grinding was done on all of the tabs to eliminate exposed sharp corners.
My focus has been on TIG welding, which produces nice welds, but would have taken a long time here. These jacks are based on flat steel and straight lines, which are well suited to MIG welding. With MIG you pull the trigger and zip right through welds like this. I tack welded all the parts with TIG and then took the stands to my friend, Steve Hicks, who was anxious to demonstrate his MIG welder. The welding took about an hour to complete with MIG.
Paint Follies
I could have been done at this point, but I decided to paint the stands. Cleaning and preparing the metal was probably the single most time- consuming chore. I had some auto epoxy primer and shot a few coats of that using a Harbor Freight touch-up gun. The finish coat is Rust-Oleum in the touch-up gun. I also had some unused tub surround in the shop and glued that to the base of the stands with contact cement. The stands were assembled with hardware-store bolts and wing nuts for disassembly.
There always seems to be one hairball in any of these projects. I cleverly designed a wire rope clothesline that spanned my 44-foot hangar. Each end of the clothesline attached to the wall with a turnbuckle. As I painted parts, I moved them from left to right as necessary to paint them and then let them dry. While painting the finish coat, with only a couple of parts left, the clothesline with all of the wet parts fell to the floor. Luckily these were jack stands and not airplane parts. So the paint job is not flawless. Note to self: when being clever with turnbuckles, be sure to count the number of turns or threads engaged before loading heavy metal parts.
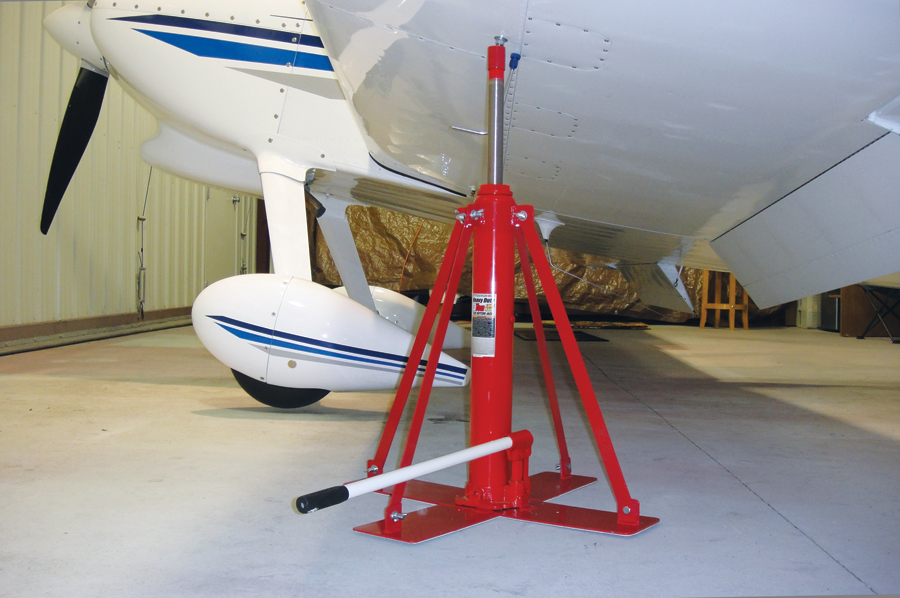
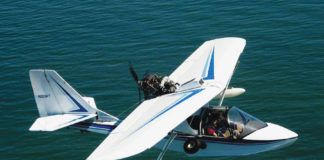
My goal was to have a better solution than what I had been using. I feel this is much safer and more reliable. You can see in the photo on the first page that the tire is off the ground using eight inches of ram lift. Both jacks should be used to lift each side equally. Lifting with a single jack that does not move with the airplane causes the jack to tilt and could eventually become unstable. This brings us to the obligatory qualifying statement: I am not an engineer, and I am not as clever as I thought I was; you should review every aspect of this and validate your design before using.
The Bottom Line
As you can see from the bill of materials, I spent $210.64 for two unpainted jack stands. I worked on this project an hour or two at a time over several months until completed. I built my own jack stands because I am content to value my time at $1.00 per hour to break even. This was about the same hourly value as the original RV construction.
There are a number of completed jack solutions out there from many suppliers. Plan on spending anywhere from $500.00 to $800.00 for a pair of jacks by the time you include shipping and jack point provisioning to connect to the plane. Is it worth it? It all depends how you value your time. I’ll leave it to you to decide what’s best for your situation.
Lifting the wing: The ram with receiving tube is meeting the carriage bolt where the tiedown ring would normally be.

