Editor’s Note: After toiling in the machine shop all winter long, our machinist asked if he might be allowed to come out to experience the sunshine for a few hours, and we agreed—provided that he still wrote a decent article pertaining to homebuilt airplanes. We think that you’ll find the results interesting and useful. Never fear, however. We won’t allow this sort of lapse in content too often, and we have chained him back to his lathe and mill for next month.
The $40 Fix for a $1,000 Headache
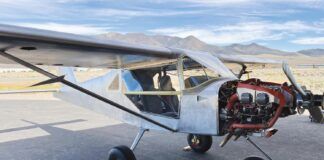
Late one Friday afternoon last February, I went to the airport to reinstall the prop on my Jabiru J250. I had just gotten it back from the Sensenich factory in Florida, where I had sent it to be refurbished. It had been about a month, so I was anxious to get the Jabiru back in the air.
When I opened the hangar, the first thing I thought was, wow, the dust is really bad.
Corona (California) Airport sits at the mouth of the Santa Ana Canyon, and the area is known for the Santa Ana winds. These winds whip through the canyon and kick up a fair amount of dust. Unfortunately, the hangars don’t offer much protection, so it’s not unusual to have to wipe down your airplane after a big blow.
After about an hour, I had the prop on, tools put away, and was ready to dust off the Jabiru and go for a test flight. But the dust wouldn’t come off!
“Crap!” (Not exactly what I said, but pretty close.)
“This isn’t dust. This is paint.”
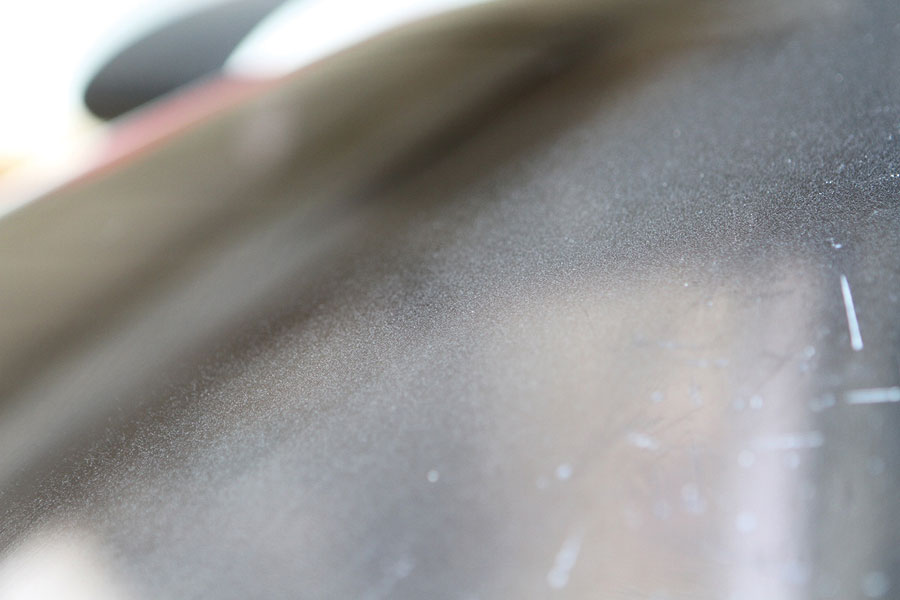
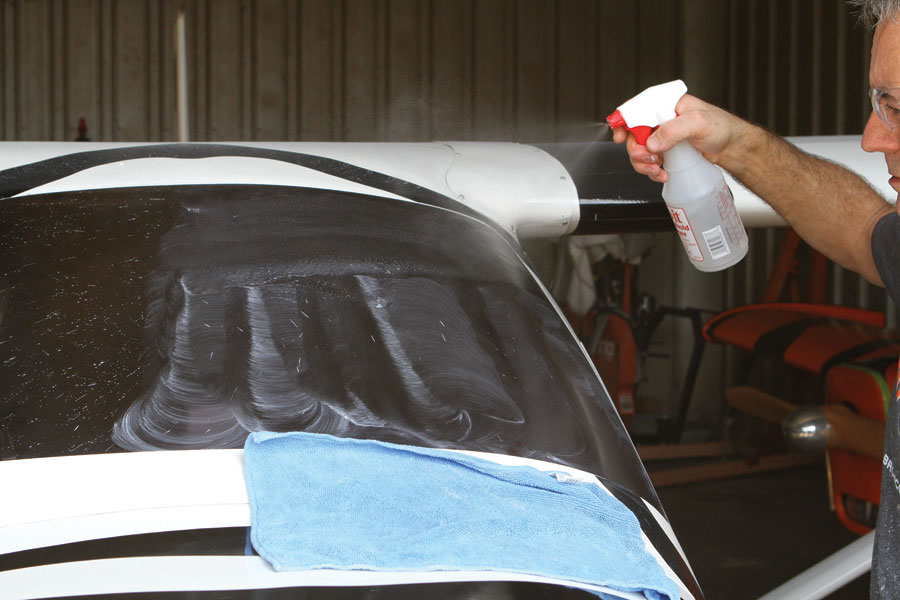
It was everywhere. Most distressing was the condition of the windshield. What was once a crystal-clear sheet of acrylic “glass” was really messed up. It looked like it had been sandblasted in a windstorm with 50 grit.
So how did this happen? You may have guessed: a neighboring tenant repainted his plane. The overspray wafted over the partition and the mist settled on everything in my hangar.
Mostly I was worried about how much it might cost to fix and how long it would take. Am I going to have to sue somebody? That was not a pleasant thought.
I immediately reported it to the property manager, Mike Word. He took control of the situation and vowed to make it right. “Whatever it takes.”
My painter, Ilio Pacciardi, at Corona Air Paint, inspected the damage and estimated it would cost $900 to fix. He was confident the overspray could be rubbed out. I was a little skeptical, but more than once he mentioned, “It happens all the time.” In any event, the worst-case scenario would be some sanding and repainting, which, other than cost, would not be a big deal.
In the meantime, my real concern was the windshield. It was really messed up, and I was afraid it might have to be replaced. I checked with Pete Krotje at Jabiru USA and the price for a new windshield was $1,000—not to mention several hours of labor required to grind out the old one, prep the opening, and bond in the new one. Ouch!

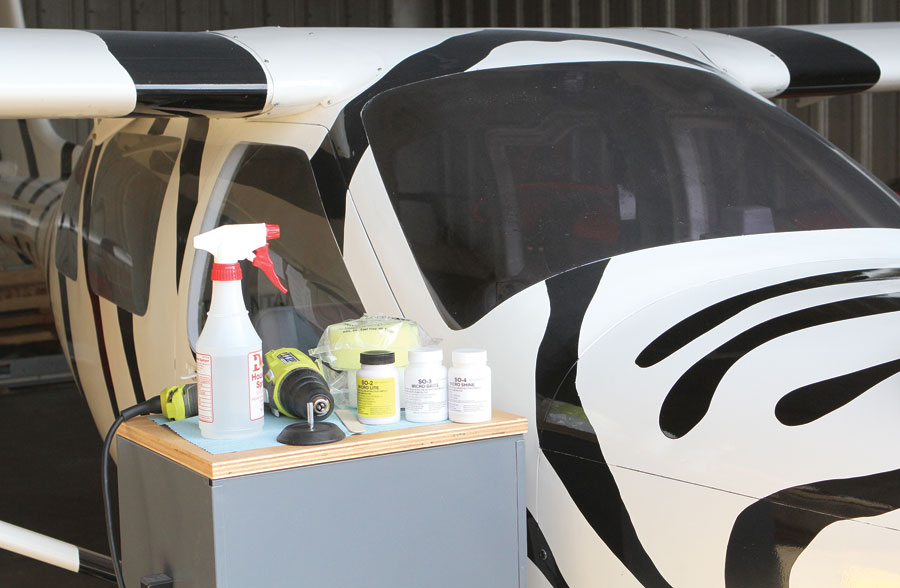
Taking the recommendation of Jabiru USA, I settled on the Scratch Off windshield repair kit. It includes two buffs (not shown) and four compounds numbered one through four. If you have only paint overspray damage and no scratches, the directions suggest starting with SO-2.
Pete suggested that before resorting to replacement, I try repairing the damage with a windshield restoration kit. He mentioned the Micro-Mesh Restoral Kit (about $80) and the Scratch Off Windshield Repair Kit (about $40), both of which are available from Aircraft Spruce. There was no downside to trying a cheap fix: if it worked, great! If not, I’d be no worse off than before.
I had no doubt that the paint splatter could be removed. My worry, unfounded as it turns out, was that the optical quality would be compromised. I gained a big measure of confidence after talking to some of the more seasoned pilots at the airport. Everyone agreed that Plexiglas (one of the many trade names for acrylic-type “glass”) windshields could be restored and can come out great, provided you follow the directions with the kit.
Within a few days of the initial shock, Mike reported back to me that my neighbor was very sorry and would make it right. He scheduled the paint restoration to start right away, but I told him not to touch the windows; I wanted to take care of them and see about writing up the experience for KITPLANES.
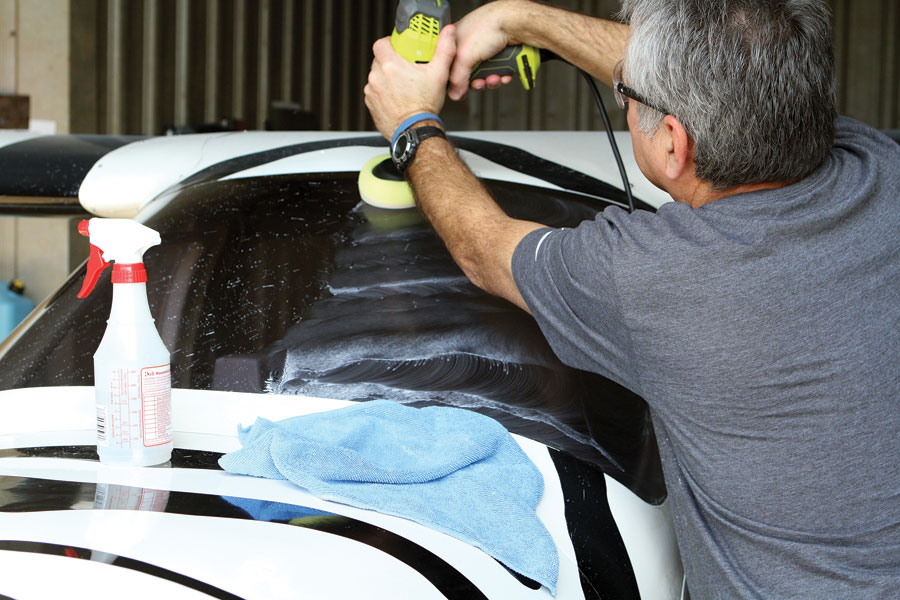
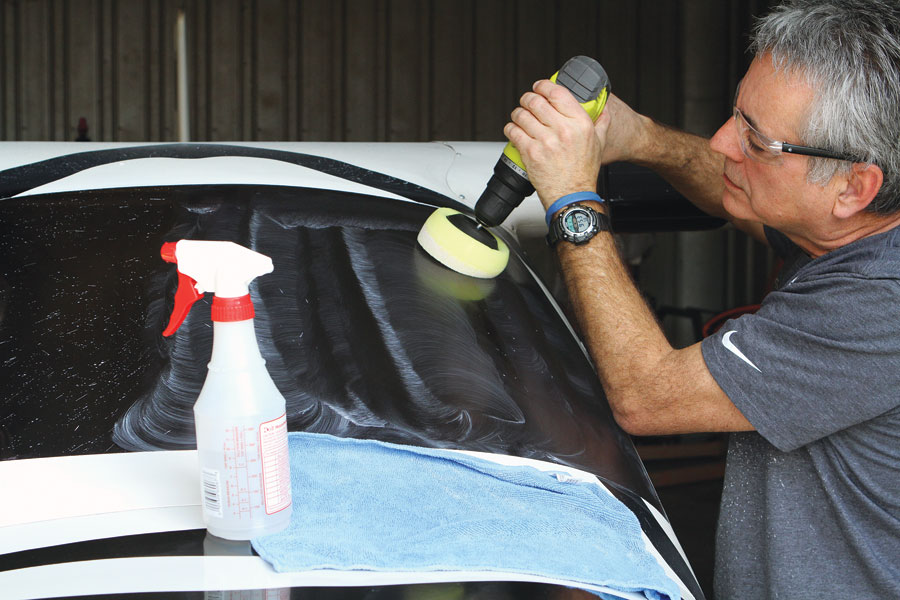
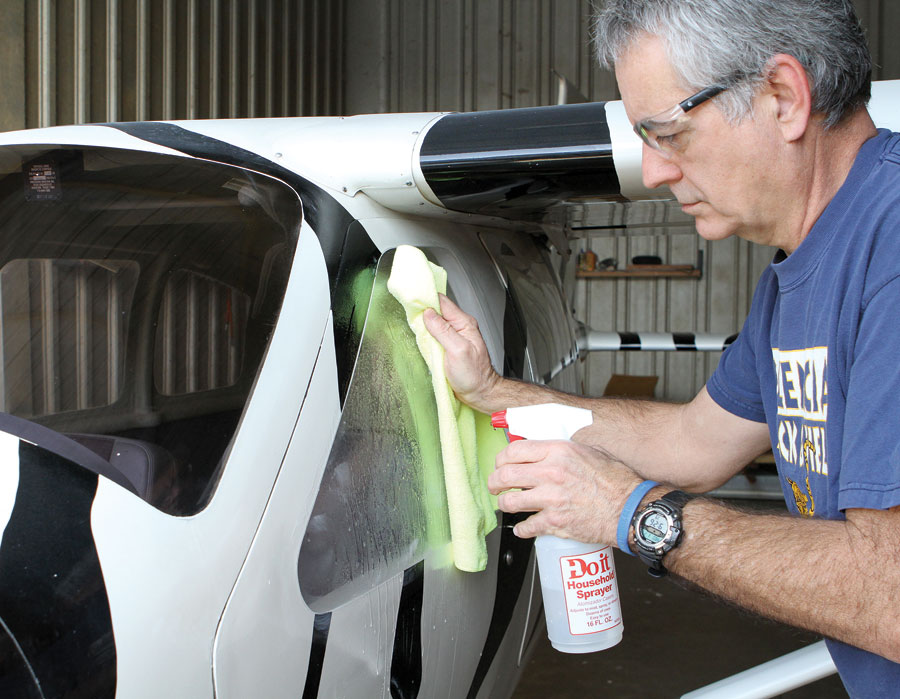
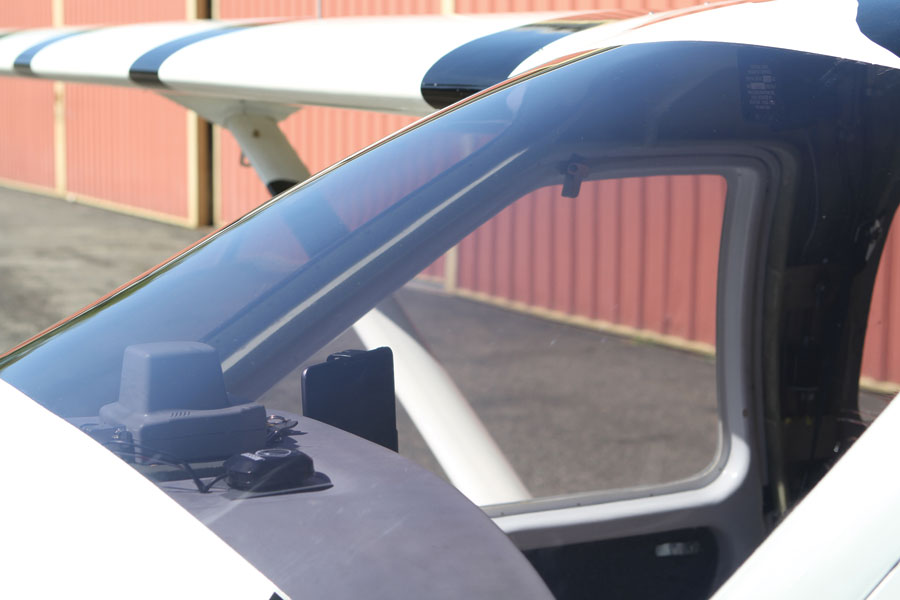
I’m happy to report that everything worked out. It took about 30 minutes of careful polishing with the Scratch Off repair kit’s SO-2 compound to remove all traces of overspray on the front windshield and about three hours total to completely restore all seven windows. The side windows had much less damage since they were somewhat protected by the wings. The paint took about three days to rub out, but it looks as good as new.
Closing Thoughts and Tips
• Follow the directions!
• Keep a supply of clean (preferably new) microfiber cloth towels ready. I purchased a pack of 20 for $15 at Pep Boys.
• Start with the work area as clean as possible. If you drop a towel on the ground, get a clean one. Even a well-swept floor will have some dust or dirt that the towel can pick up. Even a miniscule spec of either can scratch an acrylic surface.
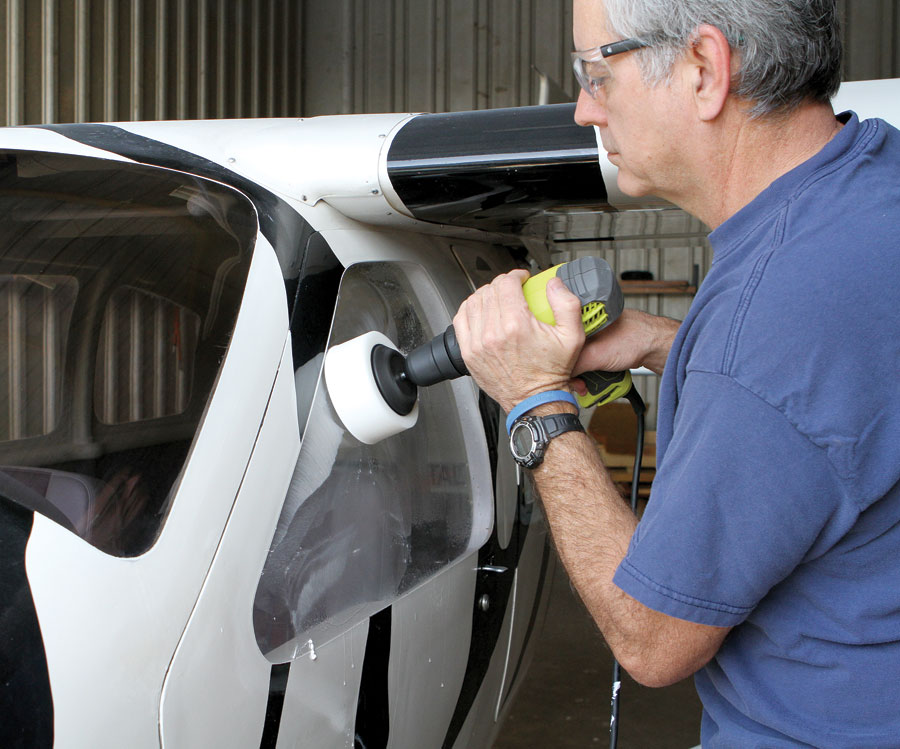
• Wear safety glasses. The spinning sponge applicator will fling polish everywhere.
• Use a corded drill. Cordless drills tend to be heavier. It’s a tedious process that takes patience and a fair bit of stamina. The directions say do not apply any pressure to the sponge other than the weight of the tool. While that means you’re not holding up the weight of the drill the whole time, you do have to hold it steady and keep it moving constantly.
I was really pleased with the results, especially considering the low cost of the Scratch Off repair kit. Now that I know what’s involved, there’s no reason to have less-than-perfect windows. The effort to keep them maintained is minimal and well worth it.

![]()
Bob Hadley is the R&D manager for a California-based consumer products company. He holds a Sport Pilot certificate and a Light-Sport Repairman certificate with inspection authorization for his Jabiru J250-SP.

