 Many people building the RANS S-21 have a paint scheme figured out before they build (or early into the process), which allows them to paint the various parts during the build. The RANS manuals even tell you which parts should be painted after you complete and install them. We didn’t choose that route.
We have long desired a custom paint job by famed painter John Stahr. We had met John at a Van’s fly-in in Independence, Oregon, about 15 years ago. When he asked what we like, Mike popped up with a Jimmy Buffett Margaritaville theme. “Oh, we could do so much with that,” John said at the time. Contacted more recently, he remembered us from the fly-in many years ago and we discussed having him paint our S-21. As it turns out, he was going to be moving soon to Florida from Oregon and would stop by to discuss details with us and tentatively set a date at that time. Mike and I were elated to think of having a Stahr Design paint job!
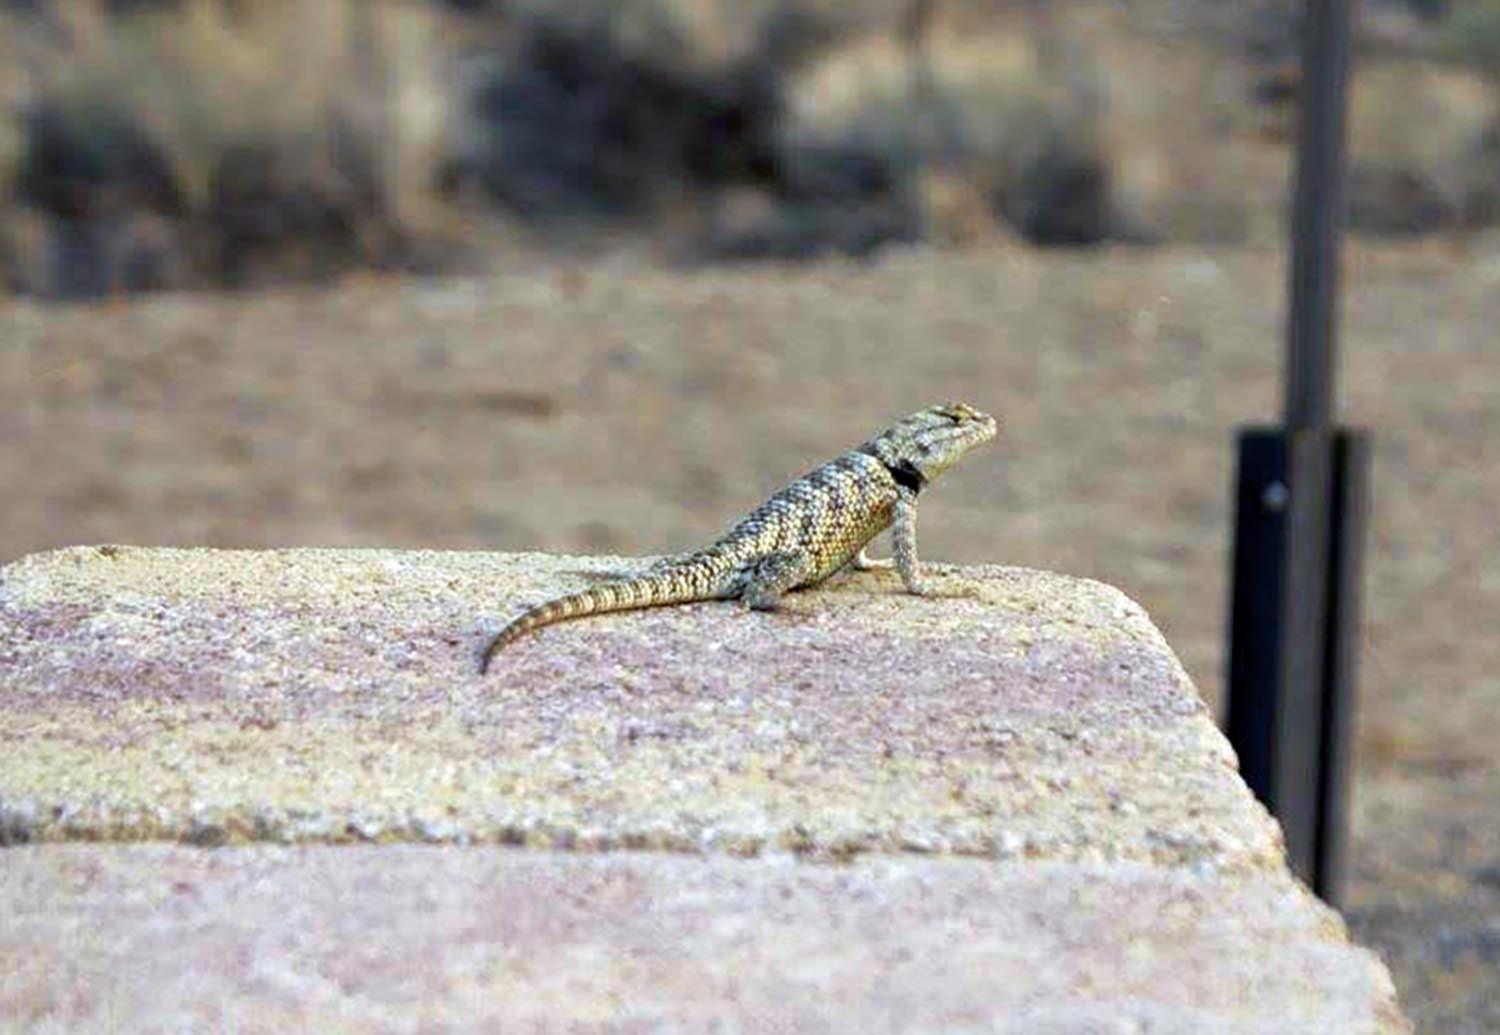
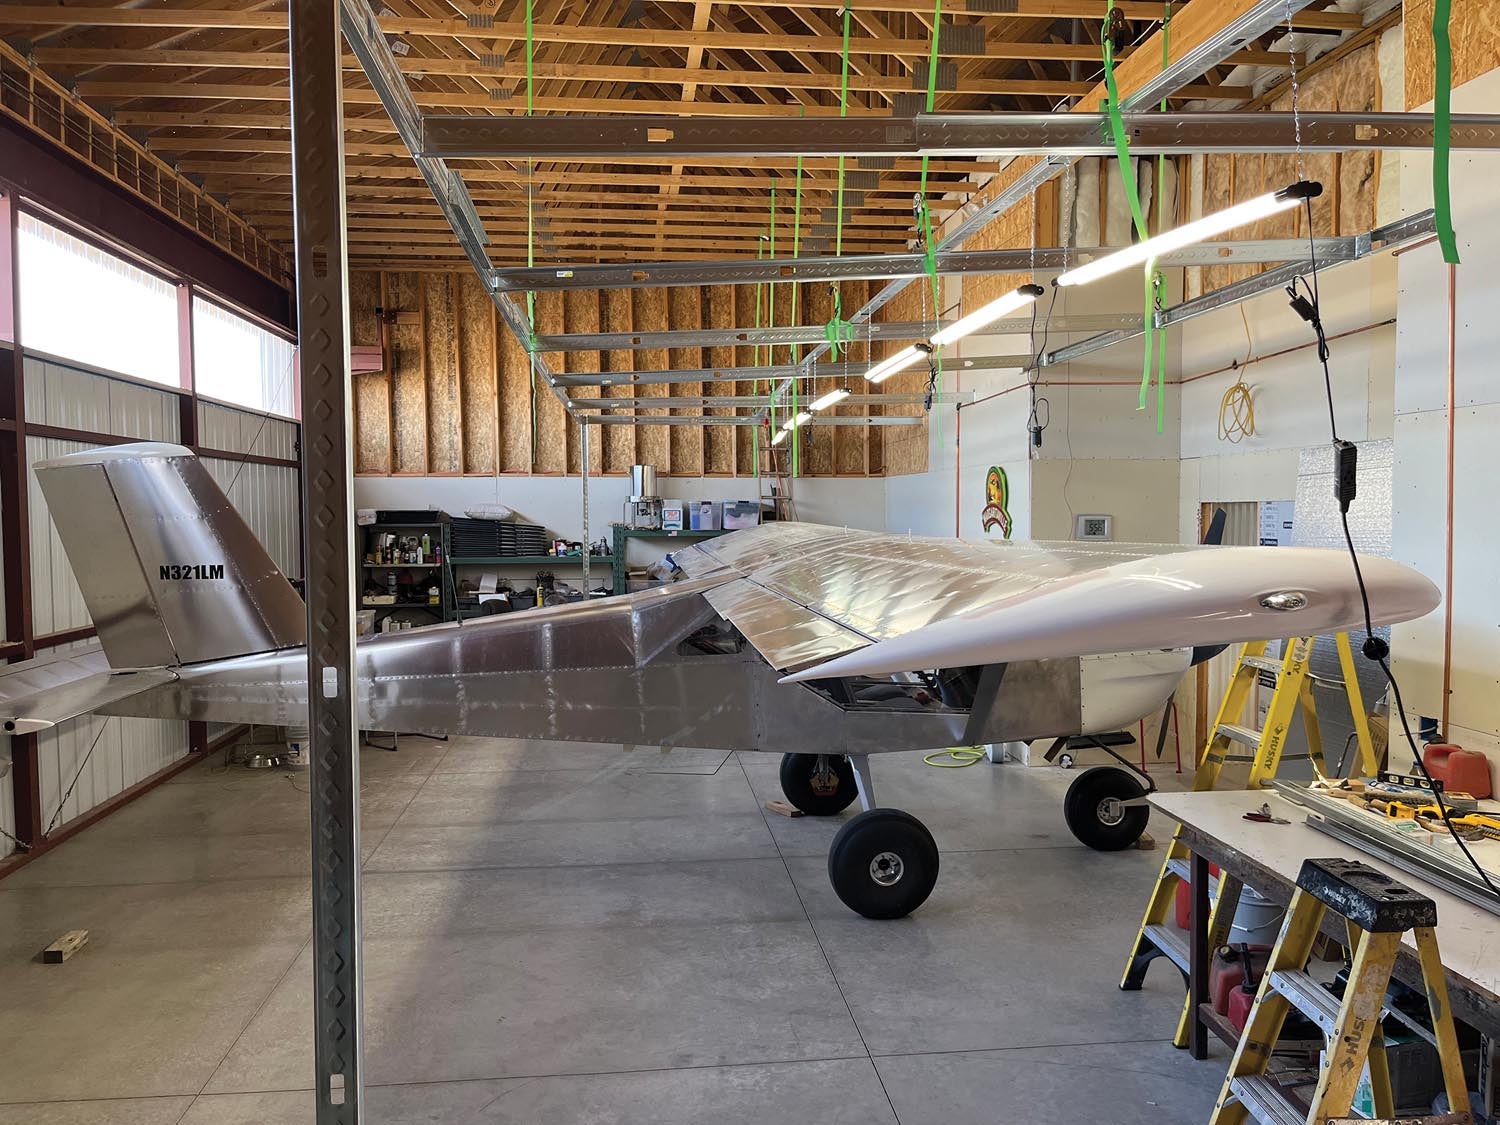
We got together several months later to have a serious discussion about our RANS paint job. We set the paint date about a year out—for late spring of 2022—giving us enough time to finish the build and our Phase I flying. We continued to brainstorm on the theme of the paint job over pizza while hanging out in our hangar with some neighbors and John. We had decided to name the plane Tin Lizzy because Mike and I had so much fun watching the lizards in our backyard. One lizard was the most colorful of all, and it became our model Lizzy for the plane. John was going wild with ideas, and it was clear this was the beginning of our great adventure to create the theme of Tin Lizzy for our plane.
Traveling Show
Since John now resides in Florida, he would be traveling with his main supplies and buying the paints here in Carson City, Nevada. Mike and John were able to scope out our hangar and develop a plan on how to construct a paint booth and how to ventilate it for good airflow. We firmed up a date, with John arriving in late May with the understanding that we were to do the majority of the prep work ourselves. Mike and I allowed one week for the prep work and one week for the painting. This was going to be an intense time, but we were up for it.
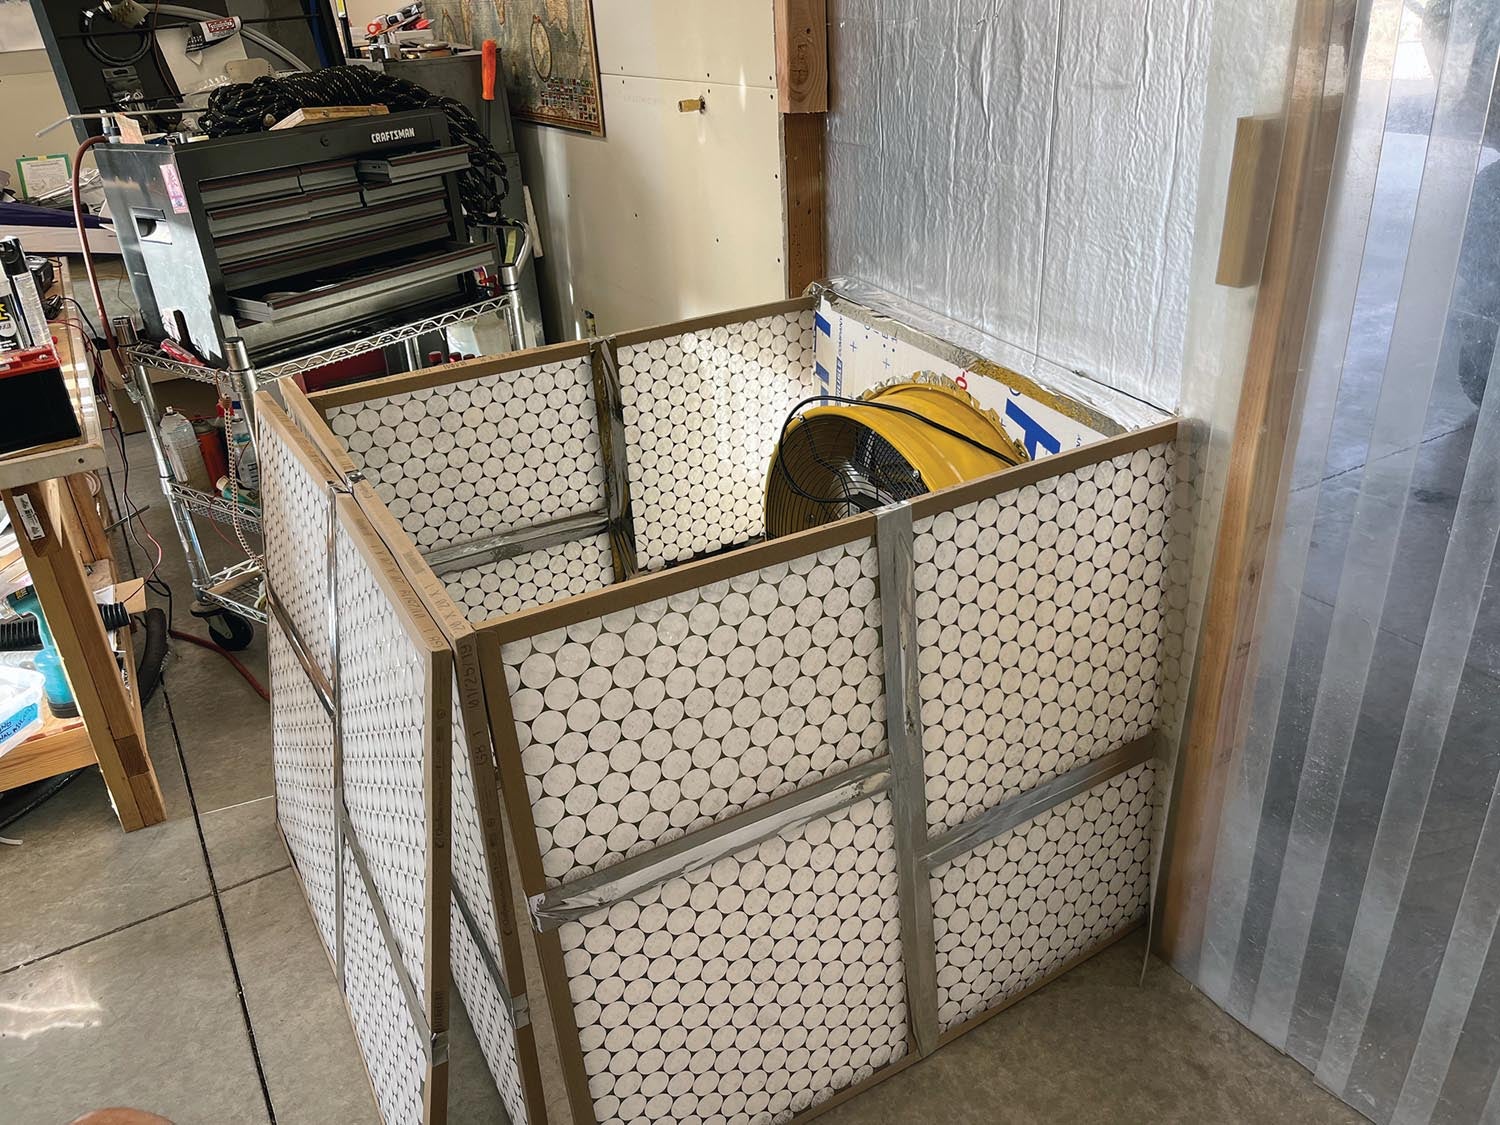
Mike and John agreed on the design of the booth, but all the pieces and parts to make it happen had to be either borrowed from neighbors or purchased. Mike’s plan was to build a “floating structure” that would support the Visqueen plastic sheeting and ventilate by a filtered fan system on the man door side of the hangar for inflow of air and have the main hangar door open about 6 inches for the outflow. Sounds simple in concept, but actually was a lot of work on Mike’s part to make it all happen.
In the weeks leading up to the paint job, many items came by Amazon including a roll of 20×100-foot Visqueen (very heavy), boxes of red Scotch-Brite pads, various tapes, sticky paper to go over glass and numerous widths of taped-edged plastic wrap to protect areas from overspray.
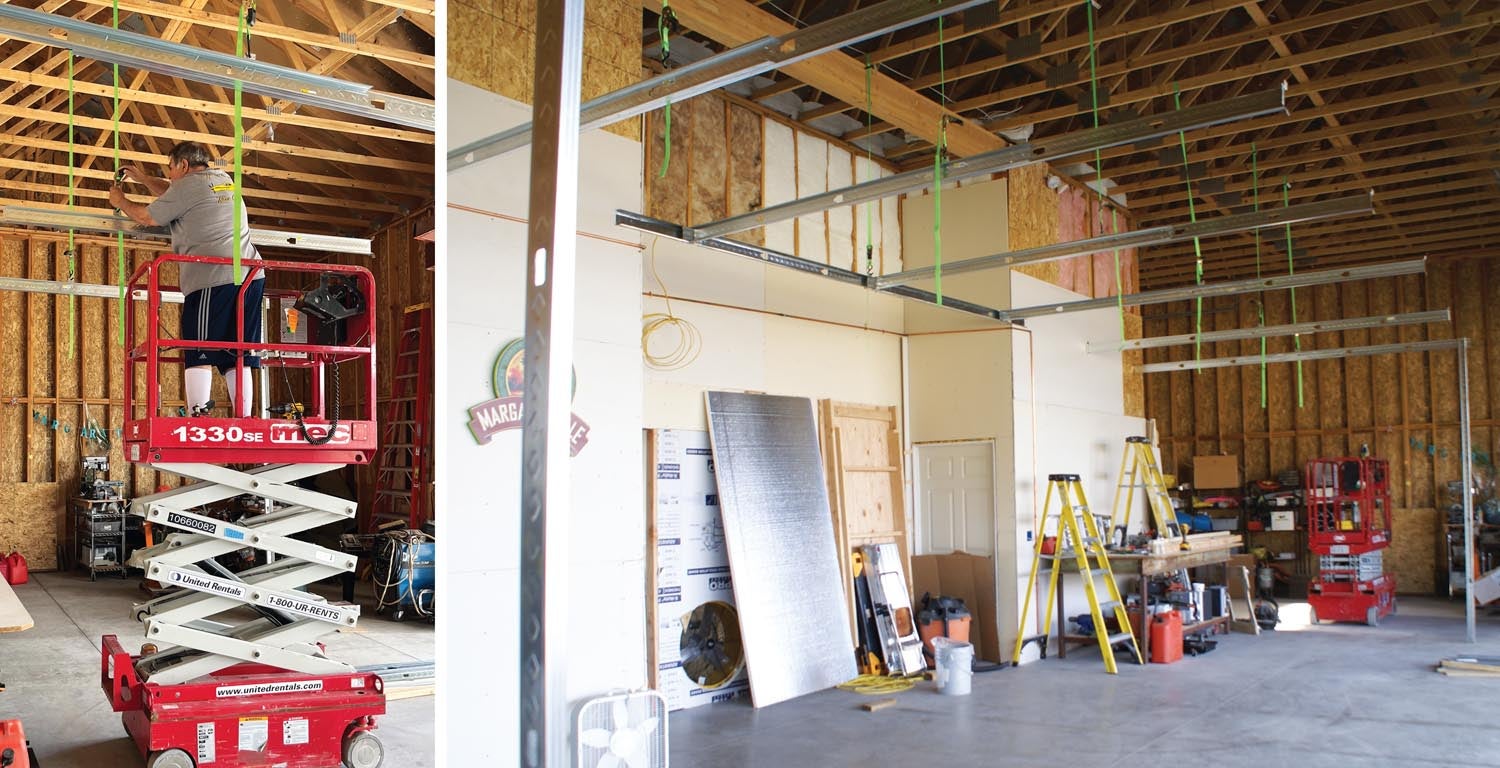
We already had a few steel framing studs on hand and had to buy a couple dozen more for the paint booth structure, as well as some brackets and self-drilling sheet metal screws. Mike also bought a dozen ratchet straps to hold up the horizontal pieces as they essentially became a drop ceiling suspended from the hangar rafters. When these and a few supplies for the structure were on hand, we were as ready as we could be!
The Countdown Begins
John hoped that we could complete all preparations before he arrived so he could start painting right away. This, of course, caused some pressure, especially since I worried about having a clean environment for a quality paint job, knowing that the winds here can blow dust everywhere. I was pretty uptight about the whole pending process since I had never done anything like this before on a plane of our own and it was so important to us both.
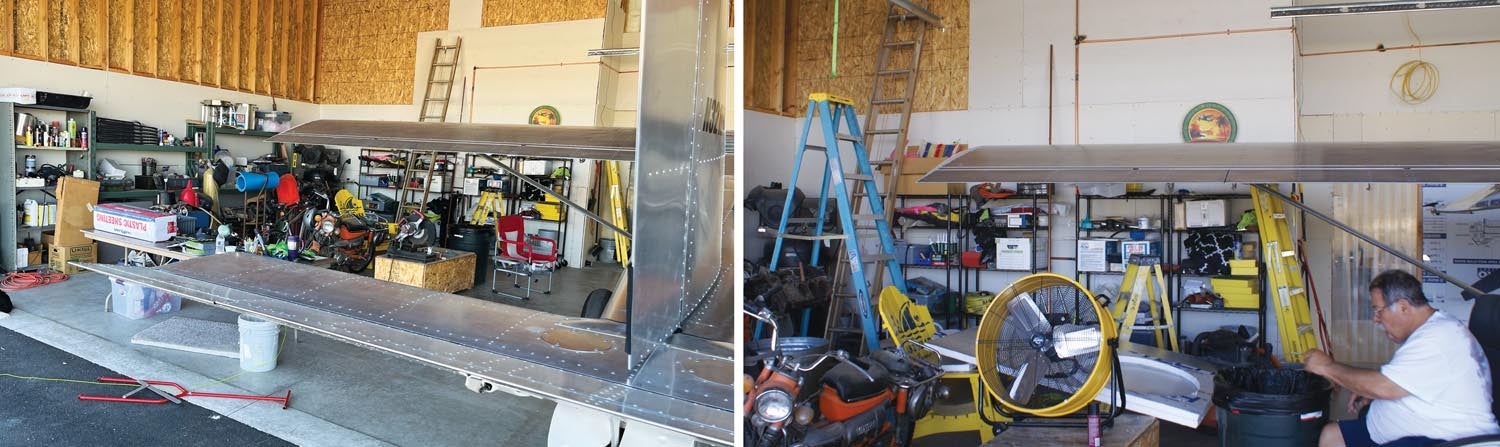
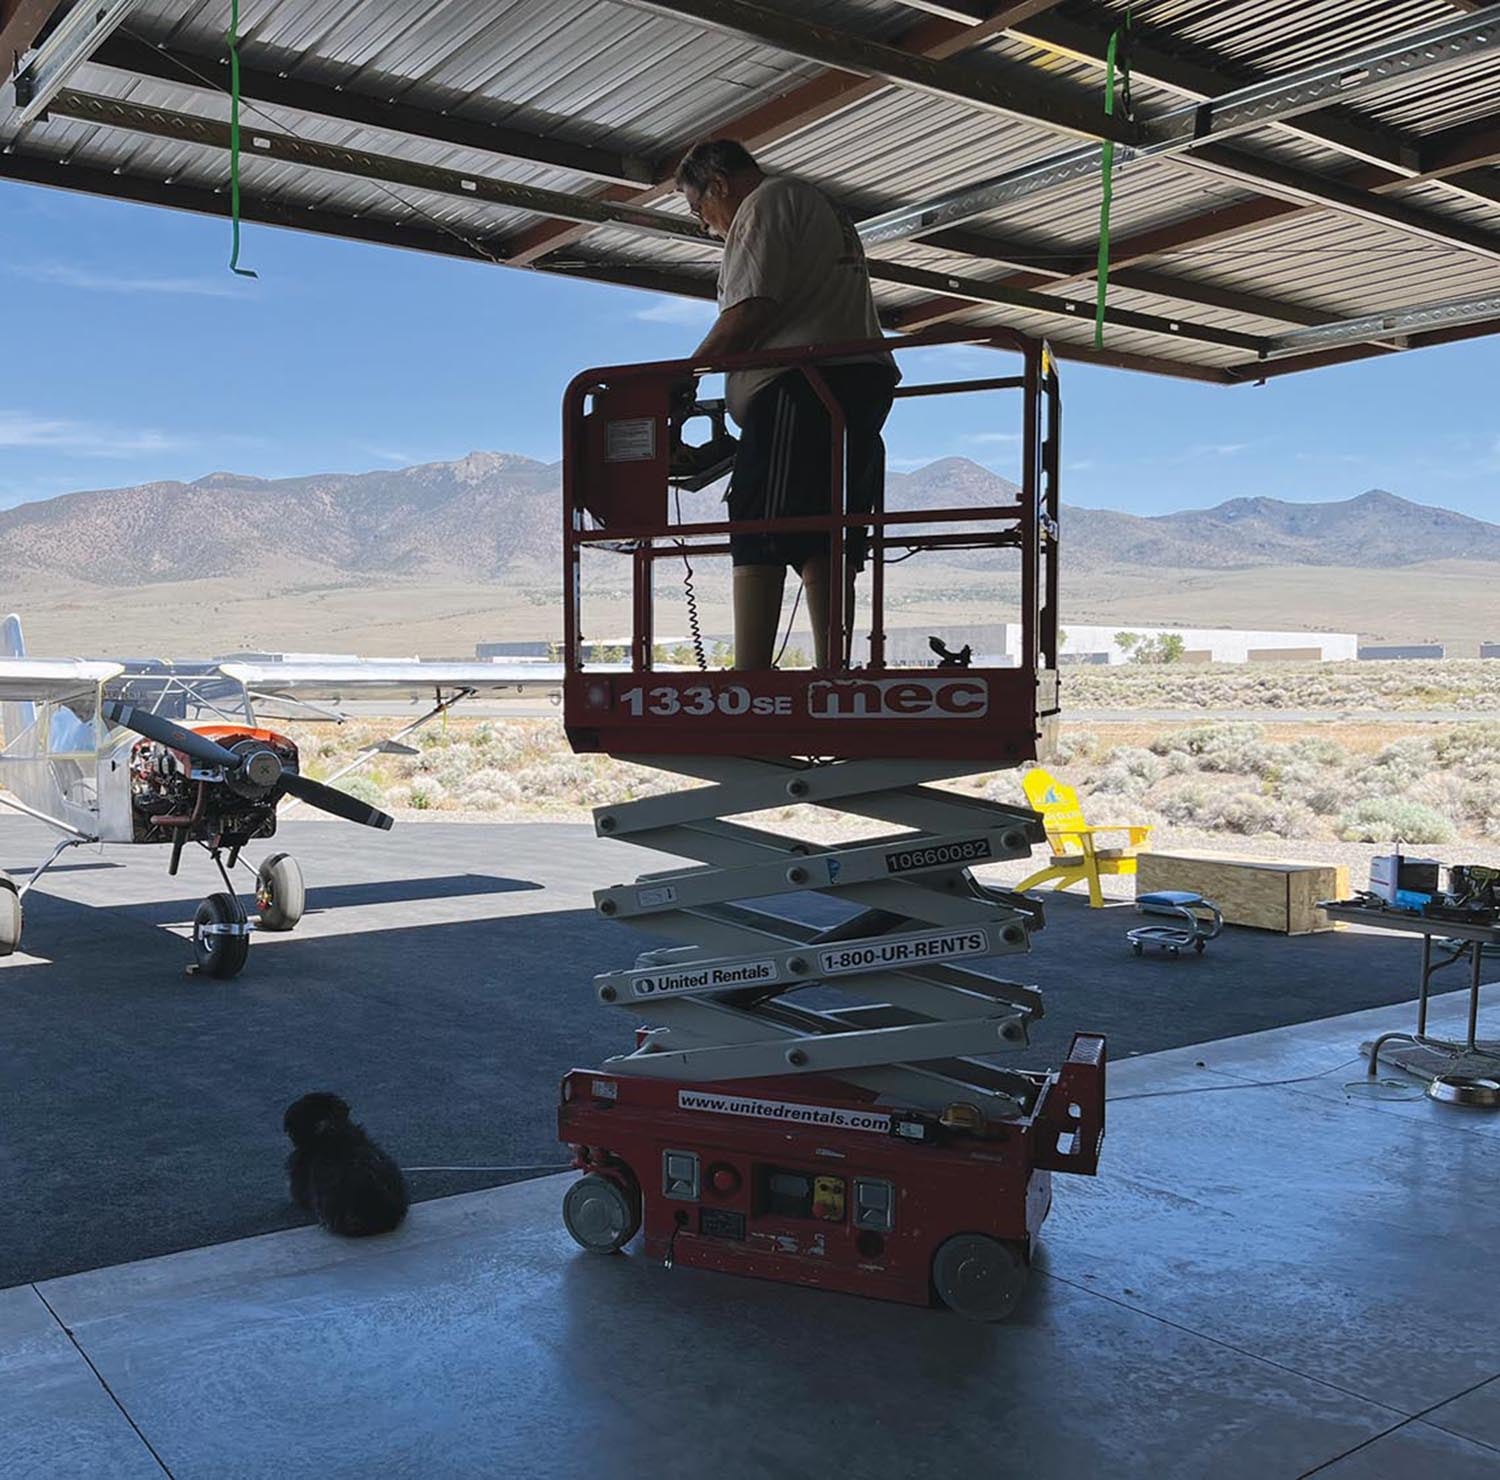
Nevertheless, Mike started on the paint booth with his usual resolve. He built a frame to hold an exhaust as well as frames to carry the filters. By the end of the day, Mike had one beam of the steel frame structure attached 90° to the west wall about 4 feet away from the left wingtip (to give John plenty of room to move around while painting) and suspended from the 16-foot rafters with a tie-down strap. All this work had been done by Mike on a ladder, which made me very nervous. Plus, he really didn’t like it too much; in fact he hated it. After a neighbor who was rumored to have a scissor lift didn’t actually, I was able to find one for rent locally for a very reasonable amount of money. Mike was delighted—a new tool!
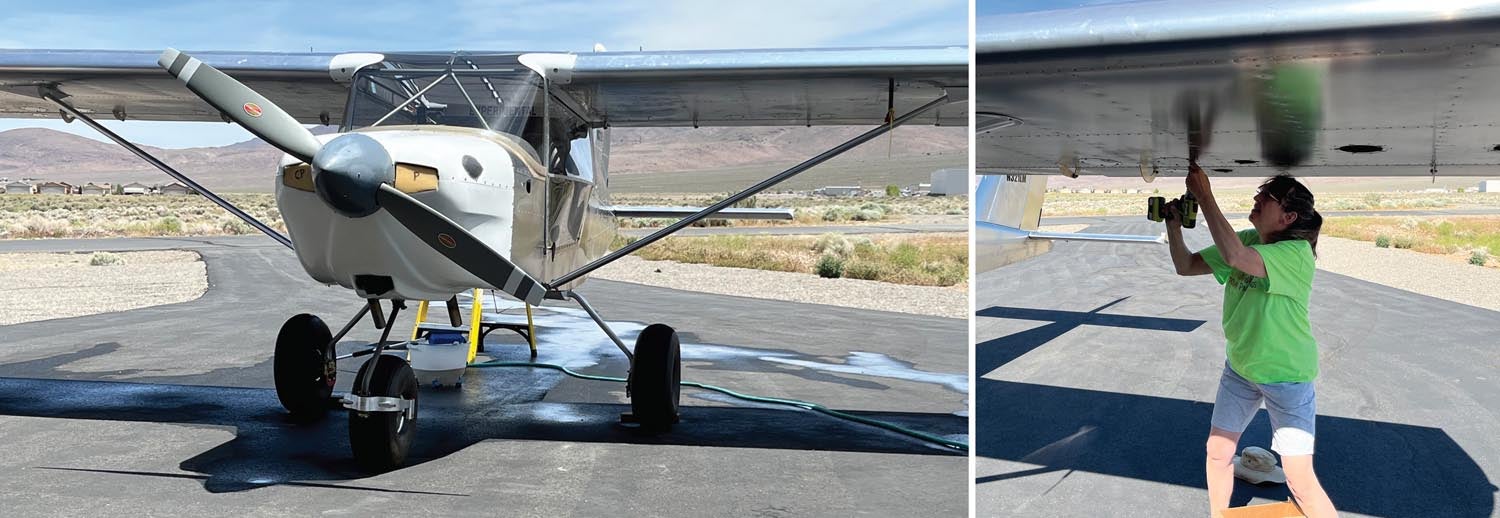
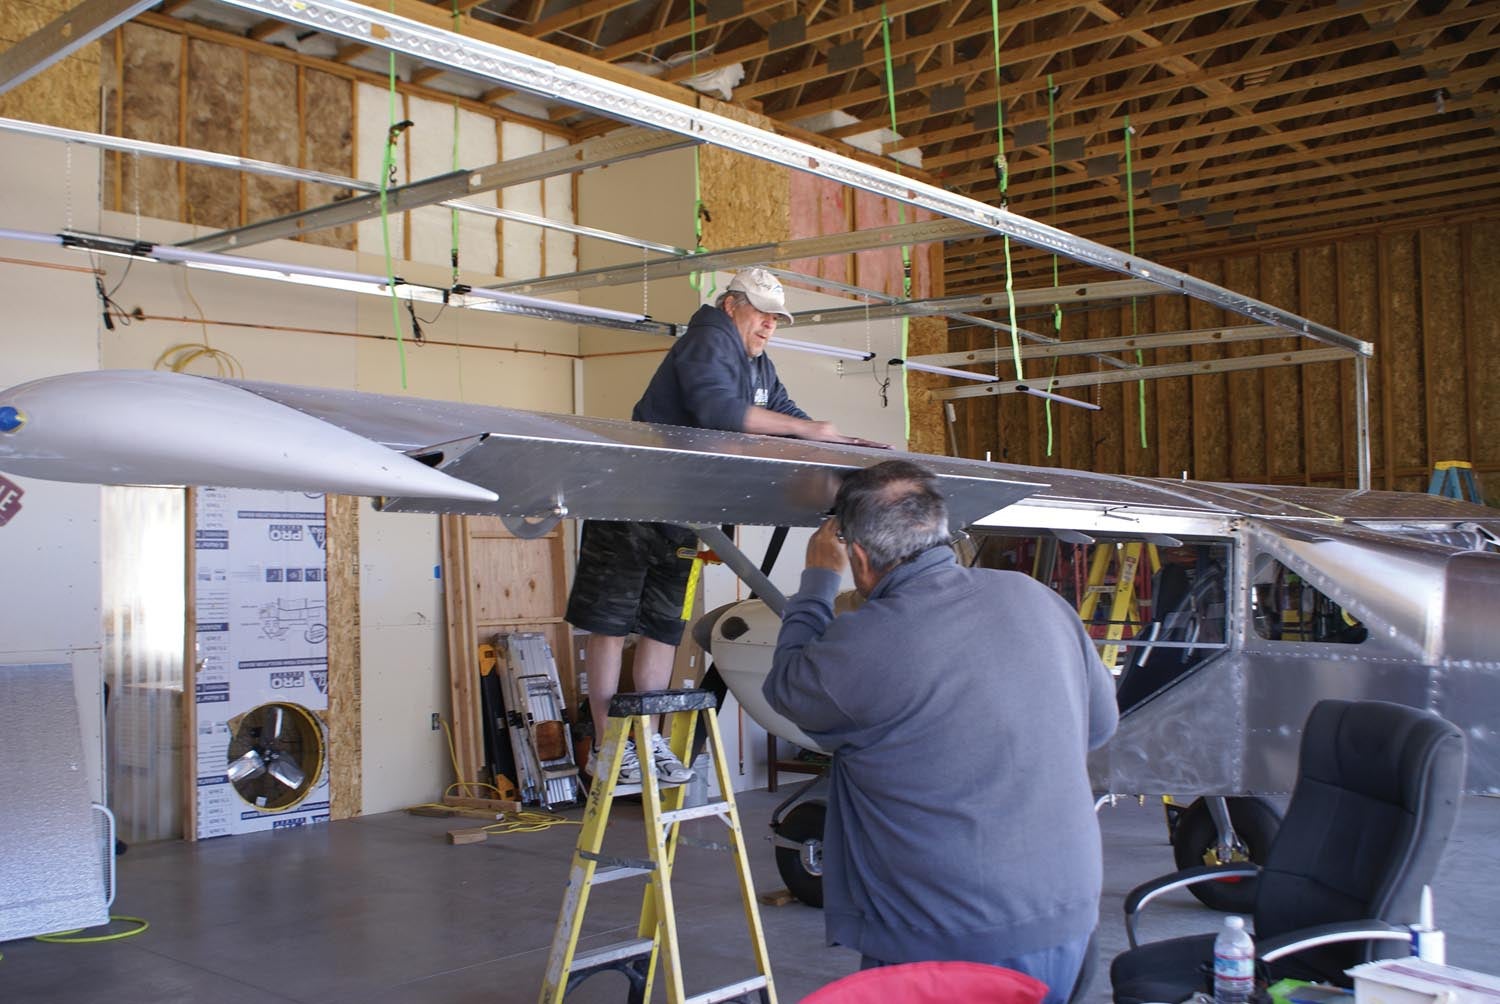
While Mike concentrated on the construction of the paint booth, I focused on the plane itself. The RANS needed a bath in a bad way, so I pulled it out, scrubbed it down with soapy water and rinsed. I was unsure what all was going to be involved with making sure the metal was ready for paint, so John sent me an email detailing how the metal was to be prepped. This was a good guide, but since I had never done this before on a plane of my own, it was very daunting. I was really unsure how long it would take and how much scuffing is enough or not enough. (I now know that you have to scuff the metal surfaces so the primer “takes a bite,” but until you’ve done it, it’s hard to know how rough is too rough and how much is just right.)
While Mike learned the scissor lift and continued work on the paint booth, I removed inspection plates while filling and labeling baggies for the screws. John had suggested using a dual-action sander with 220-grit sandpaper, but I didn’t want to practice on the real thing, so I found an old rudder skin and went for it. I never got comfortable with the DA sander so I went back to what I knew: using Scotch-Brite directly. I could see a lot of rubbing in my future! Was I going to have the time I needed to get this done? In one day, Mike made tremendous progress, whereas I was still poking along and figuring my process out.
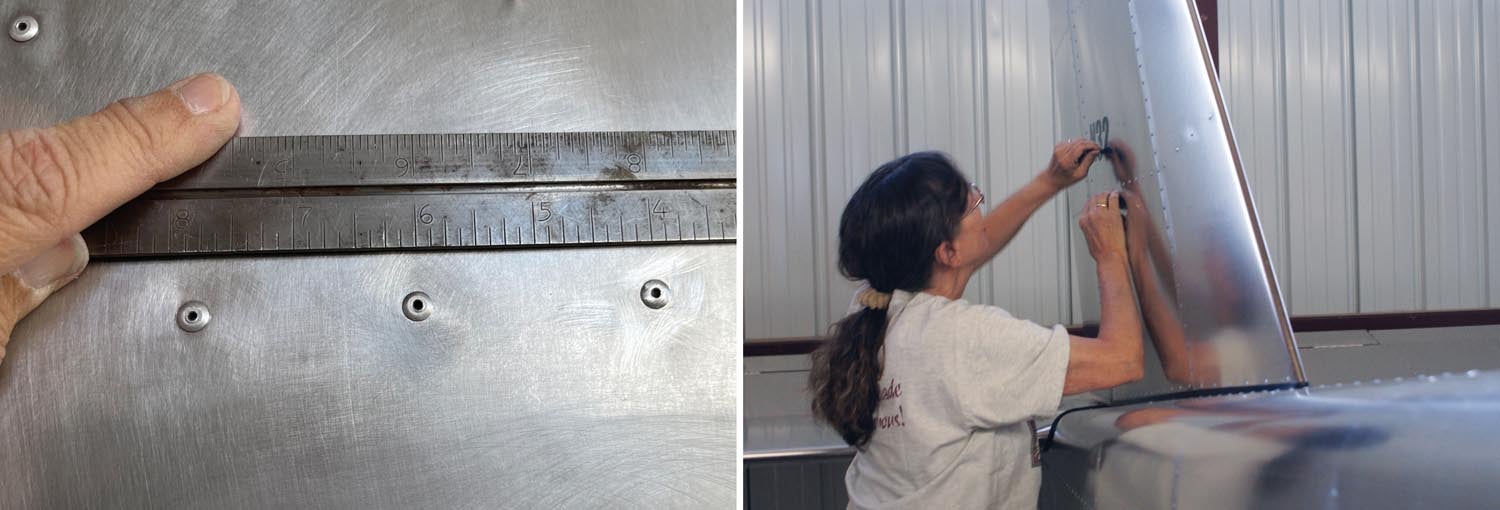
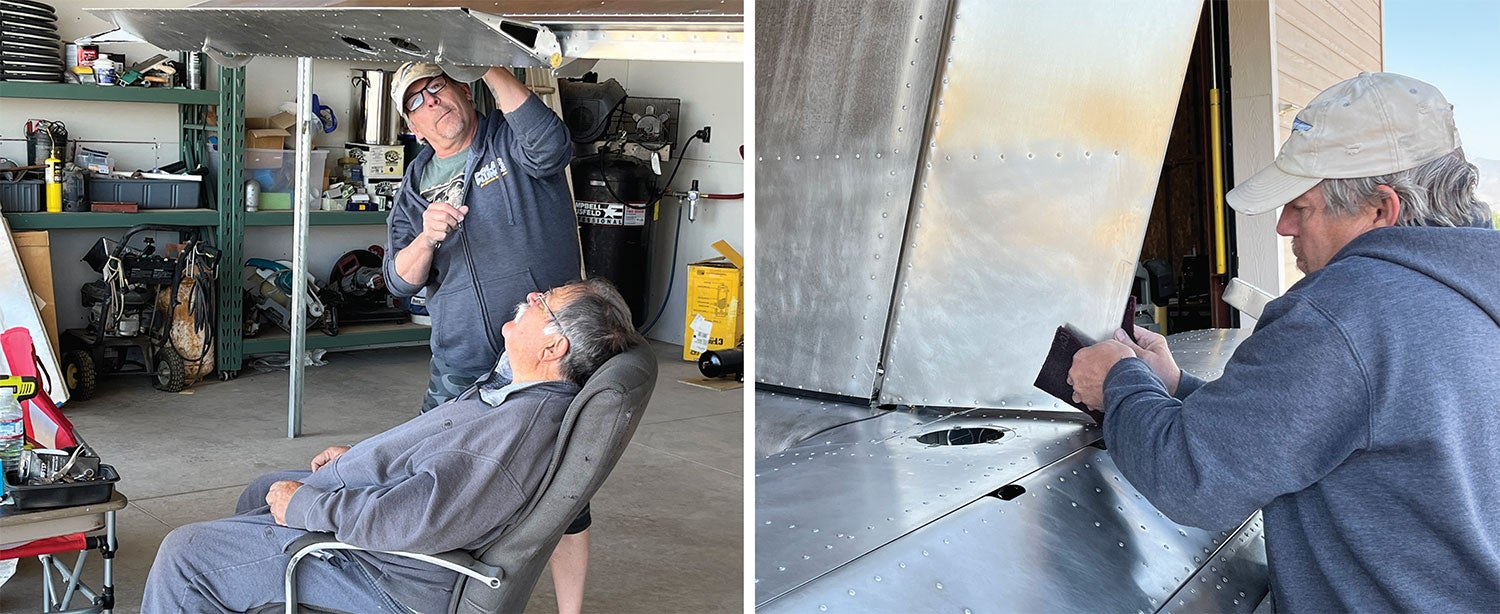
With five days before John Stahr’s arrival, I was able to finish scrubbing both sides of the boot cowl back to the side panels just aft of the doors. The problem I found was that the areas around the rivets were not scuffed up at all within about an eighth of an inch all around the rivet. I spent a lot of time troubleshooting this with other scuffing ideas, one being attaching a Scotch-Brite pad to the whizzy wheel (my name for the right angle air die grinder), but that was really over-aggressive on the rivet and I knew that was wrong. Once again, I contacted John, took pictures of what I was questioning with the unscuffed areas around the rivets, but after some back and forth, he told me not to worry about the rivets. He would bring the right tool with him and get all the rivet lines.
I was stressing because we only had five days left before John was to arrive and I only had a small part of the metal scuffed. It was time for me to consider having some assistance. Paul and Louise were out of town, so I turned to another neighbor/pilot friend who had recently retired and asked for his assistance. Harold was happy to oblige. I worked on a few other items the remainder of the day like removing the N-numbers and the trim tab on the rudder, taking pictures so I have exact documentation of the height and position of the correction needed for our plane. My hands were feeling pretty beat up by the end of the day and I still had so much to do.
The Home Stretch
Harold showed up and he was a scuffing animal! He had done this before, clearly, and I was so thankful that he was able to assist on our project. I took the right wing and he took the left one, both of us starting on the bottom. I explained that John was OK with not getting around the rivets perfectly and that he was bringing a tool that would take care of the rivet lines. Oh my, did that speed up the process. Mike jumped in and removed the remainder of the “moving parts” like the flaps, ailerons, elevator, trim tab and miscellaneous close-outs. By 3:00 p.m. we had the entire plane (except the rivet lines) scuffed. It ended up that I did the right wing and belly, and Harold did the left wing, tail cone and tail—at least twice as much as I was able to do!
With three days before his arrival, John reminded me that I could relax a bit on the site preparation. Northern Nevada has dust (mitigation of the dust is our goal), so you deal with it. Mike also learned that the entire paint booth did not need to be sheeted in the Visqueen in the early stages of the painting. His reassurance allowed me to focus on what still needed to be done.
I spent the day blowing out the cracks in the cement hangar floor with a high-pressure air hose and cleaning up the mess that was created from that! I got half of a 5-gallon bucket of junk out of those cracks, including dirt, gravel, sawdust and a lot of mandrels! I also spent a chunk of time scuffing the miscellaneous pieces and parts that had been removed.
Two days before John’s arrival, Mike made great progress completing the extension of the hanging ceiling of the paint booth over the tail area. I worked a bit on trying to tape around the windshield, rear windows and the skylight—and finally gave up with the idea that my tape was doing a marginal job and John would probably have a better tape in his supplies. So I stopped on the tape job idea.
The day before John’s scheduled arrival was our final cleanup day. The plane was as prepared as it was going to be, the booth was as done as it could be and airflow was as controlled as possible. It came down to looking at the space we had and how workable it would be for John at this point. Mike had a huge workbench at the front of the paint booth area. He wanted to keep it there in case John wanted to stand on it to paint the wings, but I finally insisted on moving it out because it is heavy, in the way actually and hadn’t been moved since we moved in over four years ago. Imagine the dust.
Mike did some final touch-up work on the top cowl “eyes” (the bump-out he made for the cylinders), smoothing out areas that had been fiberglassed and a few areas on the body of the plane.
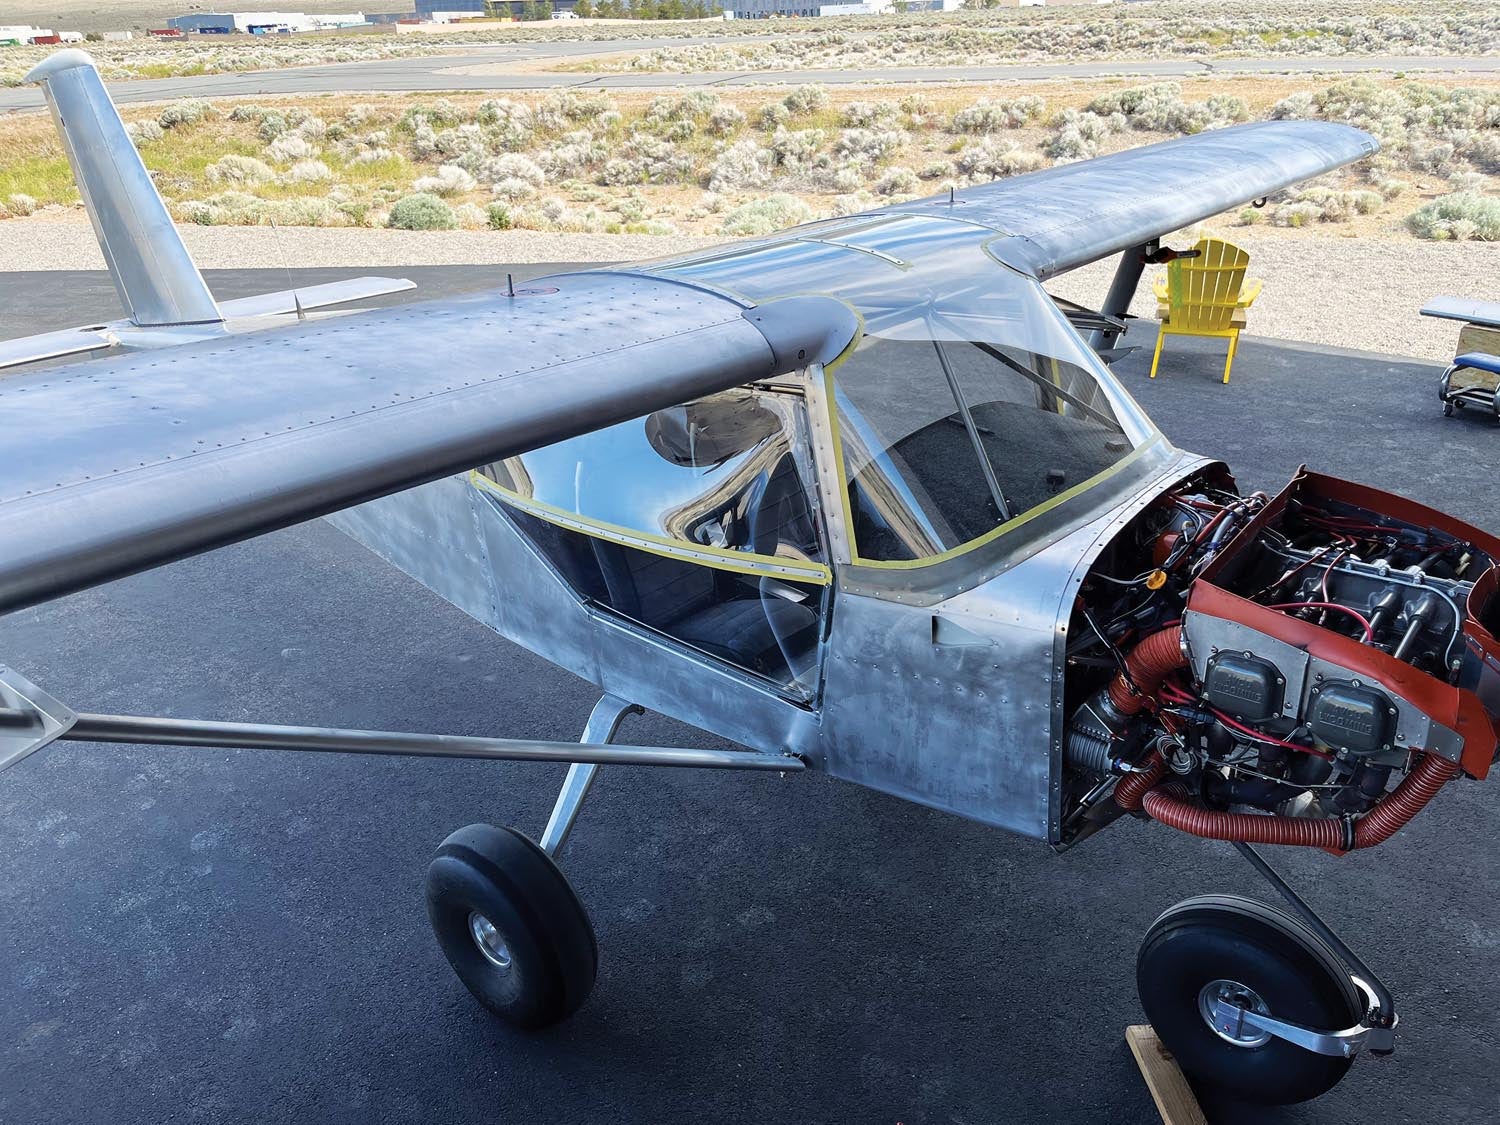
At this point we were as ready as we could be for John’s arrival. The hard labor that was our responsibility was done and now was the time I had been waiting for so that we could finally move forward with seeing our paint job come alive. We had shared so many ideas through the months with John and I was anticipating how it would all come together. We were finally ready for John’s arrival!


