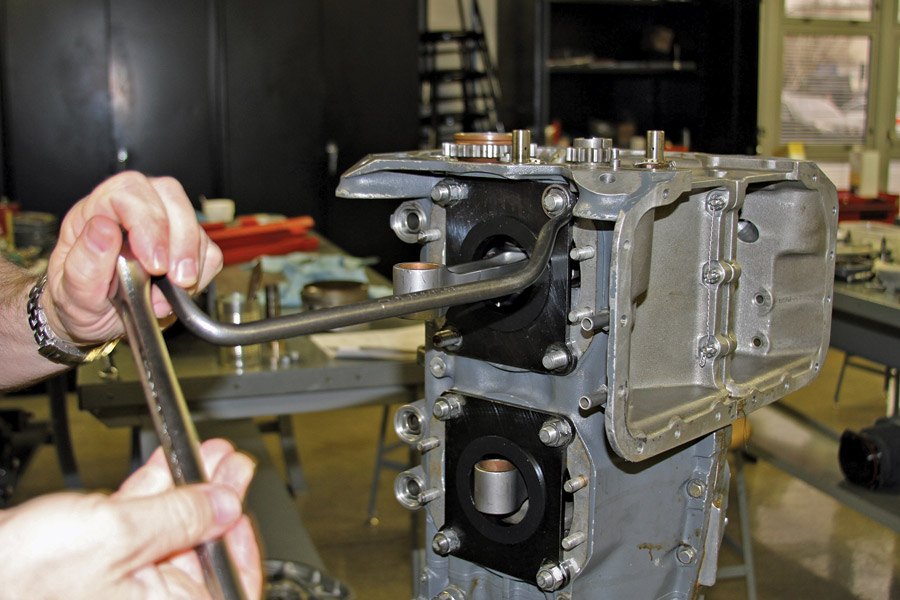
Torque plates are installed before any cylinders go on at the Lycoming engine school. Then they are removed one at a time just before installing each cylinder. (Photo: Paul Dye)
Despite the admonitions of master mechanics such as Mike Busch, many people are all too eager to pull a cylinder off to have it repaired, rebuilt, or replaced. To say the least, this is not something that should be done without some very careful investigation and consideration. And it is not something that should be done casually by someone with no experience doing it. However, if this needs to be done and you are determined to do it, you really need to take the necessary precaution to protect the engine’s internal parts by installing a torque plate immediately after removing a cylinder.
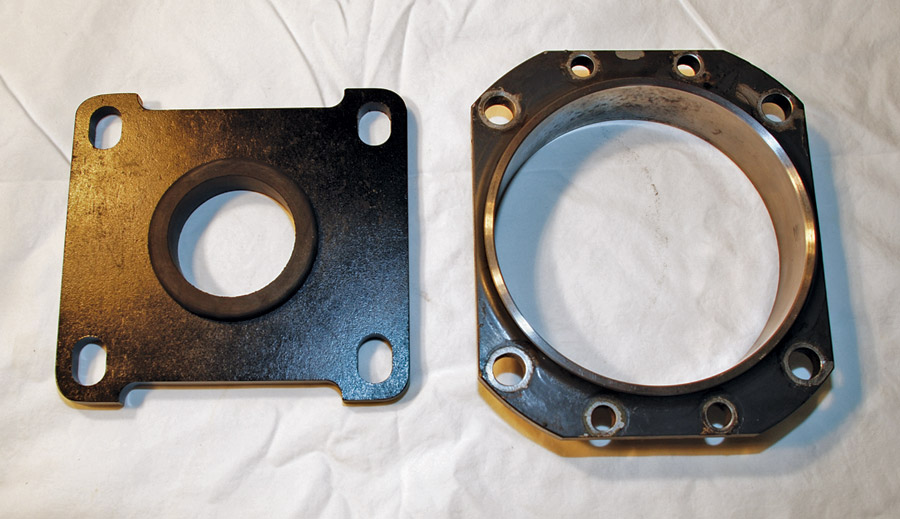
Two different finished torque plate possibilities. The copy of the Lycoming torque plate (left) will work with wide or narrow deck engines, but this particular cutoff cylinder base flange (right) will only work with wide deck engines. Both of these options will do the job well and save big bucks in the process.
Many people will tell you that you don’t need the torque plate; you can just use oversized fender washers under regular nuts to keep torque on the crankcase with the cylinder(s) removed. The problem with this is that the steel washers will spin with the nut as you tighten it, galling or scoring the aluminum crankcase. Torque plates can’t spin, preventing this damage.
It’s also pretty easy to rationalize leaving torque plates off because, unless you often work on Lycoming engines, you likely do not have any, and purchasing them from Lycoming is a pretty expensive proposition. Aircraft Spruce has them listed at $972 each, but with a little ingenuity and machining work, you can make your own for much less and provide your engine with the protection it needs.
When you remove a cylinder and relieve the tension on the case studs, you create a situation in which any movement of the crankshaft could cause the crankshaft bearings to shift. This shift could easily lead to a major engine failure the next time the engine is run. Even if you are careful, it is easy to bump the propeller and turn the crankshaft. There is even greater risk if you leave the airplane unattended while a cylinder is off. Because of this risk, Lycoming strongly recommends that any time a cylinder is serviced, unless it is immediately replaced, a torque plate be installed at each location where a cylinder has been removed.
Our local metal supplier sold us some pre-cut steel squares that were 6×6 inches. On these we laid out the location of all the holes, slots and external dimension cuts.
Make Your Own
To make your own torque plate you will need some 3/8-inch thick material. Lycoming uses steel, but aluminum will work and is easier to machine. The overall dimensions are about 5-1/2 inches by 5-7/8 inches (see drawing for exact dimensions). You will need to bore a 2-1/2-inch diameter hole in the exact center of the plate and machine a slot that is a little over 1/2 inch wide by inch long in each corner as per the drawing. You can do this with a 1/2-inch end mill and just work the hole out a little bit oversized to create a little extra room for the -inch engine case studs. An extra 1/64 inch added to the nominal slot dimensions should be enough.
The connecting rod for that cylinder will stick out of the hole in the plate. To protect it, you should install a rubber grommet that has an inside diameter of 2.25 inches sized to fit your 2.5-inch hole. I found the appropriately-sized grommets at Del City. They cost $21.06 for 10 including shipping.
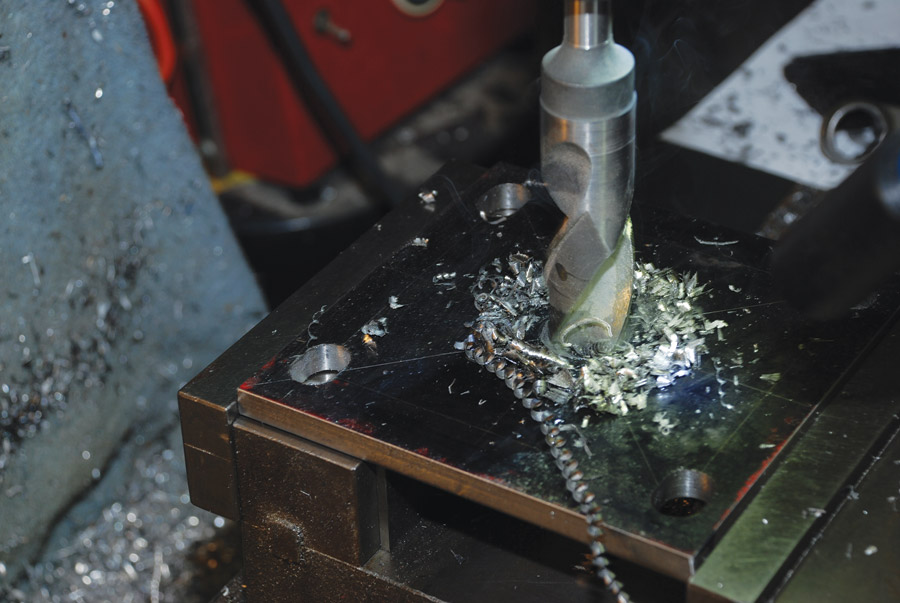
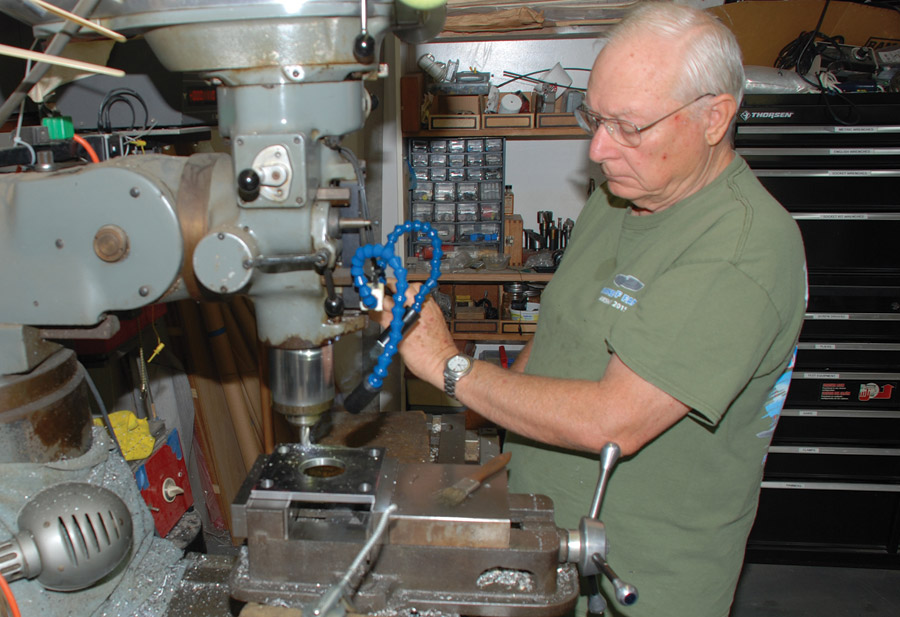
We drilled the center hole with a 1-inch bit and then used a boring head to go the rest of the way to 2.5 inches.
Start by cutting 3/8-inch thick stock to the overall dimensions of 5-7/8 inches by 5-1/2 inches. With the plate cut slightly oversized, you can mill the edges smooth to precise dimensions. Next drill or bore a 2-1/2-inch hole in the exact center of the plate. You can use a hole saw if you take your time or bore the hole out with a milling machine, depending on what equipment you have available. You then need to make four slots, one in each corner, that are 1/2 inch by 3/4 inch. If you are only going to work on wide deck engines, you can just drill four 1/2-inch holes. The slots should be aligned so their length is parallel to the short side of the plate at 4.20 inches on center. If you just want wide deck holes, the 1/2-inch holes should be 4.46 inches apart. The second set of slots or holes should be 4.79 inches center-to-center from the first set. Then relieve the long sides by 5/16 inch each as shown in the drawing, so the plates will clear the smaller cylinder studs. Lastly, install the grommet and you are finished.
A milling machine makes easy work of cutting slots in steel and finishing off the torque plate to exact dimensions. You can use a drill press if you just want to drill holes, but the drill press will not really work for cutting slots.
After removing a cylinder, install the torque plate with the -inch nuts used to hold the cylinder down and torque them to 25 foot-pounds. Let the connecting rod protrude through the rubber grommet where it will be protected from damage. Remove each torque plate just prior to installing a new cylinder and re-torque the nuts as per Lycoming Service Instruction SI 1029D. By doing this you will ensure the stability of the crankshaft bearings and greatly reduce the possibility of bearing problems later. If you cut slots in each corner as per plan, your torque plates will work for any Lycoming four-, six-, or eight-cylinder engine.
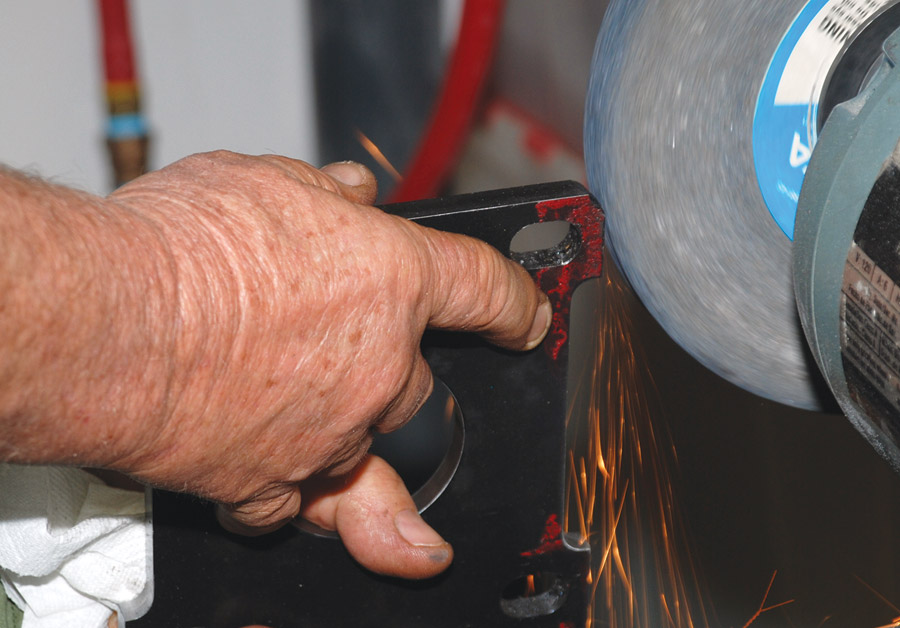
A grinder works well for putting a radius on the outside corners. This could be done with a mill, but it is a lot of work unless you have a CNC machine.
It is a shame how much Lycoming charges for these plates, considering how important they are. The good news is that with some effort and less than $70 worth of material, you can make a set of four or six for yourself.
Here is a drawing to make your own torque plate. This was made by measuring dimensions on a Lycoming engine school tracing and a wide deck cylinder base flange. The dimensions may not be precisely accurate, but they should be pretty close. (CAD drawing: Ed Zaleski)
Another Way to Make a Torque Plate
An alternative method of making a torque plate is to simply cut the flange off a discarded cylinder. Any engine shop should have some of these available for next to nothing. For example, the good people at Corona Aircraft Engines gave me an old cylinder with a cracked head for free. The downside to using a cylinder flange is that you do not have the rubber grommet to protect the connecting rod. You will also be limited to wide deck or narrow deck only, depending on the cylinder you get to work with. Be sure to get the cylinder that matches your engine before converting it to a torque plate.
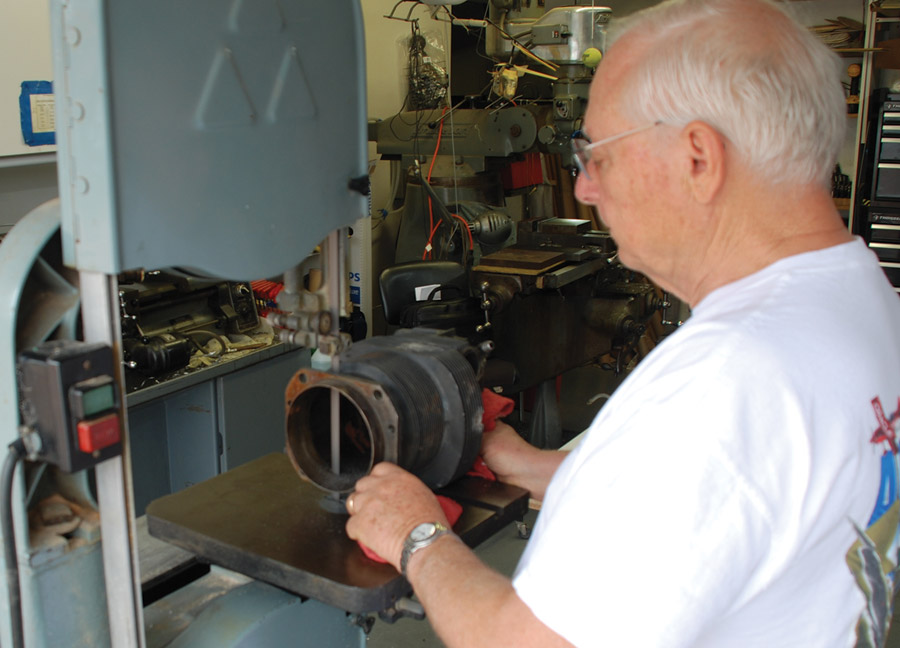
Use a metal-cutting band saw to remove the cylinder base flange from a discarded cylinder. Be sure to slow the blade down enough to cut steel without burning it up. A torch or plasma cutter would also do the job.
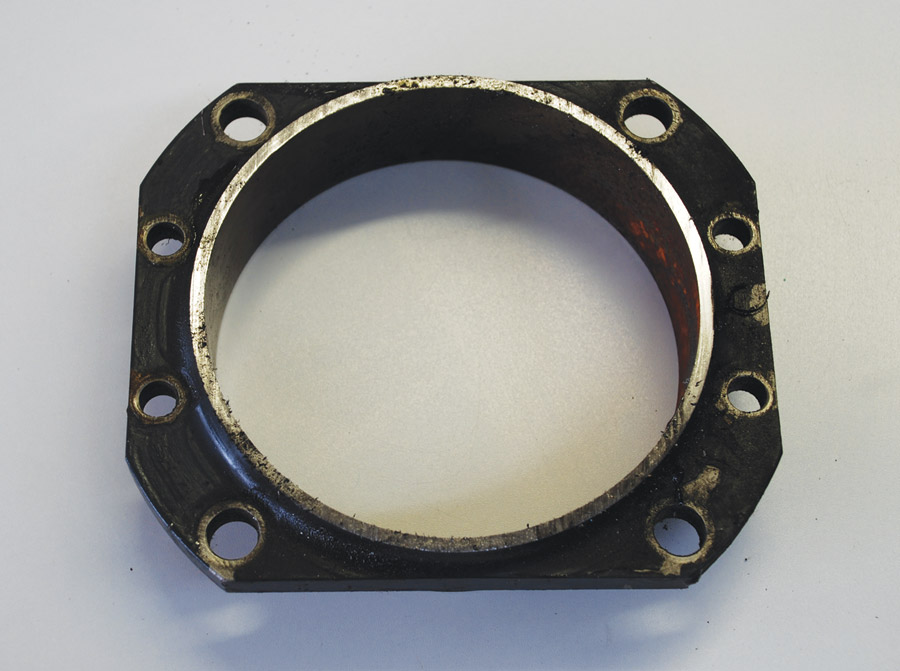
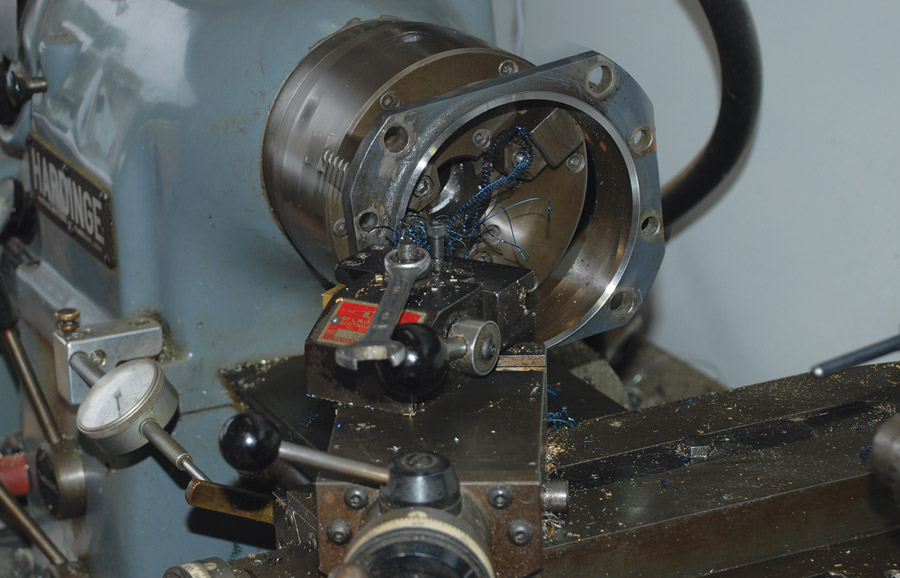
The remainder of the cutoff barrel can be turned down with a lathe or ground down to remove sharp edges, depending on what equipment you have available.
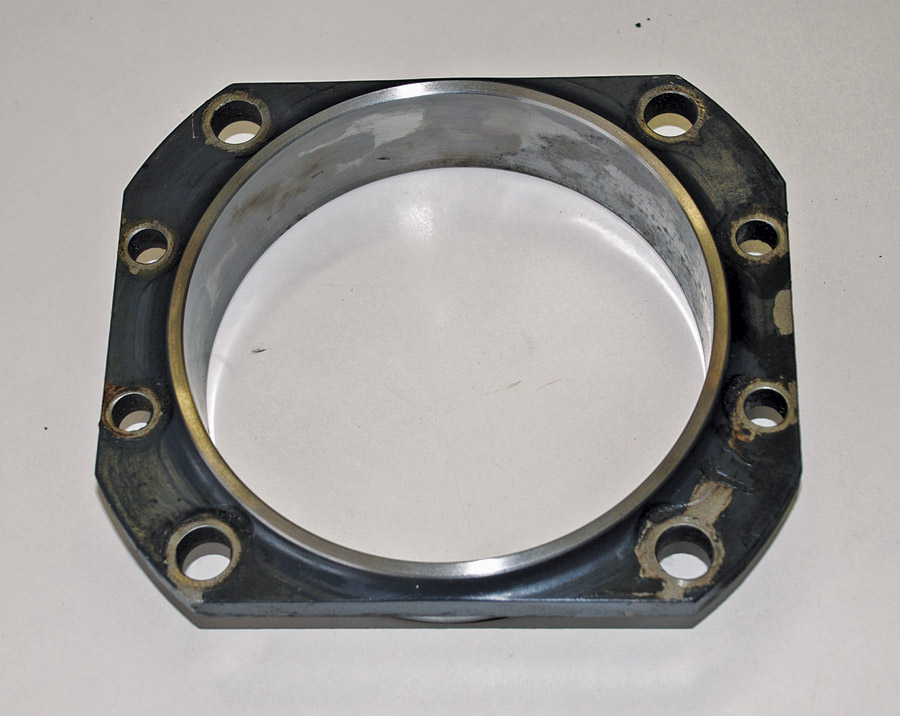
A finished wide deck torque plate made from an old cylinder flange. The portion of the barrel that protrudes into the engine case has been left in place.
It is really nice to use a lathe to finish off the rough edge left from removing the flange from the barrel. Of course, if you don’t have a lathe a grinder will do.
However you make your torque plates, the most important thing is to use them. A shifted crankshaft bearing could bring about a real catastrophe. Best practices dictate that the engine manufacturer’s recommendations be followed when it comes to working on their engines. Be sure to follow best practices when working on yours.








A great article. Now I know what to do with out of tolerance cylinders.
For a cheaper source of Lycoming-compatible torque plates, see https://www.flyboyaccessories.com/product-p/3301.htm