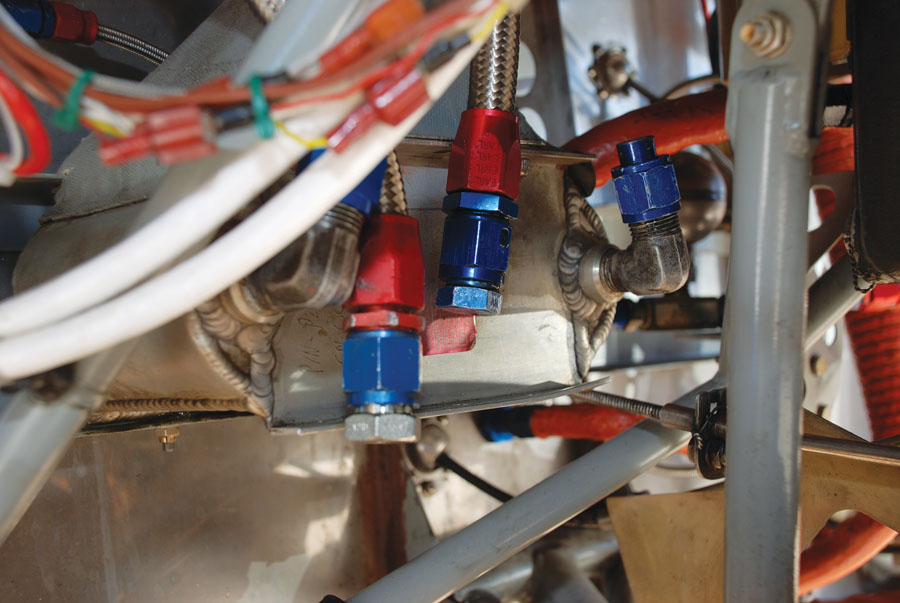
It is a good idea to cap off the old lines and fittings as you remove each hose to avoid making a big mess. Caps and plugs are available wherever they sell hoses and related fittings.
Remember when you paid big bucks for all those pretty stainless steel covered fuel and oil lines? Bet you thought they’d last forever. I mean they should for what they cost, right? Well I have some bad news for you. If you bought the stainless steel covered synthetic rubber hoses that most of us did, you do eventually need to replace them. I didn’t really know this myself until I started doing research for another article.
The prevailing rule of thumb is that rubber hoses in the engine compartment have a five-year life and other hoses can go seven or so years before replacement. Aeroquip and Stratoflex, the two big manufacturers of these hoses, say that all synthetic rubber hoses, even if they are covered with stainless steel, have a maximum life of 10 years from date of manufacture. That means that any way you slice it, my 13-year-old hoses are overdue for replacement, even though they look fine. The only hoses that escape this fate are my -3 Teflon lines that go to the fuel and oil pressure sensors. Teflon (PTFE) hoses have no life limit except for condition.
When Do Hoses Need to Be Replaced?
Hoses of any type need to be inspected at least yearly for condition—heat damage, shorting against electrical wires, abrasion, and fuel or oil soaking of firesleeve material. These conditions are unrelated to age. Any abrasion or heat damage that goes beyond the outer layer of the hose renders that hose unusable. Time to replace it regardless of age. Any shorting against electrical wires or components must be resolved immediately. Fuel or oil soaking of firesleeve material calls for the replacement of the firesleeve. Hoses that are properly routed and well secured should not suffer these fates during normal service, but things do happen, so it is always wise to check.
Age is the other replacement criteria. As an Experimental owner, you are not bound by maximum service life recommendations, but it is certainly prudent to heed them when your safety is at stake. The case could be made that a five-year service life for engine hoses makes sense for commercial operators that fly several hundred hours every year, but most Experimental owners would be happy to get in more than 50 hours in a year. For us, I am comfortable with replacing on condition or after 10 years, whatever comes first. The alternative is to go with Teflon hoses and replace on condition only, with no calendar life limit.
The 10-year calendar limit applies to all rubber hoses such as Aeroquip 303 and 601/701, and Stratoflex 111 and 156. Other rubber hoses that serve as crankcase vents or vacuum hoses should also be subject to the maximum 10-year service life limit, or on condition if problems occur sooner.
What Hose Should I Use?
There are three basic types to choose from with two brands. Aeroquip 303 hose has a reinforced rubber outer covering with synthetic rubber body material. Aeroquip 601/701 is the familiar stainless steel covered synthetic rubber hose. Aeroquip 666 is a Teflon hose with a stainless steel covering. Stratoflex makes equivalent products. Both companies also make a higher-pressure Teflon hose for boosted hydraulic applications where pressures may exceed 1500 psi.
Here are the hoses I replaced. When I made them many years ago, I neglected to band and seal the ends of the firesleeve. I would not make this mistake again.
The cost of 303 is roughly half of the stainless steel covered types, but it has a maximum temperature limit of 250 F. This will work for most non-turbocharged engine installations, but it is not the most popular choice. The cost difference between 601 and 666 hose is fairly small. The 601/701 hose choice is driven much more by availability and the cost of the hose ends. However, if you search beyond the major aircraft parts vendors you will find hose ends that are competitively priced for either type of hose. Once I found a local vendor that could supply me with Teflon hose and hose ends at automotive prices, the decision was easy. I chose Aeroquip 666 hose with aluminum ends, much like the ones I had previously used on my 601 hose.
The supplier I used was G&J Aircraft in Ontario, California, but Summit Racing is another good source and has a huge online catalog. Do note, however, that Summit Racing uses different part numbers for their products, so it will take a little extra effort to find what you want there. The cost to replace five hoses on my airplane was about $270, which included a band tool for $28 that I can use again.
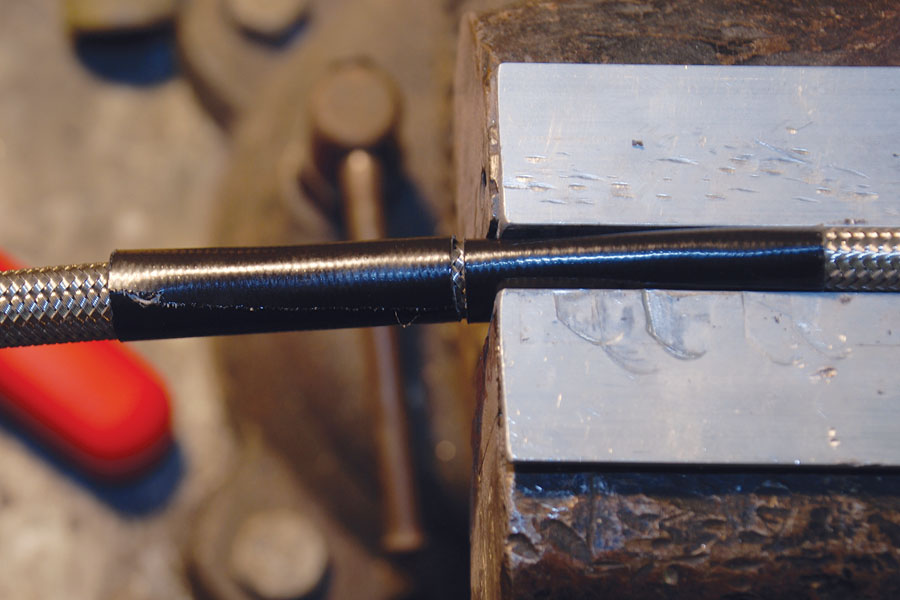
Wrap the end of the firesleeve with silicone rescue tape to prevent any fuel or oil from contaminating the inside of the firesleeve. This is not absolutely required, but I think it is well worth the trouble.
Making New Hoses
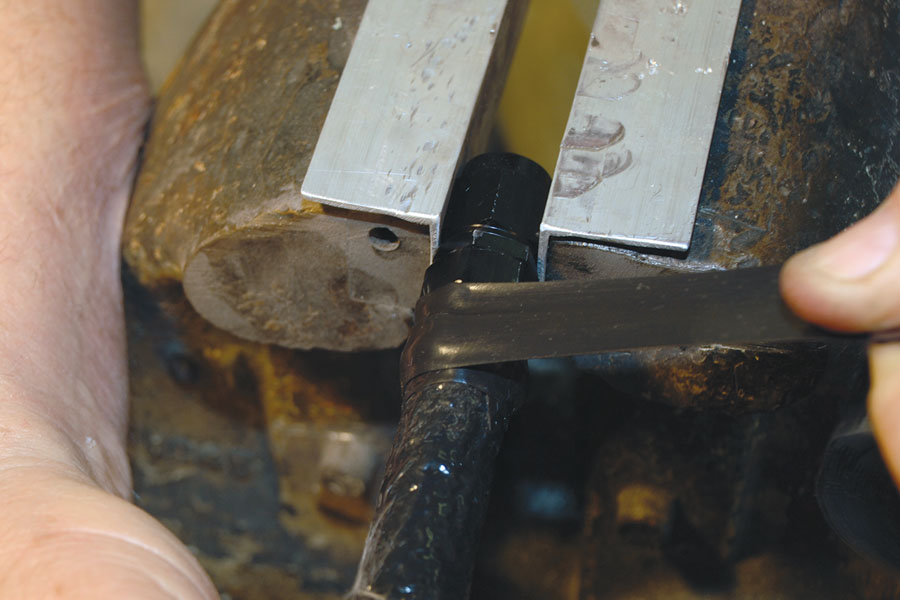
The one nice thing about making replacement hoses is that it is very easy to get the lengths right. Just use the old hoses for guides. I removed hoses one at a time from the engine starting with the oil lines. The -8 oil lines need a 7/8-inch wrench to remove them. Since this large-sized wrench can be hard to fit into tight places, a good trick is to get an inexpensive one from Harbor Freight and cut it in half. The shortened wrench will deliver plenty of torque for aluminum hose ends and is much easier to work with. Another advantage is that its shorter length discourages overtightening. It is best to cap off the open fittings and plug the open hose ends to limit oil dripping all over everything.
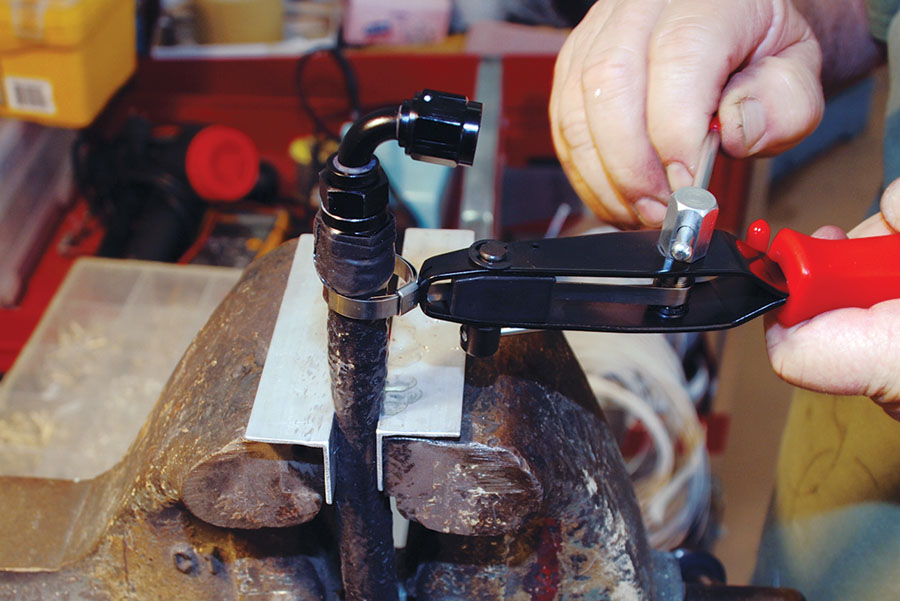
To secure the firesleeve properly it should be fastened into place with steel bands on each end. A special tool is required for this process, but it isn’t too expensive. Aircraft Spruce has the tool and the bands.
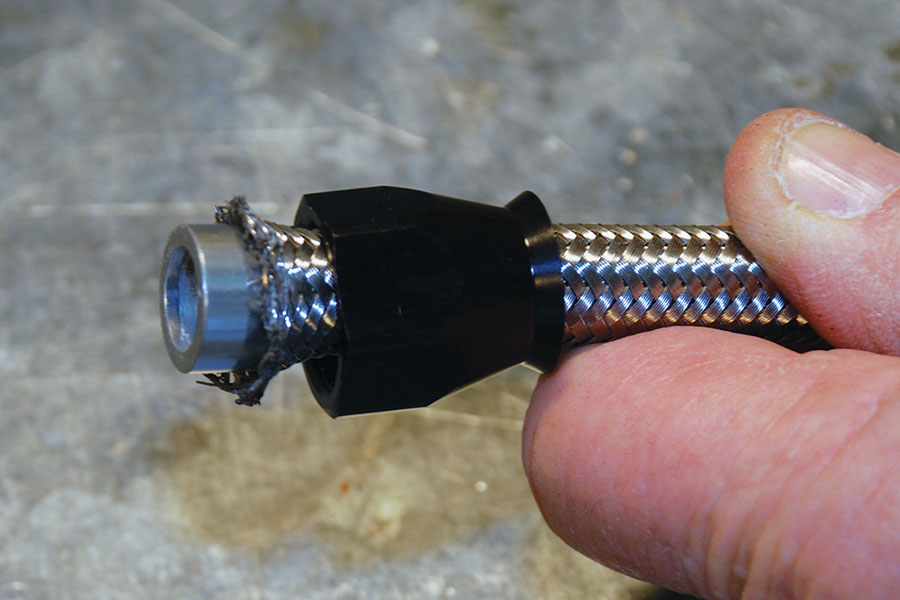
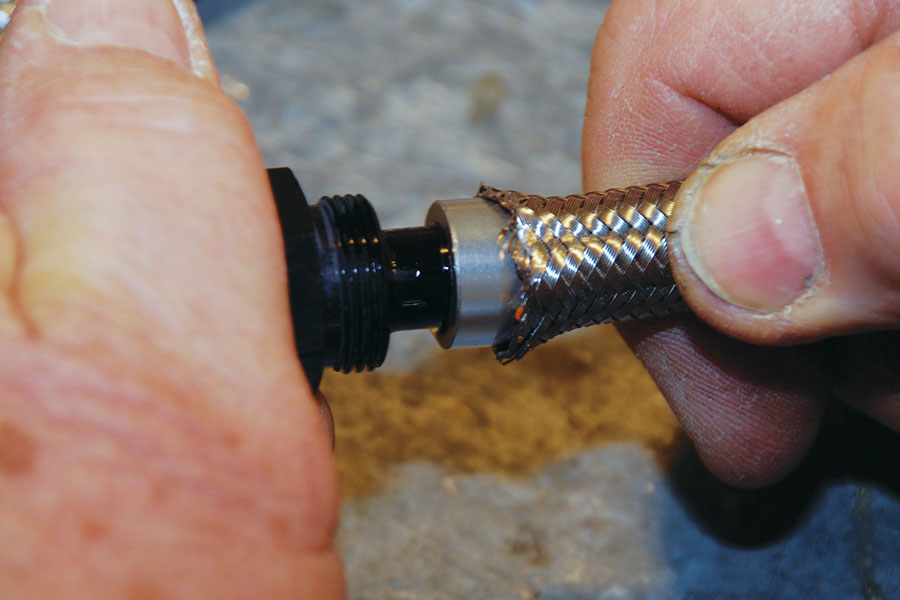
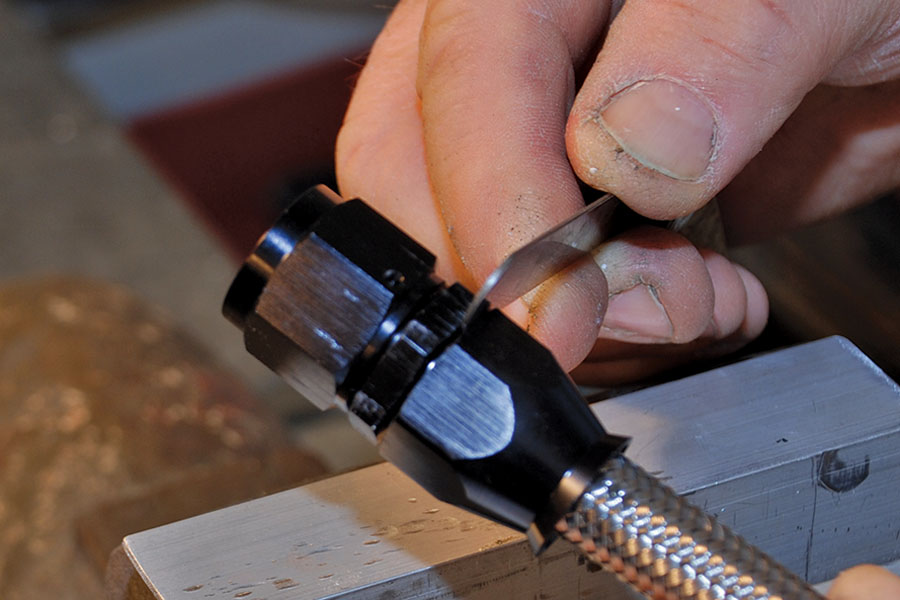
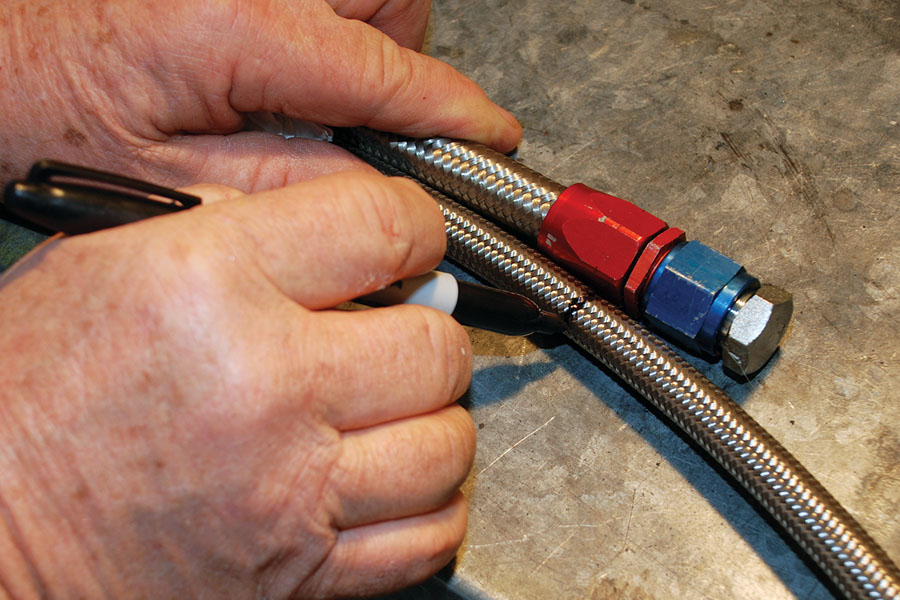
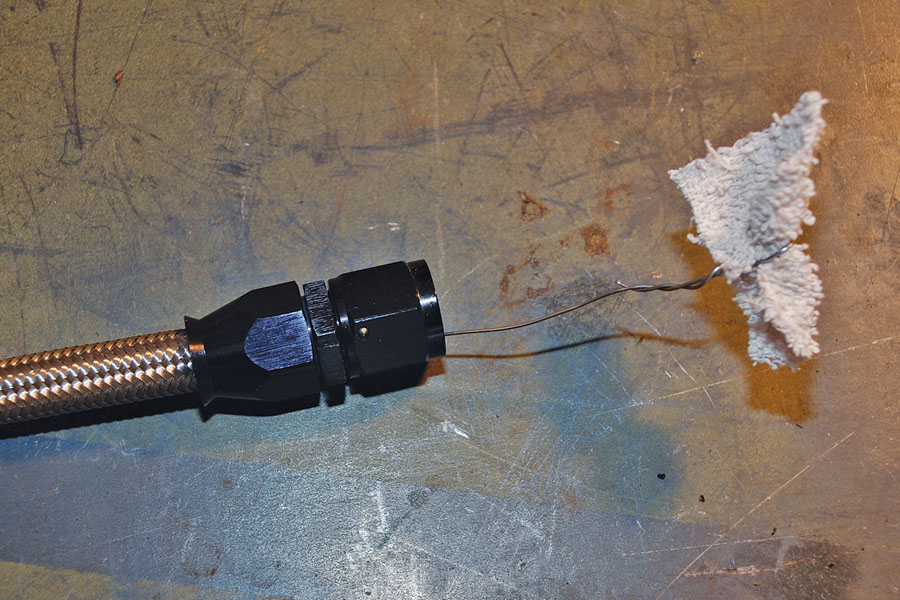
With the old hose removed, the next step is to install one end on the new hose (see sidebar). With one end installed, line up the new hose and old hose side by side and mark exactly where you want to cut the new hose with a Sharpie or similar marker. Using this method your new hose should come out exactly the same length as the old one. When you have finished making the new hose, be sure to clean it out before installing it. Once the new hose is in place, move on to the next one until you are finished. Please note that any Adel clamps that you used on the old 601 hose will now be too big for the smaller diameter 666 Teflon hose, even though the inside diameter is the same as before. I used MS21919-DG8 clamps on my new -8 hose.
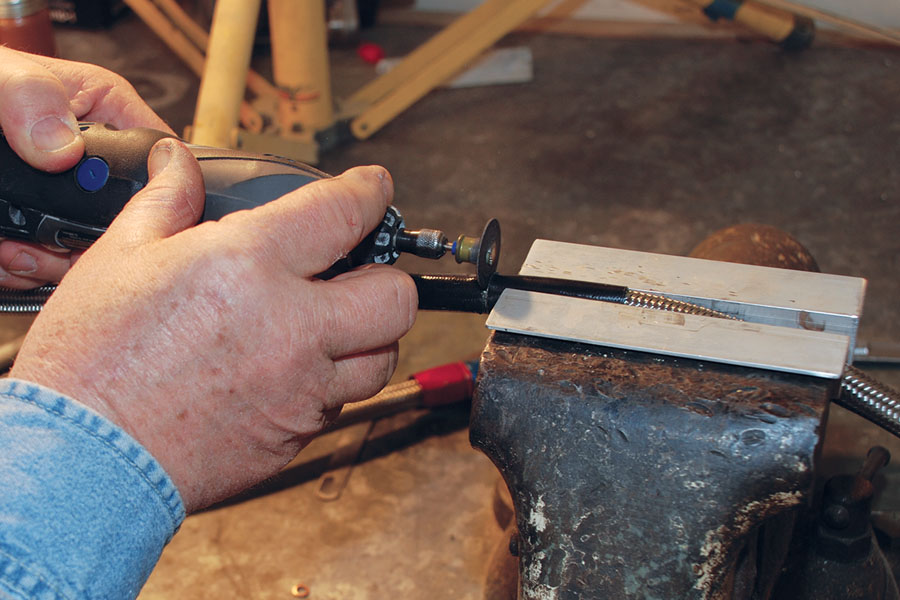
Previously I taped around the area to be cut and then cut through the tape. But now I am happier with this method where I tape on either side of the cut mark and leave a small gap. This produces less fouling of the cutting wheel.
Making the -6 fuel lines is the same as it was for the larger oil lines, but some extra care must be taken with the firesleeve material. You want the firesleeve to extend all the way to the hose end, even when the line is bent. This will require allowing some extra slack in the firesleeve to accommodate this. The process is to install one end and then mark the new hose to length. Next push the firesleeve onto the partially made hose. Bend the hose into a shape that it will have when it is installed, and see where to cut the firesleeve based on the mark on the underlying hose. Next push the firesleeve over the already-installed end to give you room to work. Finally, install the other hose end. The job is completed by sealing the ends of the firesleeve with silicone rescue tape and banding them to make it permanent. The silicone tape will go a long way toward preventing any oil or fuel soaking into the firesleeve material.
Ideally the hoses should be dated, but no one seemed to have a good method for doing this. A logbook entry will have to suffice. In any case, dating the hoses is not really relevant when using Teflon hoses, but it would be with the more traditional 601/701 hose.
When installing the new hoses in your plane, be sure they are completely clean inside before proceeding. Also, be careful not to torque the fittings too tightly. Again, this is where the cutoff wrench comes in handy. Lastly, it is a good idea to mark each hose end as you tighten it with torque seal or a paint pen. There isn’t a great risk of the fittings coming loose, but there is a risk of forgetting to properly tighten them during installation. The torque seal should eliminate this problem.
The sidebar for this article goes through the process of making up Aeroquip 666 hoses. If you decide to stick with the 601/701 hoses, you can refer back to an article in the November 2012 issue of KITPLANES titled “Oil Coolers and Oil Lines.”

