 I was happily plugging along at a good pace on my GlaStar project when life happened. What I had projected to be a two- or three-year build came to a crawl with a few spurts of activity and then finally stopped altogether. For seven years.

My project was in the attached two-car garage, only a few steps away, but that didn’t help. Then I moved halfway across the country and the project was stored in a T-hangar about 30 minutes away which made accessibility even worse—it sat with only an occasional visit to make sure it was still there.
Fast forward a few years. The move is history, house remodeling completed, and work finally organized to leave me some spare time. I’ve gotten back to the GlaStar project.
But restarting isn’t as simple as flipping on the light switch and getting back to work. The first step was to organize the shop. Again.
When the project was at the old house, I could get by with one set of tools, but with it now residing in a hangar 30 minutes away, I had to buy a second set of tools—those that are not specific to airplane building. I had a lot of tools before, but now I have nearly twice as many!
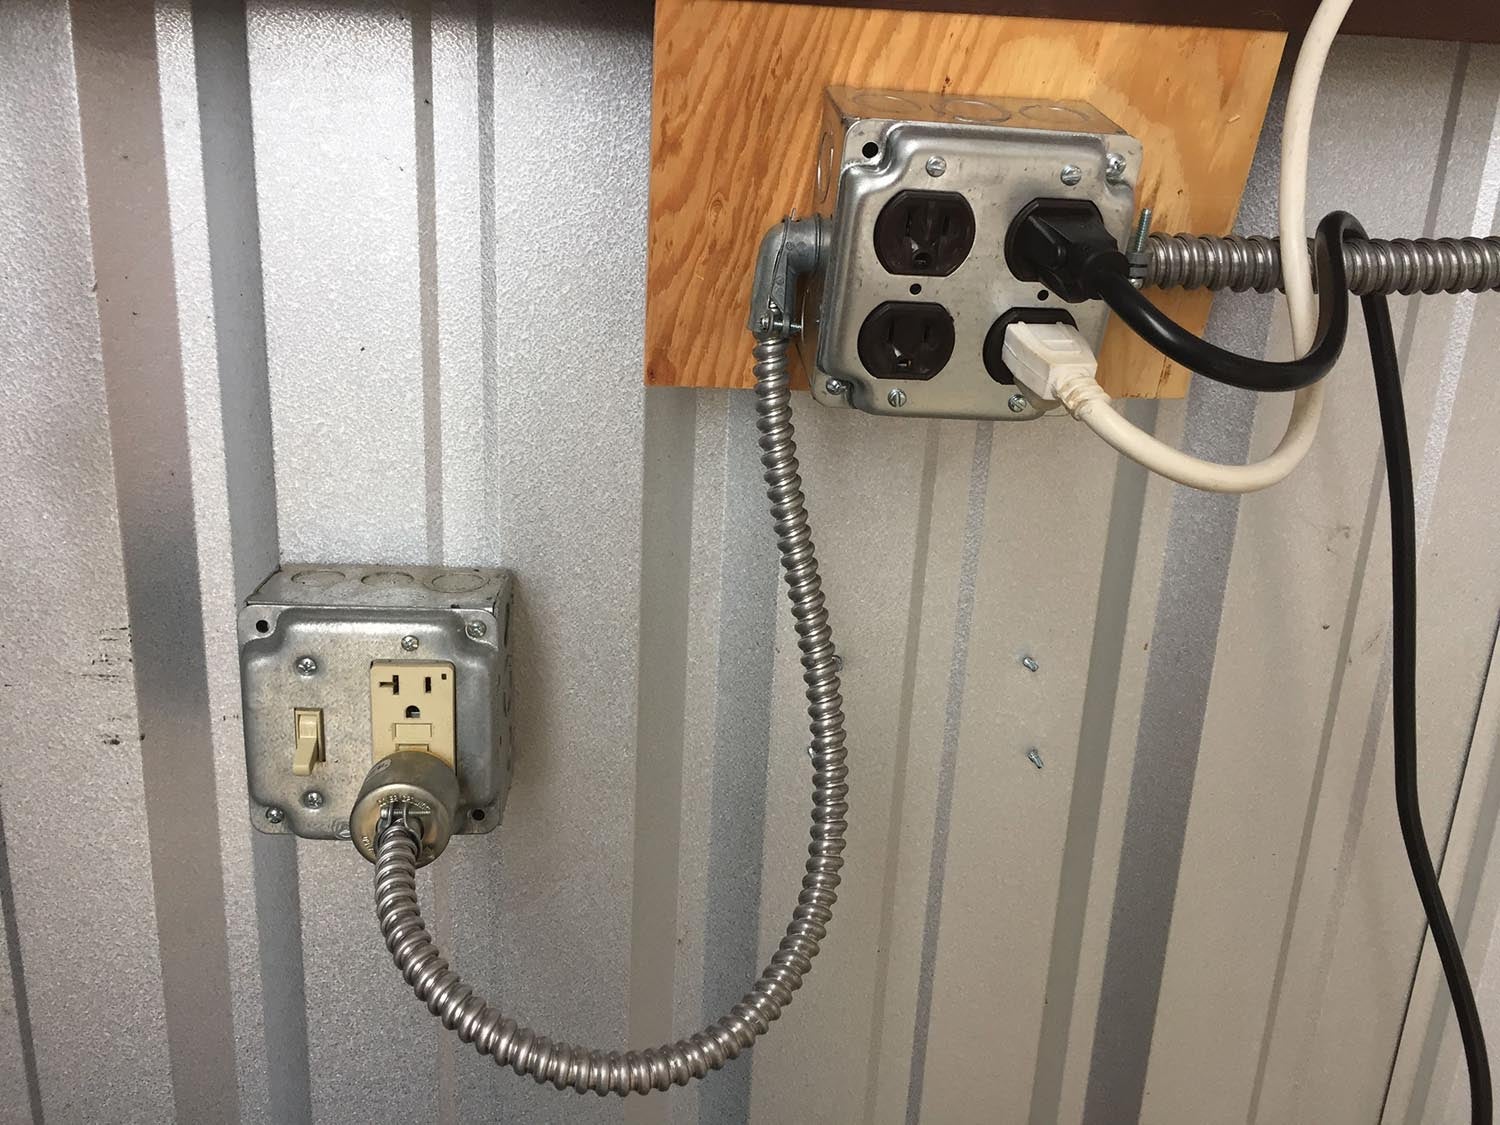
Rental hangars aren’t always easy to come by, so we take what we can get, and what I got was a nice T-hangar at a very nice little private airport, but it has only one electrical outlet and one fluorescent light. Hardly adequate for a workshop. Amazon to the rescue—LED shop lights have become inexpensive. and with their low current draw they were the perfect choice for my new, but dimly-lit space. Because it’s a rental hangar, I didn’t want to install permanent wiring for more outlets, but I don’t like walking over numerous extension cords either, so I assembled a plug-in set of extra outlets wired with 12 AWG cable to reduce the current drop as much as possible.
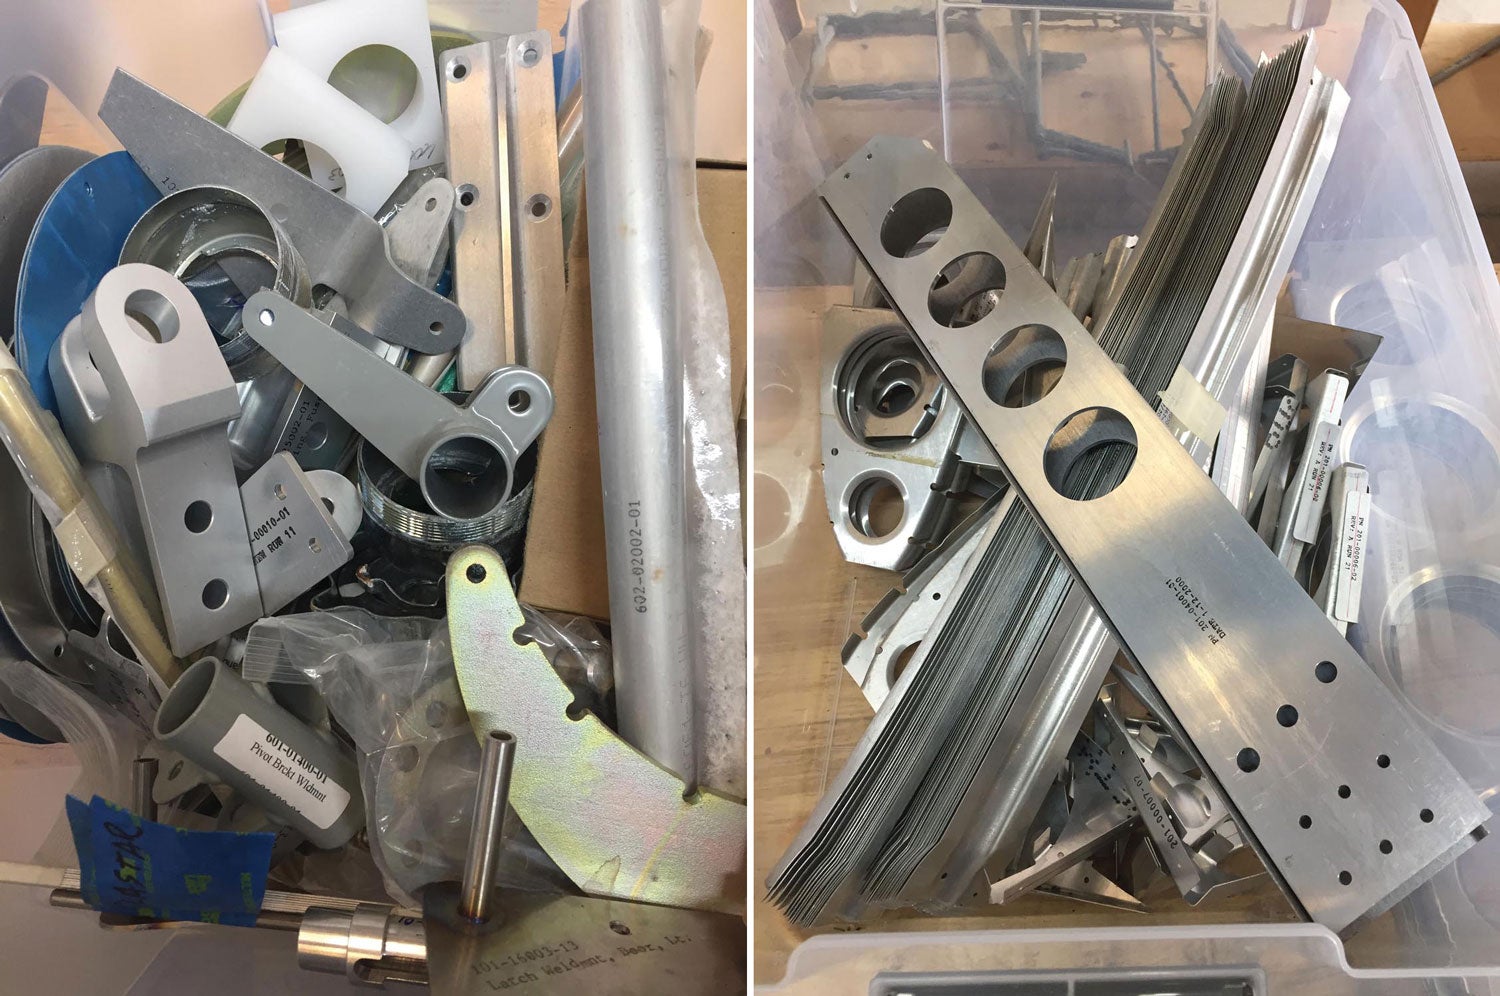
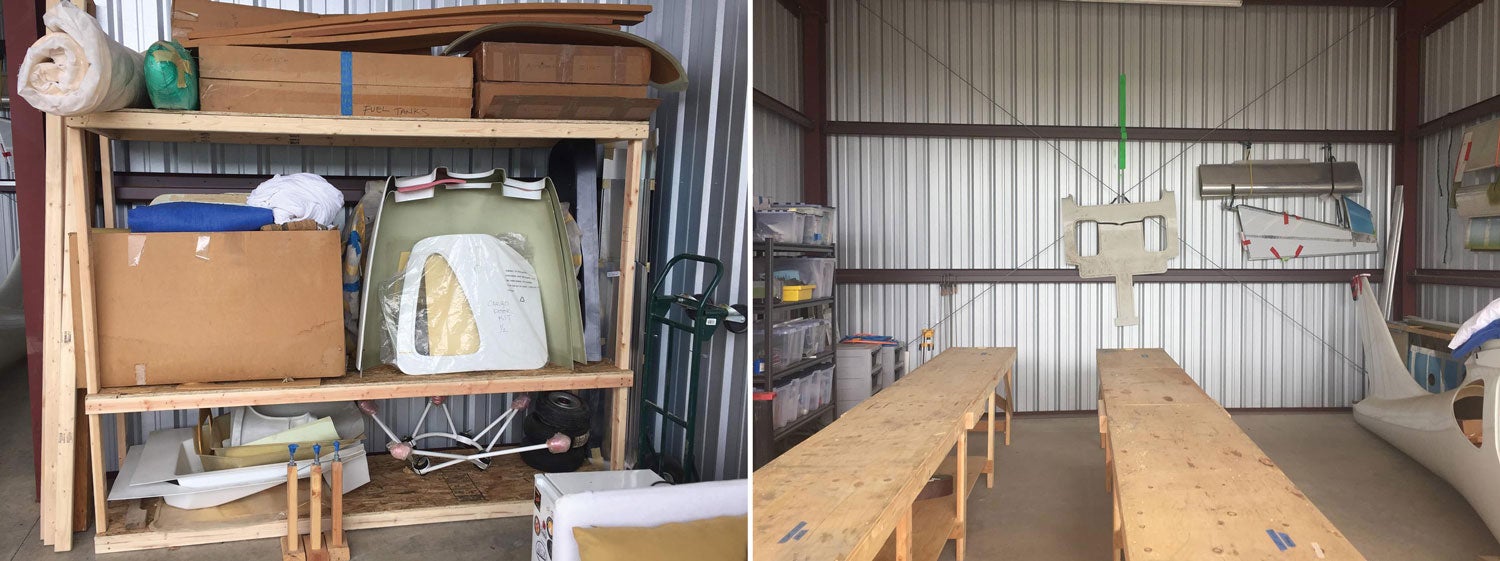
Every shop needs a lot of storage space, so I purchased some garage shelving and built some more out of 2x lumber, and quickly the parts were moved from moving boxes to clear plastic bins for easy visual identification and access.
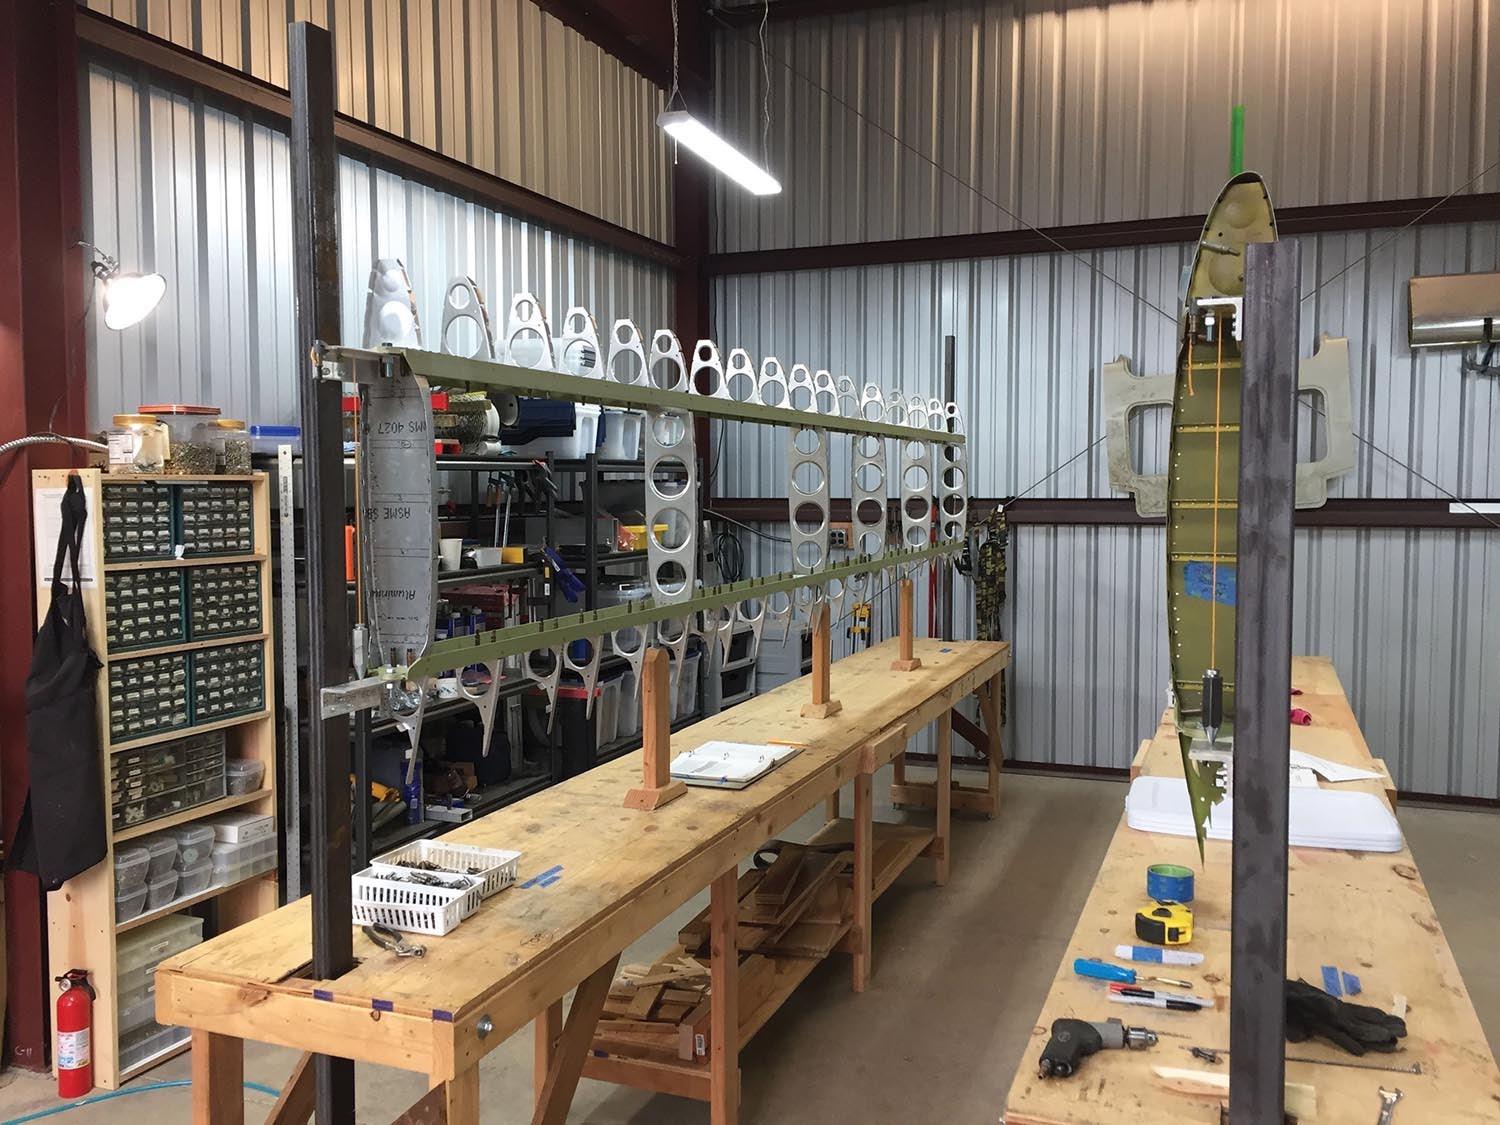
Doing a Jig
The GlaStar requires a jig for wing construction, and I didn’t bring my original one when we moved, so that was next. Another builder had just finished with his jigs and generously gave them to me—aren’t fellow homebuilders awesome? My hangar sits in a valley that often sees large swings in relative humidity, so I modified the jig posts and used steel tube instead of 4×4 lumber. By now I was feeling more like a furniture assembler than an airplane builder.
Time to get building…? Well, not so fast! All of my old tools had surface rust on them. Too bad Amazon doesn’t deliver elbow grease—I went through a lot of it cleaning up the tools. They are all coated with Boeshield, so the fog that rolls in won’t leave its mark on them now.
I don’t know if most builders are like this, but even when I wasn’t working on the airplane, I was thinking about it, following other builders’ progress on the web forum, and flipping through the builder’s manual in preparation for restarting the project and making mental notes.
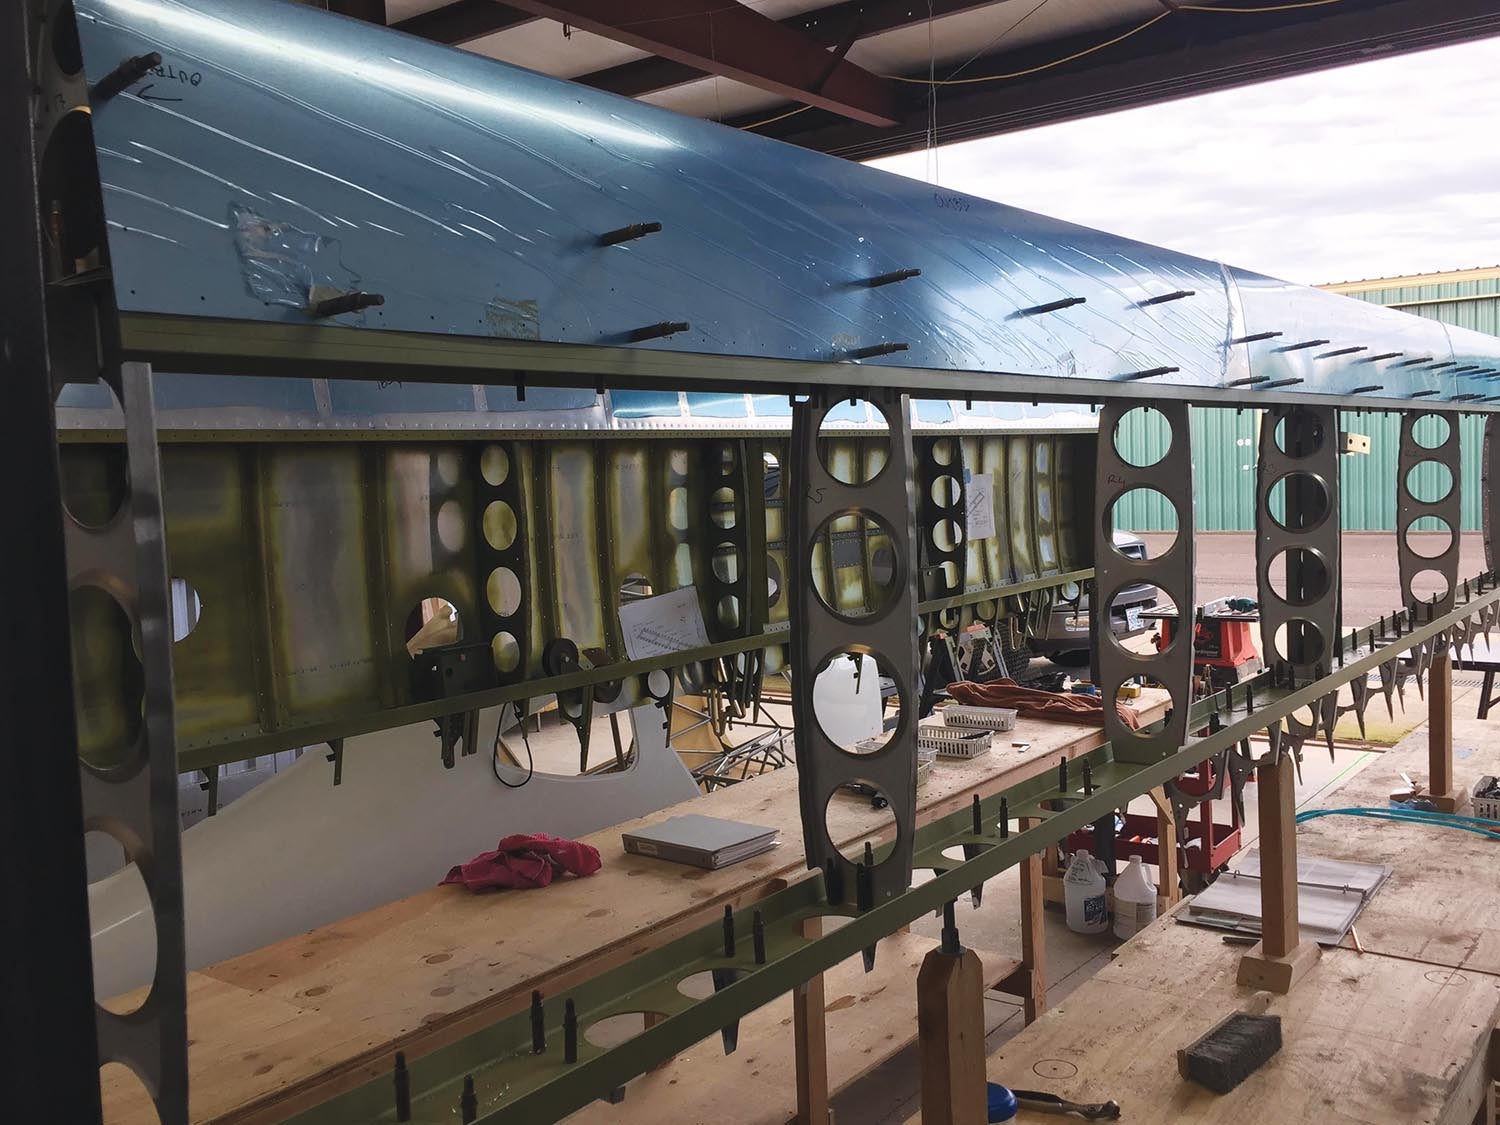
Restart!
The partly-built left wing is in the jig and the spars for the right wing are in the other one, leveled and aligned, and it’s back to work. I was a bit apprehensive about this moment, not knowing how much I’d have to re-learn, but I was pleasantly surprised how relatively easy it was to pick up where I left off years ago. That doesn’t mean I hadn’t forgotten anything. The old saying about riding a bicycle seems to hold true—tasks that involve dexterity felt completely natural. Muscle memory for the win!
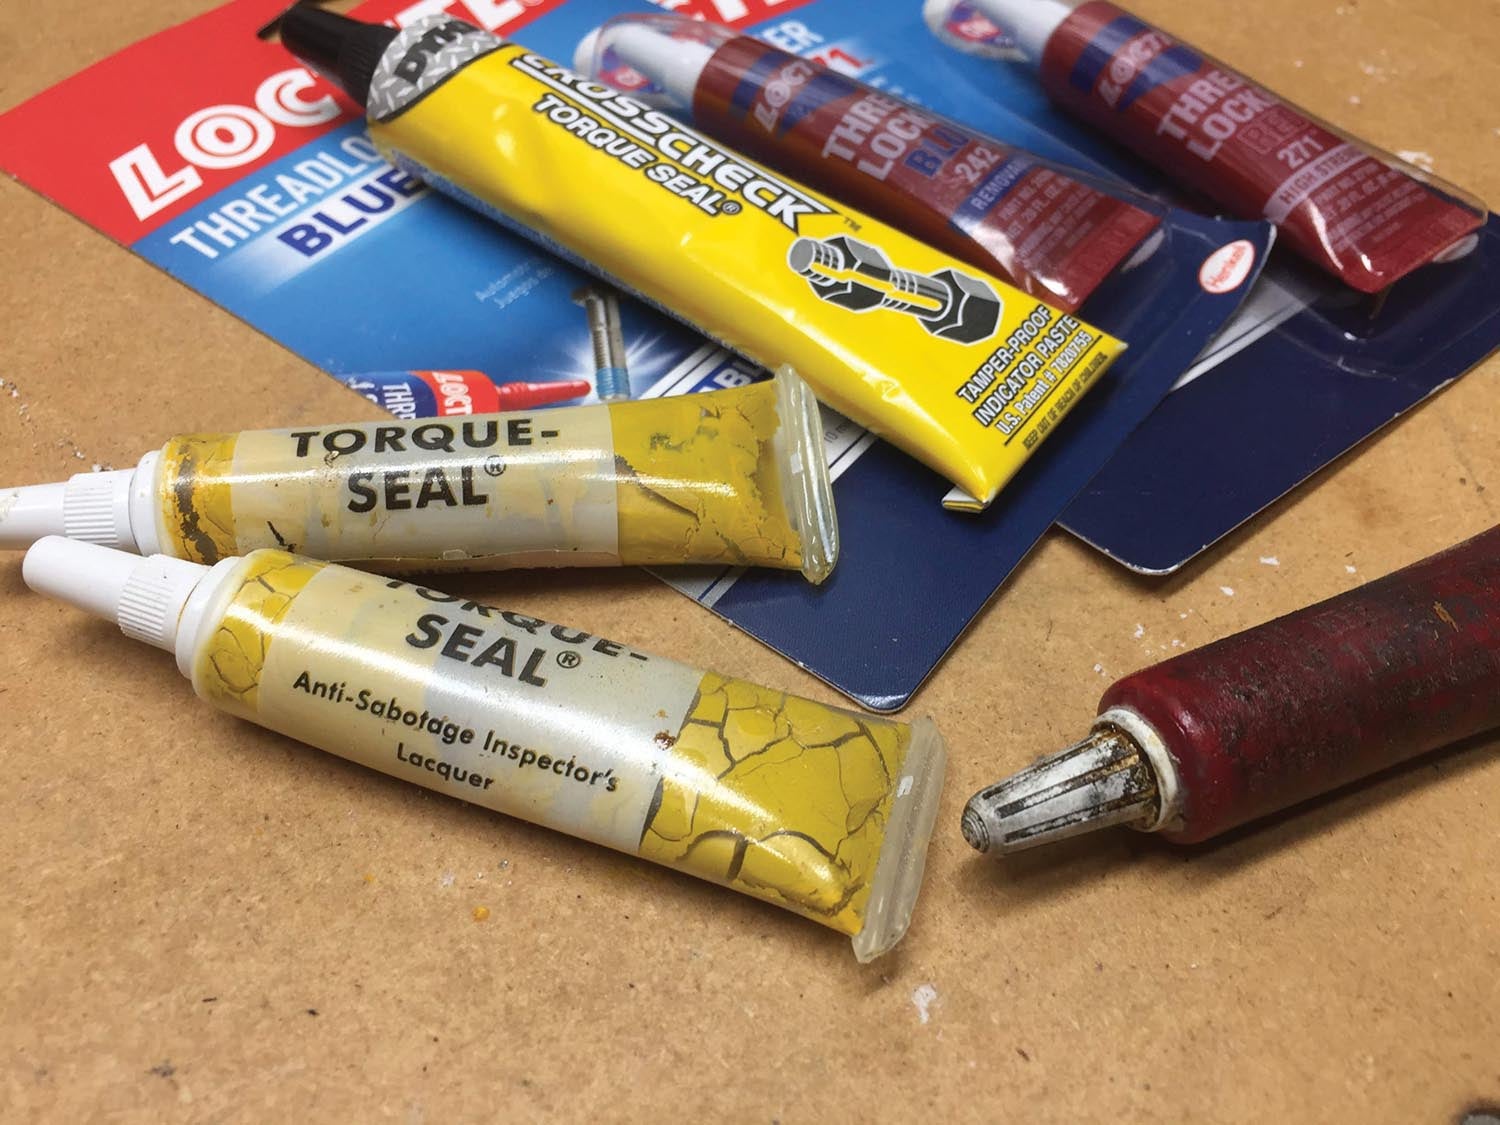
So far, I’ve had to look up reference data for fasteners—information that seems to have been purged by my brain, but there will certainly be other things I once knew for which I now need a refresher course. Learning new things is part of the fun, so I really don’t mind remedial education in this case.
It’s normal to expect some damage when moving a project this big, but I was very careful, and the only damage was to a flap cove rib—an easy fix. This kind of “hangar rash” damage can be expected even if the project is just sitting around for a few years. I’ve seen other idle projects with piles of stuff on top of airplane parts, and that kind of treatment is surely going to lead to various squawks once the builder gets back to work. A bit of advice for anyone with a project on hold: keep it clean and dust-free. The GlaStar has a steel-tube cage in the fuselage, and I’ve found some surface corrosion on a couple of tubes where dust had collected and remained undisturbed over the years. Fortunately, that too is an easy fix, but it was entirely avoidable with a wipe of a rag.
I wish I had the wisdom and space in the old two-car garage to build both wings simultaneously because that would have been much easier—doing the same task twice on the same day takes much less time than doing it once and repeating it years later on the other wing. What would have been “study once and do twice” is now “study twice and do twice” with likely the same head-scratching again.
During the hiatus I’ve kept Tony Bingelis’ series and my other reference books nearby and referred to them occasionally while also flipping through the PDF version of the GlaStar Assembly Manual whenever a topic in the builders’ forum piqued my interest. That was a great way to keep the project somewhat fresh in my mind.
Another thing I rediscovered is the shoulder pain I got after drilling several hundred holes and inserting and removing about as many Clecoes above shoulder level.
Nice weather is here and there are many holes to be drilled and Clecoed, so I’ll be spending a lot more time in the hangar—I’m looking forward to that.


Great write-up Omar! I’m about ready to start my Sportman wing slow build in October so I appreciate the pictures of your jig!
Omar does a great job running the Glasair/GlaStar builder’s forum, too.
Glad to see you’re back on it! Great article and lots of good tips.
Hope to be doing the same soon with my sporadically dormant Glasair project.
Comments are closed.