Building It
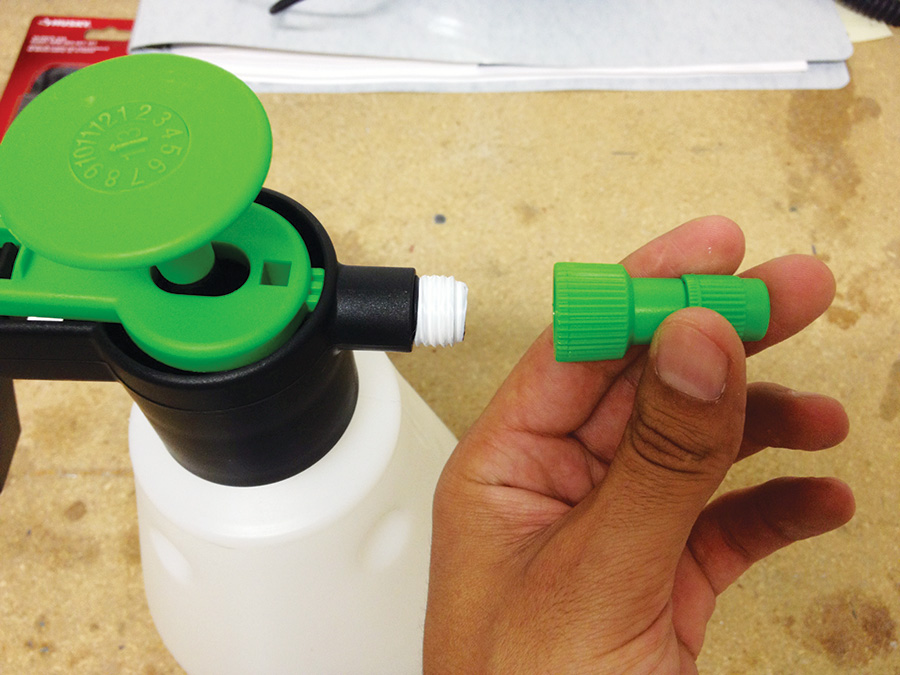
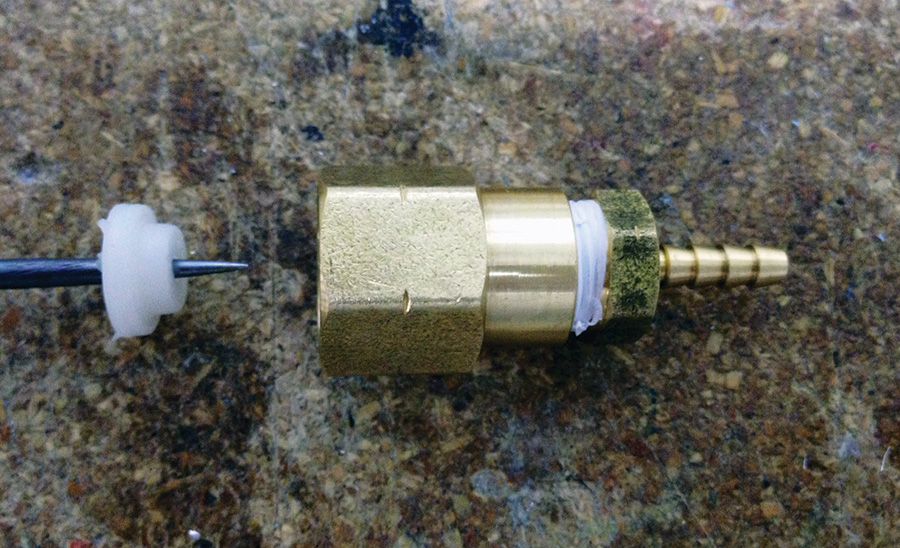
Start by disassembling the tip of the handheld sprayer (Fig. 1). Teflon tape was added to the threads after disassembly. Keep the left-hand grommet shown in Fig. 2 and discard the right-hand grommet.
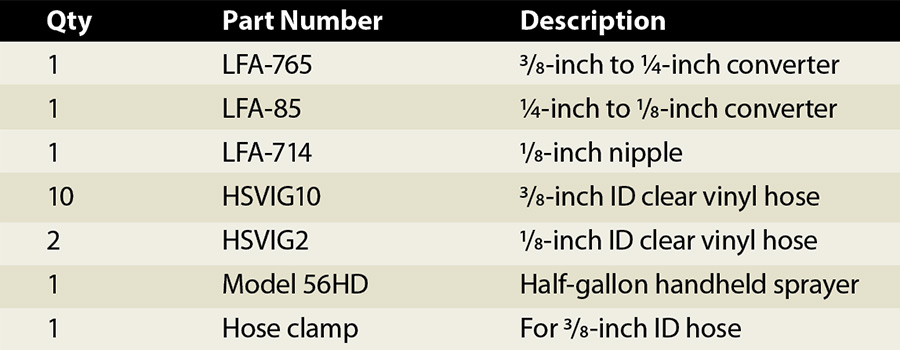
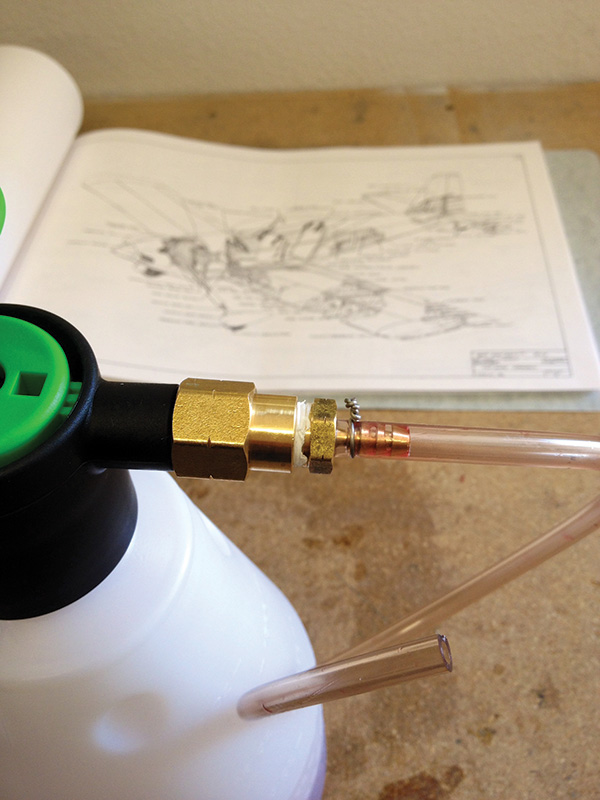
Next, mate the grommet kept from Fig. 2, the LFA-765 fitting, and the LFA-85 fitting (Fig. 3). Screw the new tip onto the handheld sprayer (don’t forget the grommet) and secure the 1/8-inch ID clear vinyl line (Fig. 4). Make sure that the clear vinyl line is tight on the fitting. A loose connection between those two parts will allow air to be introduced to the fluid later on when the fluid is pumped.
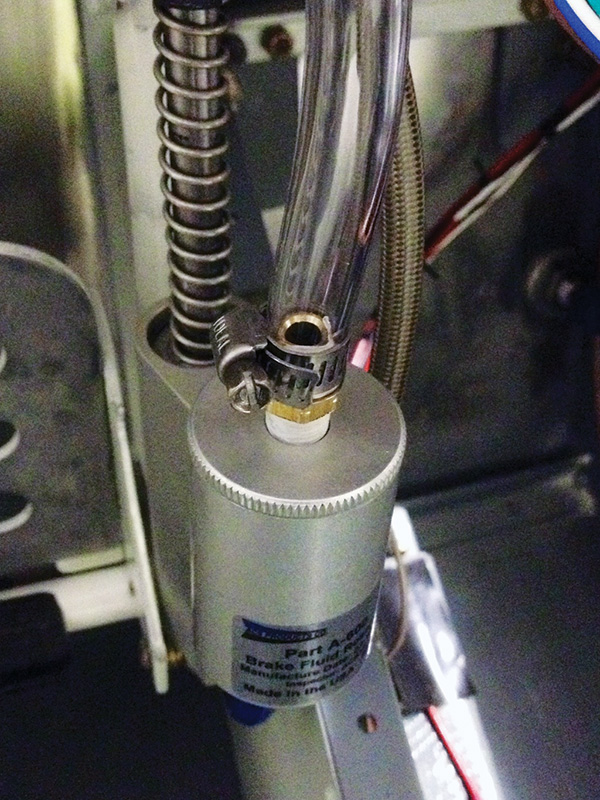
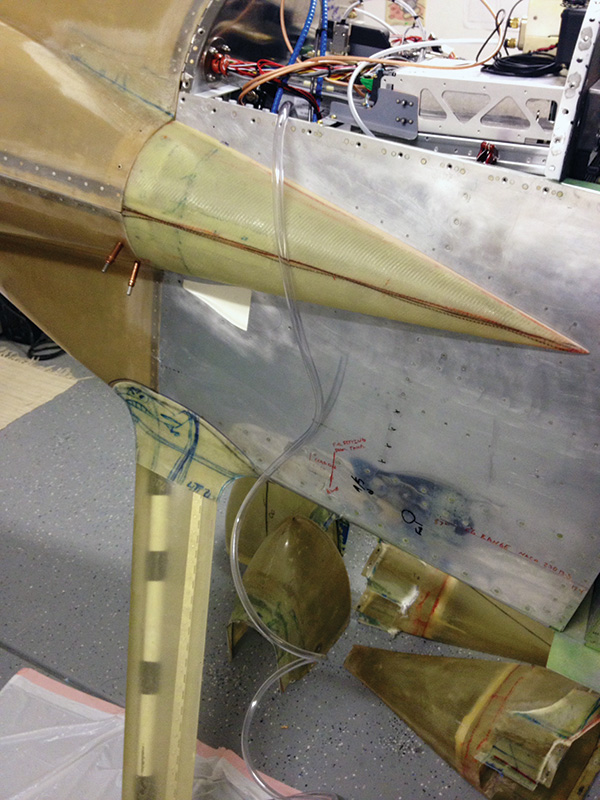
Install the LFA-714 fitting (or whichever fitting works for your set up) on the brake reservoir and attach the 3/8-inch ID clear vinyl line securing it with a hose clamp (Fig. 5). Let the other side of the hose hang outside your aircraft (Fig 6). This will allow you to pump fluid into the brake system, overflow it, and not spill any fluid inside your aircraft.
Using It
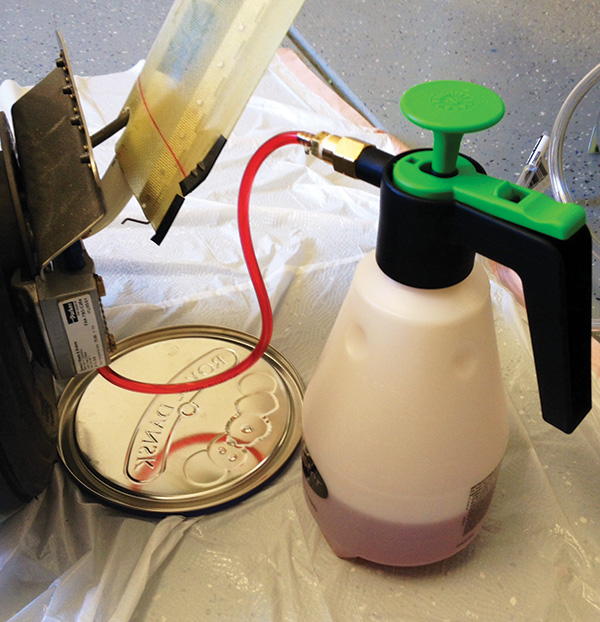
Fill the modified handheld sprayer with your choice of brake fluid, screw the top on and give the sprayer about 10 pumps. Prime the modified handheld sprayer by pressing the trigger and letting the fluid flow out of the hose and into a small container until no bubbles are observed in the clear hose (Fig.7).
Once the modified handheld sprayer and the aircraft are set, follow standard procedures for adding fluid into your brake system with one exception: Instead of manually pumping fluid, pressurize the handheld sprayer as required. The pressure inside the modified handheld sprayer will allow for continuous fluid discharge, therefore minimizing the chances of introducing air into the fluid.
If for some reason one of those pesky air bubbles makes it into the line, don’t worry—pump fluid until the air bubble reaches point A on Fig. 7 and then stop. Stopping will allow the air bubble to climb back up to point B. Repeat the process until fluid comes out of the brake reservoir and into the 3/8-inch ID overflow hose.
Now release the air pressure inside the modified handheld sprayer by slowly unscrewing the top (just enough to hear the air scape, do not completely unscrew the top). Press the modified handheld sprayer trigger until the overflow fluid on the brake reservoir disappears. Screw the modified handheld sprayer top and close the nipple on the bottom of the brake caliper. Remove the modified handheld sprayer from the brake caliper nipple and remove the overflow hose/fitting from the brake reservoir (don’t forget to place the plastic cap back on the reservoir).
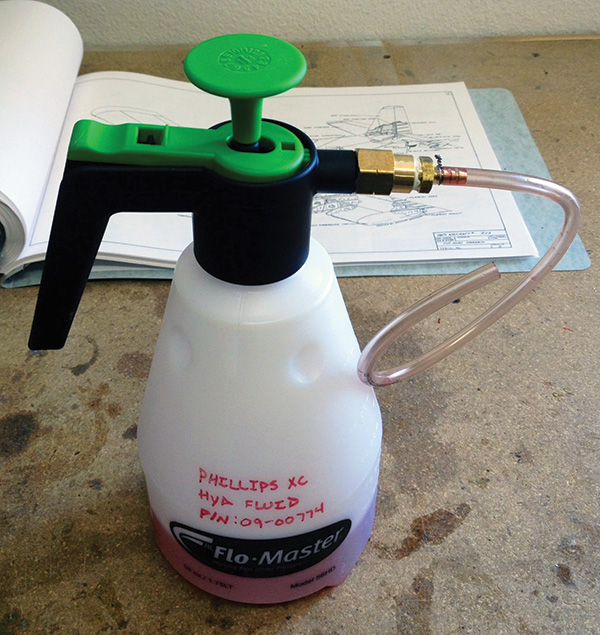
Repeat the process on the other side if you have individual reservoirs. You should now have air-free fluid in your aircraft, operational brakes, and no mess! Don’t forget to label your new tool (Fig. 8) and brag to your friends.

