I bucked the first rivet on my Van’s RV-10 project in October 2007. Barrett Precision Engines built my engine from a core, a decision that I have never regretted. I was also interested in the then-new E-MAG electronic ignition, but the engine was assembled and ready for the dyno before the six-cylinder units were available. Fast-forward a dozen years or so from the engine build to find my airplane flying reliably for more than 900 hours.
During the recent holiday period, I was preparing to depart from our mountain airpark place (AZ82) when the run-up check revealed that the right mag was dead. Not rough, dead. Although I have more than 6000 hours in piston aircraft, this was my first failed mag. Back in the airpark hangar, it was too late to depart our unlit runway, but I set about trying to diagnose the problem. Pulling the P-lead didn’t help; neither did swapping out the ignition switch with a spare from my road kit, quashing my hope for a quick and easy fix.
The next morning I removed the stricken magneto and drove the cabin car back to our home base where far more service and supply options were available. After inspection, the folks at the local magneto shop confirmed that the coil in the magneto was testing off the scale for ohms. They said that they could repair it, but that the cost of the repair would exceed the market value of the mag so they didn’t recommend it. It appeared that I had a new doorstop. All of this revived my interest in electronic ignition and started me thinking that it might be time to upgrade now that the technology was proven.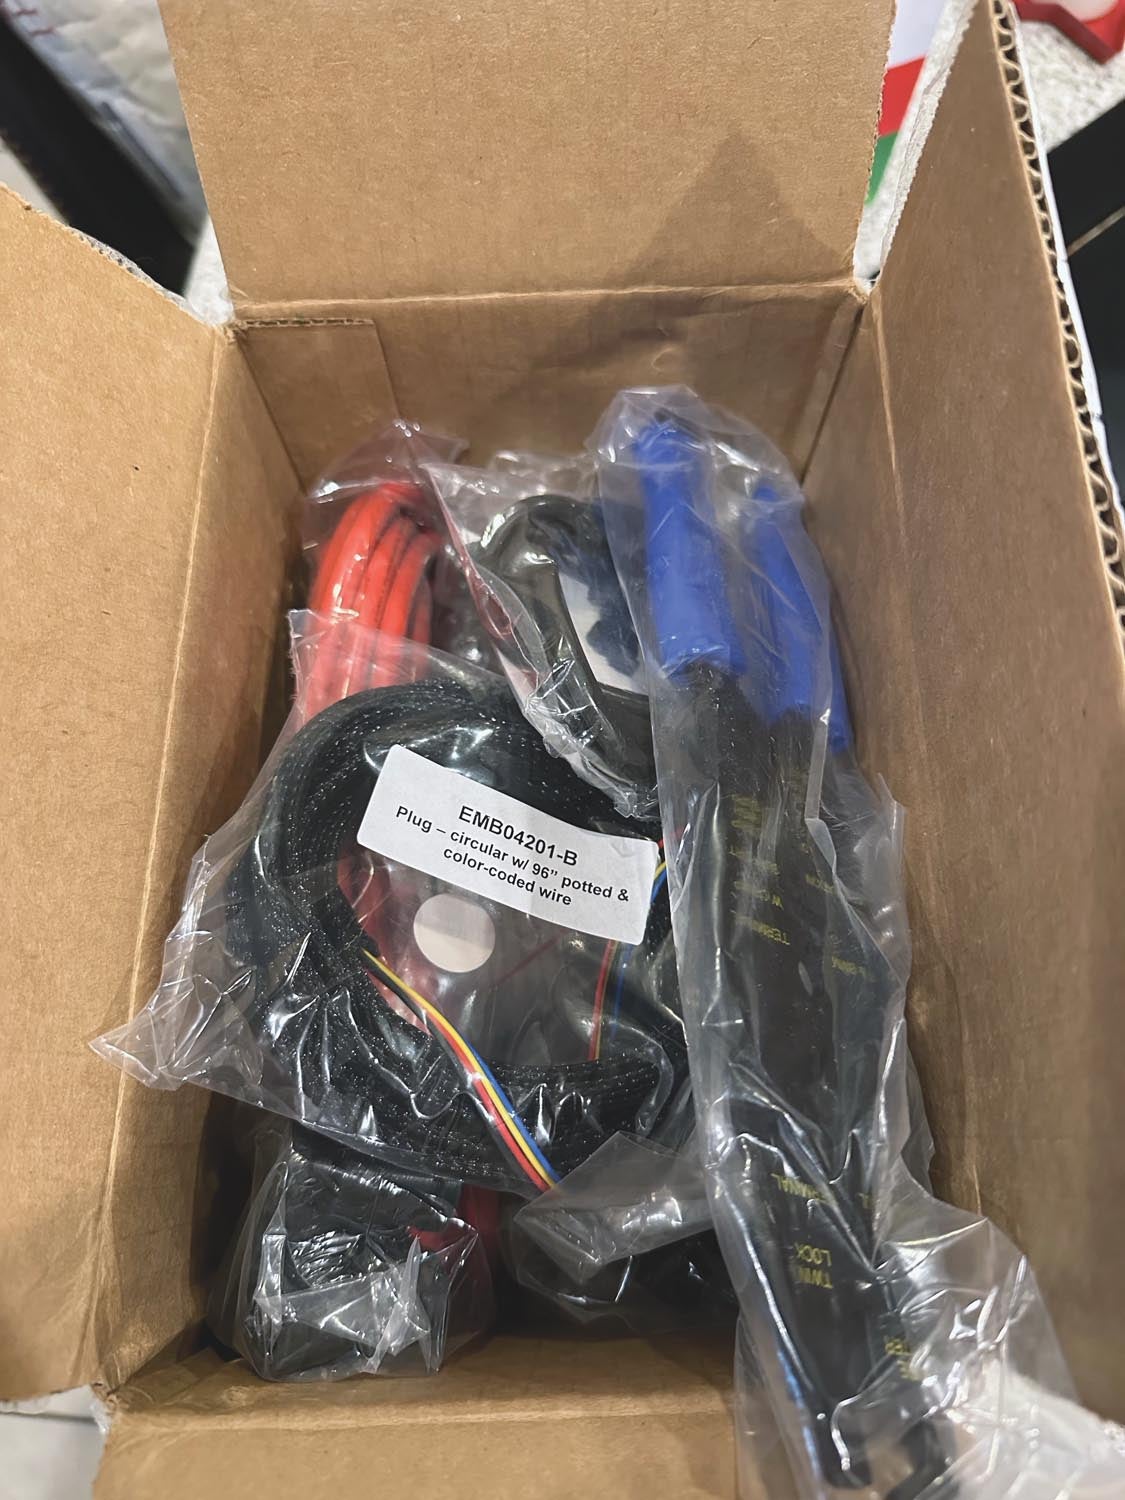
Decisions, Decisions
There is an old adage in aviation that sometimes we make decisions and other times decisions get made for us. Flexibility is often wonderful, but at the same time, it can be a little overwhelming. After making the decision to upgrade to electronic ignition, there were several follow-on decisions to be made. A lot of these types of decisions aren’t “right or wrong,” just different and/or personal preference.
Within an hour of leaving the mag shop, I was on the phone with Brad Dement at E-MAG Electronic Ignitions. Their 200-series six-cylinder products have been on the market for some time and reviews have been generally positive. I had always been attracted to their “best of both worlds” design philosophy. The current line of ignitions, both four- and six-cylinder, have built-in power thanks to permanent-magnet generators. Ship’s power is used only for starting. By the way, there’s some confusion with product terminology with E-MAG’s products. Technically all are E-MAG ignitions, the 200 series for six-cylinder engines and the 114 series for fours; there are also variations within the 114 and 200 series for Continental and Lycoming engines. And, at one time, the company offered both externally and internally powered models, but all current products have the internal generator. The nickname P-MAG is common within the marketplace, but to the company, they are just E-MAGS.

to fabricate the plug wires including the crimping tool.
Back to my project. I decided that for the time being I would just replace the failed mag with an E-MAG and leave the other Bendix mag installed in place, as it was proven tech, recently checked and I might as well extract the maximum return from my initial investment. E-MAG estimates that you get 70% of the performance improvements with the first unit. Later that same afternoon, I received confirmation that my order had shipped. That expedited service was pleasantly refreshing in the aviation environment of late.
Installation
Within a couple of days of ordering, the package was at my doorstep. My first impression was that everything seemed to be complete and of high quality. I anxiously gathered up everything I thought I would need for the installation. One consideration that Brad had discussed with me was that even though the E-MAG was internally powered once running, it needs electrical power for starting. They had discovered that in airplanes with long cable runs from aft batteries, like the RV-10, a dedicated 16-gauge wire from the battery to power the E-MAG is recommended. This prevents occasional power interruptions upon starter engagement. Prior to leaving to drive back up to the airpark, I picked up the wire and a 5-amp switch/breaker, which would not only protect the dedicated circuit but also provide a means to test the internal power function of the E-MAG. (More on that later.)
Confession Time
To his credit, Brad had stressed to me the benefit of downloading the installation manual and studying it thoroughly prior to receiving my package. However, between the hustle and bustle of the holidays and how quickly the package arrived, I didn’t accomplish more than a quick perusal. Had I done what had been suggested, I would have learned that there were two primary sizes (thicknesses) of magneto attachment clamps in use based upon the thickness of the base plate of the magneto in question, with E-MAGs requiring the thinner ones. When I arrived at the airpark eager to get started, it quickly became apparent that I lost the 50/50 lottery and had the wrong size clamp. That mistake cost me a couple of days of scrounging to get the correct ones through the assistance of some supportive friends to whom I now owe favors. Live and learn.
Even though the 28-page installation manual can be a bit intimidating at first, the installation process itself is astonishingly simple and easy. Starting with mounting the unit, if the previous mag had a spacer between the accessory case and the mag, you no longer need it, freeing up precious space. Note: If a spacer was previously installed, you will have to replace the mounting studs with shorter ones (included).
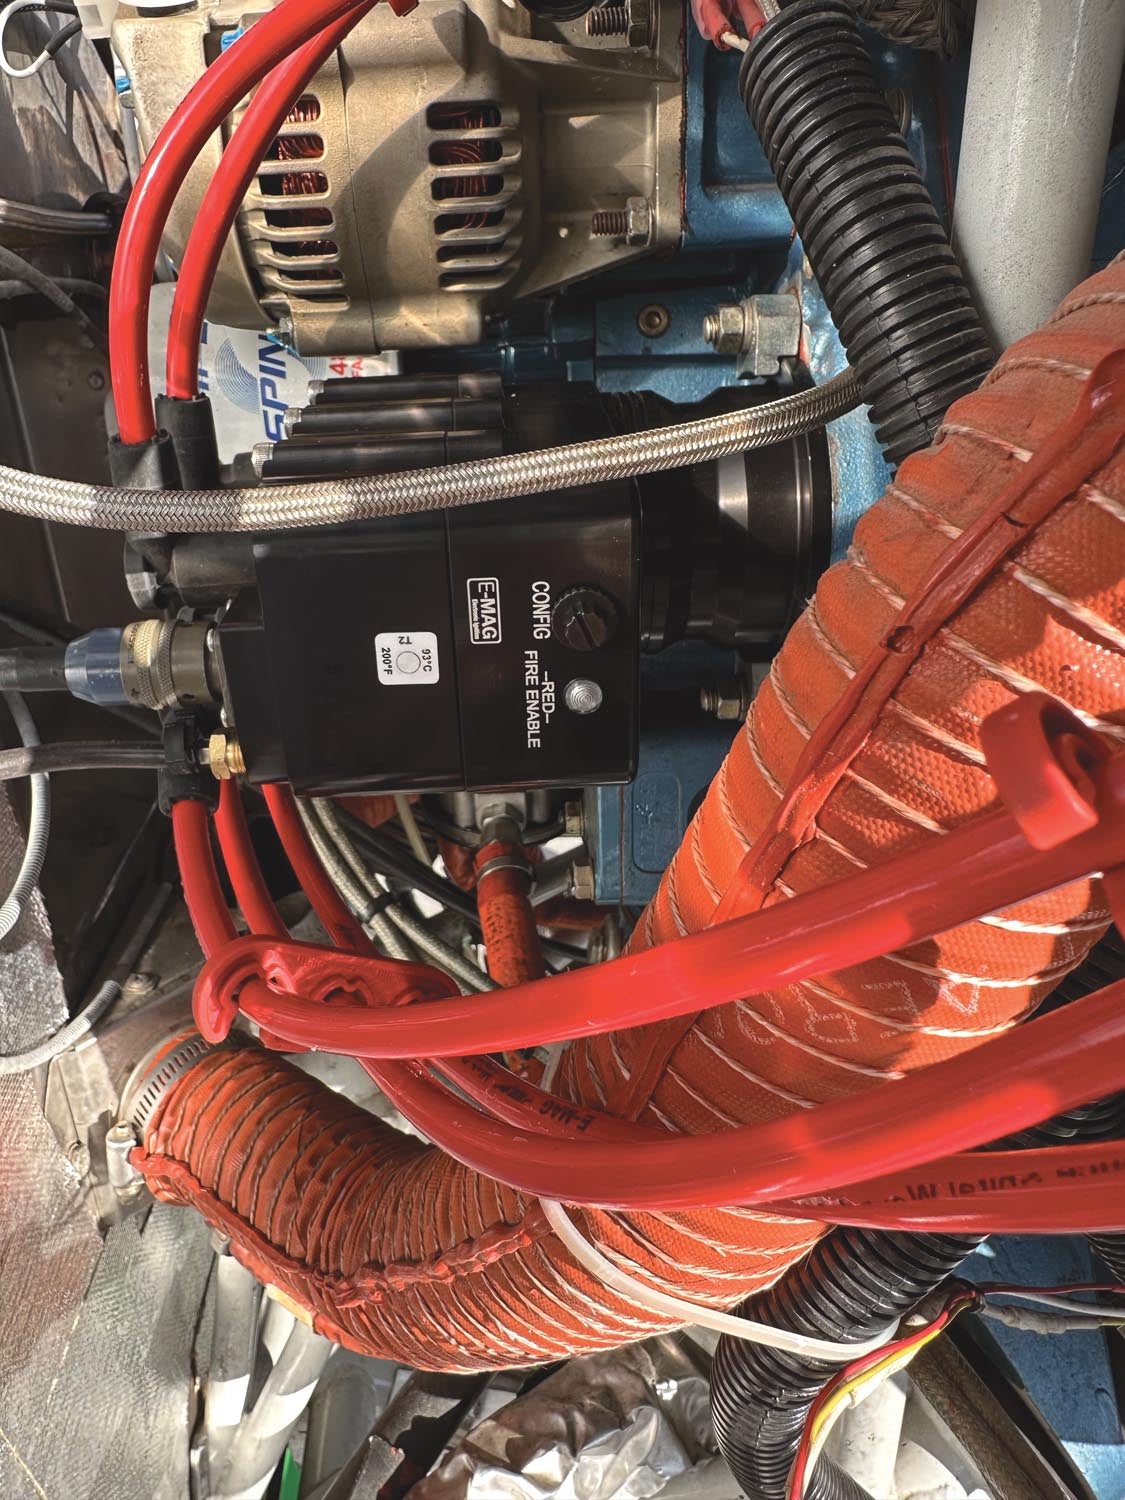
Unlike a traditional mag, the E-MAG doesn’t care what its clocking is to the accessory case mount. Just set it to where it fits the best and allows convenient access for the wire harness and a sight line to the indicator light. I mounted mine on the right-hand position and even with my previously installed B&C backup alternator, fitment was easy.
There’s only one electrical connection to the unit. It’s a small Cannon plug that comes with a ready-made harness of four leads in a protective sheath requiring a single penetration of the firewall. (This seems to be an improvement over the terminal-strip-style connections the four-cylinder units have.) The four leads are simply power (controls start-up power to the mag’s circuitry and internal alternator), kill (controls mag output like a conventional P-lead for safe handling and run-up checks), tach (sends a tach signal to your EFIS) and ground.
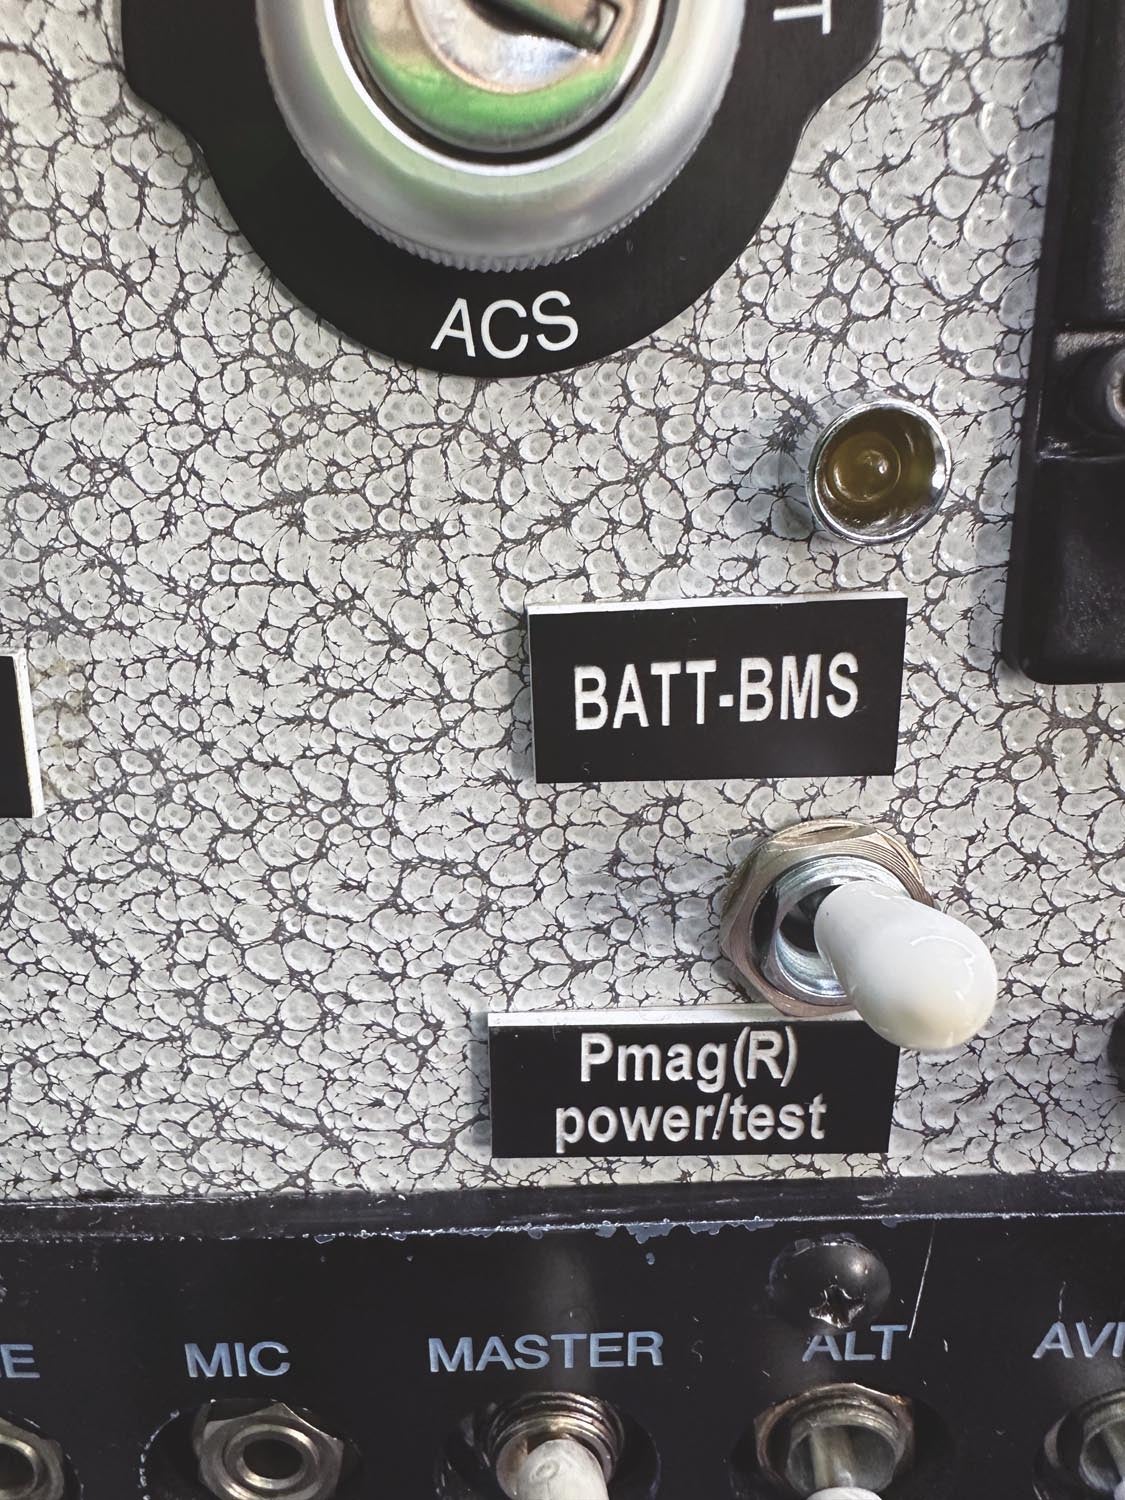
E-MAGs automatically use variable ignition timing of up to 9° for efficiency. For cockpit control, two switches are required for non-boosted engines (turbo or supercharged). Boosted engines require a mode switch to be able to turn off variable timing if there is a problem with the boost system (see manual). There are several ways to accomplish the electrical connections. I used the aforementioned 5-amp switch/breaker for the circuit protection and control of the power supply, plus half of the conventional ACS ignition switch for P-lead control.
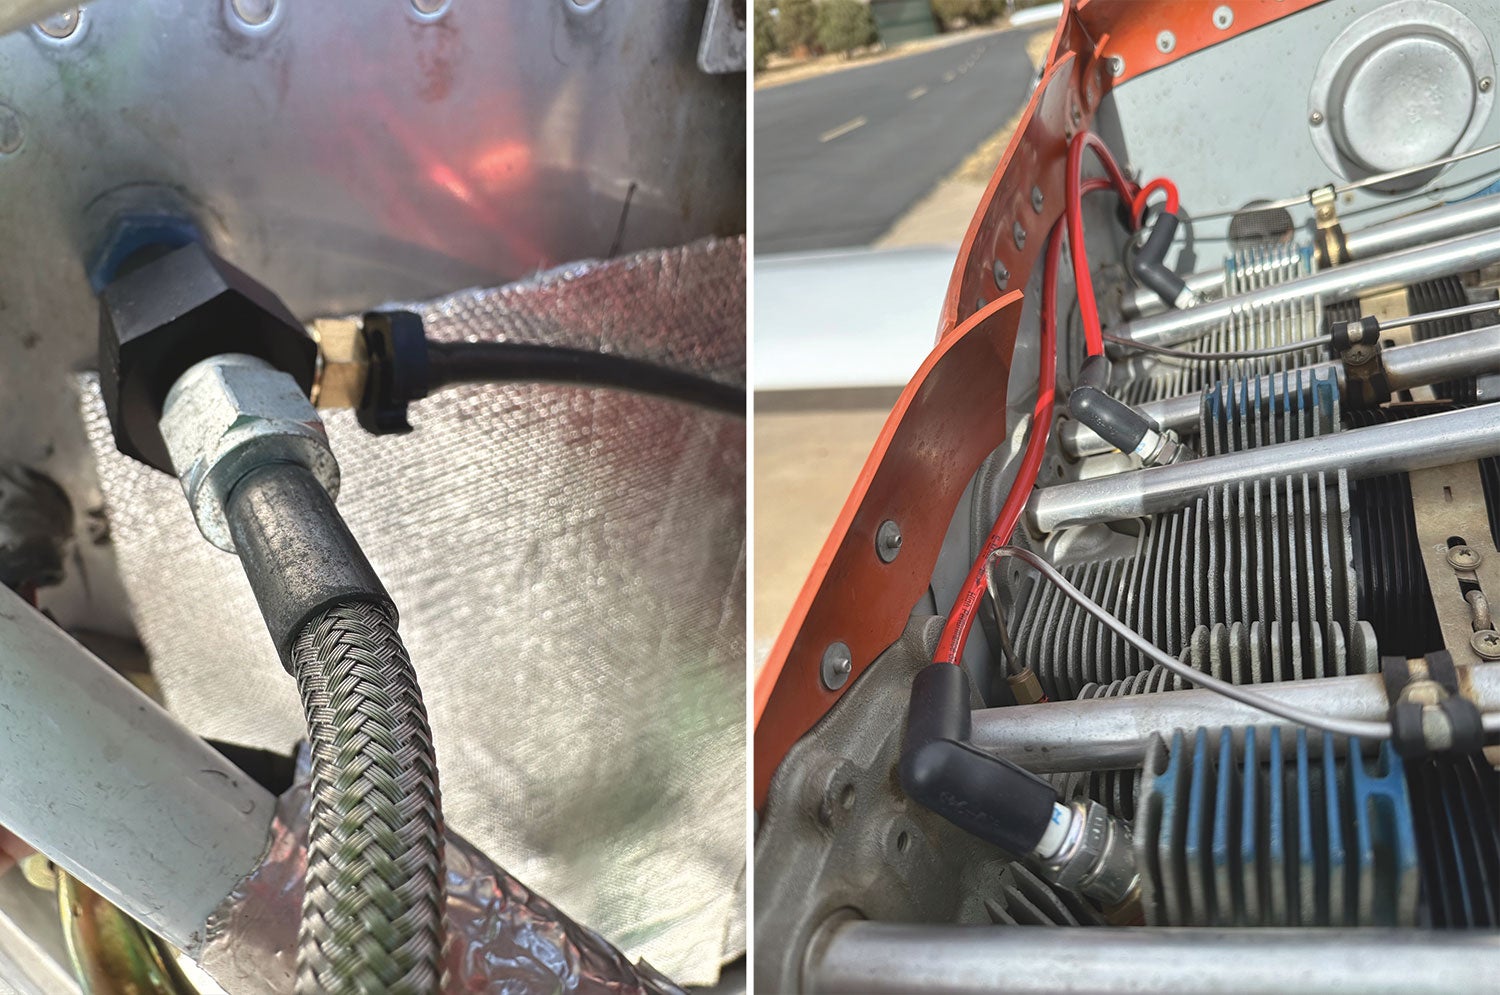
The final connection for the E-MAG is a manifold pressure tap from the engine to a built-in hose barb on the ignition body. This connection is fail-safe in that it is not required for operation but does play a role in the ignition advance calculation for the unit to operate more efficiently. To that end, at a local hot-rod shop, I found a dash-4 gauge adaptor assembly that teed in perfectly at the firewall connection of my existing manifold pressure line and the Dynon interface and allowed the addition of a 1/8-inch tubing barb for a nice clean installation of the supplied pressure tubing.
Timing Is Everything
Once the unit is installed and has power available, the E-MAG can be timed, which is ridiculously easy. Using proper safety protocols, simply set the prop at the engine’s TDC mark, press and hold the config button while powering up the mag, release the button, then press the button again to set TDC, which will be confirmed with a tone and indicator light. After that, a similar process sets the “min” setting to the engine’s data-plate firing angle (25° BTDC on my engine). By setting min, the default max is automatically set internally. That’s it. All of which gets verified as correct later in the process.
The final element of the installation process is completing the plug harness and installing the spark plugs. This is made easier by the E-MAG’s wasted spark design, where every pair of cylinders opposite each other are considered a bank and fire at the same moment, with only one cylinder in compression and its opposite uncompressed with valves open. Therefore plug wire assignment only matters per bank, not per cylinder. Cables per unit can be laid out in the traditional over/under manner or all top/all bottom, whichever is more convenient. Simply lay out as desired, trim to fit, install the supplied plug end connections per the instructions and supplied tool and you’re good to go.
I gapped the recommended NGK spark plugs and installed them using the size adaptors supplied in the kit. I admit that I am looking forward to throwing away spark plugs every annual and replacing them inexpensively.
Fire in the Hole
The final step in the installation process was to change the tach hardware configuration in the Dynon software to three pulses per revolution (PPR). Now it was time for the true test of the system by firing up. I am not a mechanic but I like to learn. Ignition system adjustments have always made me a bit nervous. As I sat there, fire extinguisher at my side, ready to engage the starter, I had a brief moment of apprehension with visions of expensive shrapnel coming through the windscreen. However, concern was all for naught as almost immediately upon engagement, the mighty Lycosaur was purring like a Bernina. Lengthy ground testing and subsequent first flight brought the same level of satisfaction. Although as of this writing, I haven’t yet logged a long enough series of flights to really document performance and efficiency numbers, the initial results look as good or better than expected. For now my hybrid system is fine, but I’m starting to feel confident that it will eventually become a fully electronic system in the not too distant future.


Repairing a Slick mag would certainly be a lower cost than the $1,500 for an OH unit.
Replacing a coil at $585 is much lower cost than the OH cost, and the $2,000+ for a new mag.
The cost of an electronic mag replacement at $2,000+ might make sense for the much longer operating time, and no 500 hr inspection.
I have 2 recently rebuilt Slick mags, [‘0’ time ], so I’m hoping that I get 500 hrs on them before I need to make the decision to replace or get an E-mag.
Comments are closed.