There are dozens of threaded studs in a Lycoming (or Lycoming-style) engine, most of which you’ll never have to deal with between overhauls. Sure, you might booger up an exhaust stud and have to replace it but many of the others will need no more maintenance than your mailbox. One exception is if you’re doing an upgrade from magnetos to a P-Mag electronic ignition system, as I’m in the middle of now.
Unless you choose to leave the impulse-coupled magneto in place, you’ll be swapping out fittings on the left side accessory case. That’s because the impulse mechanism adds length to the magneto shaft and that’s taken up with a spacer between the mag and the accessory case. Two long studs run all the way through the spacer to the mag hold-down apparatus. The P-Mag fits like a non-impulse mag, so those studs have to come out and be replaced with shorter versions.
Few projects give me more concern than pulling studs from engines that have been heat cycled a few times. I still get the sweats thinking about replacing a set of corroded exhaust studs on a previous engine. That took equal parts penetrating oil, heat, perspiration, cussing and several sacrificial nuts—given that I was using the time-honored “double nut” procedure for removing the studs. I’ve broken a few that required additional surgery to remove.
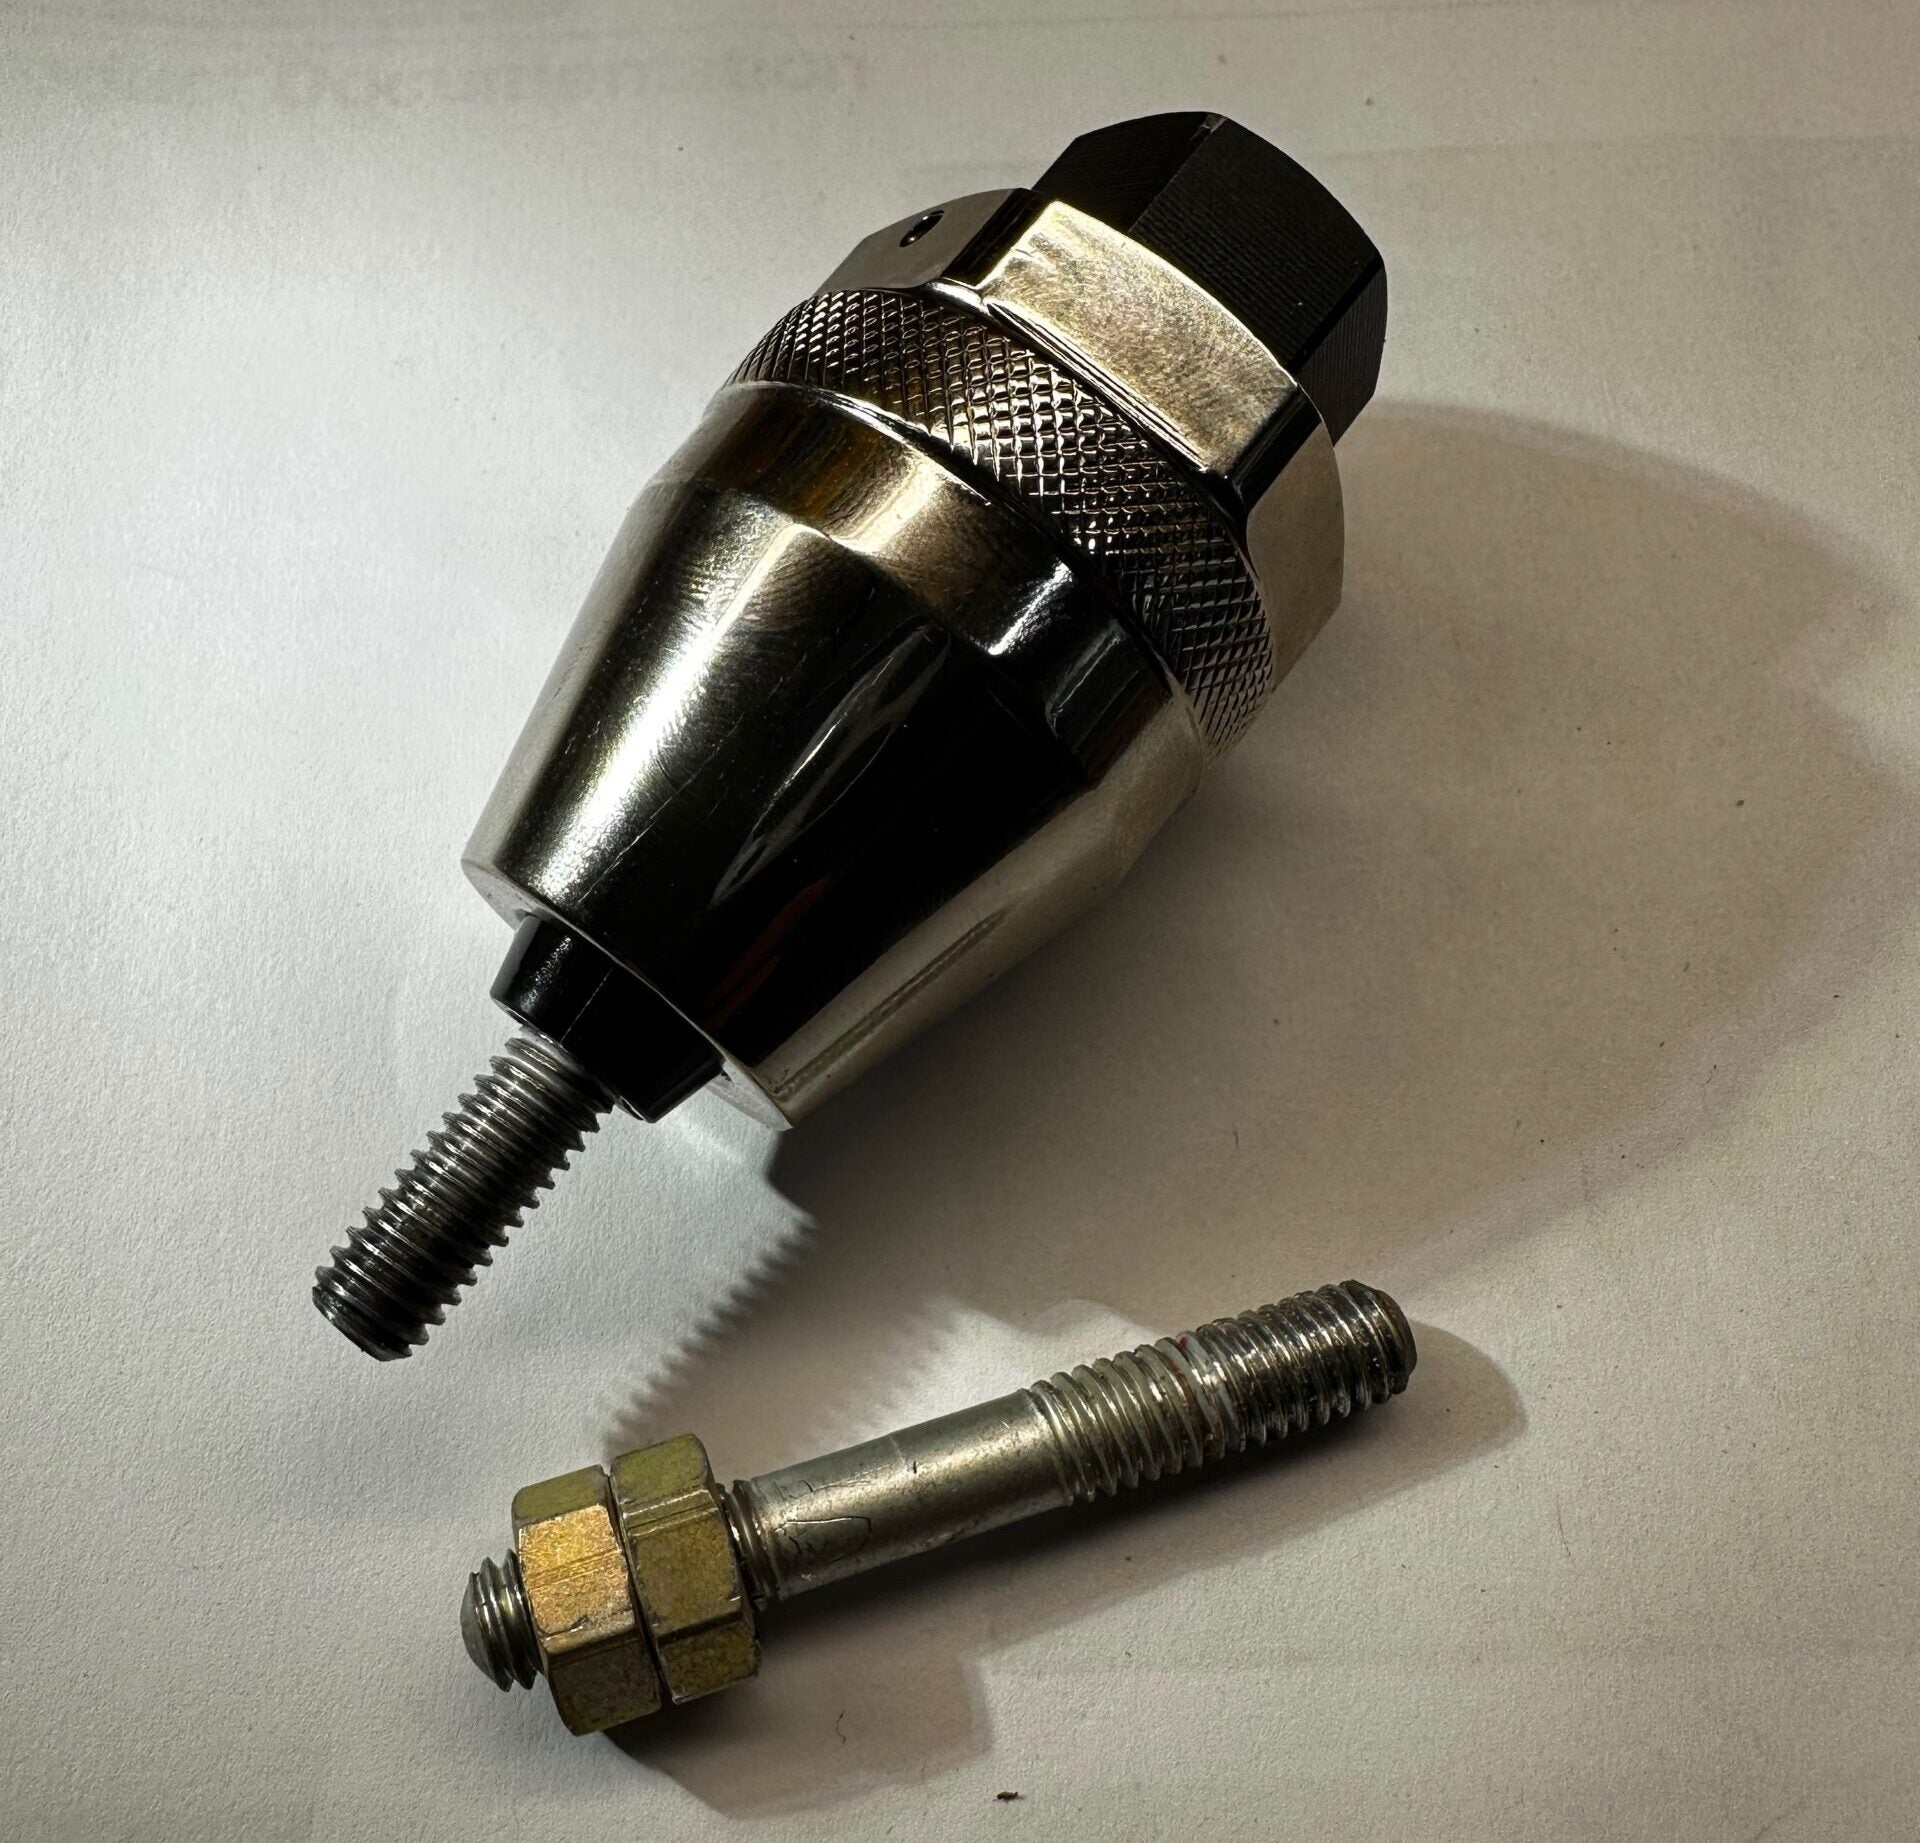
As I launched into the P-Mag retrofit, Paul Dye strongly advised me to get this stud pulling tool before even trying the double-nut routing. I wish I’d had it years ago and not relied on the old-school solution. In this case, the puller made short work of pulling both long studs. Hedging my bets, I heated the surrounding case slightly but did not use any penetrating oil, in part because my engine is still pretty new and there’s no corrosion anywhere on it. Had this been a “mature” engine, I would have used the penetrating oil first, then heat.
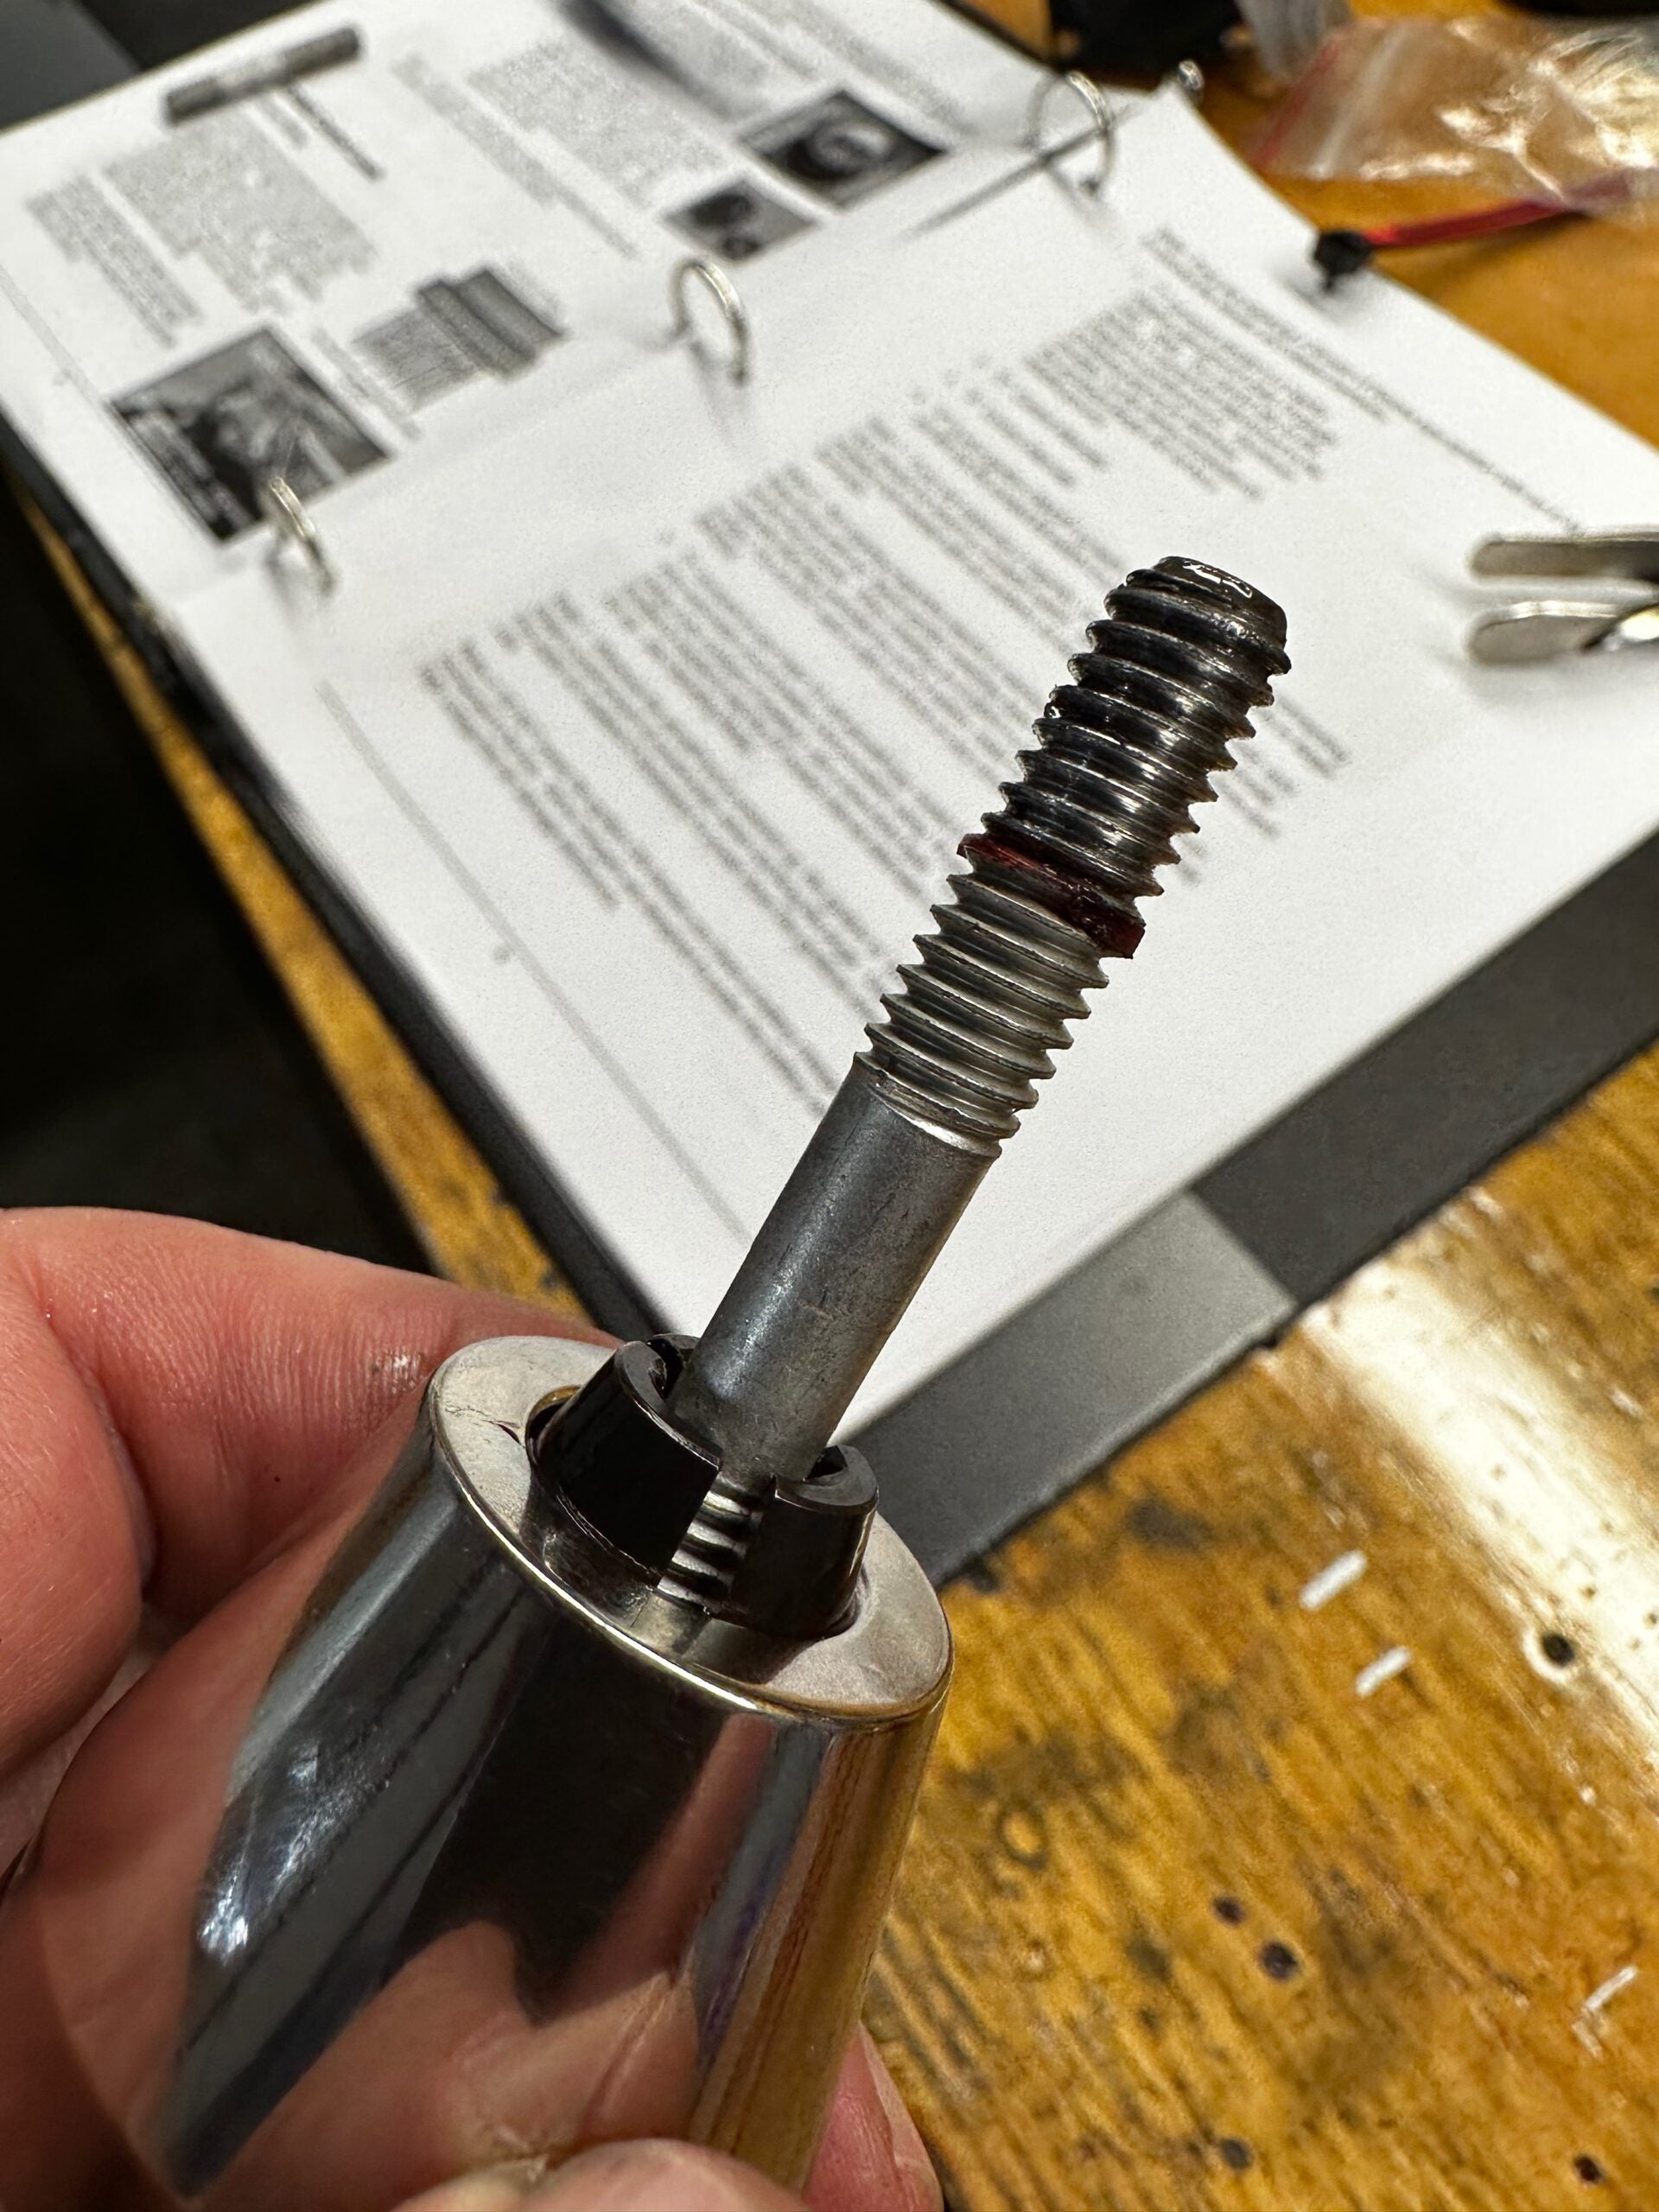
The tool itself is “reverse” threaded so that it continues to tighten itself around the stud as you apply force. The base can be turned with a large wrench but it also has a 3/8-inch square hole in the center for a ratchet or extension. I used a common 3/8-inch ratchet and didn’t need all the leverage it provided. Once removed, I noted the presence of what appeared to be red Loctite, so those studs were meant to be in there for good.
Next I cleaned the threads, being extremely careful here since you’re working around an open hole in the accessory case and realizing that the studs live in a through-threaded, open-back boss; best to keep junk out of the engine, you know. Reinstallation used the double-nut process and went smoothly, as is common when the threads are clean and the studs new.
The stud puller has earned pride of place in my toolbox’s Special Tools drawer.
![[Credit: Lisa Turner]](https://www.kitplanes.com/wp-content/uploads/2026/02/Fuel-Selector.jpg?w=218&h=150&crop=1 "Fuel Follies")


Amazon says the stud puller recommended in this article is unavailable, but they show what appears to be a good substitute at https://www.amazon.com/Damaged-Bolt-Stud-Extractor-Tool/dp/B08GCCHF5B .
Thanks, looks like we had a bad link or Amazon changed it. Your suggestion is a good one.
Comments are closed.