
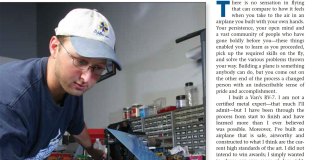
![Trimming composites gets the full PPE job. [Credit: Eric Stewart]](https://www.kitplanes.com/wp-content/uploads/2026/07/7-2.jpg?resize=1024,682)
Occasionally I see articles by colleagues on their favorite tools (a somewhat less controversial topic than favorite airplanes). I’ve had a growing list in my head for some time now, and it’s time to join the party. It’s an odd and varied mix, but these are no doubt the tools in my shop that I really love, in no particular order. Triatic donated the countersinks mentioned below, but that is the only tool in the list that I didn’t purchase myself.
Cordless Anything
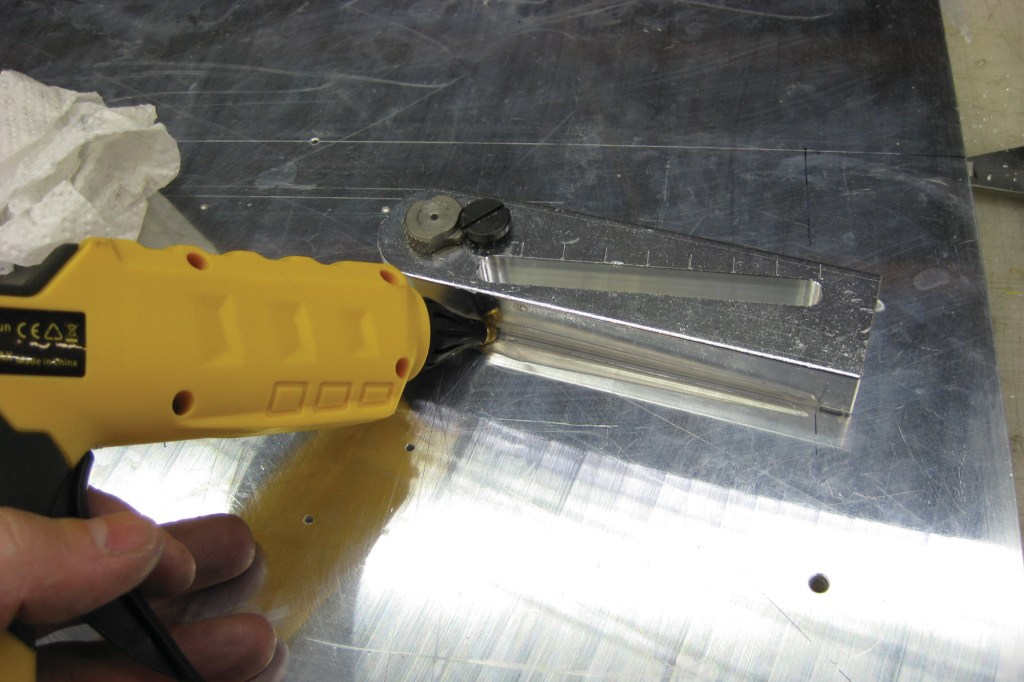
In the last 20 years, pretty much any electric tool is now available cordless. I haven’t touched my corded Dremels in years. The cordless glue gun (as I’ve said in previous articles: What? You don’t have a glue gun???) makes gluing in tight spots/crazy angles easy-peasy. And I love my cordless circular saw. The trick is to choose a single brand that has most of the tools you want so that you can minimize the number of (expensive) battery packs. I like Dewalt and I have a couple of 2Ah battery packs and a heavier 5Ah pack for hungry tools (the circular saw) or jobs that might take some time (the random orbit sander). With three battery packs, I don’t think I’ve ever been at a loss for power – they just rotate turns on the charger.
Wheels On Everything
Not a “tool” per se, but putting build tables and large machine tools (for example a belt sander or bandsaw) on wheels or a rolling base makes it easy to rearrange your shop as the build (or your life) moves through different stages.
3D Printer
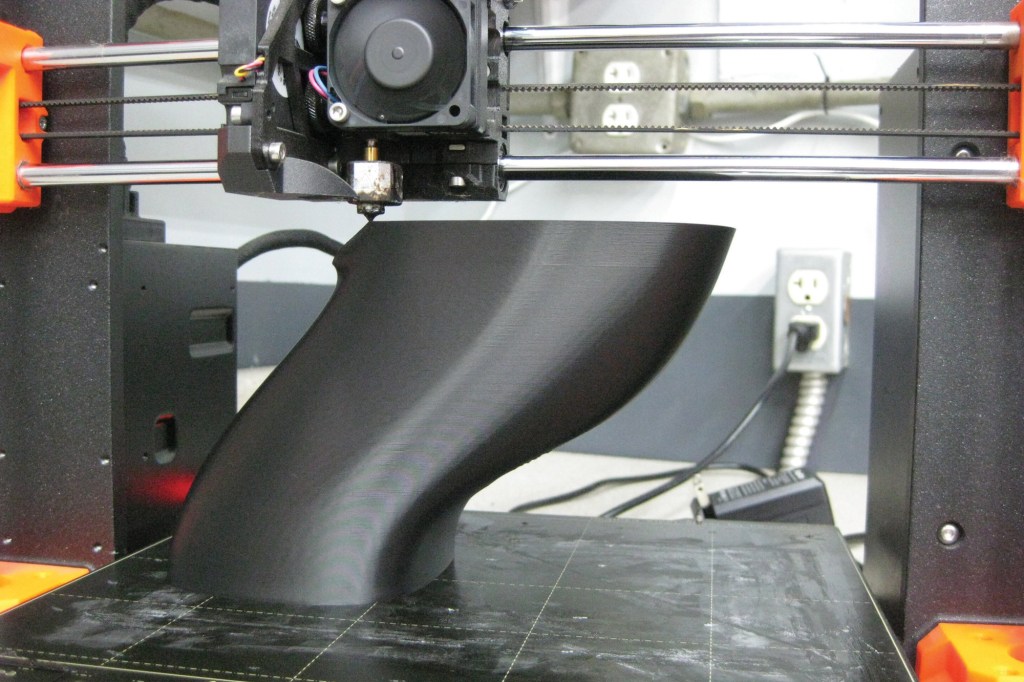
I’ve printed several thousand jigs, test pieces and airplane parts with my Prusa Mk3is, Mk4, and XL (see my article in the April 2025 issue of Kitplanes). You’ll want to pair your printer with some CAD skills – and you can do that with Solidworks through EAA. Solidworks can be moderately challenging to learn if CAD is a new skill, so I highly recommend the tutorial books by Paul Tran. I struggled with Solidworks at first, but finally I made myself sit down and work through Tran’s exercises beginning to end for 8 hours a day. In 3 weeks, it clicked.
Magnets
Neodymium magnets are up there with the glue gun. Great for positioning parts that you can’t/don’t want to cleco and for clamping pieces while bonding. kjmagnetics.com has a zillion sizes and shapes of neodymium magnets – small but powerful. I find the ½”x1”x1/8” N42 does the trick in most instances, I have about 20. They are extremely strong, avoid having them snap together on your fingers – you will get blood blisters!
Milling Machine
Fabrication and imagination are the chicken and the egg in my mind – you build what you can imagine, but sometimes you limit your imagination if you don’t know how you’d build it. When I started the SR-1, I had built an RV-4 and had the tools for that kind of kit build. But the SR-1 is a custom design – aside from some obvious components like engine, wheels and avionics, the entire airplane is custom fabricated. I’ve often had an idea of what I wanted, but not the tools to make it a reality. Once I obtained the tools, it not only allowed me to fabricate from scratch, it also expanded my ability to imagine new components, because I could build (most) anything now. The 3D printer had an even more profound effect in this way – for example, being able to fabricate negative draft molds (because it’s easy/cheap enough to break up a mold to liberate a part) if that makes for a better part/easier fabrication.
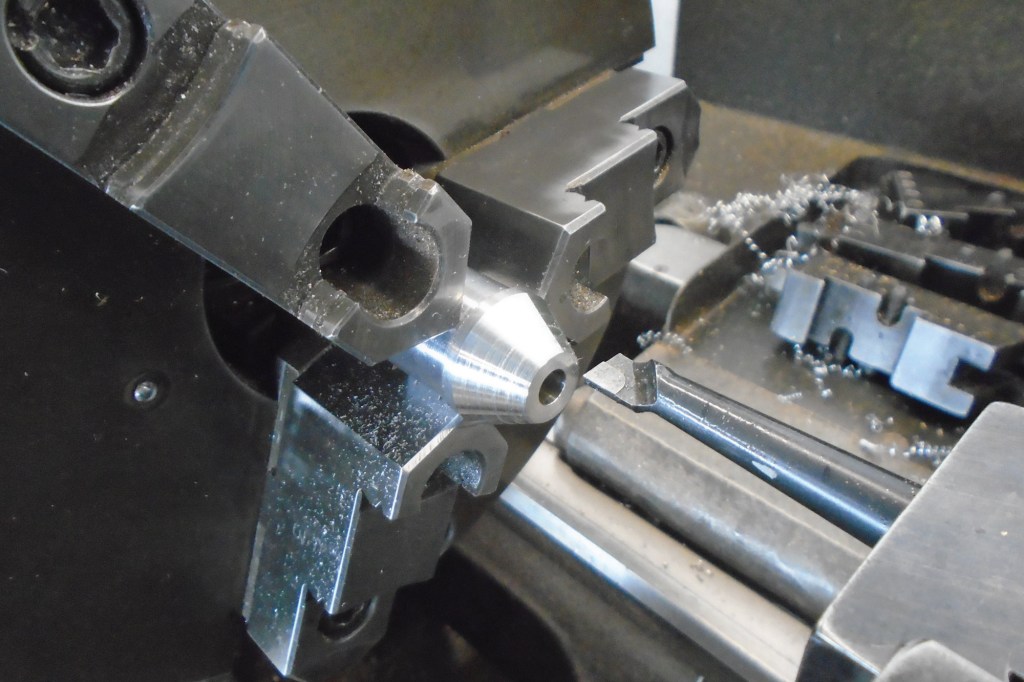
I recently picked up a lathe, and have had access to a Monarch EE for the duration of the SR-1 build, but to be honest I turn a lot less parts than I mill.
Learning how to mill, and turn on a lathe (and to be clear, I consider myself a beginner machinist) was super fun and satisfying. I know homebuilders joke a lot about making up excuses to buy new tools, but I’m a big proponent of trying out new tools. Sometimes you never know how a tool will impact your efficiency or creativity. At worst, you never use it, in which case you sell it and lose a bit of money. But when a tool hits a homerun for you, that far outweighs the duds.
MIG Welder
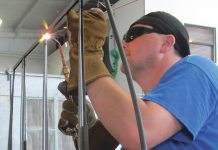
As I’ve mentioned in articles before, I never build tooling (tables, jigs, test stands) out of wood any more. Welding is so much easier, doesn’t warp or bend, and looks professional. Steel is easy to recycle: cut up that old tooling with a chop saw and have material for your next project.
If you enjoy welding, you can always go the next step and invest in a TIG welder, which has a steeper learning curve but will allow you to fab a greater variety of aircraft parts. I’m also keeping my eye on laser welders. These look like they may offer TIG-quality welds at a MIG-level learning curve. The prices have been pretty steep (think 20-30k, as compared to 1/10th that for a nice MIG or TIG unit) but should come down.
Other Favorites
I love seeing stereoscopically. And I love to hear, stereophonically. But I’m also kinda lazy. That’s why I have safety glasses sitting on all my machines, so I don’t have to walk 20 feet to grab some. They are about a buck a piece when you buy them in bulk. Hearing protectors (I really like the Pelton brand) are a bit more spendy so I don’t buy those in bulk but I still have three pairs in the shop at the work stations where I most often use them.
I also like my lungs, so I’m careful about airborne particulates. Don’t fool yourself – paper masks provide poor protection against the smallest (i.e., most harmful) particulates and do more harm than good by giving a false sense of protection. A full mask respirator (with replaceable organic cartridges when dealing with VOCs) is what you want. Also, pay attention to the exposure limits on vapor filters. You may be surprised that it only takes a few hours, or less, at high VOC to max out the absorption capacity of your filter. The duration limits are usually provided with the fold out paper warnings that come with the cartridges – interesting reading.
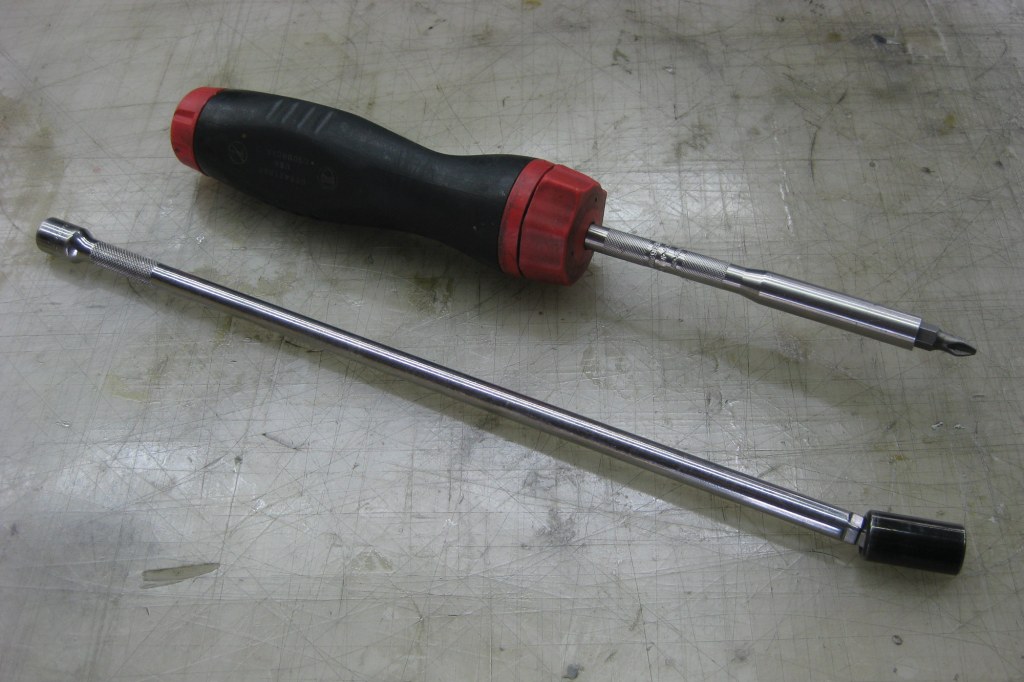
I was able to attend a few Red Bull Air Races back when they were active and I was installing TECAT torquemeters on the planes. These planes came apart and went back together for each race, so that was a lot of screws going in and out. I noticed that quite a few of the teams had the Snap-on ratcheting driver. I’m not going to get into a discussion about the value proposition of expensive brands like Snap-on, but there was a reason so many teams had this particular driver. They have a very smooth mechanism, and are easy to reverse rotation – but not so easy as to reverse accidentally. The knurled shaft and smooth ratchet makes it easy to quickly turn screws out by turning the shaft (rather than the handle) once they are loosened. I use this one driver 95% of the time.
I really love Snap-on’s wobble extensions as well. It’s a socket extension that features a head that allows the socket to wobble slightly. This often makes all the difference in being able to get the socket on the bolt, without having to use a universal drive. It’s an awesome feature – my go-to extension when doing engine work.
To be even-handed, I also have a fair number of cheapo/junk tools. These tend to be single-application tools that I grind/weld/modify in some manner to accomplish a particular task. As a mentor told me long ago, “Tools should work for me, I shouldn’t work for them.” I think a lot of us have probably been brought up to care for and respect our tools, which can make it hard to start grinding away on shiny chrome; but it’s easier when it’s a $5 socket and not a $50 one.
Admittedly I don’t spend as much time with my air tools (think drill, rivet gun) on the SR-1 as I did building the RV-4, but I use them often enough, and for that I love the lightweight air hose kit from Cleveland Aircraft Tool. The hose is super flexible which makes it so much easier to maneuver your tools than a regular pneumatic hose, and the quick disconnect is faster and easier on the fingers than standard locking collars.
While we are on air tools and have the attention of rivet-bangers: my Sioux air drill and Rohm keyless chuck were a splendid combo during my RV-4 build. The Sioux just spins smooth and feels nice, and the Rohm allows hand chucking of bits to quickly change sizes. But my real favorite is the Sioux 90 degree drill (and a large assortment of threaded bits). This drill is not cheap, but it has saved my bacon more times than I can count.
While a handful of standard bits (#40, #30, #19, 3/16, ¼) got me through the RV-4, if you do much scratch building get yourself a drill index set. You don’t know it now, but Yes you really do need a 29/64” bit. Get a full set (letter, numbers, fractional).
Finally, regarding spinning stuff: while most builders probably have piloted countersinks, these don’t work well on composites – they don’t cut that well and will dull quickly. In preparation for making the SR-1 cowl, I obtained two sets of abrasive countersinks. One set was donated by Triatic, and the other was purchased from Perma-grit. I’ve had a chance to use both, and the Triatic are a pleasure to use, but also 3X the price of Permagrit. The Triatic’s are diamond grit and leave a finer surface than the Permagrit, which are tungsten carbide. The Triatic are threaded which can be useful if countersinking in tight spots (with a 90 degree drill). If you are building a spam can and your only composites work is a cowl and fairings, I think the Permagrit are a good economical choice. If you are building a composite plane, or are a repeat offender who wants to invest in good tools, the Triatic are excellent – I wish I’d gotten these years ago, I absolutely love them. Regardless, either of these solutions are heads above using metal countersinks.
I weigh everything on the SR-1 raceplane with a gram scale, as we are extremely weight conscious. It’s helpful to have an intuitive sense of weight, and what can be accomplished by light-weighting. There are a pair of 8mm bolts holding the oil cooler bracket to the EP 912STi engine. These are pretty hefty bolts since they thread into an optional engine mount boss on the engine case. They are overkill for holding the oil cooler though. I weighed them, the pair was .95 oz. I drilled them hollow to save a bit of weight. It only took a few minutes, and shaved of .3 oz. Most folks will roll their eyes at .3oz, but another way to think of it is that I reduced the part weight by 33%. My personal rule is I will spend up to 1 hour to remove 1 ounce of weight. That’s 2 days of work for a pound. So I’ve probably spent a few months removing 20-30 lbs from this plane, but that is substantial for a plane with an empty weight on the order of 480 lbs.
There’s undoubtedly something satisfying about throwing labels on stuff: I think it’s the illusion of imposing order on chaos. That said, aside from some basic labels for toolboxes, I mostly use my Brother Ptouch label maker for printing heat shrink tubing for wiring. Looks professional and has to be the easiest way to label wires. Note that the ink is not solvent/fuel-proof, so I add a tube of clear heat shrink over the label for protection. Likewise, when labeling components with tape, protect the label by coating with clear nail polish or label lacquer.
Alright, you’ve got all these tools, now where are you going to keep them? I’m usually pretty wary of Harbor Fright, but not everything they sell is garbage, and their tool boxes are actually pretty nice for a tenth of what you’d pay for a Matco or Snap-On.
Tungsten Bucking Bar
Another one of those tools that can seem extravagant til you actually use one and realize just how nice they are. I even have a mini bar about an inch square for the tiniest spots. I keep it in the freezer – it’s also a great accelerator for hot glue! Just press into the hot glue and the glue instantly hardens. The mass of the tungsten means the bar stays cold longer than would a chunk of aluminum or steel.
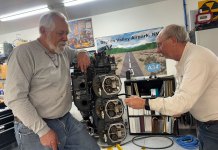




You don’t need a milling machine.
You need a FRIEND with a milling machine. 8^)
Comments are closed.