For the last few months, I’ve been telling you about avionics and engine changes I’ve made to our RV-10. This month I’ll continue with the prop and ignition systems. You might remember I mentioned the prop overhaul was not going so well. Quite frankly, that was an understatement, as overall it was not an enjoyable experience.
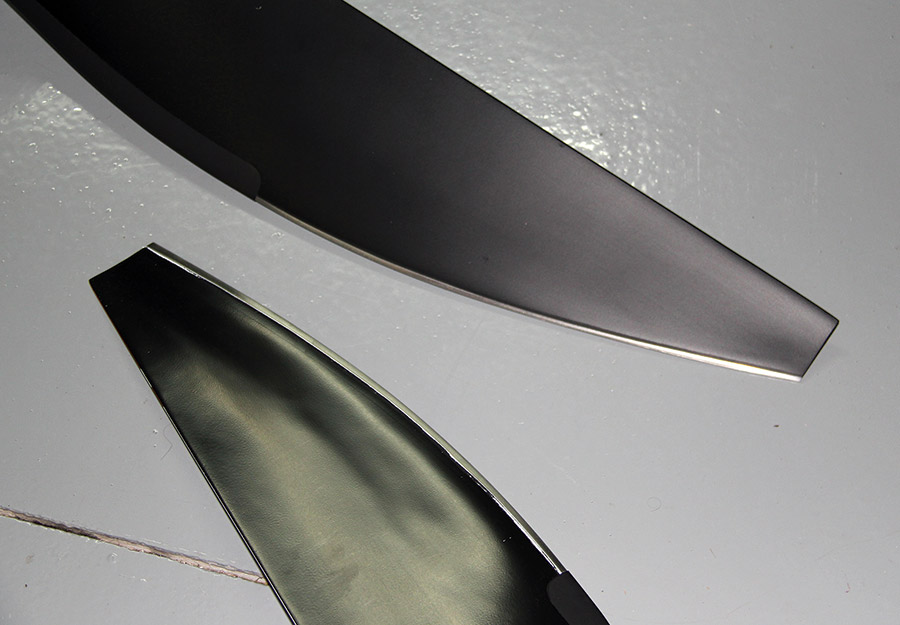
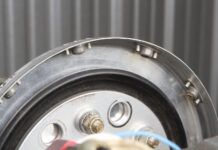
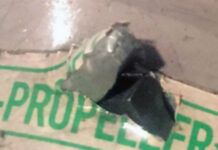
MT recommends an overhaul at six years, and since I was right at six years, I figured I should go ahead and get it done while I had the engine down for overhaul. Having the propeller off would make working on the engine a little easier, although I did find it harder to turn the engine over to TDC on each cylinder without having the prop for leverage. Here I was breaking my own rule about changing too many things at once. The local certified MT prop shop I used to do the overhaul did the worst job I have ever seen on any propeller blades. On the first flight after the engine and prop overhaul, I actually thought something was wrong with the engine due to the vibration. You can clearly see the difference between the new and overhauled blades in the picture, and MT is now using this image in their classes on how not to overhaul a blade. After a return trip to get them done right, as well as having to convince them that they weren’t right, I decided to get the MT folks at Deland, Florida, involved from whom I had originally purchased the propeller. I really didn’t have time to keep trying to convince the local shop to fix it, and I had lost confidence that they had the talent to do it right. Together we worked a solution and I installed the new MT prop. Most recently I flew down to Deland where Mark Winters fixed a blade tip that was damaged and Jeurgen Zahner balanced the prop. They are one busy shop there, and seeing firsthand the quality of their work, I understand why.
A new MT blade (top) and the improperly overhauled blade. The vibration was horrible, and in flight you could see the blades actually tracking differently.
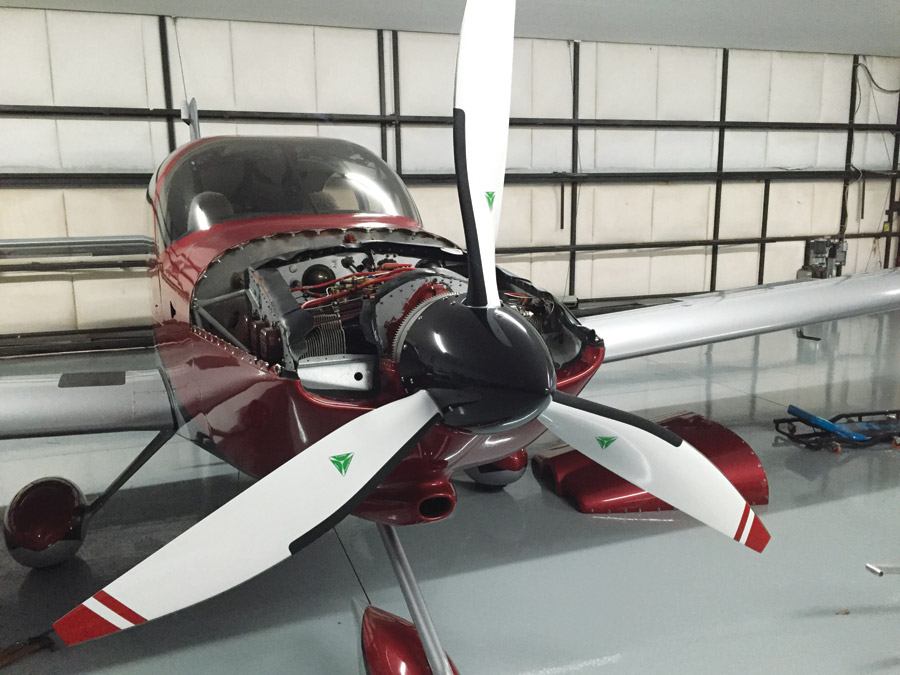
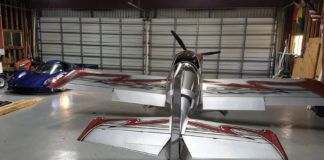
In the middle of the prop fiasco, I had contacted Whirl Wind Aviation to see if they might have a propeller that would work. Greg Anderson at Whirl Wind was actually anxious for me to do some testing on my RV-10, so we agreed that I would test their 2-blade, and perhaps keep it if I liked it better than the 3-blade MT. I have to admit that the Whirl Wind does look a lot nicer than the MT, and even has a larger metal protected leading edge. Greg shipped me one, and I proceeded to install it, after first having contacted the Atlanta FSDO as per my operating limitations. We agreed on five hours back into Phase I testing, and I assured the Inspector that all of the logbook entries would be correct.
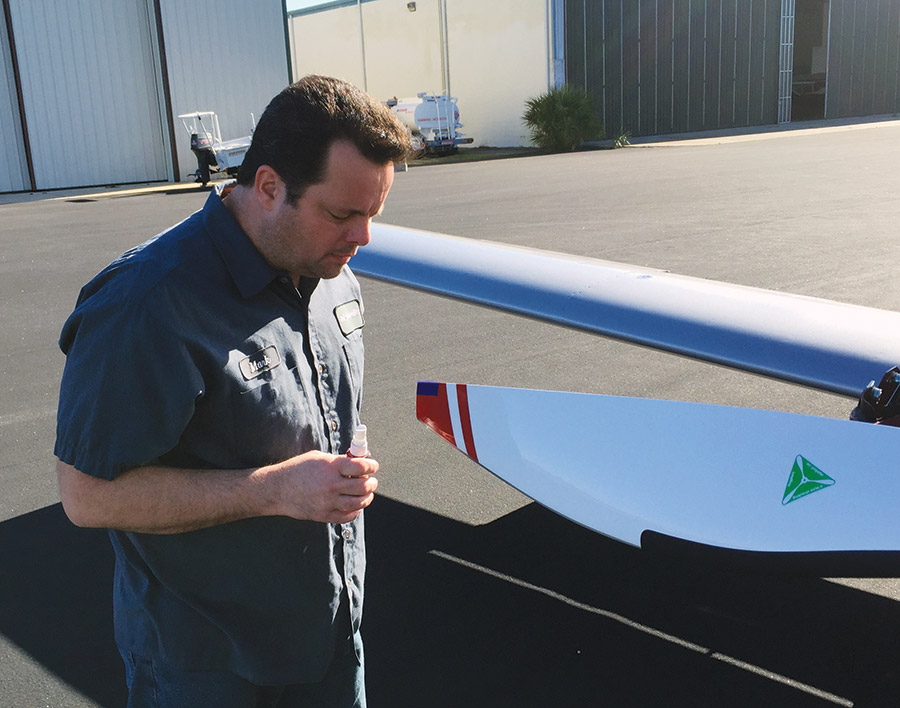
The team at MT-USA in Deland, Florida, are really super, quality-oriented people. No wonder their shop is always so busy.
Remember the cobbler’s children? Here I was again trying to get this done in my spare time. Luckily, a great-weather weekend presented itself, and I spent two 12-hour days removing, installing, balancing, and flight-testing propellers. Having over 1700 hours in RV-10s behind MT props, including 1000 in this particular RV-10, I felt I could quickly judge if there was a difference in performance. Interestingly enough, the Whirl Wind did outperform the MT in all flight regimes, including testing up to 12,000 feet. It seemed to accelerate a little better, and results at all altitudes indicated a cruise performance increase of about 2-3 knots. Not much of a difference, but quantifiable. However, there was a vibration in the controls and airframe that was uncomfortable and somewhat annoying. As bad as I wanted it to work, it just didn’t seem right. To be sure I wasn’t being too picky, I reinstalled the MT late Sunday afternoon and was pleasantly rewarded with the usual turbine-like feel of the MT. So, reluctantly I boxed up the Whirl Wind and shipped it back. Perhaps one day I will test the 3-blade model they have developed for the RV-10 once there is some more field time on it and the recommended overhaul time period is lengthened.
New Battery
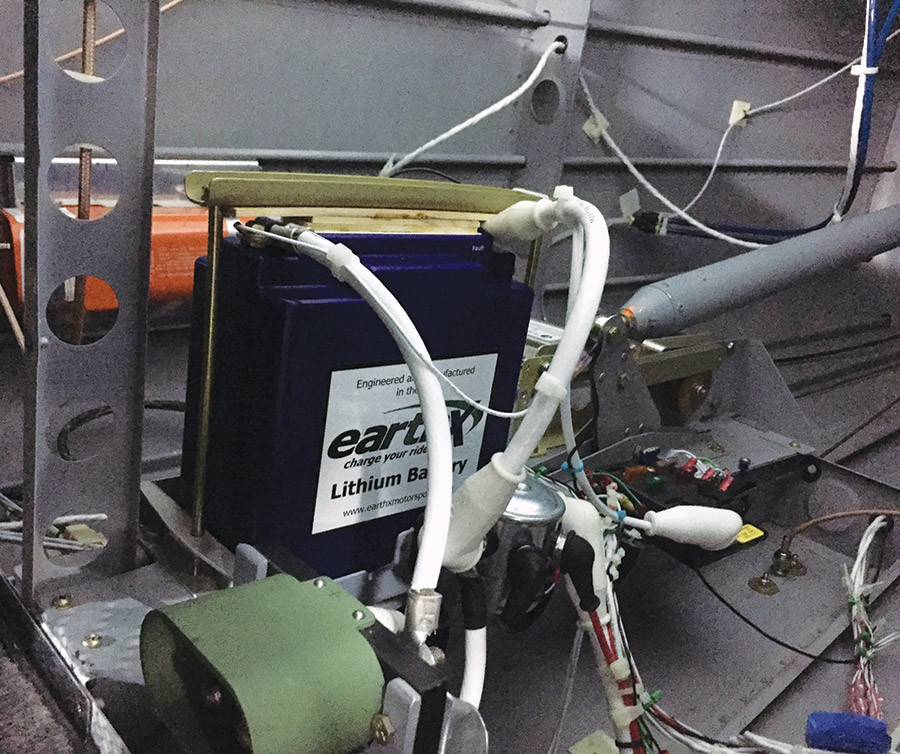
Most recently I added three more new items to the RV-10: an Electroair ignition system, a B&C standby alternator, and an EarthX battery. My thinking on the battery replacement is that I need to do it every three years. Yes, I know Odyssey batteries should last longer than that, but I fly 200-300 hours per year, and we go to some remote places. I really don’t want to be stuck somewhere due to a battery failure. To be clear, the Odyssey PC925 battery was still performing fine and tested strong with a battery load tester. I have been watching the progress of the EarthX products, and they seem to have progressed to the point that I felt they were reliable enough for aviation. And they had a couple of batteries that were perfect for the RV-10. Besides the increased power, the weight savings was phenomenal—almost 20 pounds in the case of the ETX1200 I chose to use. They actually had a couple of choices that should work, the ETX900 and the ETX1200, so I set about testing the difference between them as best I could using the airplane.
Here is the ETX1200 installed in the author’s RV-10. Weight savings over the PC925 was approximately 20 pounds.
Here’s how I did it: I ran the starter for 10 seconds with both ignitions switched off and measured the rpm using a PropTach optical tachometer. Then I ran the full avionics load for 45 minutes to simulate an in-flight condition with an alternator failure. After that I ran the starter again for 10 seconds and measured rpm and battery cranking voltage. Here are the results:
PC925
- Initial voltage with everything on: 12.4v
- Cranking rpm: 120
- 30-minute load: 11.8v
- 45-minute load: 11.7v
- Crank after 45 minutes: 80 rpm and 10.0v
ETX900
- Initial voltage with everything on: 13.2v
- Cranking rpm: 140
- 30-minute load: 12.7v
- 45-minute load: 12.6v
- Crank after 45 minutes: 120-140 rpm and 10.6v
ETX1200
- Initial voltage with everything on: 13.1v
- Cranking rpm: 160
- 30 minute load: 12.8v
- 45 minute load: 12.7v
- Crank after 45 minutes: 140 rpm and 11.9v
Conclusions: Both the ETX900 and the ETX1200 are adequate for the RV-10 in my estimation. I installed the ETX1200 in my aircraft and the ETX900 in a friend’s RV-10, so over time we will have both to compare. So far I am really pleased!
New Ignition System
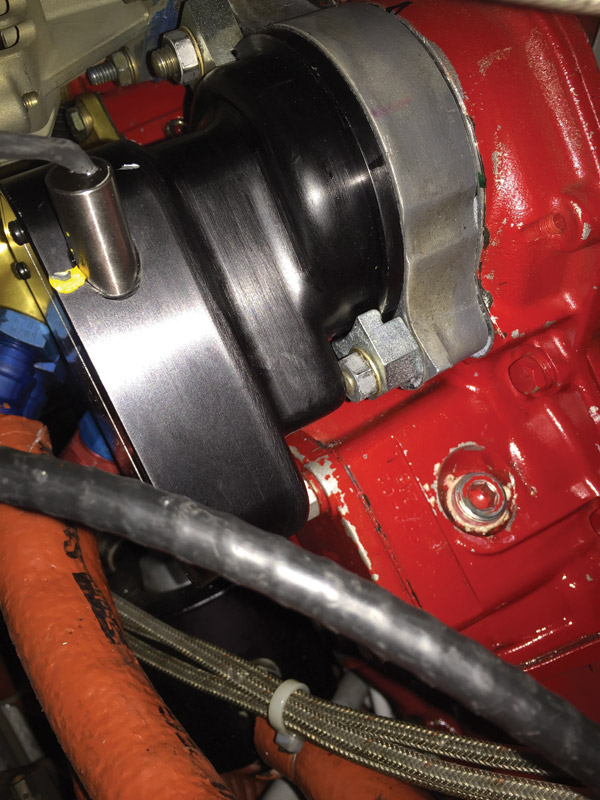
Next came the ignition system. For a number of years now and on multiple aircraft, I have used the Plasma III system from Light Speed Engineering, which is a capacitive discharge type of electronic ignition. While they have always seemed to function well and reliably, except for a few coil failures, the customer support is less than stellar. So, I did some research and decided on the Electroair system, which is an MSD-type of ignition, basically meaning it has a much longer and hotter spark—10 times longer to be exact! Mike Kobylik at Electroair took the time to explain their systems, and as luck would have it, he had just received approval for the magneto timing housing for his certified systems. That would mean I would not have to remove the prop to install the timing pickup. It would now go in the empty magneto slot on the aircraft. The MTH (magneto timing housing) is meant to be installed in place of an impulse-coupled mag, which also meant I would have to install the impulse gear drive into my engine and acquire the spacer used for an impulse mag. I managed to locate both of them at reasonable prices via the forums at VansAirForce.net.
Removing and installing a complete ignition system is no small feat. It required over 20 hours of labor. The coils for the Electroair system are much bigger and require mounting on the firewall, as opposed to the smaller Light Speed coils, which we usually mount on top of the engine. I always wondered if the heat of the engine was detrimental to the coils, so I always open the oil access door after landing to get rid of the heat.
The mag timing housing is a work of art and mounts just like a magneto using the same studs. In my case, though, I had to remove the short studs and install the longer ones that are used for an impulse magneto due to the longer shaft. I have some trepidation every time I remove a stud off an engine, fearing breaking and the subsequent repair, but the removal of these was such a non-event I wanted to put them back in and do it again! I only have a couple of Snap-on tools as they are out of my price league, but the Snap-on stud removal tool is the best investment I ever made. I would never attempt to remove a stud without using it.
During installation I discovered that magnetic pickup protruding from the MTH came really close to the standby alternator, which was mounted on the vacuum pump drive just above the magneto slot. I removed the impulse drive gear from the engine and re-clocked it to allow a greater separation distance between the pickup and the alternator. It turns out the pickup is very sensitive to extraneous electrical fields, and you have to be careful to route it away from other high-current wires.
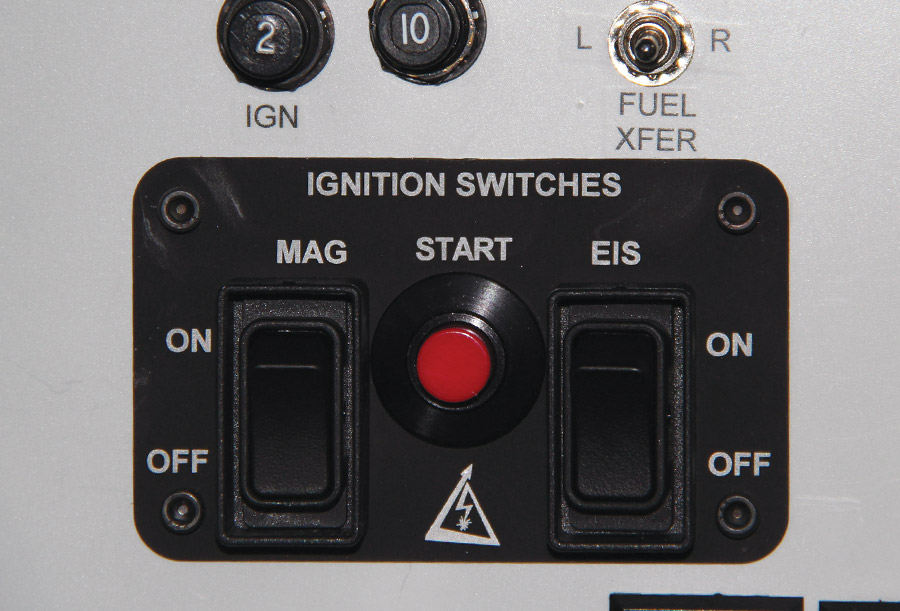
The Electroair ignition system has a nice optional switch panel, eliminating the problem-prone key switch. Wiring the start function through the strobe lights presents a measure of safety
Electroair has a choice of spark plugs, either automotive or aviation. For their Certified systems they have developed a version of the REM37BY that allows for the larger .036-inch gap. For Experimentals you can use either. Since I have had good luck with automotive plugs I chose that route, using Autolite 386 plugs, which are 18mm and do not require the adapter I had been using with the Light Speed ignition system. However, under high power settings the Autolites seemed to have a slight miss to them. I tried the REM37BY and didn’t see a whole lot of improvement. Once I tried the fine wire high-energy plugs from Electroair, it seemed much better. Others seem to have luck with the Autolite 386s and REM37BYs. I don’t know if the higher compression (9:1) in my airplane is the difference.
So far I have been pleased with the performance. The engine starts noticeably better and idles much smoother, especially when hot. An ignition check at 2000 rpm reveals a 10-20 rpm drop on the EI, against a 90-100 rpm drop on the magneto. It’s too early to be certain, but it does appear to show a slight fuel efficiency gain at cruising altitudes of .5 gph, and the engine will go much farther into LOP than before.
I have since installed the Electroair system on another RV, replacing a failed LASAR ignition system, and the customer says the engine has never been as smooth as it is now.
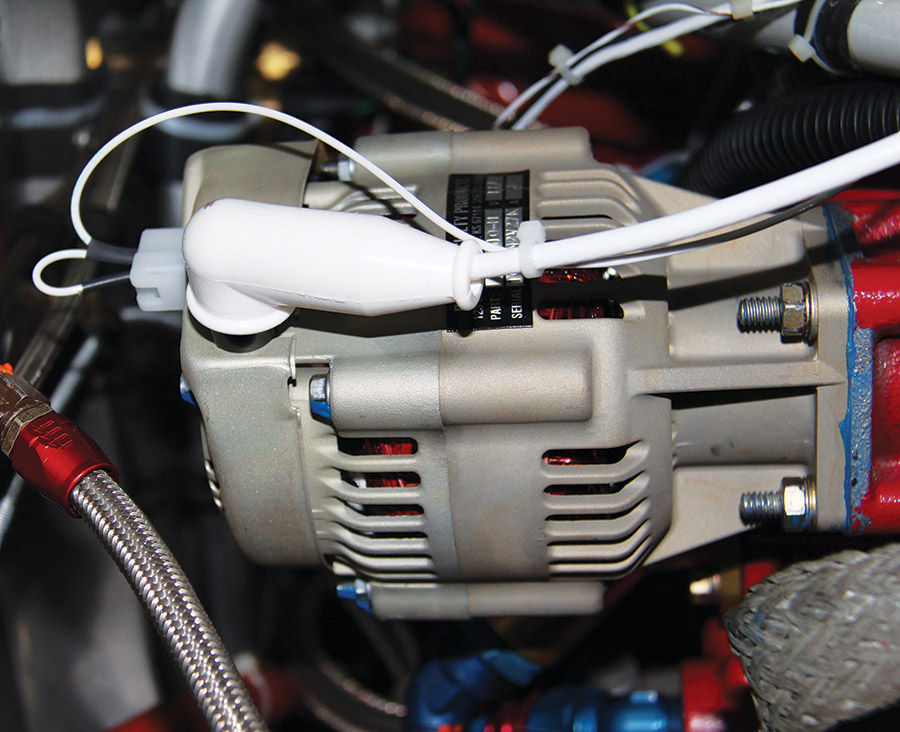
It’s amazing how much power can be generated off of the vacuum pump pad by the B&C standby alternator—almost 40 amps.
New Standby Alternator
The last modification I performed was to replace the SD-8 standby alternator with one that could really carry the full in-flight load if needed. The SD-8 has been around for a long time and is a PM-type (permanent magnet) alternator. It is rated for 8 amps at cruise rpm and is mounted on the vacuum pad. The SD-8 doesn’t really start to deliver much energy until around 1800 engine rpm, and if you really need it in flight, you are going to have to shed some load. It does work really great for those who are weight conscious, such as the aerobatic pilots. But having an all-electrical airplane, I figured it was time to take a serious look at the backup systems. B&C Specialty Products has really developed a nice line of standby alternators that mount to the same vacuum pad and can produce 20-40 amps. Since my steady-state current load in flight is 23 amps, I figured the BC-410H would be a perfect match. Yes, it’s a little heavier and takes up more room than the SD-8, but it is a real alternator that really carries the whole load. And by setting the regulator of the standby alternator just a little lower than the main, it will automatically come on without any pilot intervention if the main alternator should fail. Nice!
Well, that’s it for the modifications this year. Carol asked on the last trip if I was done with the mods for a while. I think I am, at least until I walk around at SNF or OSH next year. Perhaps I will see you there!

