Cleaning Lycoming fuel injection nozzles is made easier with these two evening shop projects.
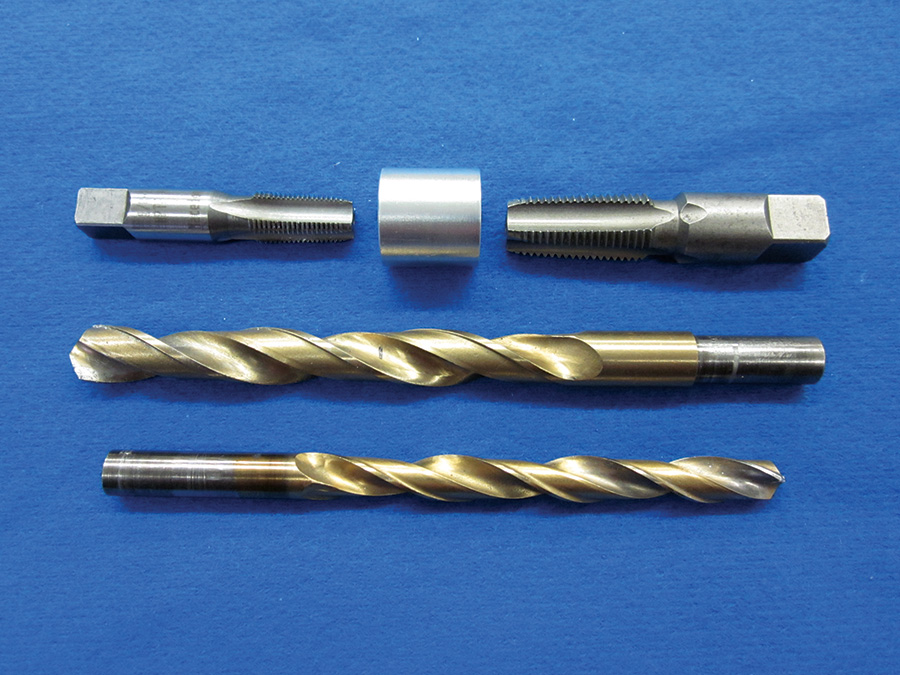
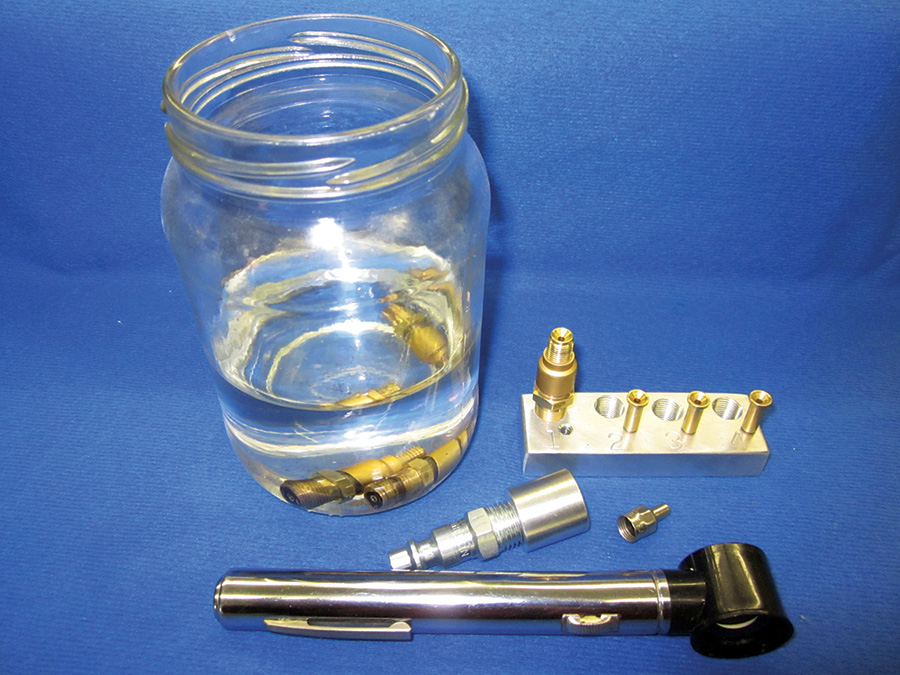
The first simple tool is a threaded bushing. One end is tapped for an air chuck fitting. The other is tapped 1/8 inch NPT to match the male thread on the injector body (Fig. 2). Screw the injector into the tool, chuck the tool to an air line, and the injector is blown out with the full air line volume.
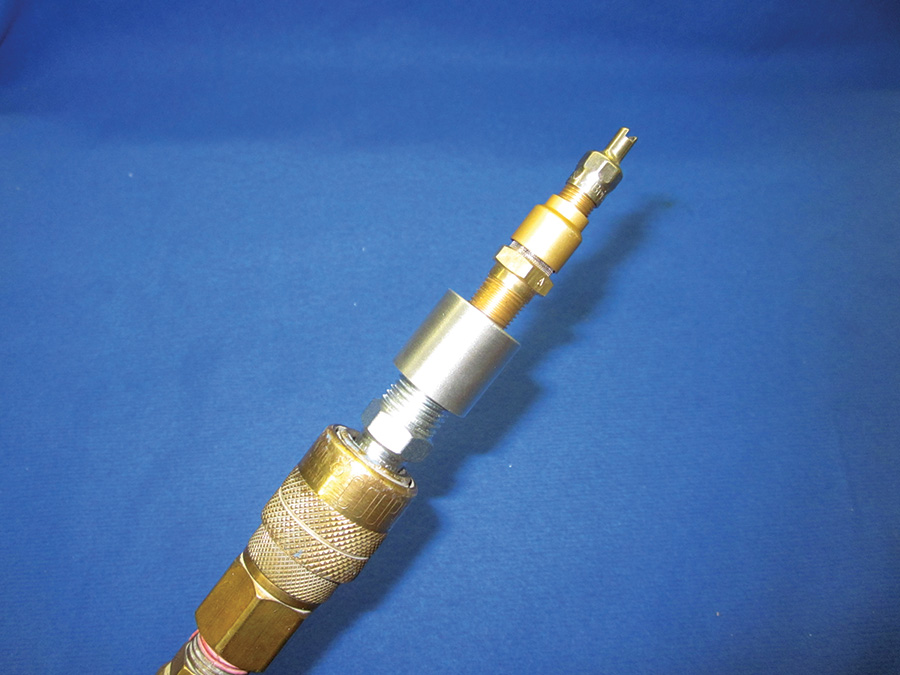
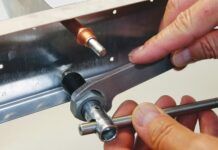
The injector’s small thread happens to be the same size as a tire valve stem (Fig. 3). Acquire an all metal cap, screw it onto the injector body, and all the air volume will be forced through the air bleed hole located under the shroud.
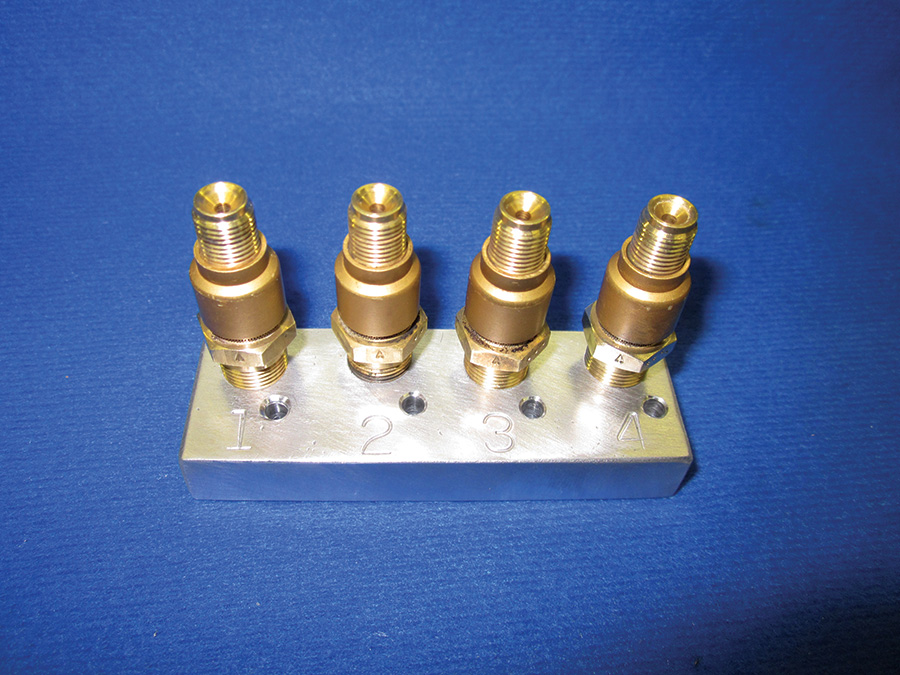
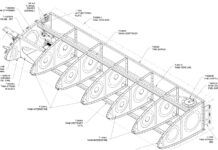
The second tool is a small rack to organize the entire set of injector bodies (Fig. 4). Injection tuning is now common, meaning different injector sizes may be installed in various cylinders. You don’t want to put them back in the wrong cylinders, nor do you want to swap nozzle inserts between injector bodies. The tool is just a small block of aluminum scrap tapped 1/8 inch NPT for the bodies, drilled for the inserts, and marked with cylinder numbers.
Gun cleaning solvents are popular for soaking injectors, but be aware that some of them can etch brass. Carburetor cleaner spray from the auto parts store is mostly toluene, acetone, and MEK; any or all of them can be used to soak injectors. (Fig. 5). The best approach is an ultrasonic cleaning vat.
A 10x magnifier will allow viewing inside the fuel passages of both the injector body and the metering insert, and is highly recommended. Nothing beats a good look.
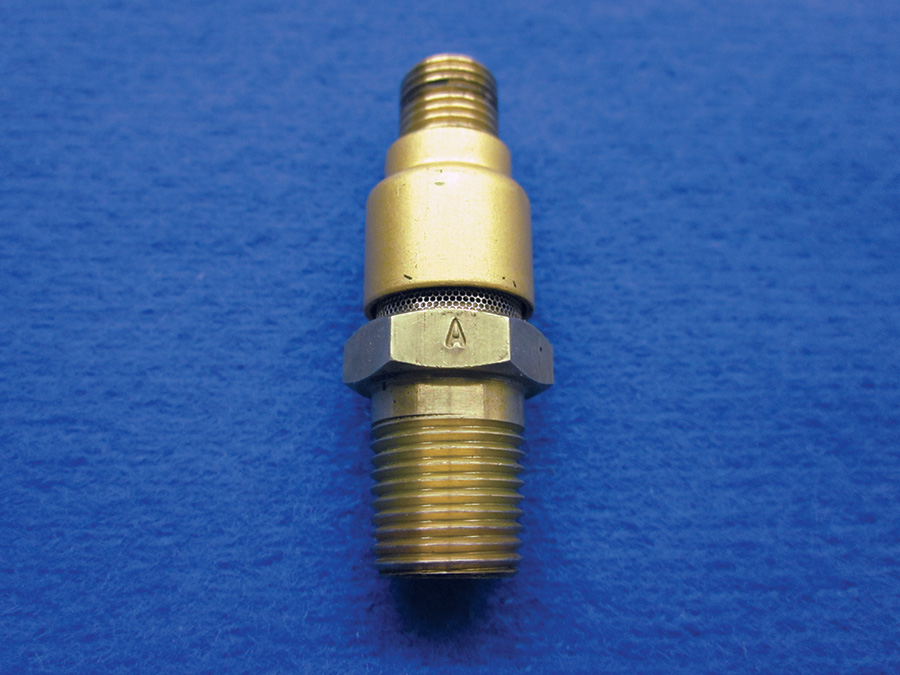
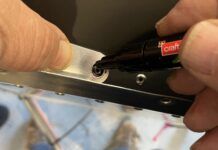
See the “A” on the injector body in the first photo (Fig. 1)? When the body is reinstalled in the cylinder head, the “A” is faced downward in order to position the hidden air bleed hole upward. I like to mark my injector bodies with a dot system to indicate cylinder number; one dot for cylinder #1, two dots for cylinder #2, etc. All it takes is a snap center punch, which won’t harm the injector. The dots go on the hex face opposite the “A,” which means they face upward when installed, a visual clue to proper installation.
The official guide to checking and cleaning nozzles is Lycoming S.I. #1275B. Have fun!

![]()
Dan Horton says he is “just a homebuilder”. He has been a pilot more than 30 years and currently flies a custom RV-8.

