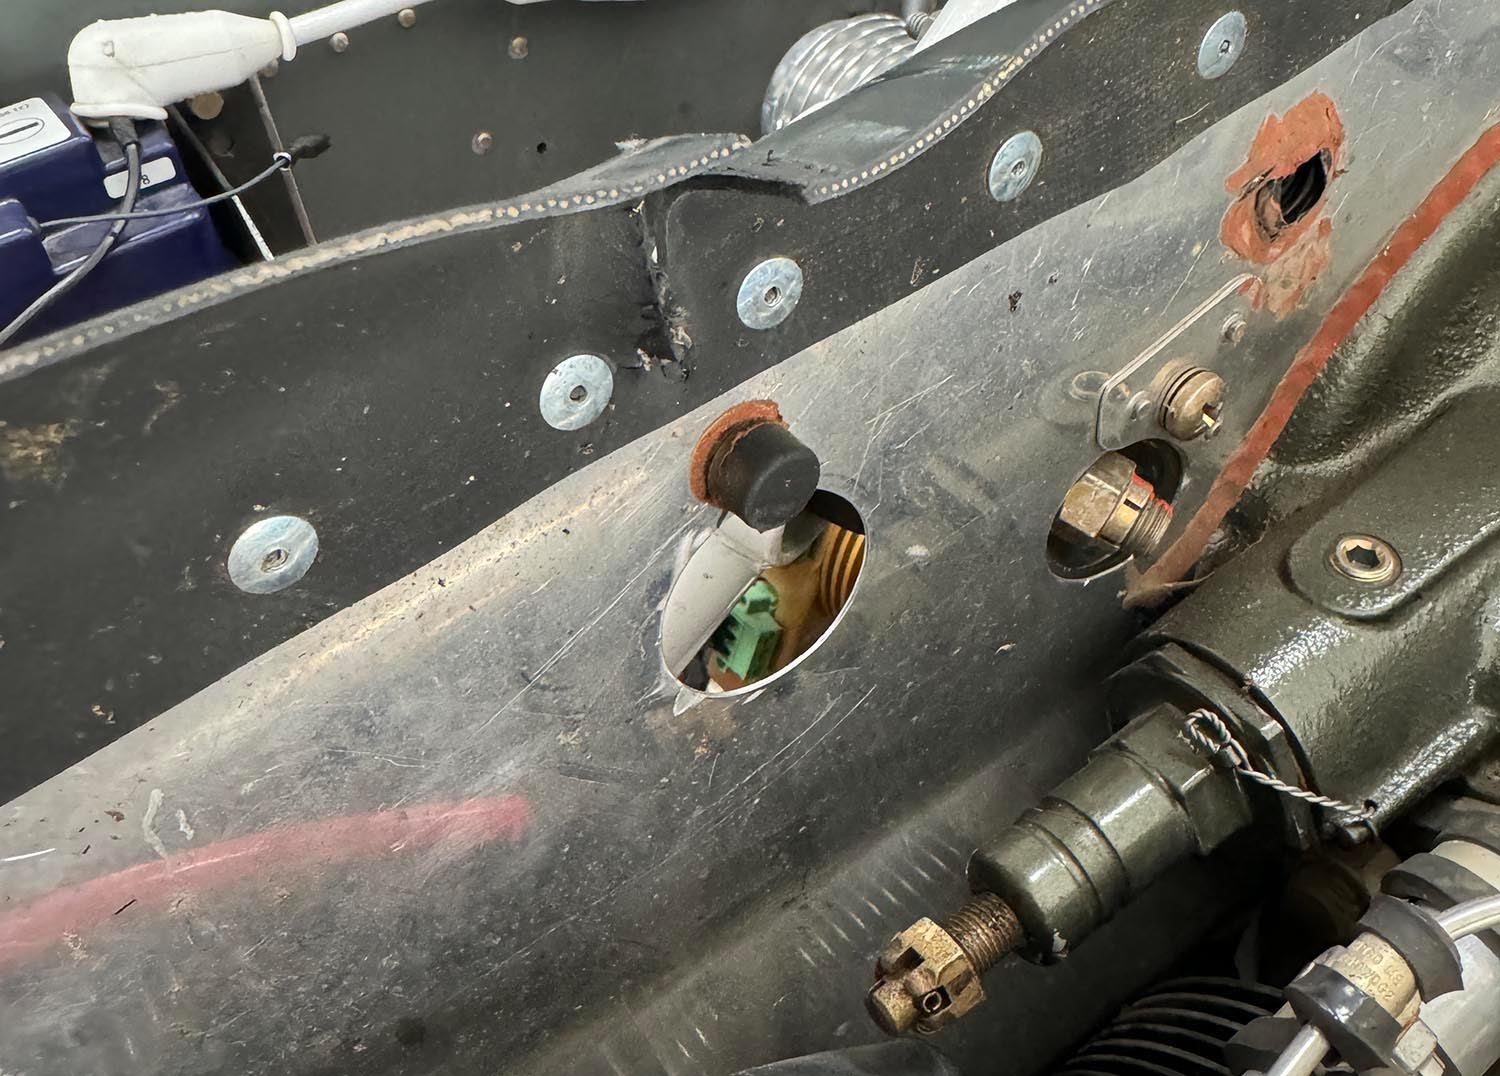
Got an extra hole in your baffles? In this case, we were removing an unused purge valve return line that had penetrated the baffles through a grommet, and the grommet had used up its useful life, so we had an air leak. The hose was no longer needed, so we needed to plug the huge air leak that a 1-3/8” hole in the back of the engine baffles represents.
Simple job: Start by finding a scrap of aluminum the same thickness as the baffle material. Cut out a circle of aluminum the size of the hole, then two more circles a bit larger (our hole was 1-3/8”, so our large circles were 1-5/8”). We simply traced them with our circle template, rough cut them on the bandsaw, then finished on the Scotchbrite wheel. Stack them up with a Cleco clamp and drill a 1/4” hole in the center, then install with an AN4-3A bolt, washer, and lock nut. Yes, we used a nylon locknut here, whereas common doctrine says use an all-metal nut forward of the firewall… we’ll replace this one when we find our drawer of all-metal locknuts (things sometimes walk away in a big shop).

Note that this isn’t a firewall—it’s just a baffle, so stainless is not required. If you were doing this on a firewall, you might want to double the thickness of the two ‘outside’ pieces (the middle layer still needs to be the thickness of the firewall), just to add some stiffness and a wipe of firewall sealant to prevent carbon monoxide in the cockpit.


Nice solution, however you need quite some parts with added weight and effort to make/find/buy. Why not use the aluminium 2″ wide tape? Just clean the plate with anything to degrease and cut some of the tape and apply it on both sides of the plate. Works perfect and can handle the temps.
Way overcomplicated. I just use a gromet, put tape on one side and fill the much smaller hole with RTV silicone.
Remove the tape when cured and done. Then it’s easy to remove down the road if the hole is needed for something else. If the hole is a lot bigger, I’d just rivet an aluminum plate over it.
Comments are closed.