If you have fiberglass wheelpants and you fly your airplane a lot, it will happen to you. A soft field where the tire picked up a clod of mud, or a hard landing on pavement where the tire deflects more than usual—either way, something catches the edge of the pant opening, and crack! You’ve got a chunk out of the pant. Most people use wheelpants for streamlining and want to get the maximum benefit of drag reduction, leaving the space between the tire and pant as small as possible. This works great until the first time the tire catches the pant, then either they have a flat tire (sliding down the runway on the bottom of the pant), or the pant gives way. Either way, you might as well get out the fiberglass kit that you carefully packed away when the airplane was finished. The pant won’t heal itself, and the truth is, this kind of repair isn’t really that hard. Believe me, in close to 2000 hours of flying my RV-8, I have probably repaired each wheelpant two or three times. Here is a typical repair to let you know that if you just get after it, the job isn’t all that bad.
Before we get started though, let me give you the first secret to easy wheelpant repair—it starts when you design your paint scheme. Wheelpants often figure into that scheme, and for aesthetic purposes, owners duplicate the stripes and design on the pants. While I certainly understand the aesthetics of this decision, you might want to think ahead a little bit. As I said in the opening paragraph, if you fly your plane enough, you will eventually be repairing a pant. If you have colors on the bottom half of the pant that need to be shot out of a paint shop’s gun, you are going to be in for an expense and some downtime that you hadn’t planned on. I learned the hard way—you don’t have to. Try to design your wheelpants so that the color of the bottom half can be shot out of a spray can. The paint shop I have used has a base white color that can be matched almost perfectly with Krylon Gloss White you can buy at Home Depot.
What! Paint my plane with a spray can? Surely you jest, good sir! Well now, I am not suggesting painting the whole plane that way—just the bottom half of the wheelpants. Use whatever color you want, but if you can apply it at home without special tools or setup, you’ll thank me for the thought in a few hundred hours when faced with fixing up some boo-boos. The three airplanes we have parked in our home hangar all can have their wheelpants fixed up with Krylon white, and that sure makes repair quick and easy.
Don’t Make It Worse
The first thing you should do after damaging a pant is to make sure that no further damage will be done getting the airplane home. This usually means removing the pant for a flight, or taking it off just to roll the airplane back to the hangar if you are already at home base. If chunks or pieces have come off the pant, try to collect the debris—first, so that you’re a good citizen, and second—you might need or want the pieces to reconstruct the pant in the shop. It is not always obvious where the cutout should be on a damaged pant, but holding up fractured pieces might give you a clue. By the way, each time a pant is repaired, I bet you open the hole up a little more.
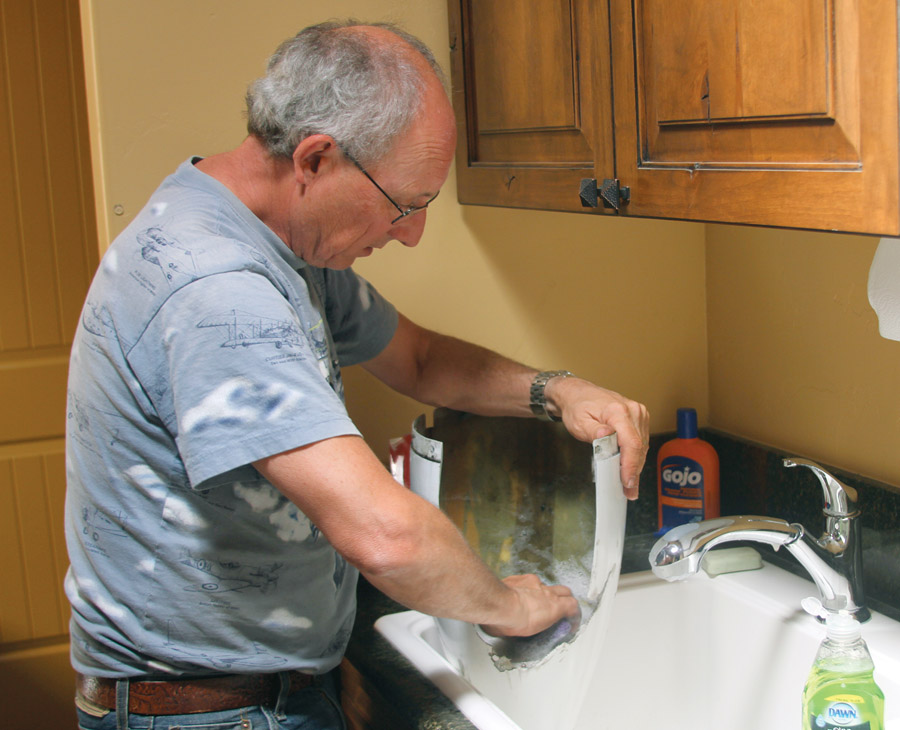
After getting things in the shop, clear some workbench space and get out the cleaning supplies. Wheelpants live in a dirty environment, and no good can come from trying to apply new glass and paint over dirt. I find that there is usually grease and tire residue involved in the schmutz on a pant, so I mix up a batch of water and Dawn detergent to get the grease off. You might need some white gas or acetone to help get everything spic and span—the time spent will be worth it in a clean repair. Thoroughly dry the parts, making sure that if you have gotten any water behind bulkheads or other semi-enclosed spaces that you get it all out.
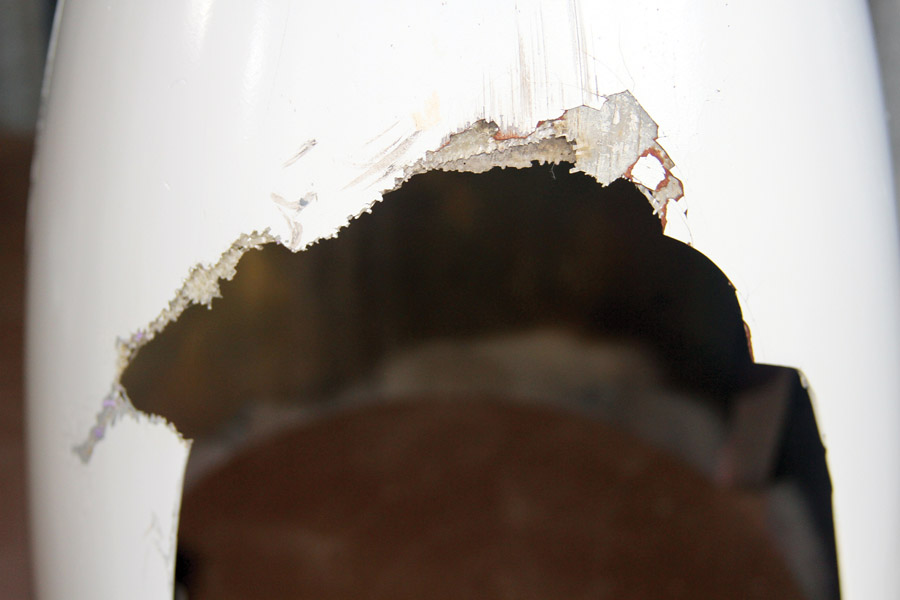
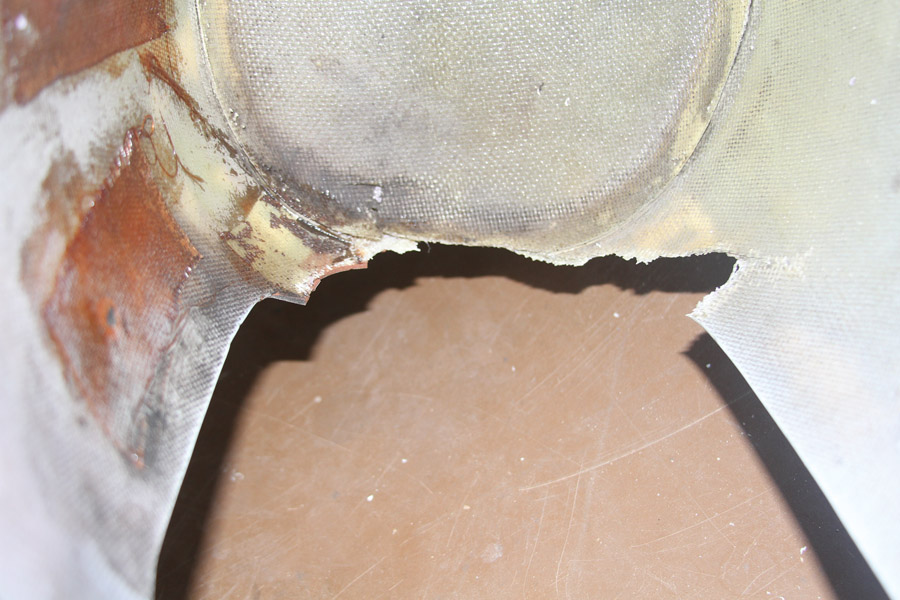
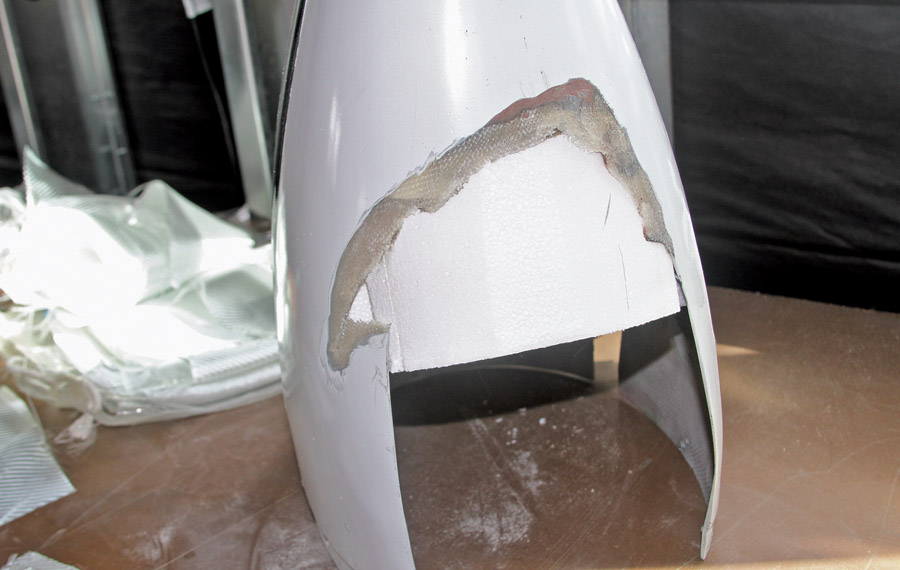
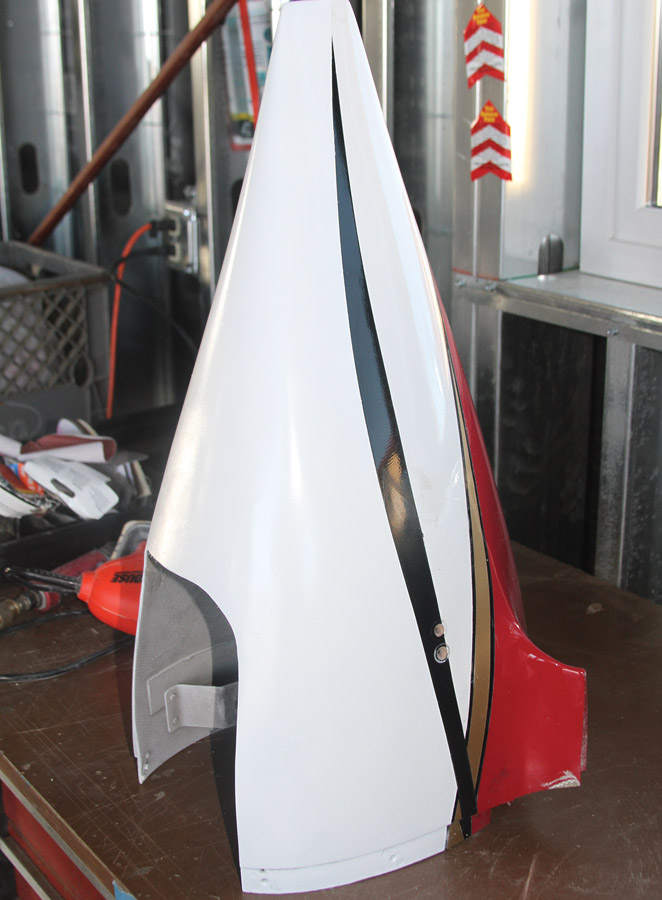
In the case of the wheelpant repair you see in these pictures, the tire somehow grabbed the rear of the tire opening and cracked out a good chunk of glass on the aft edge. It took out a chunk partway up the outside of the pant and actually broke part of the bulkhead free. After cleaning things up, the first thing we did was to mix up some epoxy and glue the bulkhead back in place. We used five-minute epoxy adhesive for this, and the bulkhead was quickly secure.
Making a Mold
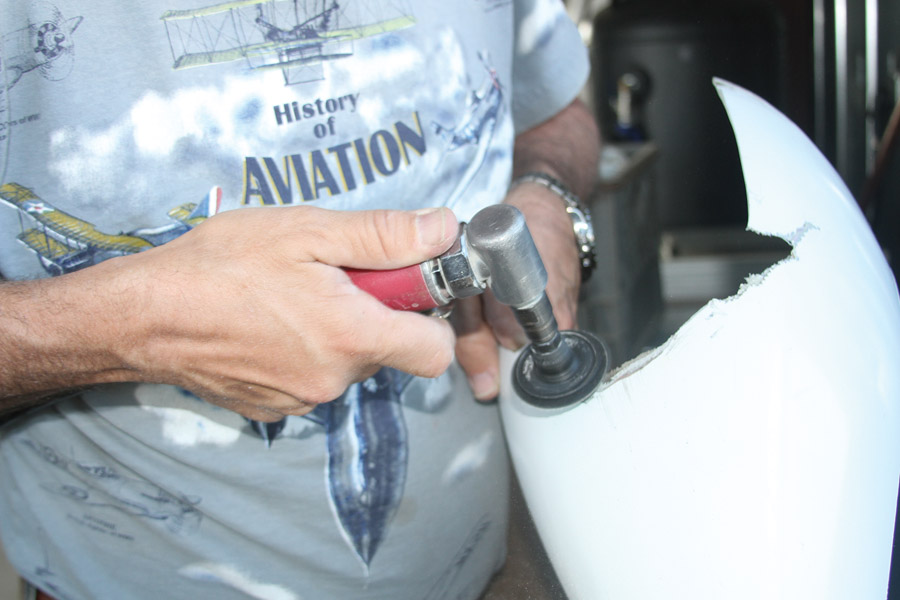
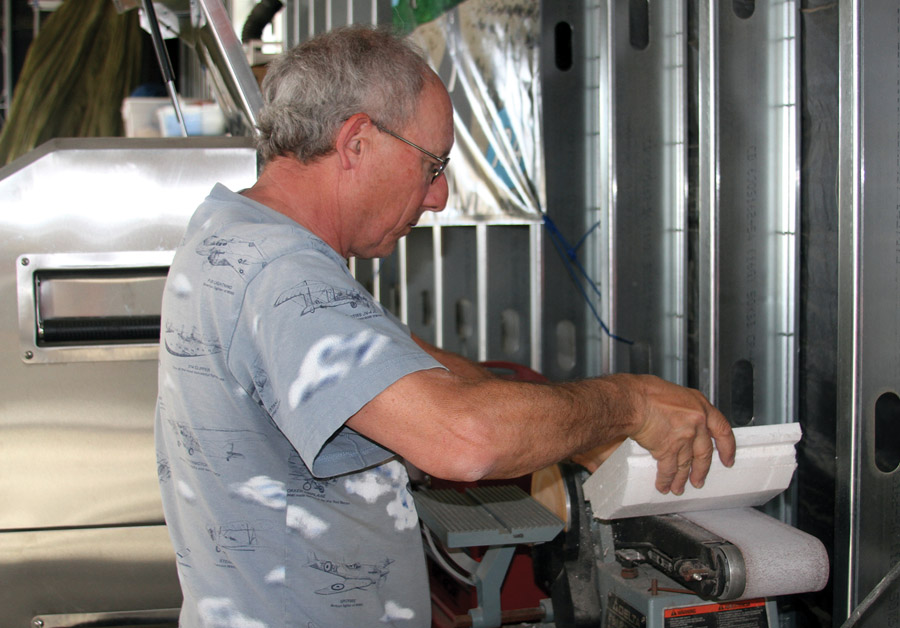
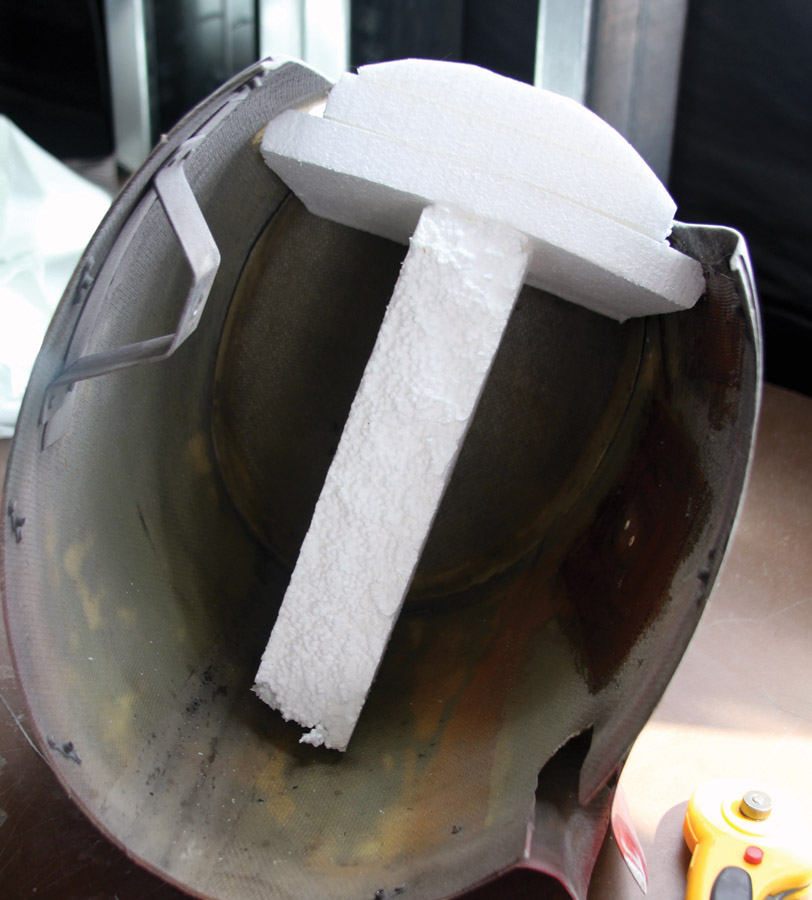
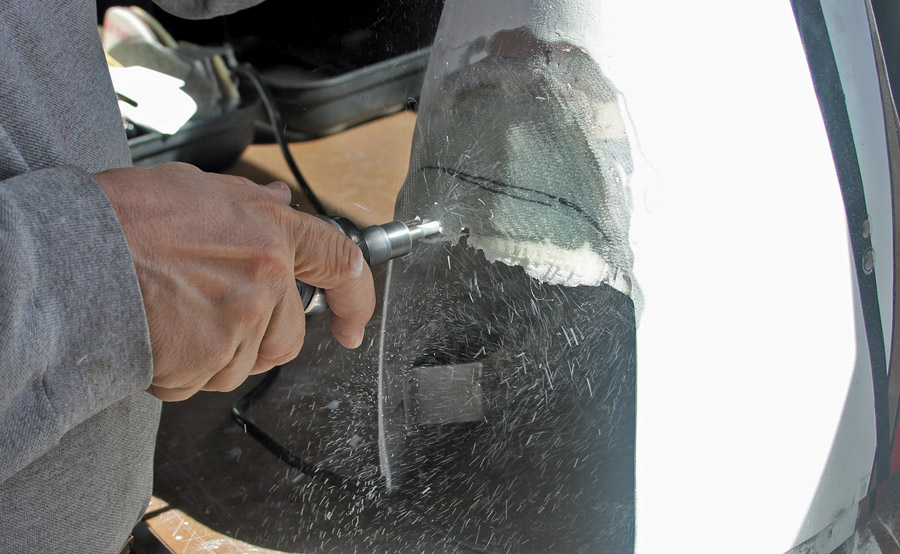
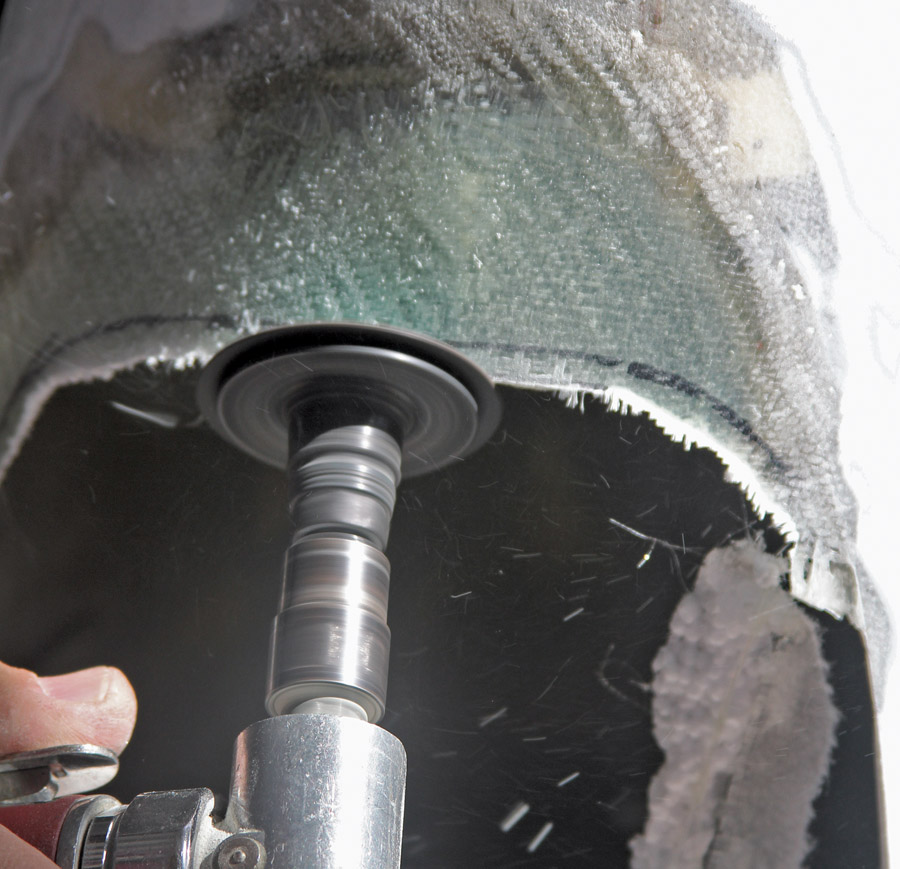
For this repair, I didn’t have a lot of material to replace, but it needed to be curved to fit the shape of the pant. To do this, I grabbed a chunk of foam from a stack of packing material and laminated it up using spray adhesive to make a nice chunk that I could fit inside the pant and carve out to make a male mold. My benchtop belt sander was handy for this, and I was able to shape the piece by eye in just a few minutes. It doesn’t need to be precise—just something to hold the glass in a reasonably close approximation of the wheelpant’s shape. When it was completed, I used another piece of foam to wedge it tightly in place. Before wedging it in, I used an angle grinder with a sanding disk attachment to scarf (taper), the outside edges of the hole and clean up loose material. Getting the debris out is important to give you a clean surface to which to bond, and the scarf joint reduces the amount of post-cure shaping that needs to be done.
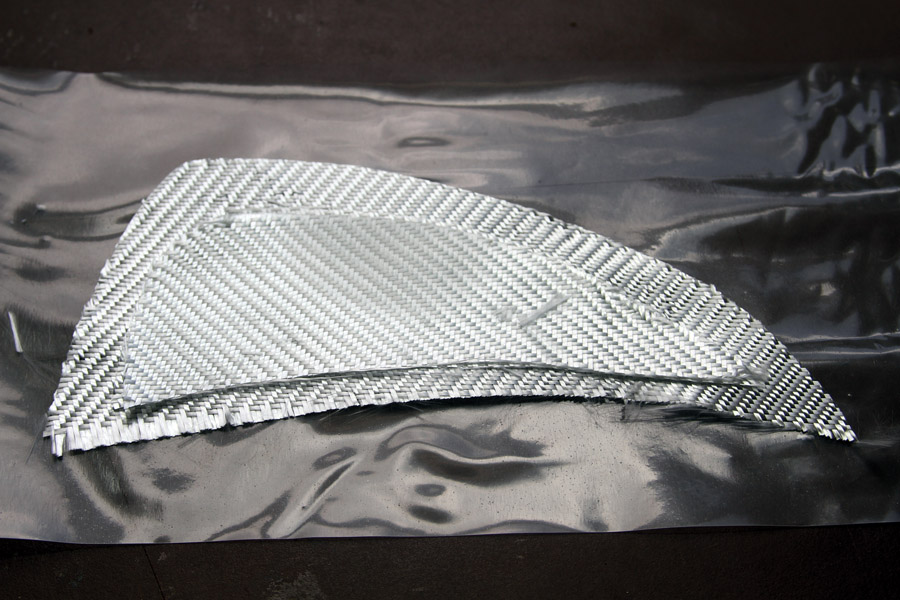
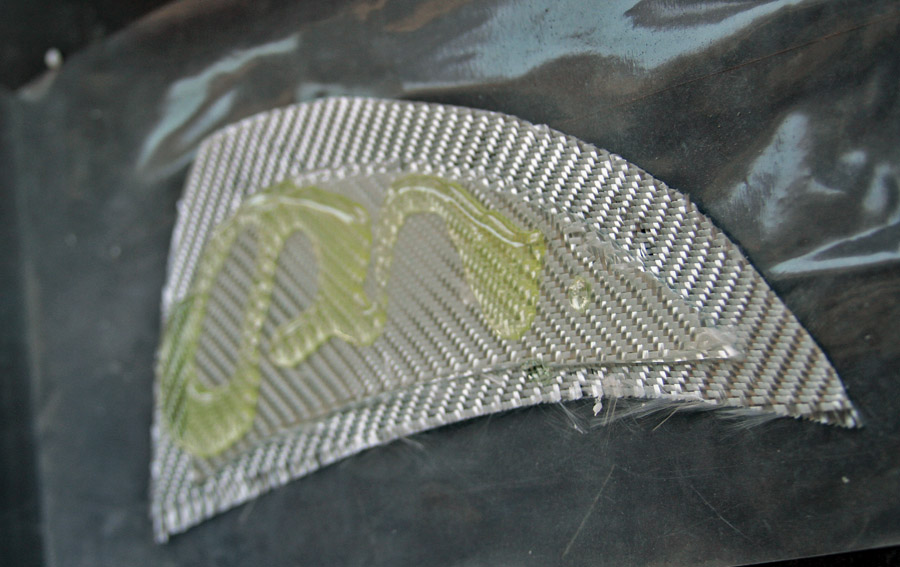
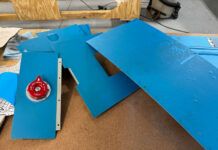
Three tapered layers of BID cloth cut to match the scarf joint. The largest will form the outer layer.
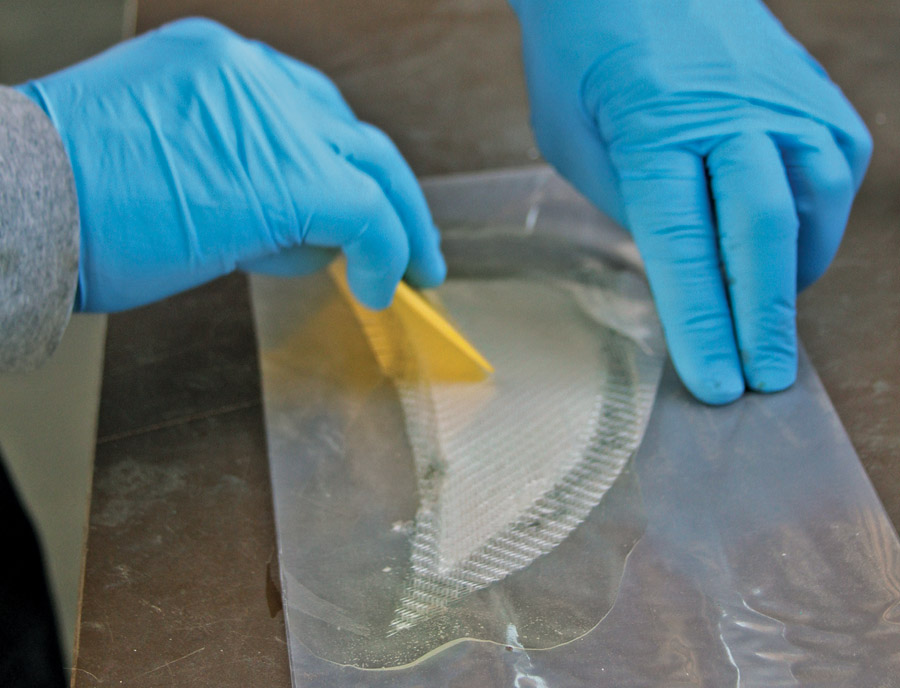
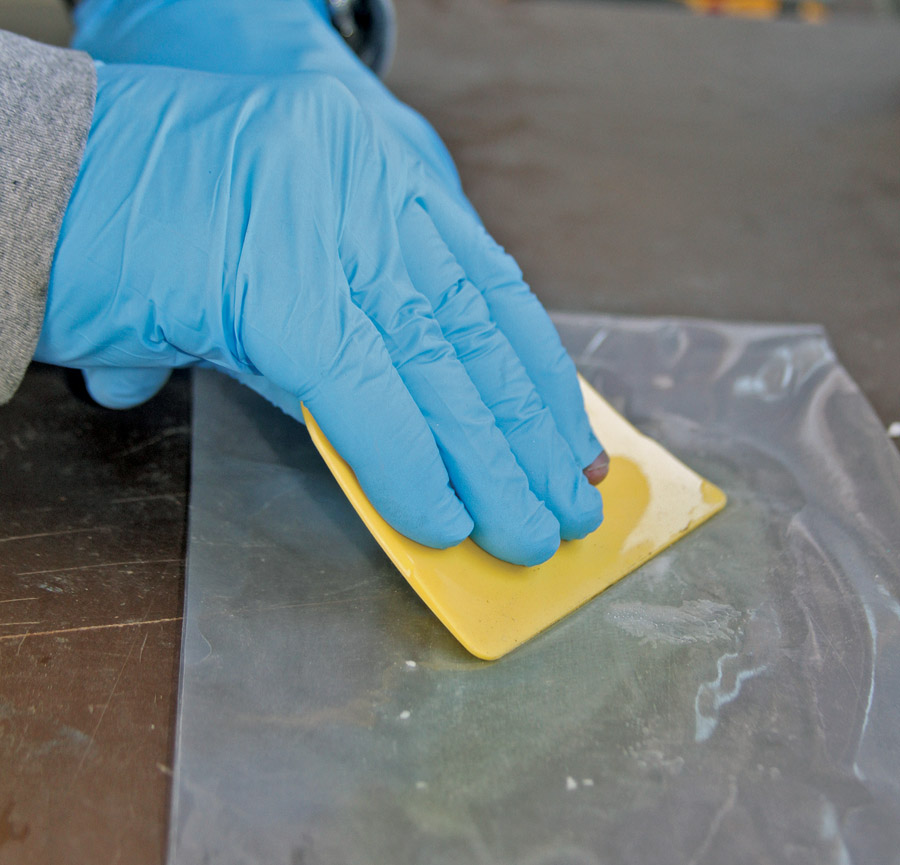
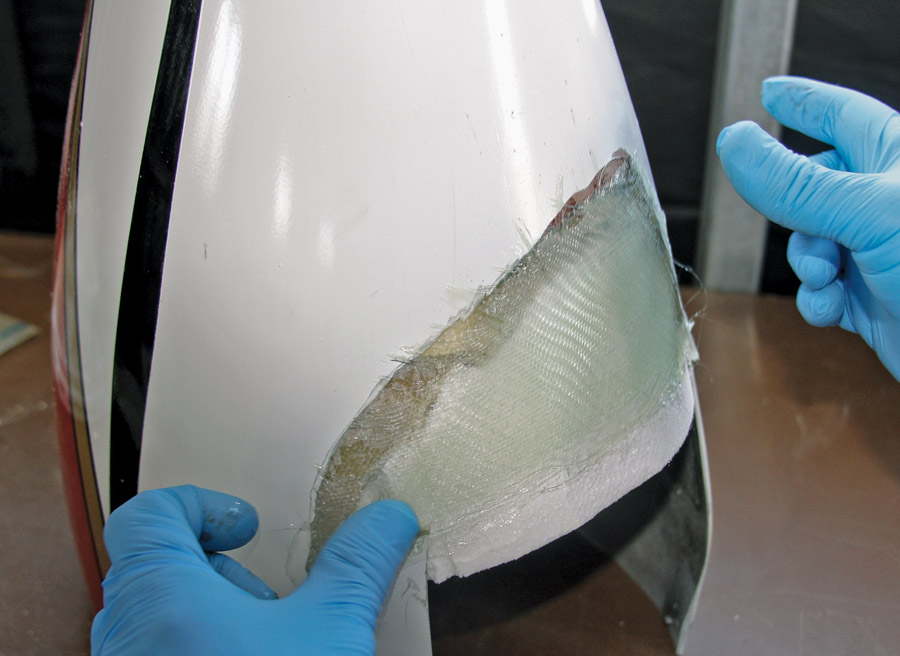
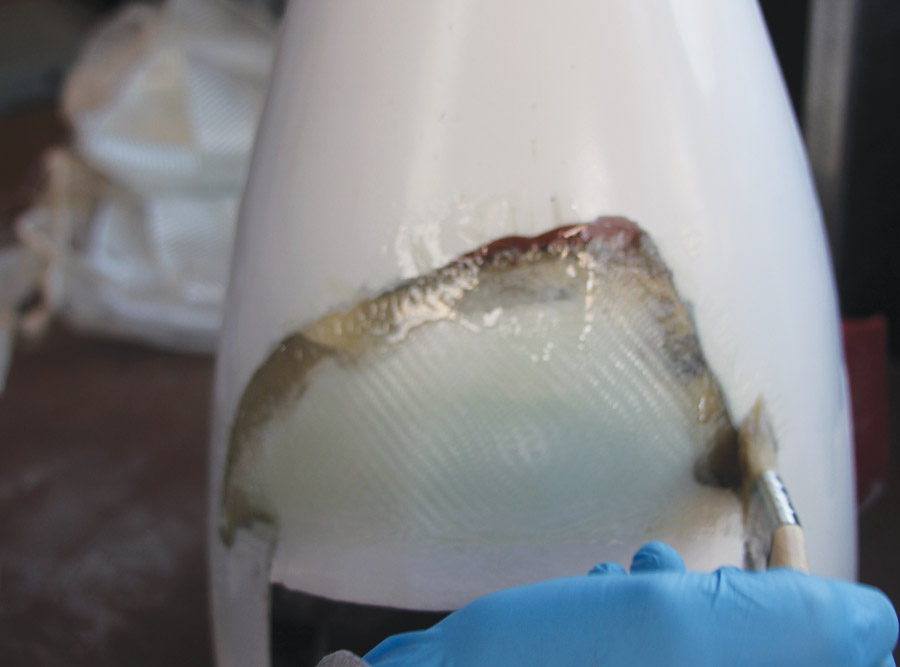
Laying up new glass is just like doing fiberglass in the first place. I used three layers of BID cloth, each layer tapered to match the scarf joint, with the outer layer being the largest. Place the stack on plastic sheeting, wet it out with activated resin, lay another piece of plastic on top, and use a scraper and roller to fully saturate the cloth before squeegeeing the excess out of the fabric. Peel off the plastic from one side, pull the impregnated layup off the other, and lay it into the repair site. The foam will give you the necessary shape, and you can use a throwaway brush to stipple it into place and work out air bubbles. If you cut the layers right, the taper will match the scarf joint and provide a good structural repair that matches the original lines.
When this layer is fully cured (give it plenty of time), remove the foam wedge and rip the mold piece out if it doesn’t simply fall away. Clean the inside of the new skin, cut another piece that will overlap the old edges of the hole, and use the same process to impregnate it and lay it into place on the inside of the pant. You have now captured the edges of the hole from both sides, making for a strong repair. Now walk away from the project until the next morning. Go…get out of the shop! Do something useful to allow the epoxy to fully cure!
Finishing Up
OK, back in the shop? The epoxy should be hard, so it’s time to pull out those little fragments and try to figure out where to cut the new opening. Use a Sharpie to draw the cuts, then a die grinder to rough it out, and a sanding disk on the angle grinder to get up to the line. I like to use a mouse sander for getting a smooth edge so that I don’t cut myself later, and also to blend in those little bits of glass that inevitably stick out along the edge of the repair. This is a good time to sand up into the old paint and primer to blend the edges and make sure you aren’t building a “bump.” The old paint and primer act like old beach lines on a receding reservoir, giving you a good idea of how your blend is going.
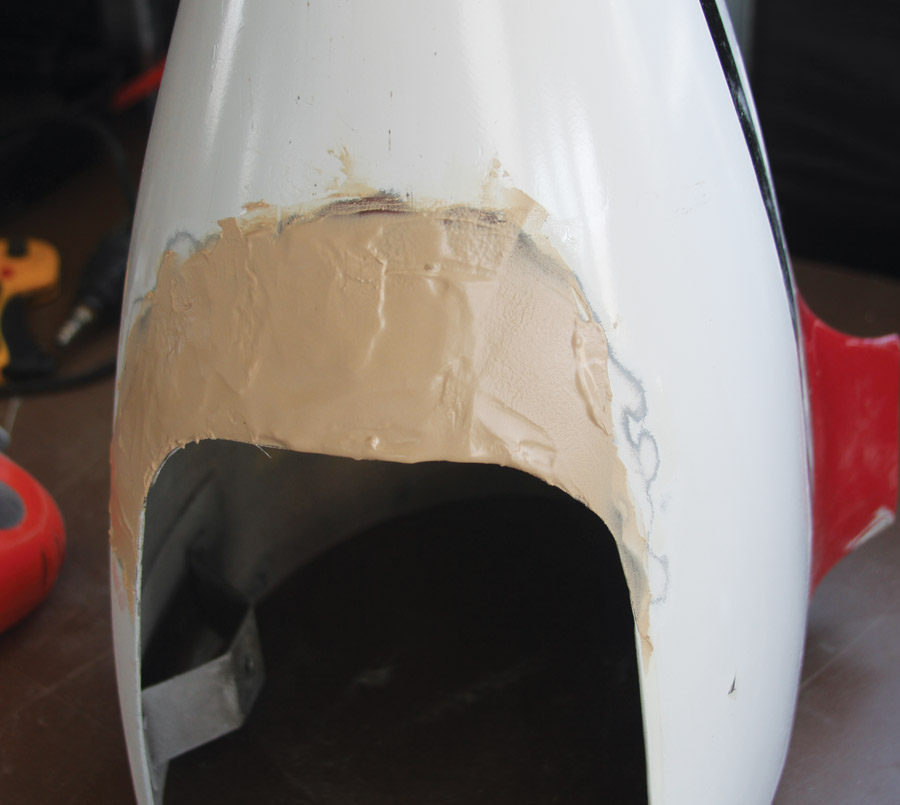
Once you have got the opening the right size (you might try it on the airplane and make sure you have good tire clearance), mix up a batch of really dry micro and fill the area of the repair to build up the repair outside of the mold line. This takes experience—most don’t use enough, and after sanding it out, they find that have a depression and have to do it again. Nothing exceeds like excess—use more, sand once, and you’re done.
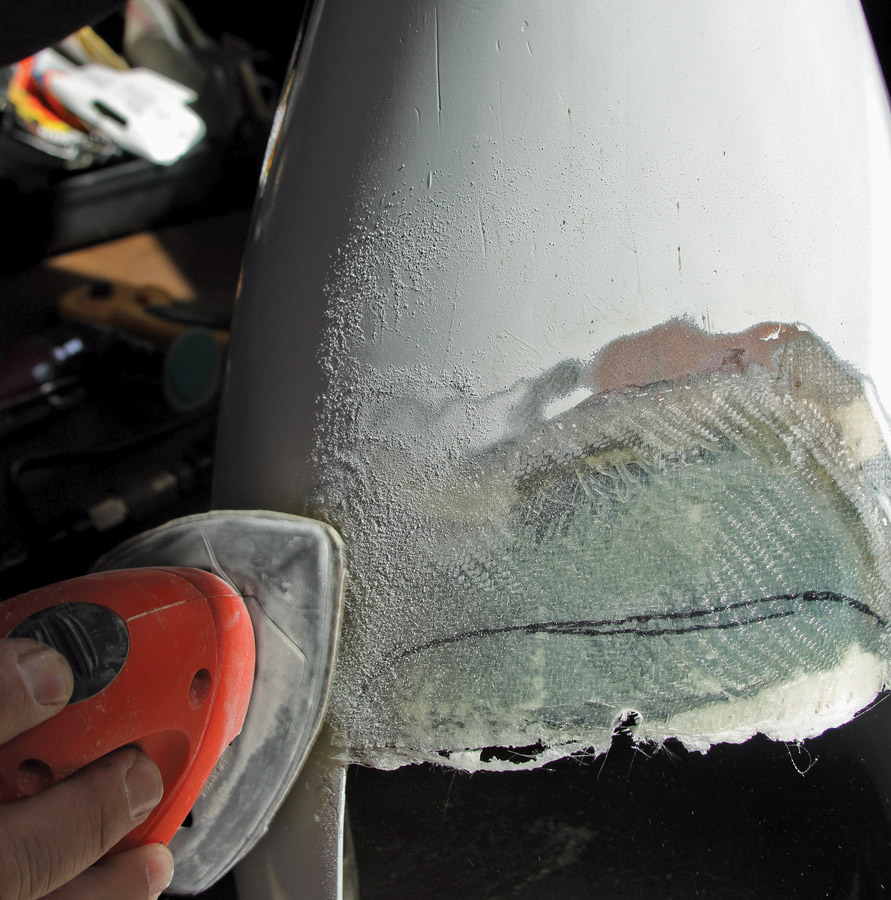
Using a mouse sander to smooth the edges and blend the glass along the interface between the old and new surfaces.
Again, after you’ve let it cure overnight, pull out a mouse sander and cut the shape down to where you want it. I use a pretty heavy grit paper (80 or 100) for shaping, then finish up to about 400 grit. Prime, final sand, paint—and you’re done! If you have planned the colors right, you can do the priming and painting with rattle cans from Home Depot, and you’ll be ready to reinstall the pant in a couple of hours. Remember that (a) most likely, the repair is on the bottom of the pant where no one will see it, and (b) if you fly a lot, you’re going to be repairing it again! This doesn’t have to be perfect; it is a little like building scenery for a play or on a movie set. It has to be safe, and it has to appear good from a reasonable distance. Oh, if you’re still going for that Gold Lindy, back way up and go buy a new pant to start over.
Good cleaning to provide a strong bond and cutting far enough into the old material are the keys to making a safe, structurally sound repair that won’t fail on its own. That’s the engineering part of this repair. The rest is all art—making it look as good as is reasonable to expect for a part that is going to take a beating from the dirt, rocks, and grass you’ll encounter in the real world.
Rebuilding damaged wheelpants is far easier (in most cases) than starting over with new shells and can be done in a surprisingly short period of time. Remember, take an objective look at the damaged area and ask yourself, “Can anyone else really see this?” If the answer is no, then making it perfect is probably counterproductive. After all, you could be flying, and it is likely you’ll have to do it again someday anyway.

Mask and shoot the repaired area with a rattle can (if you planned your paint scheme in anticipation of wheelpant repairs).

