A first flight reveals truths that only air moving over an aircraft’s surfaces can reveal. Will the engine cool properly? Will the cockpit fill with carbon monoxide? Will the flying wires sing? (Will you sing?) Will it fly in trim? I can answer the last question for you—almost without exception, it won’t. That’s not to say it will fly poorly, but it’s unlikely to fly straight and level of its own accord. There are simply too many variables.
Yet, when speaking with builders after their first flight, the expectation is often there. As with every aspect of aircraft building, those who bring up the topic fall across a broad spectrum of expectation. There are those who acknowledge tabs are par for the course; those who, for cosmetic reasons, cringe at the idea of adding trim tabs; those who take the need for trim tabs as an affront to their building prowess; and those who brag they built so well they don’t need trim tabs at all. Those last builders concern me the most.
What Do Trim Tabs Do?
Aerodynamic forces change with airspeed, aircraft configuration (flaps up/down, gear up/down) and throttle setting. Trim tabs aerodynamically nudge control surfaces into a position that relieves a pilot from having to hold pressure on the stick/yoke and rudder pedals to maintain a stabilized flight attitude. Trim tabs aren’t meant to counter unusual or rapidly changing forces, like those experienced in a go-around. (Remember how hard you had to step on the rudder pedal and push on the yoke when you did a full-flaps go-around in a Cessna 172?) In those conditions, a pilot must muscle through the changing forces.
Pitch forces are impacted by an aircraft’s loaded center of gravity and the wing’s center of pressure, which migrates some with airspeed and flap configuration. They are the reasons you’ll find pilot-adjustable pitch trim on nearly every airplane, including the venerable Piper Cub. Pitch trim lets a pilot compensate for these changes to relieve stick/yoke pressures during stabilized flight conditions.
Roll forces are impacted little by an aircraft’s CG and reduce with decreasing airspeed; therefore the typical GA/Experimental aircraft does not have pilot-adjustable aileron trim. (Yes, more advanced aircraft do and, sure, builders add electric roll trim to aircraft that don’t really need it, but if we use the familiar Skyhawk and Piper Cub as our standards, adjustable aileron trim is seldom necessary.) For most homebuilts, a fixed tab to alleviate roll forces in cruise will do.
Yaw forces change with airspeed and throttle setting. Prior to my first takeoff in an Aeronca Chief—sorry, Super Chief—my flight instructor shared harrowing stories of P-51 pilots who cobbed the throttle without proper rudder trim and pirouetted off the runway. (Setting 5° right rudder trim is Step 1 in the P-51’s factory-developed Before Takeoff checklist.) Wild stallions are one thing, Kitfoxes and Timber Tigers are another. They have little need for adjustable rudder trim to counter yaw forces, which can change too rapidly to be counteracted by anything but a pilot’s heavy boot. On a cross-country, however, it’s tiring to hold a rudder pedal to hold a course. Fitting a rudder trim tab alleviates that annoyance.
Airframe Design and Builder Variables Impact Trim
If you’ve read my column for more than a few minutes you’ve crossed paths with my mantra: No two homebuilts are alike. That’s why precise trim-tab size and placement details aren’t provided by many kit companies. There are too many variables—design variables and builder execution variables—for that. For instance, a Sonex-B can be fitted with engine choices ranging from 80 to 135 hp and engines that rotate clockwise or counterclockwise. Therefore, the airframe is designed without compensation for an engine’s impact on yaw. Neither the vertical stabilizer nor the engine mount is offset from the airframe’s centerline. Someone who installs a 130-hp ULPower will most likely need a rudder trim tab on the left side of their rudder and someone who installs an 80-hp AeroVee will need one—slightly smaller—on the right side of their rudder.
Seating configuration is another design variable. A single-place or tandem aircraft’s roll tendency will not be impacted by pilot or passenger, while a side-by-side aircraft can be. Builder variables include incorrect wing rigging, control surface rigging, engine thrust alignment, tail alignment, engine choice and any combination of wing, control-surface or fuselage twist.
Trim Tabs Are Not Bandages
A secondhand Sonex owner asked me if it was normal to need 2 inches of stick deflection to fly wings level. (My professional response was “Oy!”) Centering the stick caused his Sonex to roll rapidly left. Worse, the aircraft had flown over 100 hours in that condition. Clearly, it had a serious construction flaw that needed to be corrected. (Incorrect wing incidence on one side was found to be the cause.) Trim tabs fine-tune an aircraft’s trim, but must never be used to compensate for building errors. If excess control inputs are needed to hold an aircraft straight and level at normal cruise speed the proper action is to determine why. By extension, if you take ownership of a flying aircraft and the trim tabs seem particularly outsized, assume something is seriously amiss. For ideas on where to look, go back one paragraph.
Fitting Trim
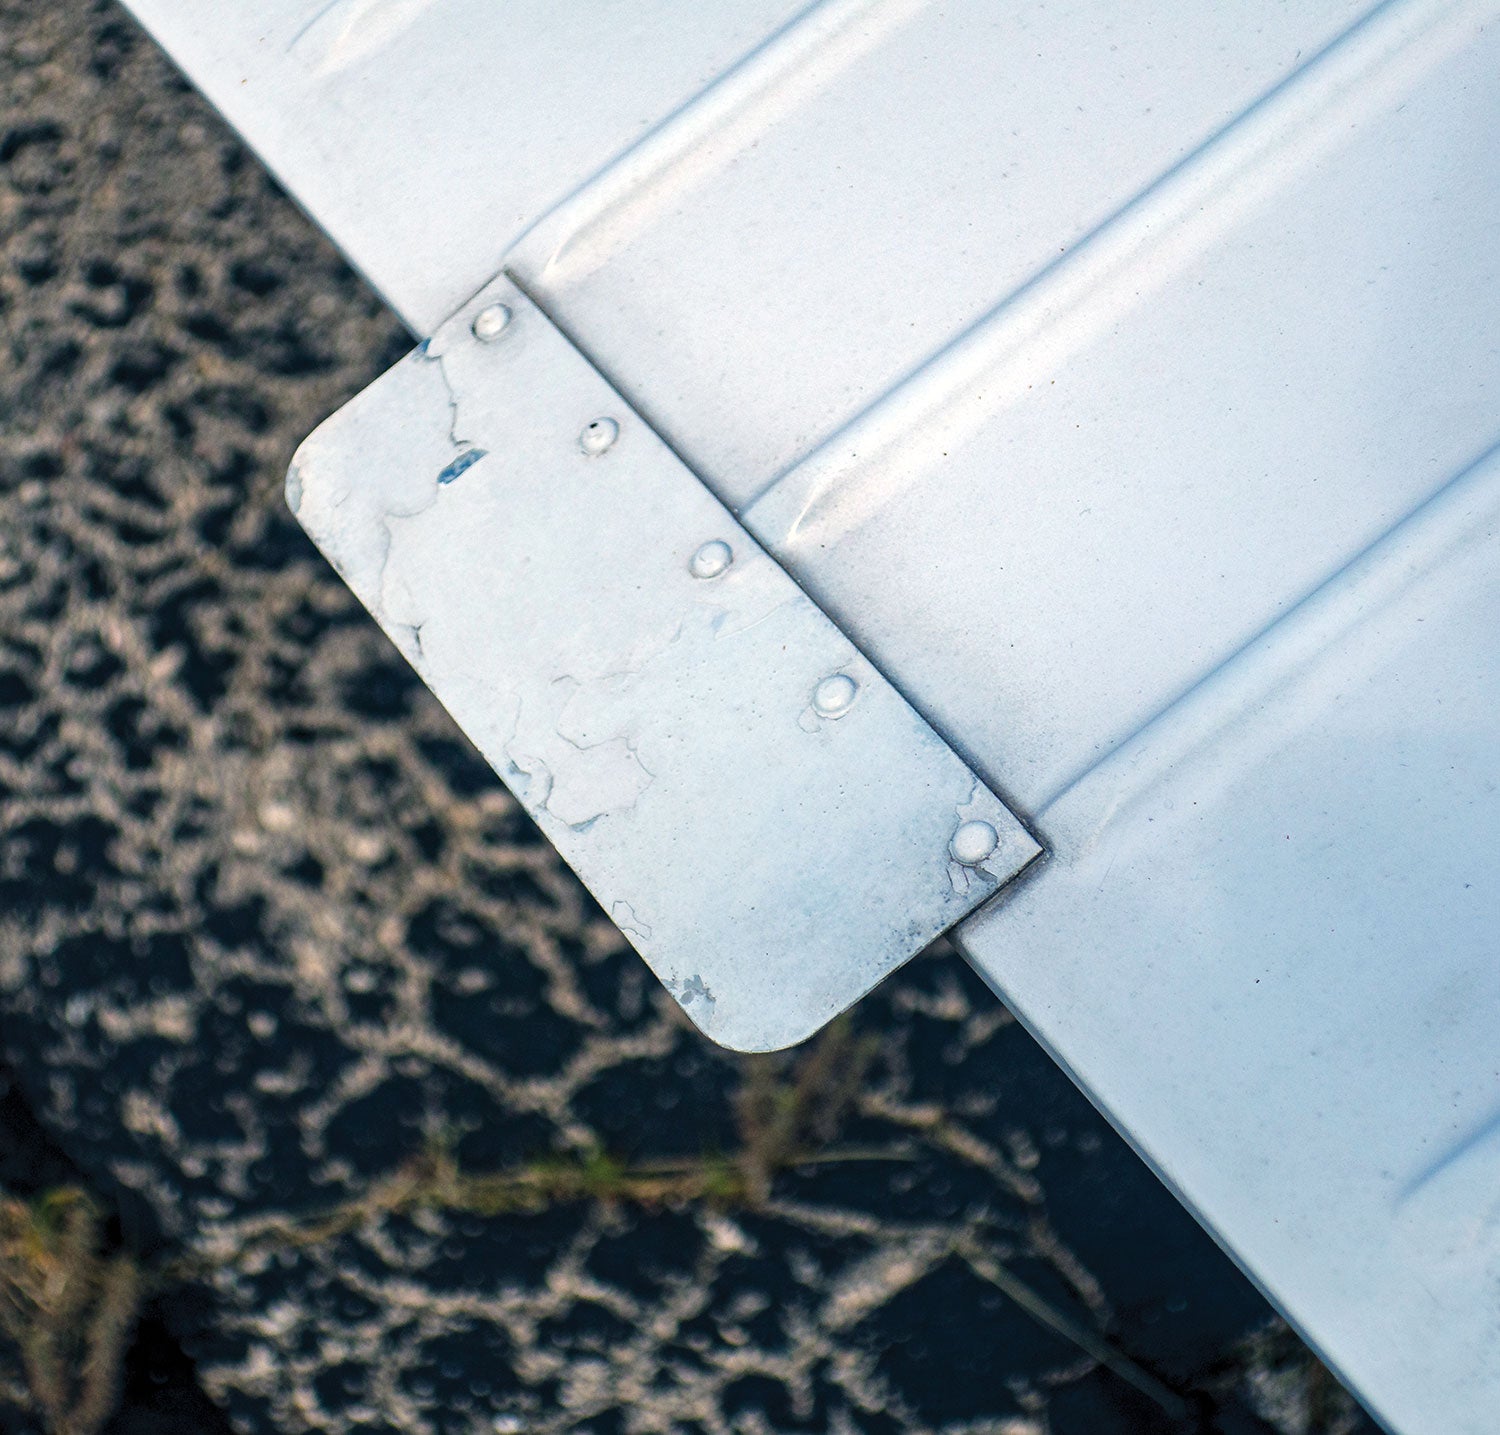
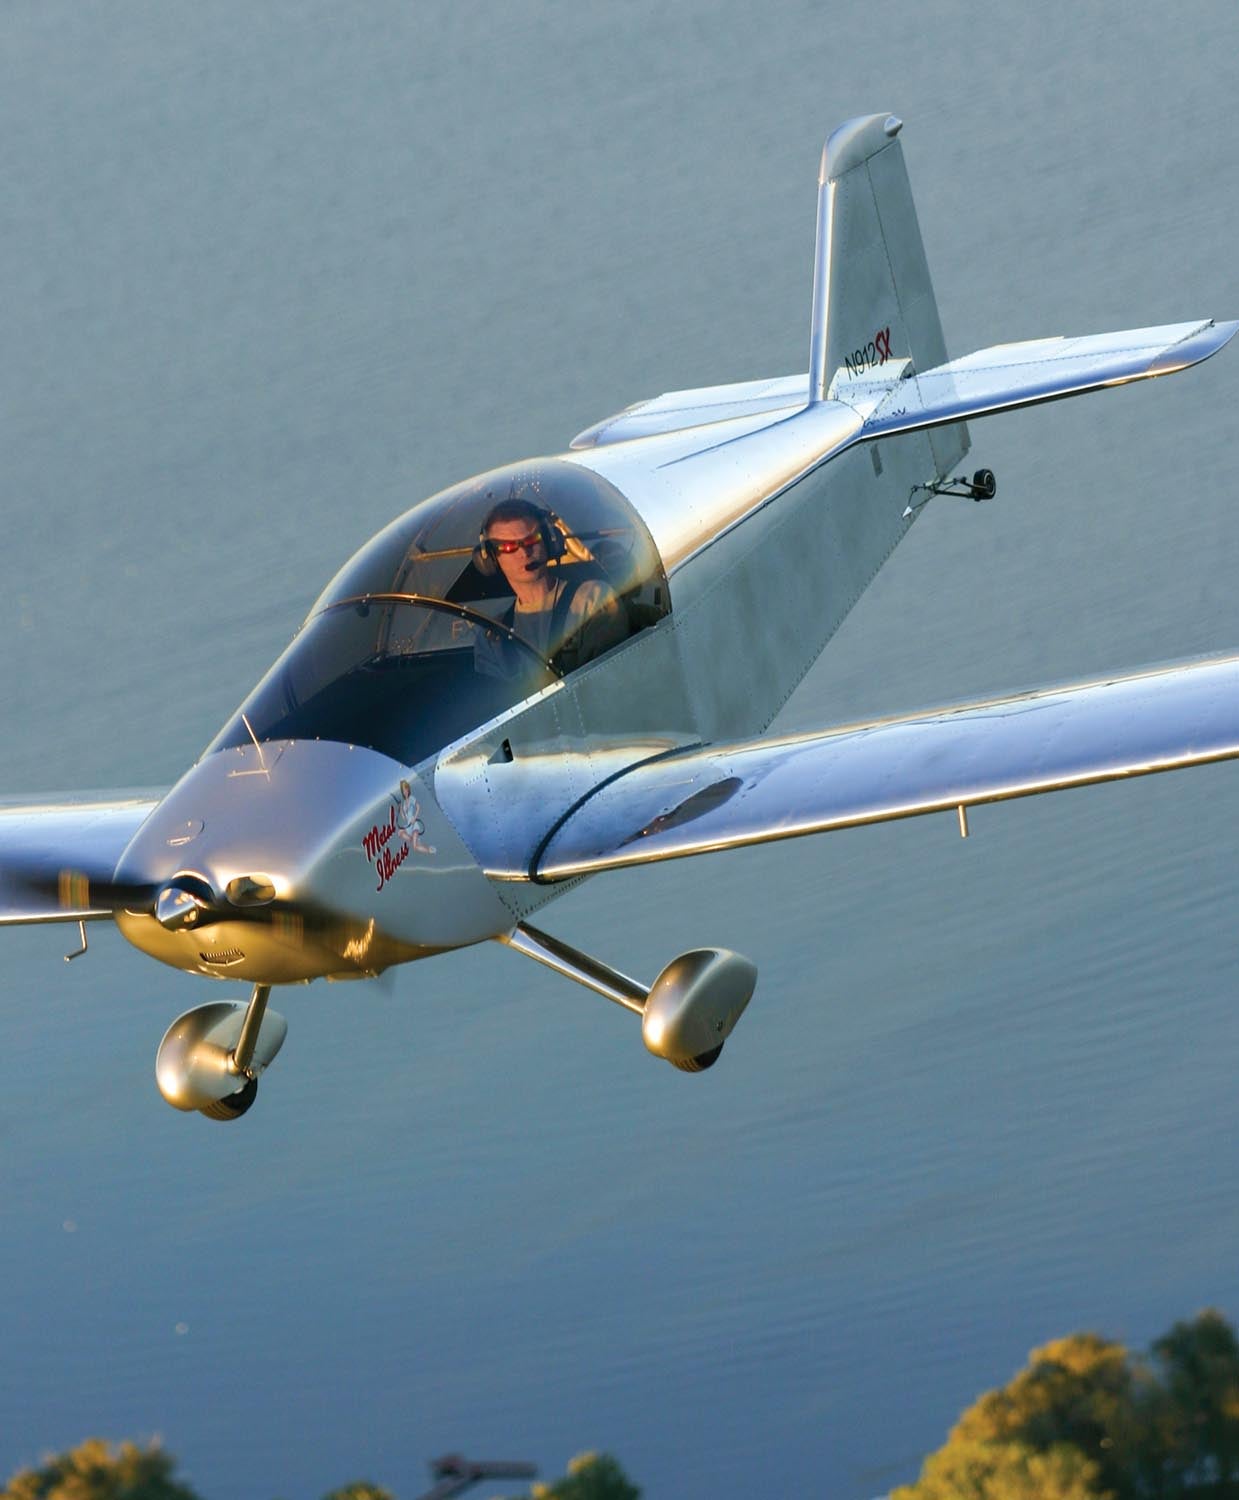
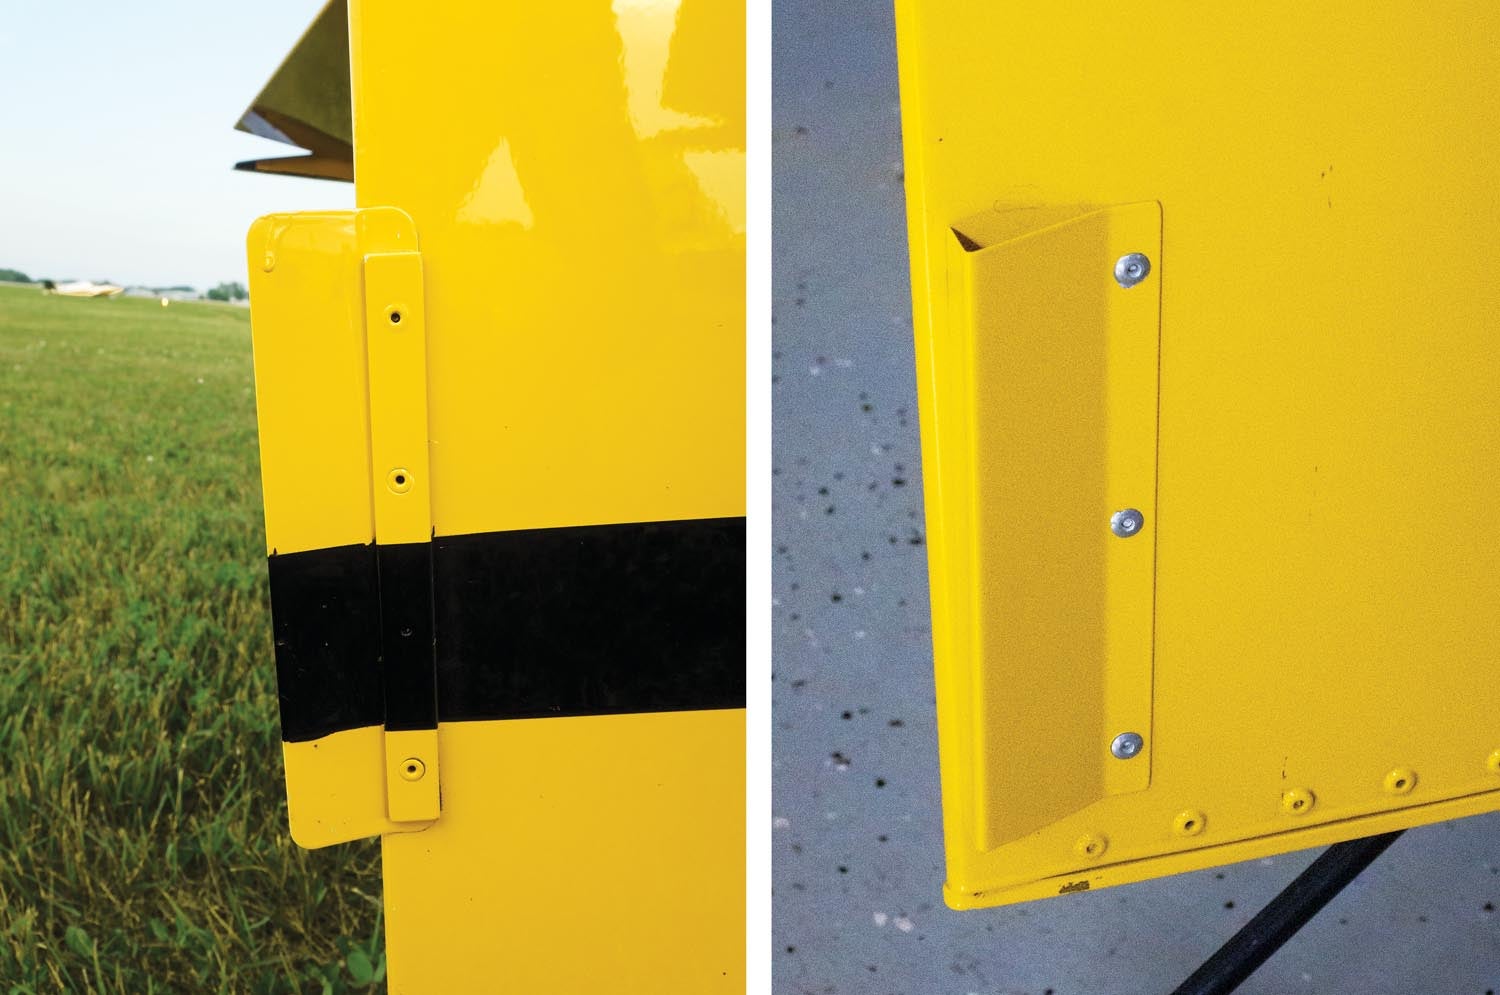
Trim tabs come in many flavors. The metal-bashing crowd often defaults to a hand-bent piece of aluminum. Yes, it’s easy, but I find them crude. I put too much effort into Metal Illness to encumber it with ugly trim tabs so I formed mine on a brake and installed them flush with the trailing edge of the control surfaces—elegant and mostly invisible. Cast about in the communities for your particular building material (fiberglass, tube and fabric, wood and fabric, metal) to see how builders have executed their trim tabs. You’ll find a wide variety. Go with the ones that are lightweight and unobtrusive, even if they are a bit more work. Make yours look like it was planned and not a grudgingly applied bandage.
To trim Metal Illness, I began with yaw trim. Using 200-mph tape, I affixed a rudder trim tab I estimated to be oversized. My goal was to trim yaw to allow my feet to leave the rudder pedals (mostly) unattended during cross-countries. Flight after flight, I whittled away the trim tab until the nose remained pointed on a heading with the wings held level. After the tab’s size was established I riveted it to the rudder.
I established roll trim in much the same way. I wanted Metal Illness trimmed for solo cross-countries so I carried some weight in the passenger seat to simulate luggage, which also helped compensate for two-up flight. I whittled material off the oversized aileron trim tab until the wings remained level at cruise speed without noticeable effort. Neutrally stable aircraft, like many in the Van’s and Sonex families of designs, will never fly hands-off for long, but they shouldn’t need to be aggressively reigned in at all times, either.
Trim tabs are par for the course on light aircraft. If you see a homebuilt without rudder or aileron tabs, you may be looking at an airplane whose owner is flying it out of trim or that was built crooked and, by coincidence, was built just crooked enough to introduce the aerodynamic forces needed to make it fly straight. Luck or irony, that. Don’t think of trim tabs as a failure. Think of them as one of the last steps in completing your aircraft and a ticket to more effortless flight.


Boxing Day")


I’m surprised you didn’t mention the rubber “rudder wedges” that are commonly used on RVs. They adhere with a powerful adhesive, and if painted to match are unobtrusive to the eye. A few test flights let the builder reduce the length of the rudder wedge to achieve exactly the correction needed. They’re almost an elegant solution: inexpensive, easy to adjust, easy to attach, and unobtrusive.
Hi Terry,
Thank you for reading and commenting. With a 1300-word budget I can’t cover every option so thank you for bringing the wedges to Kitplane reader’s attention. I saw them on numerous homebuilt da at AirVenture and they are an elegant method to trim an aircraft. They are “the better mousetrap” of the formed aluminum version illustrated in my column.
Kerry
The “Gurney Flap” (invented by Dan Gurney while road racing back in the 1960’s) is a very efficient & effective way to add trim to control surfaces without undue visual distress. There doesn’t seem to be (yet) much knowledge about this option within the EAB community – too bad because they are very effective and don’t take up nearly as much space. If used on an aileron, they can be hidden under the trailing edge making a smoother “line” for viewing.
Gurney Flap – Look it up.
Comments are closed.