The metal structures in most modern kit aircraft are often designed by computer, cut out by computer, and punched by computer. All of this computer design and manufacturing provides parts that fit perfectly. All the builder need do is Cleco them together and prepare to set rivets. While some experienced builders might call this cheating, the truth is that they really wished they themselves had parts that always fit. That’s because kits of a more “seasoned” vintage frequently have parts that were designed and drafted by hand, cut out by hand, and put in the box by hand. It’s up to the builder to make them fit.
One very common problem is having a rib that is slightly too long or too short. In order to make it fit in its proper location without bending surrounding parts, the end flange needs to be moved. It is generally bad practice to try and straighten out a flange and bend it in a different place, as it will weaken the part. What is required is a flange splice—cutting the old flange away and fabricating a new one after determining the correct length of the rib.
This process is actually very simple, requiring only a piece of aluminum (of the same composition and thickness of the original) and a few rivets. A few pictures make the process obvious:
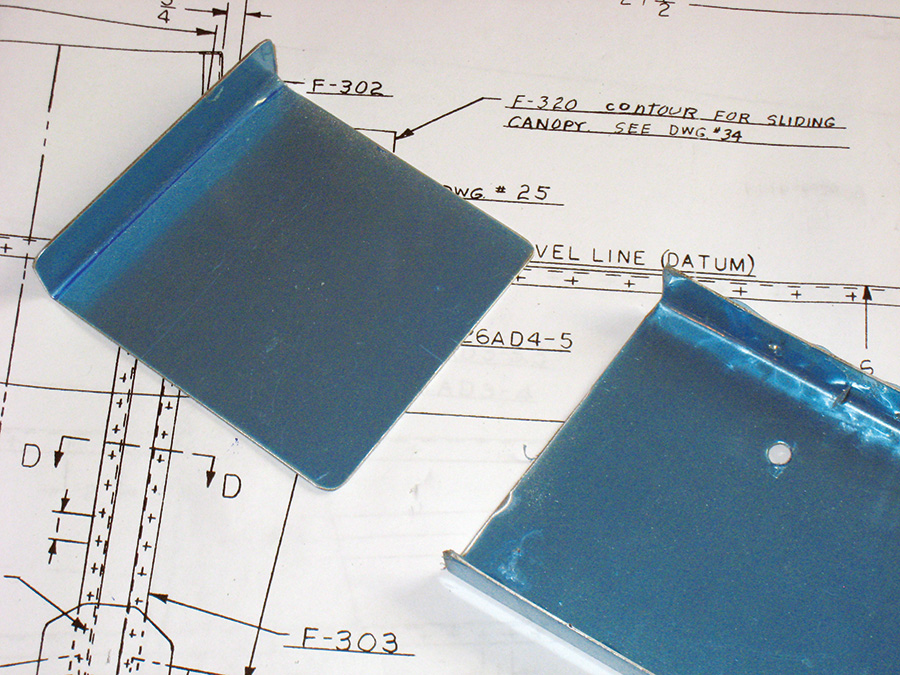
Start by making a new flange with the correct depth, and a healthy overlap of the rib web. Here is the new flange and the rib before removing the old flange.
Next, cut the flange off of the rib that is too long or too short. Dress the ends as you would any piece until the edges are deburred and smooth.
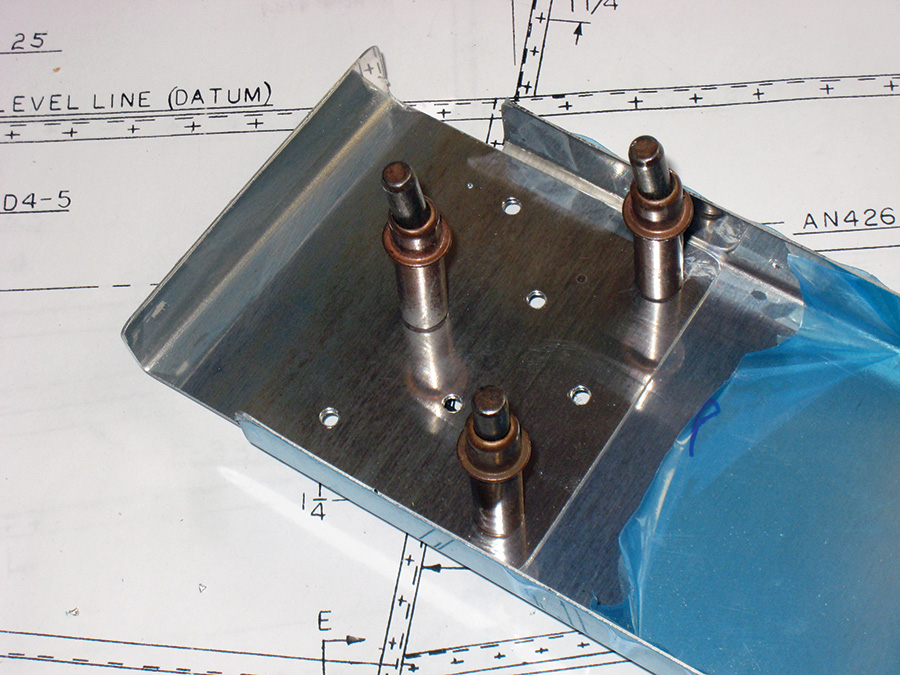
Use AC41.13 to determine the rivet spacing for the size of rivets and thickness of metal that you are using. In this case, we used eight rivets with appropriate spacing and a staggered pattern. Drill the pattern into the new rib flange, then match drill and Cleco it to the rib.
In this case, the flange extension is short enough that new “sides” were not required—if additional rivets are required per standard spacing, then it might take a little additional work to make the top and bottom flanges, but the concept is the same.
Set the appropriate rivets to attach the new flange, and your extended rib is ready for installation.


