The body of this month’s column is part informational, part confessional and part Zen and the Art of Experimental Maintenance. One of the most rewarding aspects of building and owning an Experimental aircraft is the freedom to add personal touches to the project (as appropriate) to make it our own.
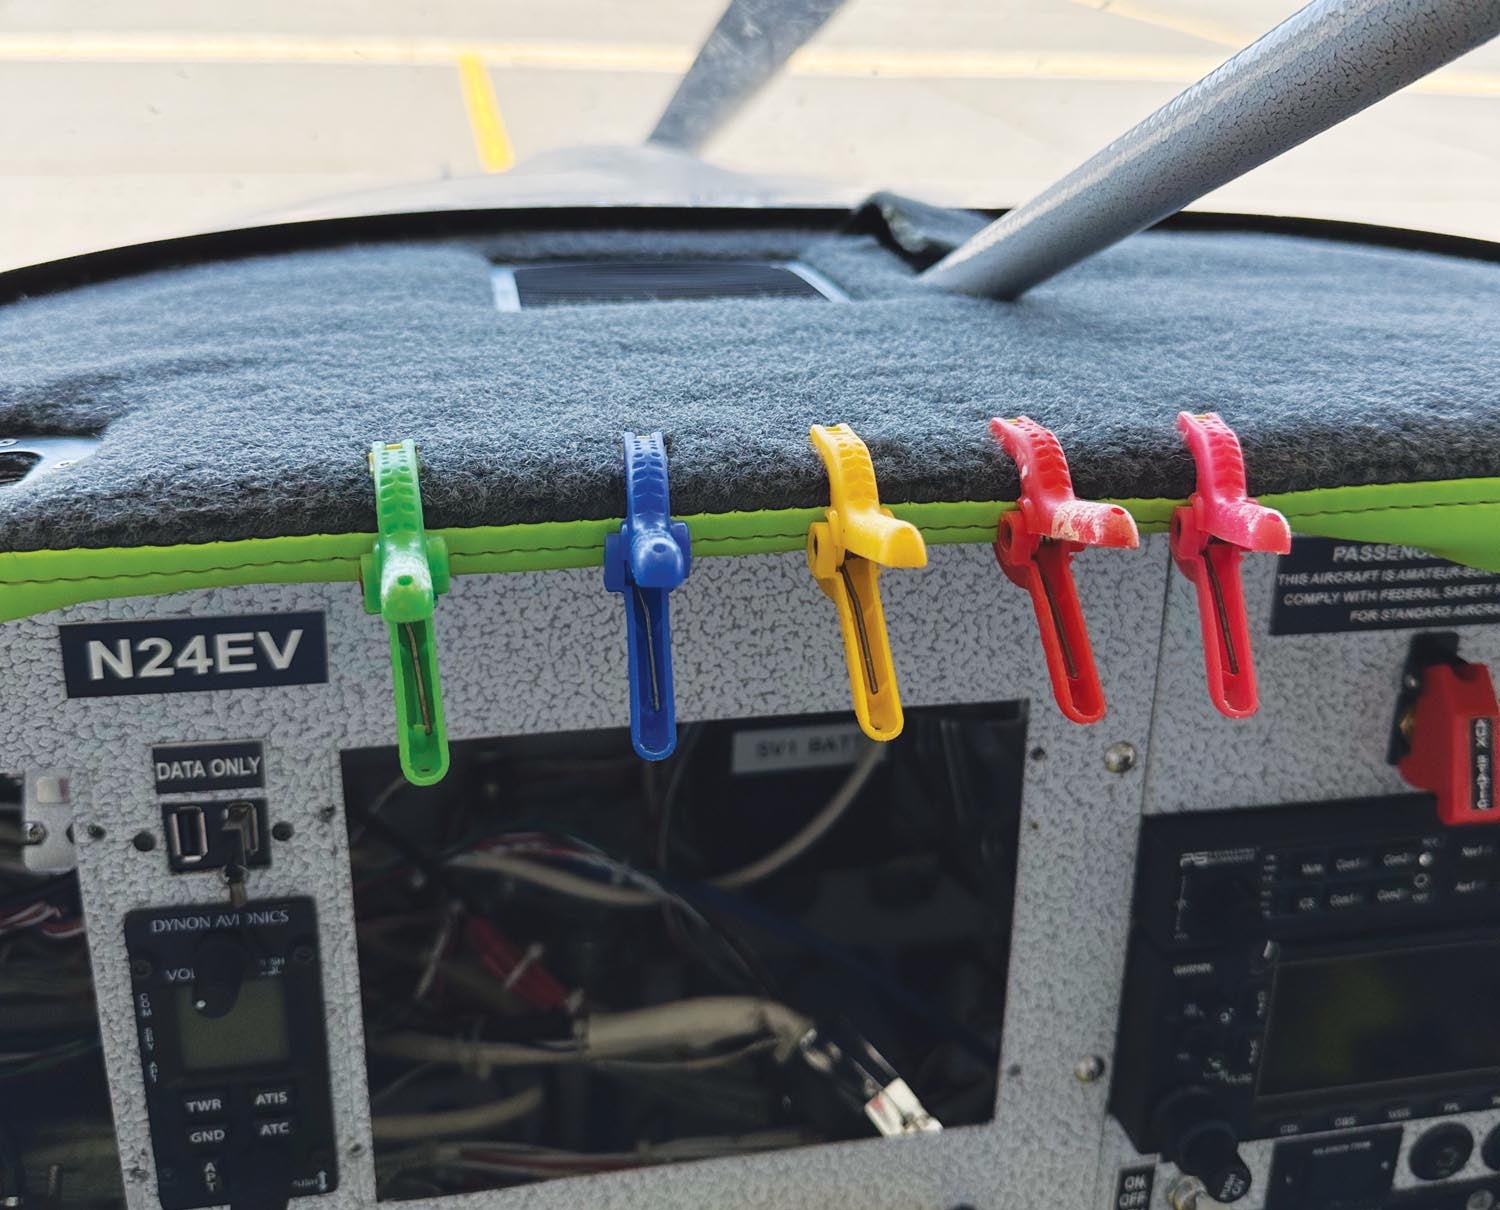
Last month I highlighted a personal touch with regard to stick grips. This month the primary topic will be the glareshield treatment. In both cases, as I share thoughts and ideas on these types of topics, I don’t do it in the spirit of “do it this way.” I do it in the spirit of merely sharing examples of personal touches and techniques I have used that will hopefully encourage others to use their own imagination to create their own personal touches. We’re still talking about sophisticated aircraft that aren’t being purposed for Mad Max: Fury Airway, so of course proper procedures and common sense still must be employed in all cases. With that in mind, however, in most cosmetic ways, the sky’s the limit to individual creativity.
The Glareshield
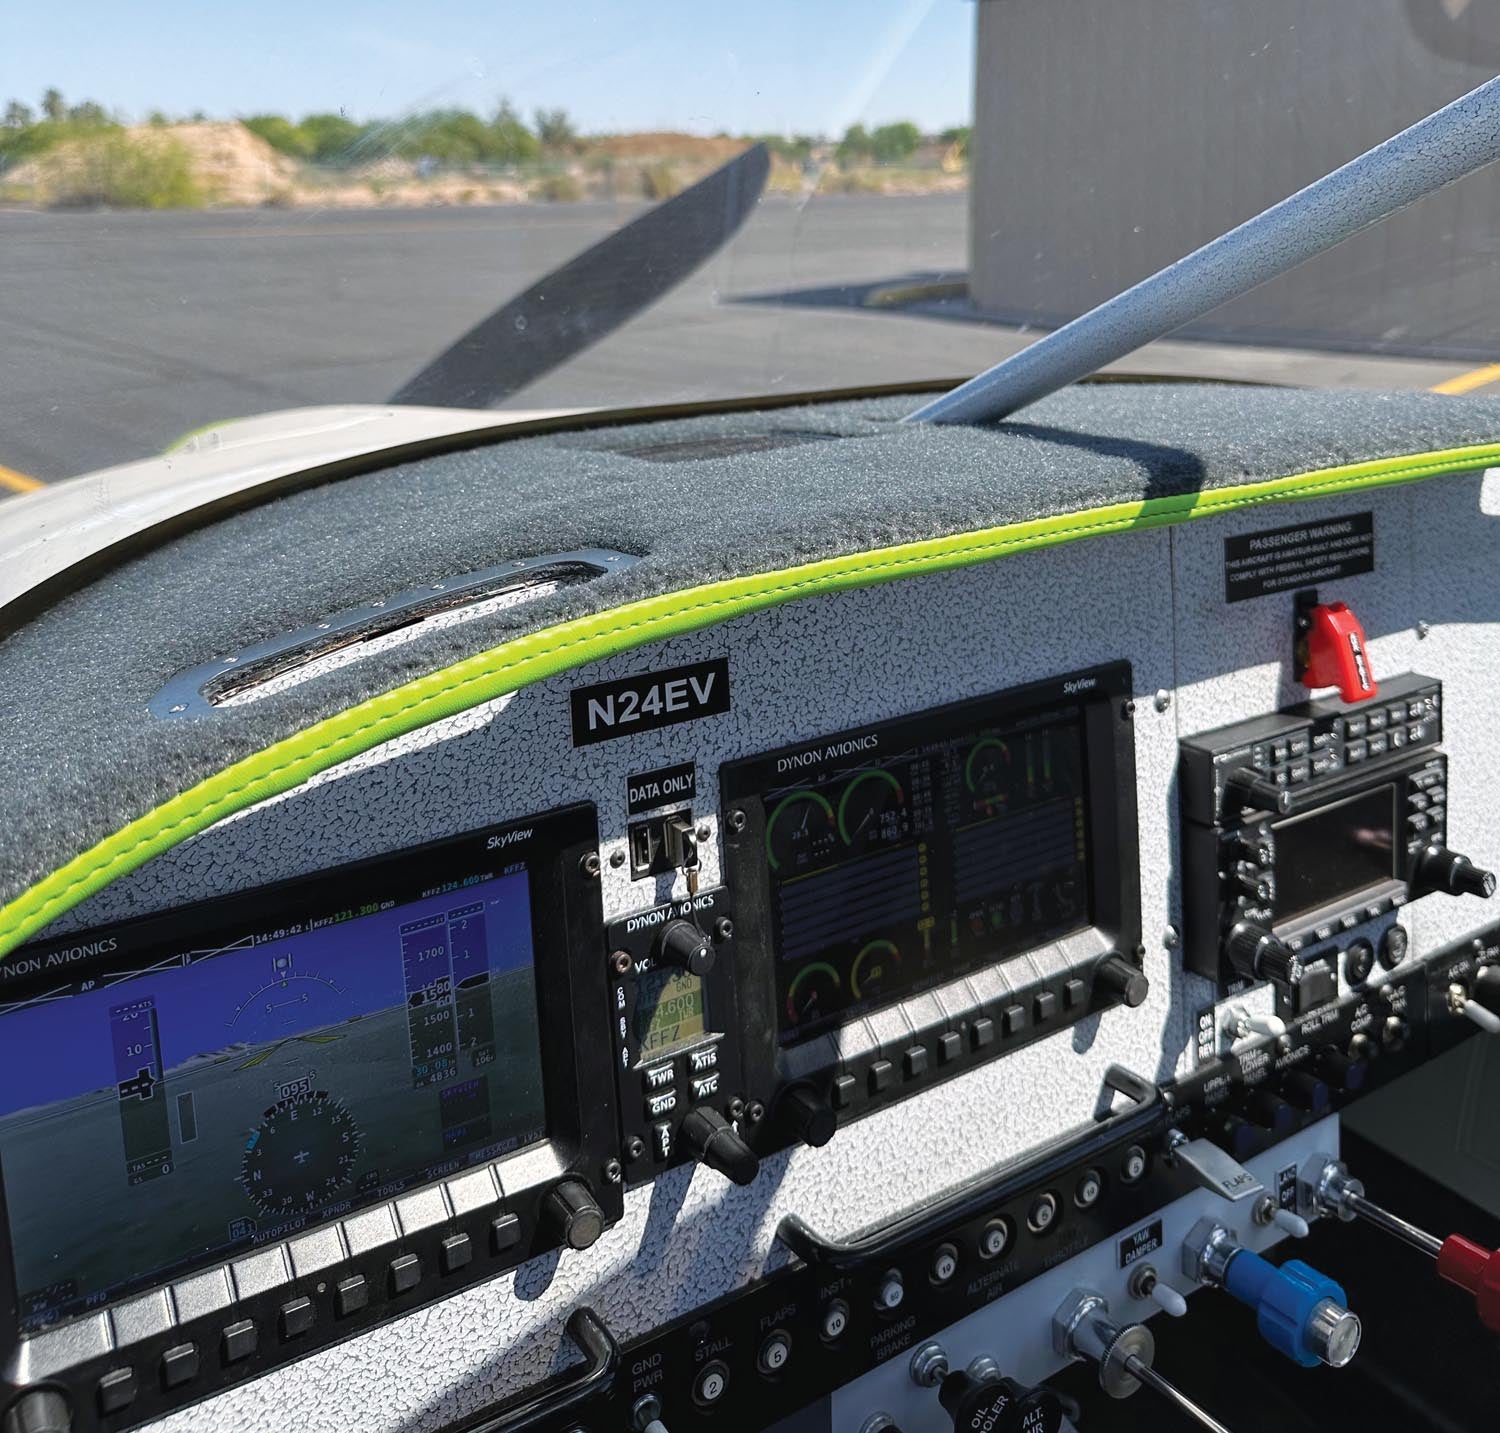
A cockpit glareshield is intended to shield the avionics and gauges from the sun but part of its design and construction is to prevent glare back onto the windscreen. Like many Experimental aircraft kits, the glareshield in the RV-10 starts out as a section of aluminum sheet. It is actually the forward top skin of the fuselage starting at the firewall and encasing the upper fuselage instrument panel substructure. When the windscreen is set into position, it further defines the aft area of the top skin that will serve as the glareshield. As bare metal, the sharp aft edge of the glareshield base looks from a front seat like an ominous guillotine blade pointed at one’s neck or forehead so some type of treatment or dressing is appropriate. A lot of builders find that the easiest way to dress out the glareshield is to mark the boundary before the windshield is set and then remove it to dress out the glareshield. The simplest treatment is to just paint the surface flat black and then attach some kind of rubber bumper around the sharp edge.
What I originally did on mine was take some 3/8-inch rubber fuel line, slit it along its length, and then glue that to the sharp edge of the skin. I then affixed a layer of 1/4-inch closed-cell foam across the top of the glareshield, which flushed up nicely to the height of the fuel line. Finally, I completed the treatment with a top cover made from a nicely contoured yoga mat I found at Walmart and secured it all with rubber cement, the two top handgrip trim pieces and the mesh grill for the CPU fan I installed under the glareshield. I secured those trim pieces with screws and nuts rather than rivets to be able to securely sandwich the covering to the skin.
At the aft edge, I wrapped the top mat over the fuel line and tacked it back up under the edge, making a nice bullnose. I was quite pleased with how it all worked out and, honestly, I received a lot of inquiries and compliments on the final product.
The “Glare” Shield
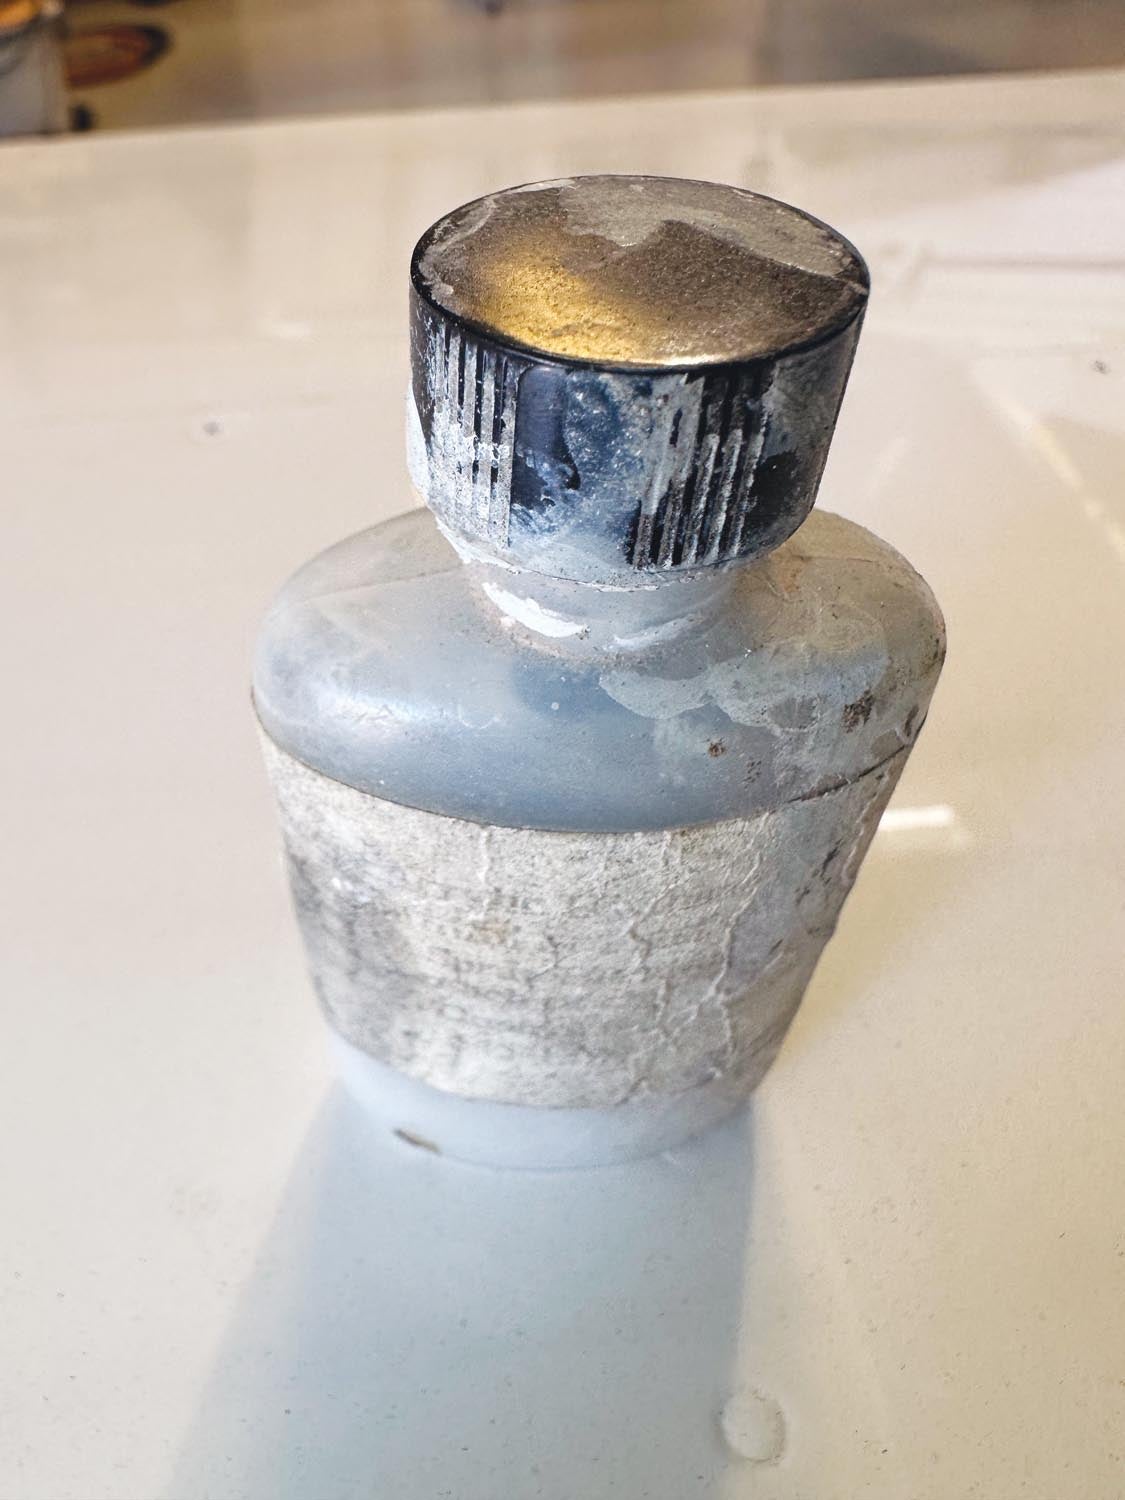
Fast forward a few years of enjoying my creation and one day I decided to do some touch-up interior paint work. I was using the little bottle of gray paint that Van’s sells for touching up its factory powder-coated parts. In a moment of utter moronity, the bottle ended up atop my glareshield while I was bumbling about in the footwell when disaster happened. Somehow gremlins managed to tip the bottle over and spill its sticky contents onto my glareshield cover. To make matters worse, I didn’t notice it had happened until the gooey mess was well disseminated across the surface, seeping where contour and gravity had carried it.
I tried to mop it up with rags but it had seeped down where there is little access due to the sharp angle in places between the glareshield and the windscreen. I knew that solvent would eat into the mat and just make a bigger mess. I cleaned it up as best I could but it was still an ugly dove-gray hickey on my pride and joy.
For several weeks after the mishap, I struggled to figure out the best way to deal with it. I knew that ripping out the original covering layers and replacing them with something new with the windshield in place would be a daunting task. Sometime later I got the idea that the easiest solution would be to cover the ugly top with a thin coat of rubberized paint. When dry, it looked and felt quite nice and it hid the paint spill perfectly. For a brief period, I was confident that my heartache was over. If only…
After several months of useful service, one afternoon I was on extended final for Runway 22L at my home base of Falcon Field (KFFZ) and found that my forward visibility was significantly diminished dead center in my field of vision. Between the position of the sun and the heading and attitude of my airplane, my attractive glareshield had become a de facto “glare” shield. The pebbly texture of the cover combined with the shiny gloss of the new topcoat made the windshield light up like a Neil Diamond concert tunic. It wasn’t unsafe but it was an annoying distraction.
Back at the hangar, I was angry and frustrated at myself for not foreseeing the potential glare problem, which just picked the scab off of the stupid paint dump in the first place. I had become so fixated on covering the paint boo-boo that I was oblivious to the potential glare issue. Meanwhile, while trying to conceive of a permanent solution, I fashioned a temporary cover from a piece of black poster board for if/when I eventually found myself on the wrong angle of an angry sun again.
The Glareshield Redo
During my most recent condition inspection, I noticed that the forward footwell carpets were showing dirt, wear and remnants of a previous brake fluid leak so I decided to replace them. I found a vendor for the appropriate material but they had a minimum purchase requirement that left me with significant material left over. On a lark, I took some of that material and placed it on the glareshield and heard angels sing (not really). The material looked and felt nice and produced zero windshield glare. Now I just had to figure out how to produce a pattern, with the windshield still in place, from which to fabricate a new cover that would lay nicely across the complicated contour and dimensions of the glareshield. This was a task made even more challenging by the center support post.
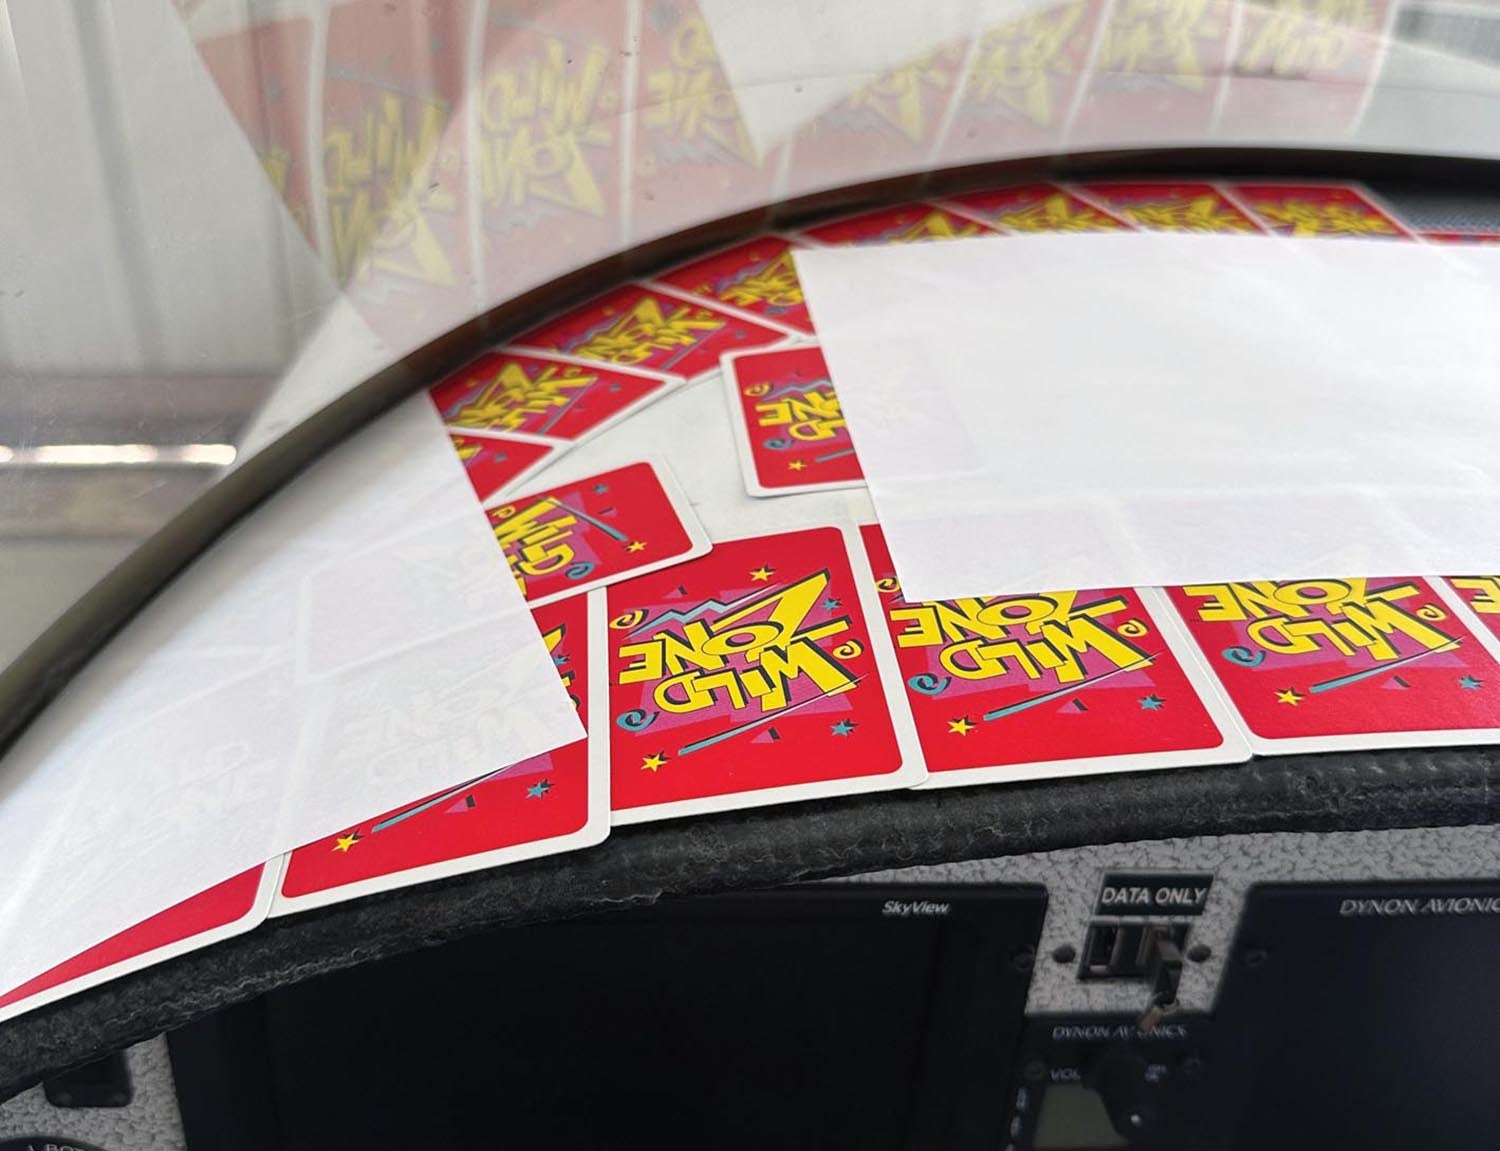
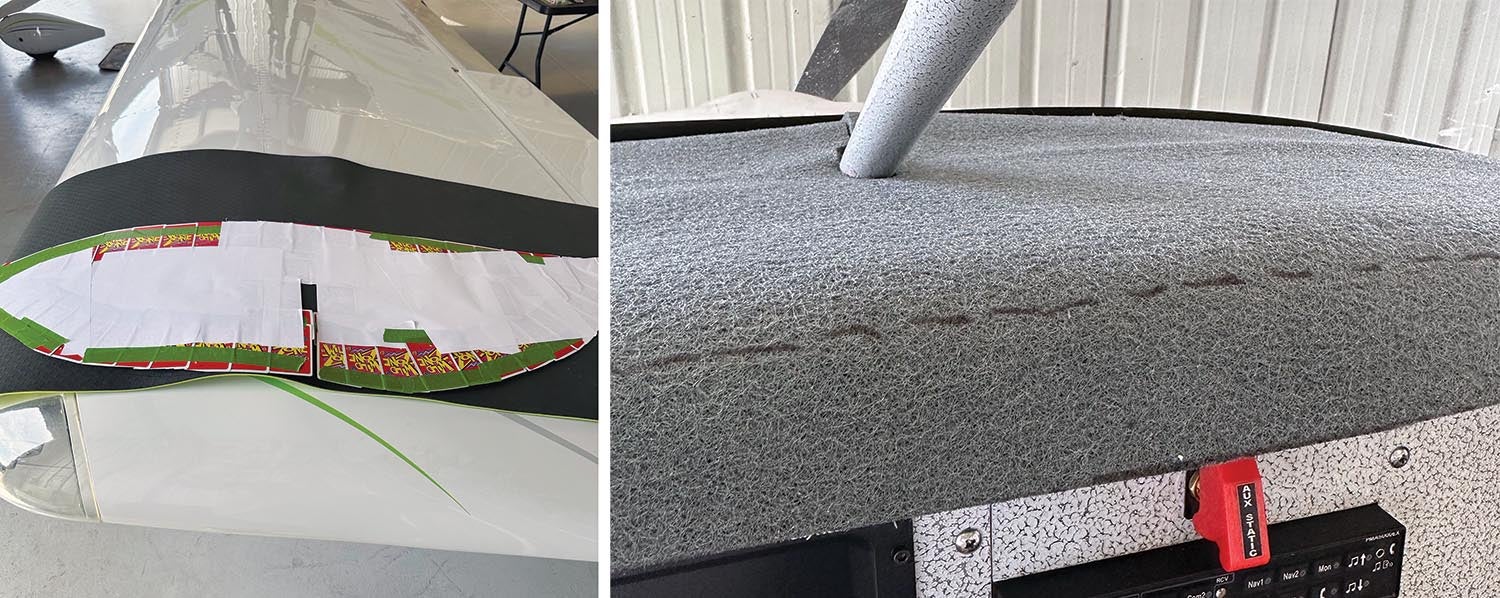
The solution I came up with may cause some experts to sneer but actually worked quite well for me. I have a box of 8-1/2×11 single-sided sticker paper that I use for logbook write-ups and the like. I took several sheets and placed them sticky-side-up across the main field of the glareshield, leaving an inch or two open around the perimeter. I then grabbed a handful of playing cards and started placing them around the perimeter edges as far as I could, letting the sticky paper hold them in place. I used cards side by side to account for the slit that would be required in both the pattern and final cover for the support post. When everything was in place, I used more sticky sheets, this time sticky side down, to sandwich the card/paper conglomerate into a durable and flexible pattern.
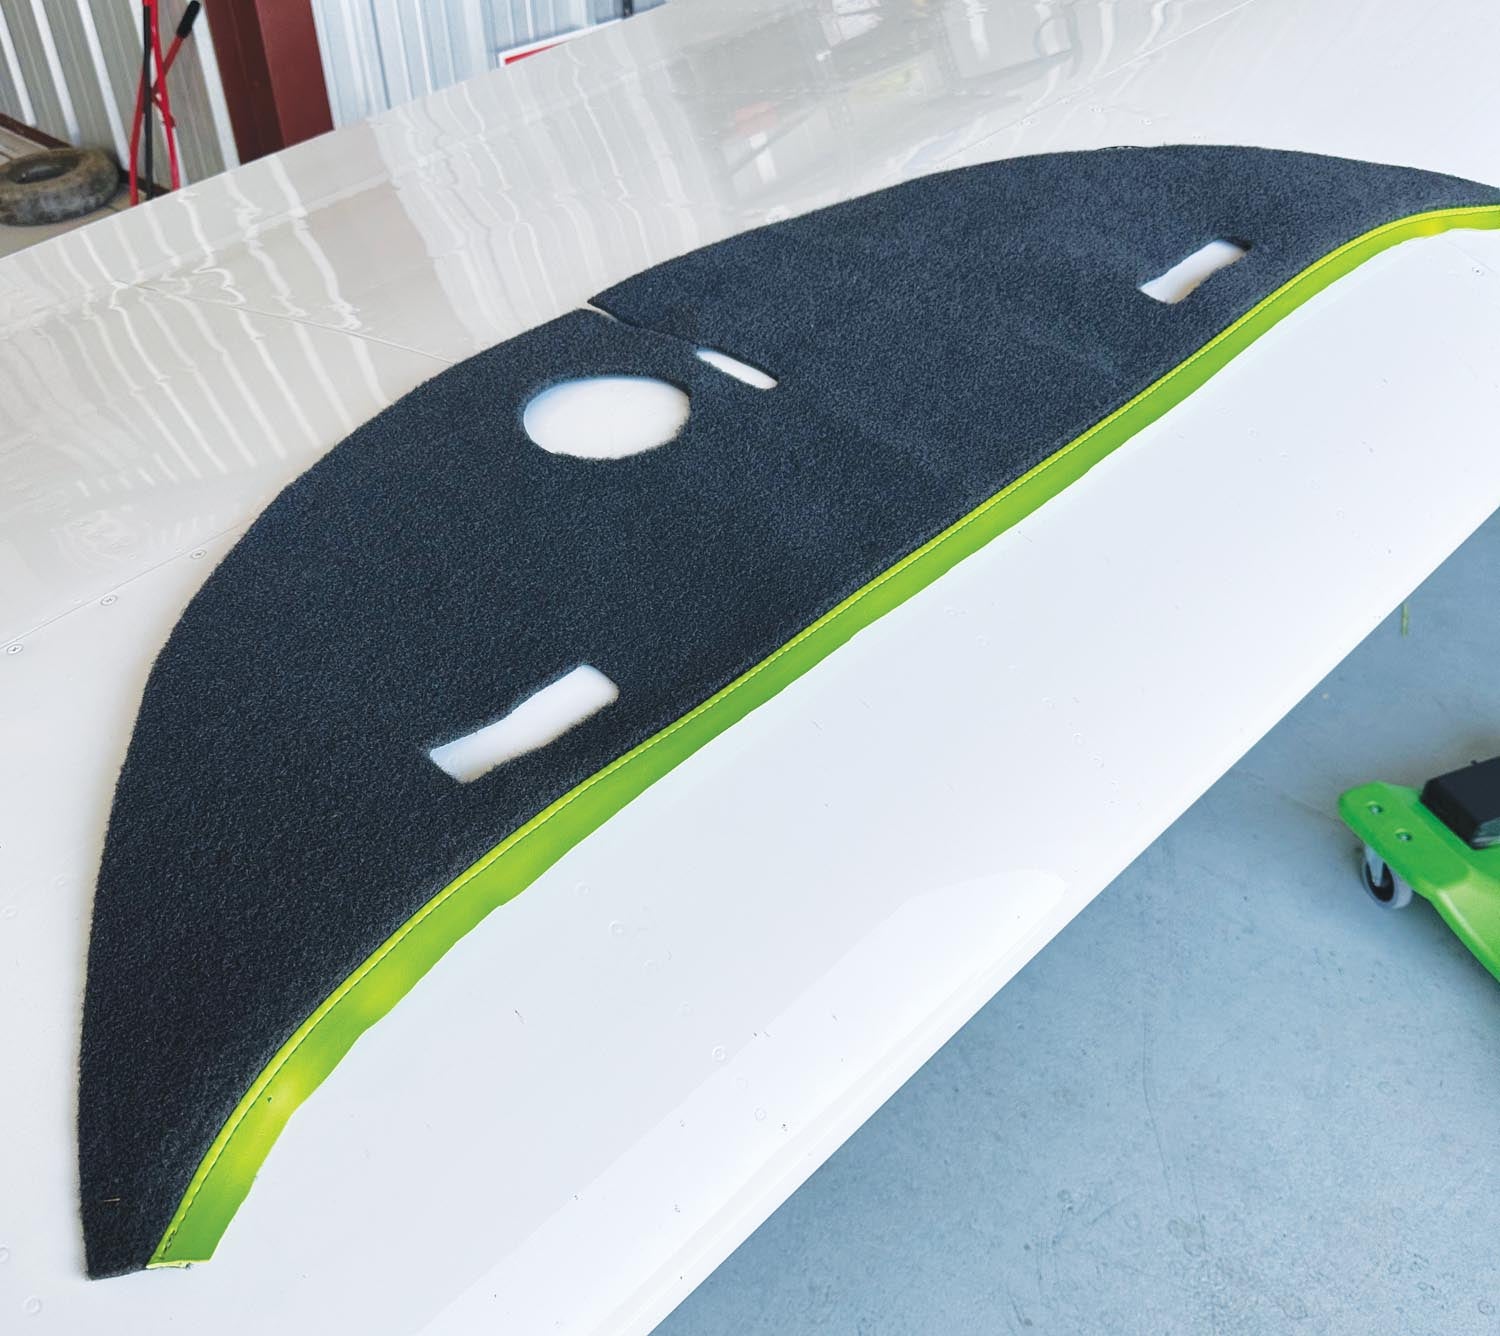
With the pattern now fabricated, it was easy to lay it out on the material to facilitate marking the lines to be cut, making sure that I used the pattern upside down since I would be marking the material on its underside. Once I had the initial blank cut, I was pleasantly surprised at how perfectly it fit. After that, with the new cover in place, it was easy to mark the cutouts for the hand grips and fan grill from underneath. I originally left extra material at the aft edge to wrap around the bullnose but then got the idea to dress it up with a nice sewn seam and accent stripe with some spare color material I had in my remnants tub.
Finally, when the new piece was ready for installation, I decided to go minimalist on adhesive since it fit and laid so nicely atop the old cover. Except for a couple of key places and the front wrap, I just used some double-sided tape or nothing at all so if it ever needs to be removed, it should be rather easy.
Now that the installation of the new glareshield cover is complete, I am very happy with its low cost, ease of installation, looks and, most importantly, lack of reflectivity. I do occasionally get a sliver of glare from the color accent, but because of its location the glare stays high on the windscreen away from the primary field of view. So far it hasn’t been an annoyance.
Anyone can complete an Experimental aircraft, but to most of us, they are never really finished. That is part of the enjoyment.


I have use self-adhesive black velvet used for a home cinema to do the same thing. It’s very effective and give a good look !
I was going to suggest black velvet, but held on with Velcro or something, so that it could be cleaned. Or removed if someone happened to spill paint on it. I might even try to find velvet made from natural fibers or something else that was more flame resistant than the usual synthetic fabrics.
Comments are closed.