
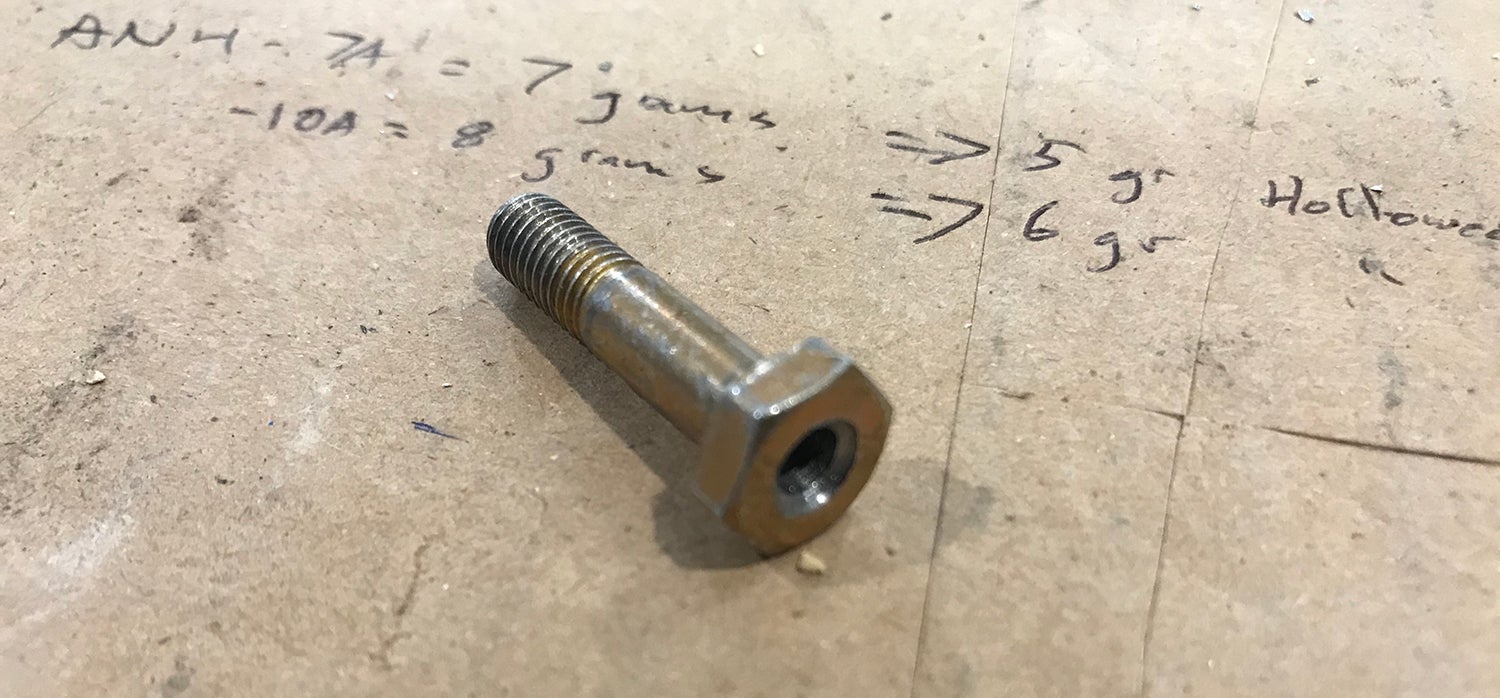
I routinely do dynamic propeller balancing on all my airplanes using a DynaVibe Classic. It does a good job if you’e willing to do a few iterations, and not have a computer doing all the calculations for you. I can generally get the balance down to the resolution of the instrument (about 0.01 inches pr second) in three runs – less if I get lucky. One of the advantages of balancing Lycomings is that you have a set of twelve evenly spaced 1/4” holes on the flywheel – just inside of the starter ring gear – that you can use to place balance weights. The only problem is that the flywheel is about 9/16” thick at that point, so the shortest AN4 bolt you can use – with nothing but a small metal locknut and no washers – is an AN4-7A, which weighs about 7 grams. The weight of the nut is another gram or two if you use an MS21042-4 compact all-metal lock nut, so you can get down to 8 grams minimum. But sometimes you want just a little less than that – what do you do then?
One option is to buy some titanium bolts, which are a little more than half the weight of steel. But first, you have to find them (hint – eBay is a good start), and then you have to figure out how to pay for them – when you find some, they are likely to cost two two three dollars a piece – and since you don’t know what size you need, you’ll need an assortment…and they rarely come that way! A far cheaper alternative is to lighten the steel bolts that you have – you won’t save as much as with titanium, but it’s easy to make up an assortment if you have a lathe. I was able to lighten a seven gram AN4-7A by 2 grams, and the slightly longer -10A by the same amount. Sorry – my gram scale doesn’t read below whole grams. Remember that you don’t need strength for this application – although you do want security, so don’t go crazy with the drilling. (And, just to reinforce the point, we’re talking about balancing hardware only, not the prop-mounting bolts.)
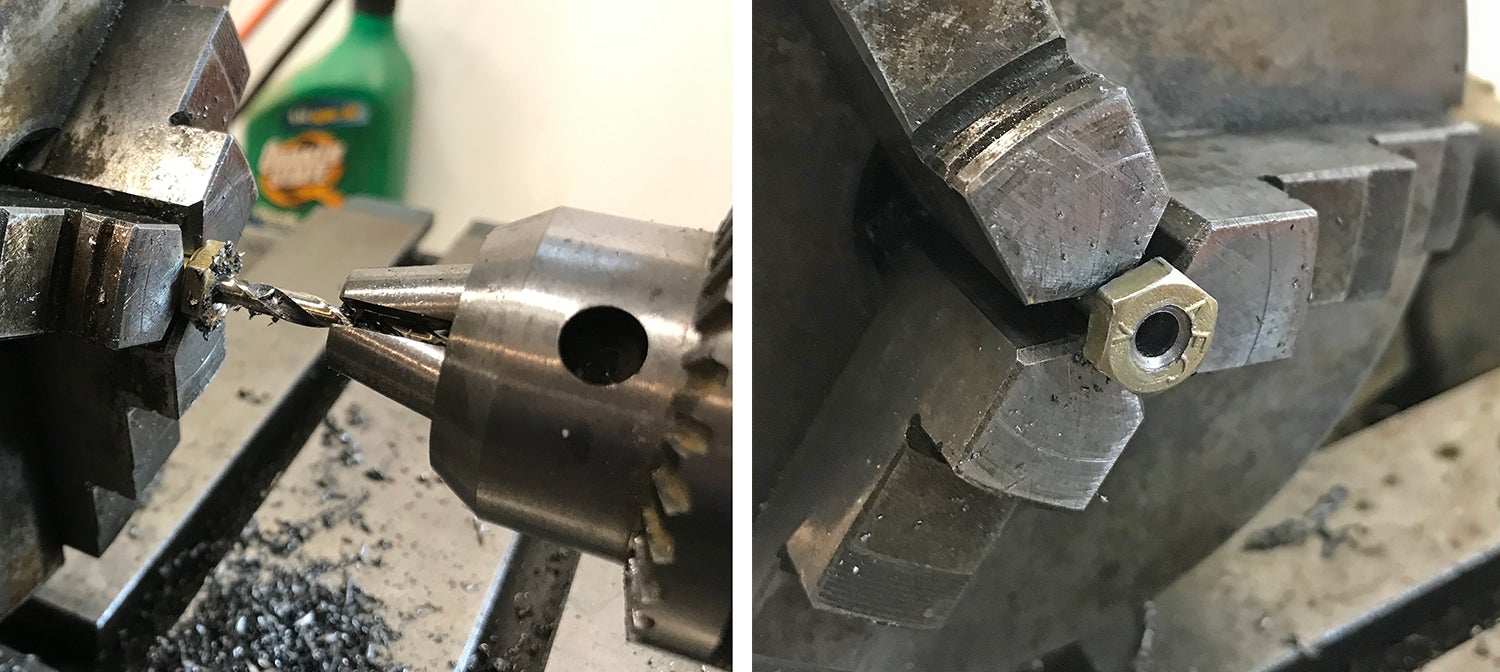
To do the job, I measured the length of the bolt grip from the top of the head, and subtracted a sixteenth inch so that I wouldn’t create too thin a spot where the threads begin. Then I chucked the bolt up in the lathe and mounted a short 1/4” drill bit in the tailstock. I used this to create a nice divot, centered exactly in the bolt head. If you try to start the hole with the final (smaller) drill, it will probably wander, and you’ll end up off-center. The bigger drill makes a nice starting point that will hold the final drill centered. You can now substitute a #19 (as large as I wanted to go with a bunch of testing) in the tailstock, and drill in the distance you measured to be just short of the length of the grip. For the AN4-7A, that was 11/16”.
The reason I concentrated on the -7 length bolt is that it is the lightest you can start with and go lighter – but I also made some hollow -10 and -11 bolts, just to have them on hand, since I had the lathe set up. I might still haunt eBay a little for a great deal on some Titanium, but these hollow bolts will extend my low range considerably. And yes – I am sure that you can twist them off if you try. So don’t try! They don’t need to be gorilla tight.


another option
https://www.clickbond.com/products/lomas
We are big fans of ClickBond products, and have a handful of the LoMas screws in our parts bin – built unfortunately, they don’t (yet) come in 1/4” diameter, so they don’t fit the holes in the flywheel precisely.
Do you have the diameter of the 12 mounting holes? (to be used with Dynavibe GX3)
The holes in the perimeter of the flywheel are all 1/4″.
Ed, Do you mean the radius of the distance from the hole to the center of the flywheel? According to this article it’s 5.375 inches. https://www.kitplanes.com/propeller-balancing/
Comments are closed.