 By Jon Humberd with Kate O’Connor.
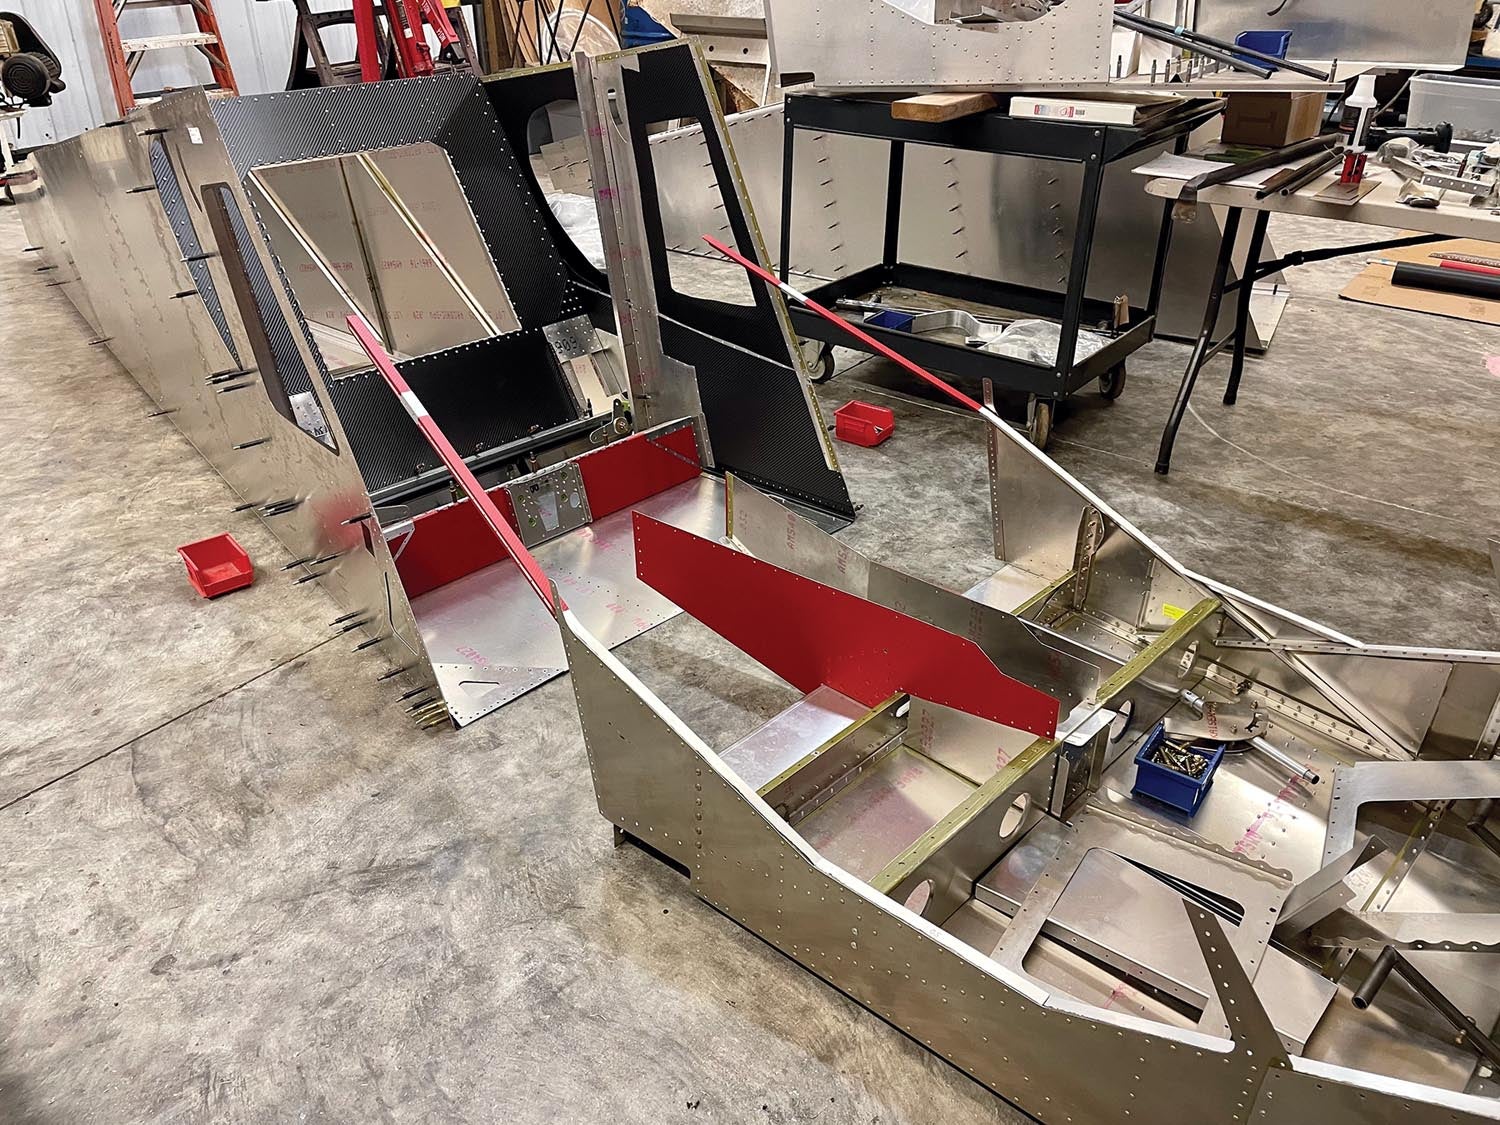
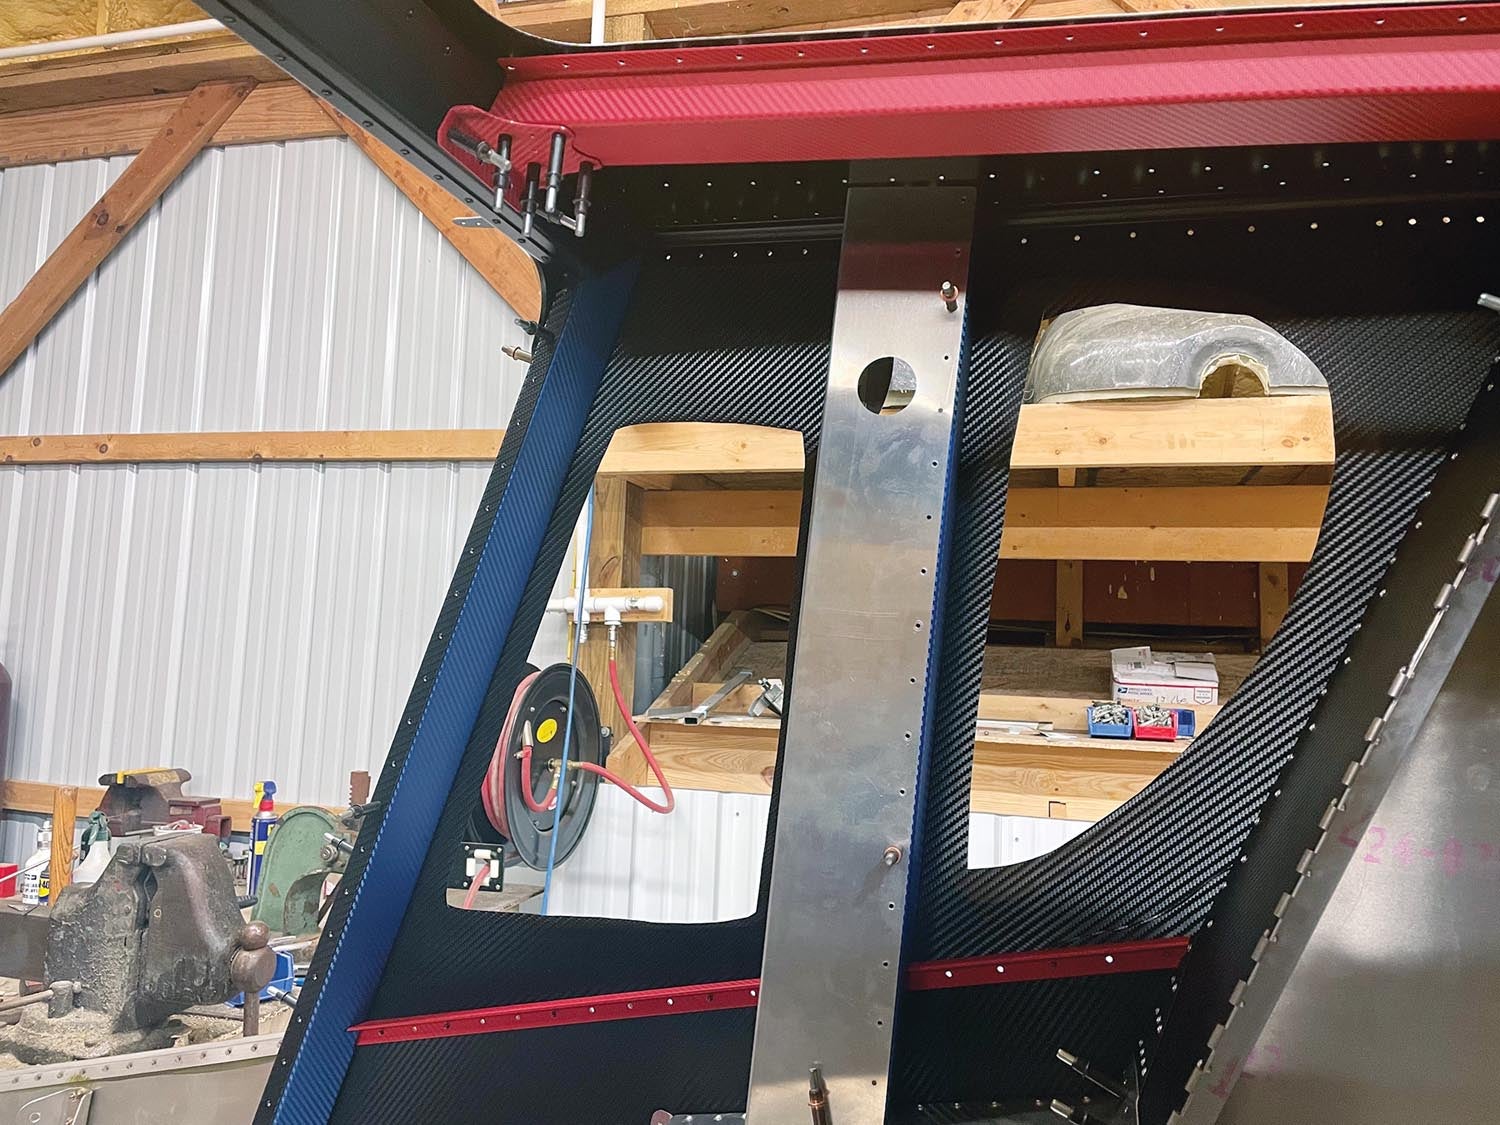
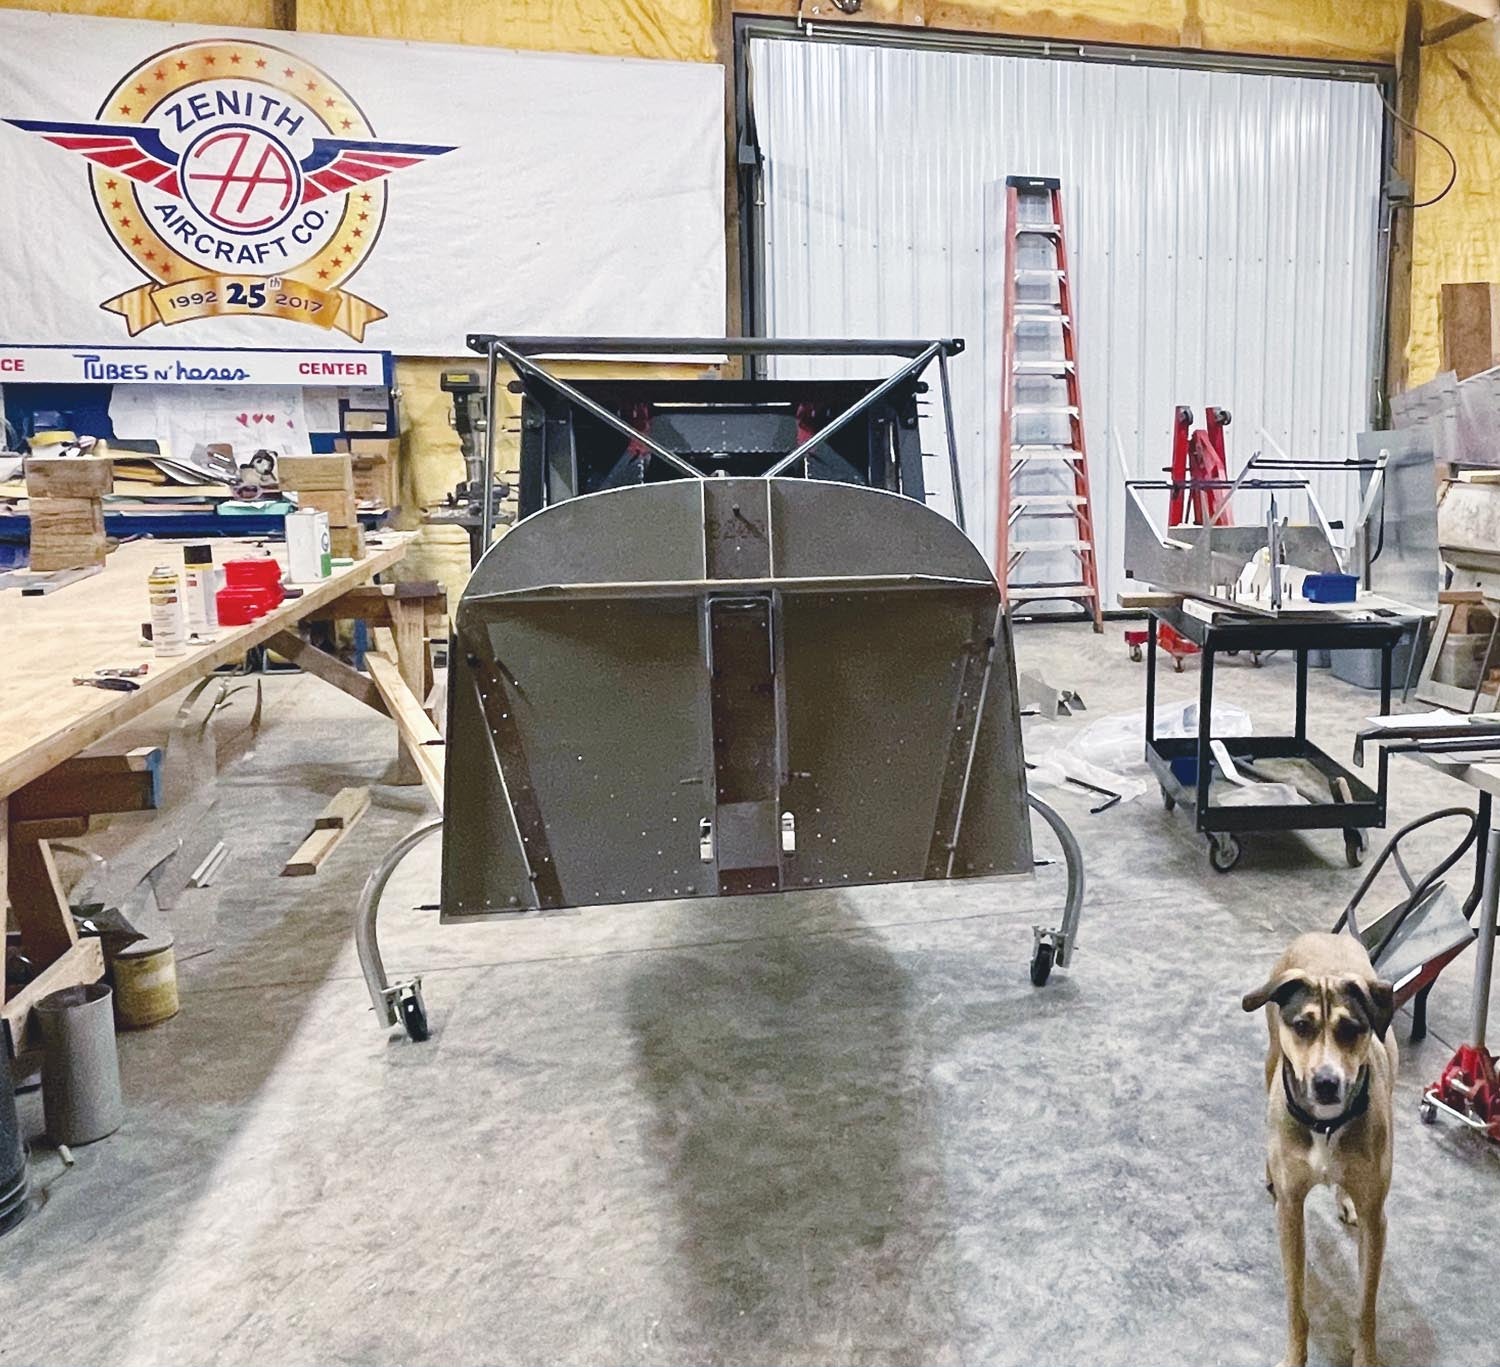
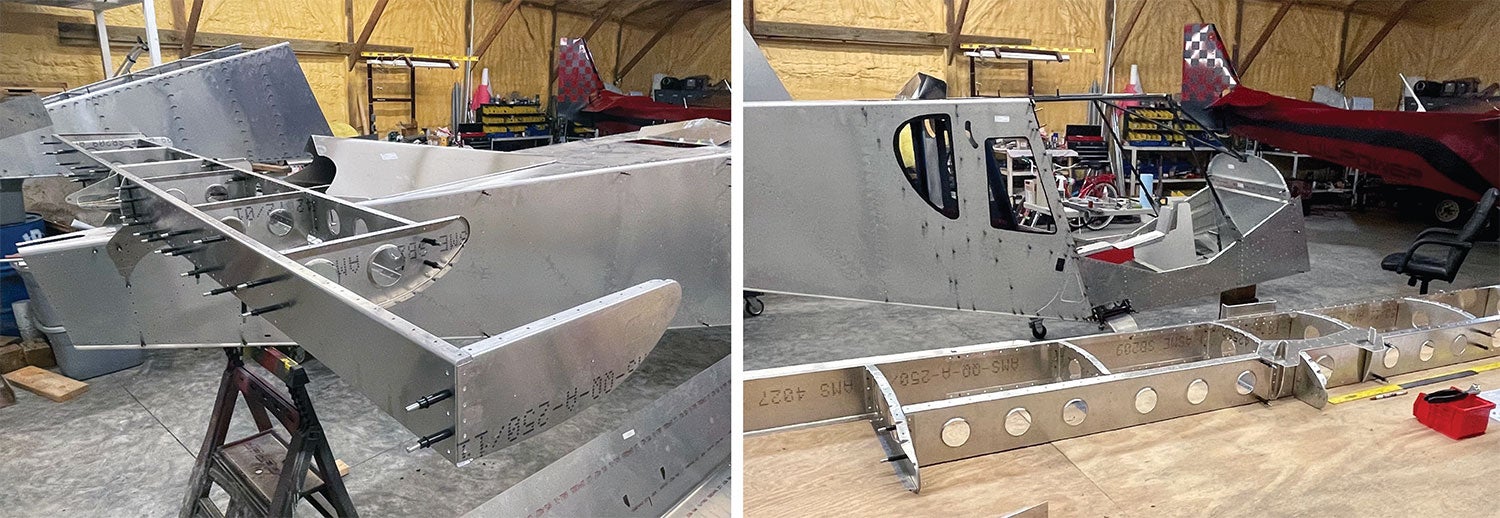
A lot has been going on with the Zenith CH 750 Super Duty build since the last article in the September issue! Perhaps most excitingly, I joined the rear and forward fuselage sections so my CH 750 is finally beginning to look like it could, someday soon, resemble an actual airplane. Joining the sections was straightforward and thankfully trouble-free, helped along by an extensive mockup process. As the fuselage is coming together, a big emphasis for me has been on cleaning up any rough edges and fine-tuning everything for the final assembly.
As I’ve talked about before, I’m hoping to make this 750 as show-worthy as possible. That has meant spending extra time on getting the aesthetics just right and making sure it comes together as tidily as possible. When I was building the Super701, I never expected it to get the kind of attention it did or that I would end up bringing it to STOL demos and competitions. Knowing in advance that the 750 will be going to events and is likely to have a few eyes on it has made me more conscious of all the little details that go into creating a clean, appealing look in addition to building an aircraft that remains relatively lightweight and simple plus it meets its mission.
The Devil Is in the Details
It’s easy to say I want to build this plane to be show-worthy. When it comes to actually accomplishing that, well, it’s taking a lot of time. Quite a few hours have already gone into smoothing rough edges and making some of the corners more aesthetically pleasing. The kit is coming together really nicely but, when you are planning a very detailed finish, every step of the way requires a little extra trimming, filing, fitting and looking over each component as it gets ready for assembly.
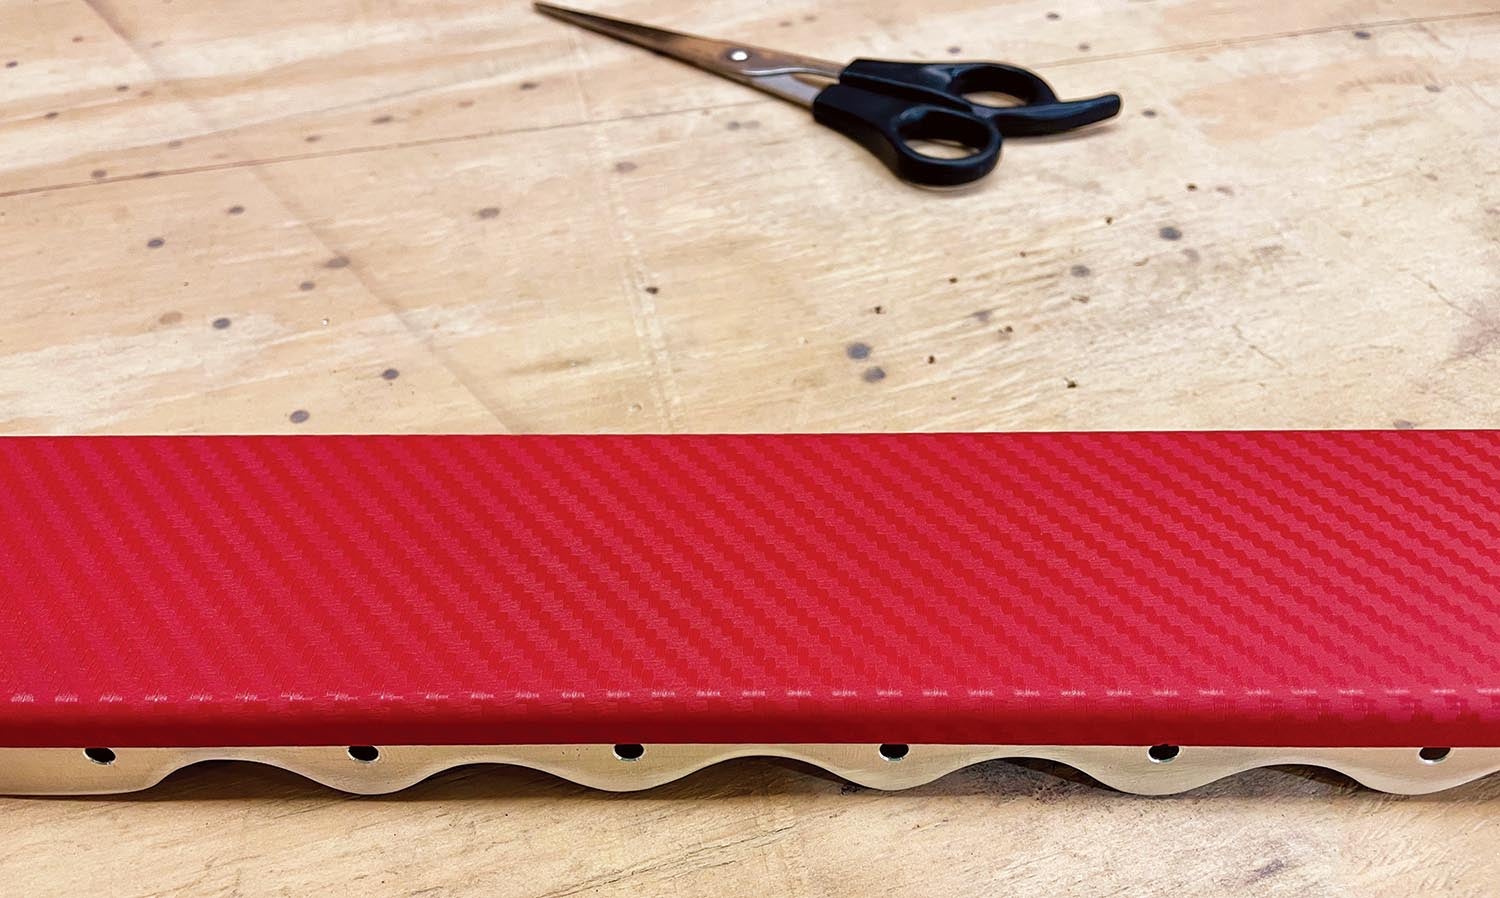
The fun part is that I am beginning to see glimpses of the finished product on a few internal surfaces around the rear jump seat area. I ended up using a carbon fiber vinyl on my 701 for the dash/instrument panel. I really liked the way it looked, so I will be utilizing the vinyl in various areas of the new Super Duty to spruce things up. I’ve got some of it installed already and I think it gives the interior an even more finished appearance.
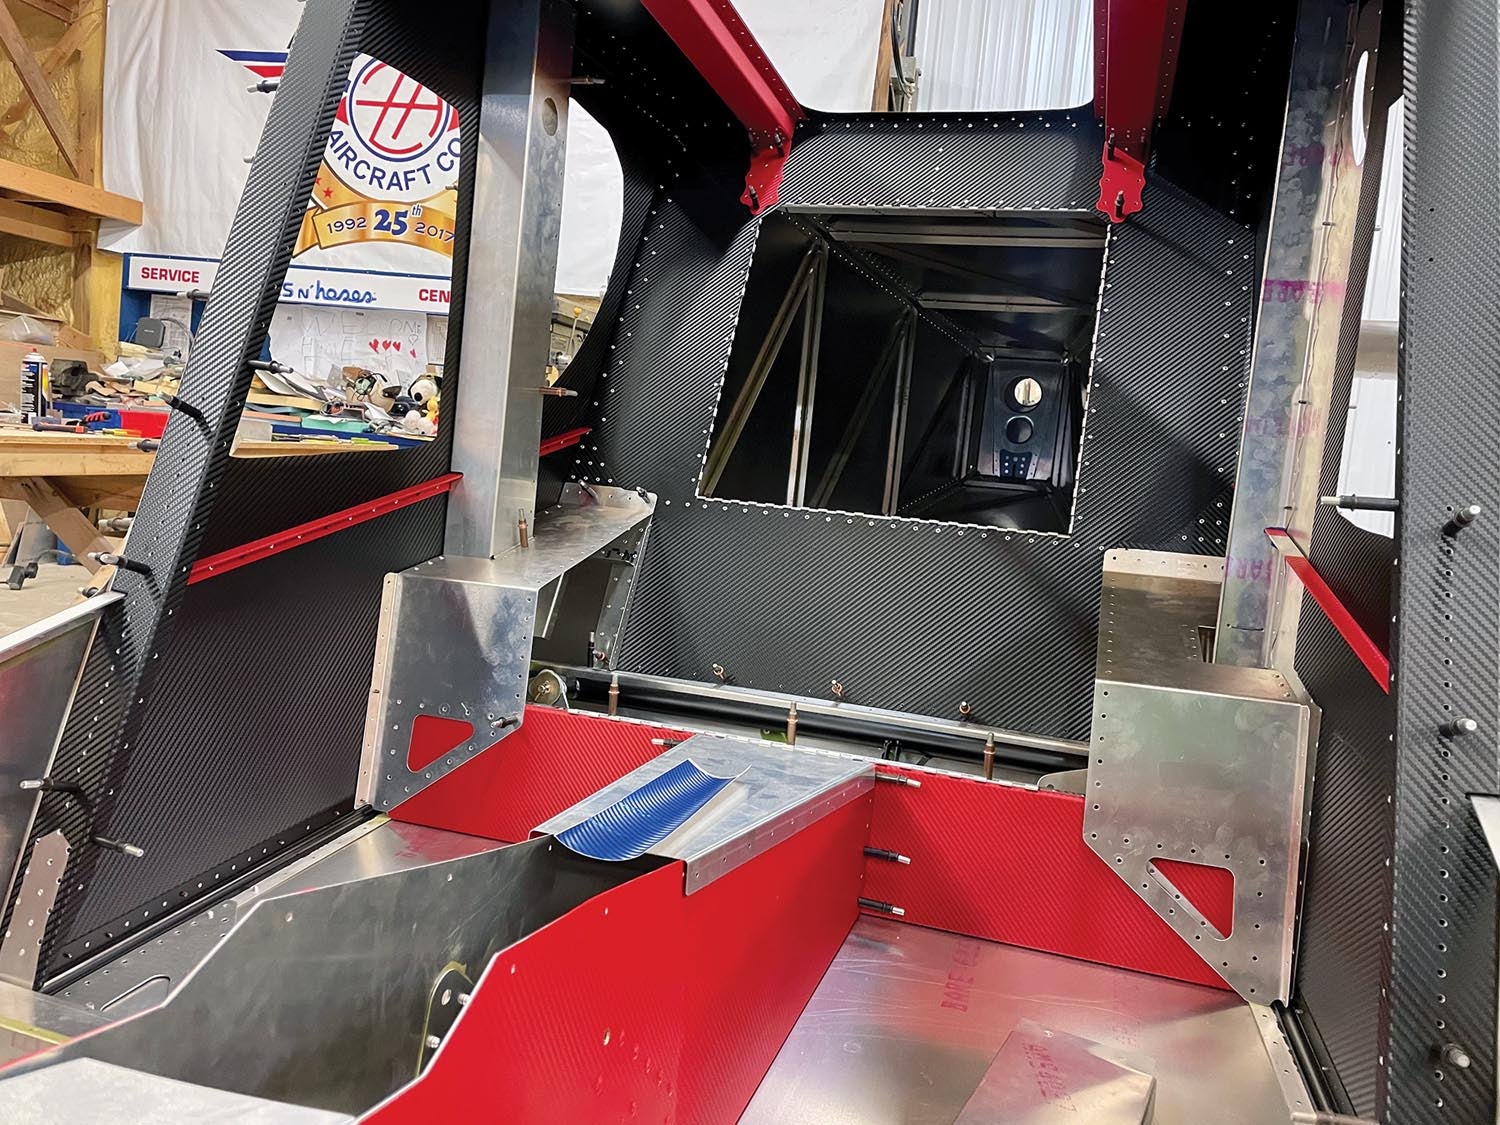
The black carbon fiber vinyl I’m using is made by 3M. I went with Vvivid for the accent colors. Both seem to be excellent quality, are lightweight and can really give a nice custom-finished look. When it comes to vinyl application, there aren’t any major tricks that I’ve discovered beyond getting the surface cleaned up. After everything is nice and clean, I just start trying it and adjusting as needed.
Putting the smaller flat pieces in is very simple. The larger pieces, however, can be a bit cumbersome especially if there are curves and corners involved. With these pieces, a hair dryer on low heat has been my best friend for helping the material conform and adhere better. As with the rest of the detail work on this build, it’s just taking time and patience.
Mod Progress
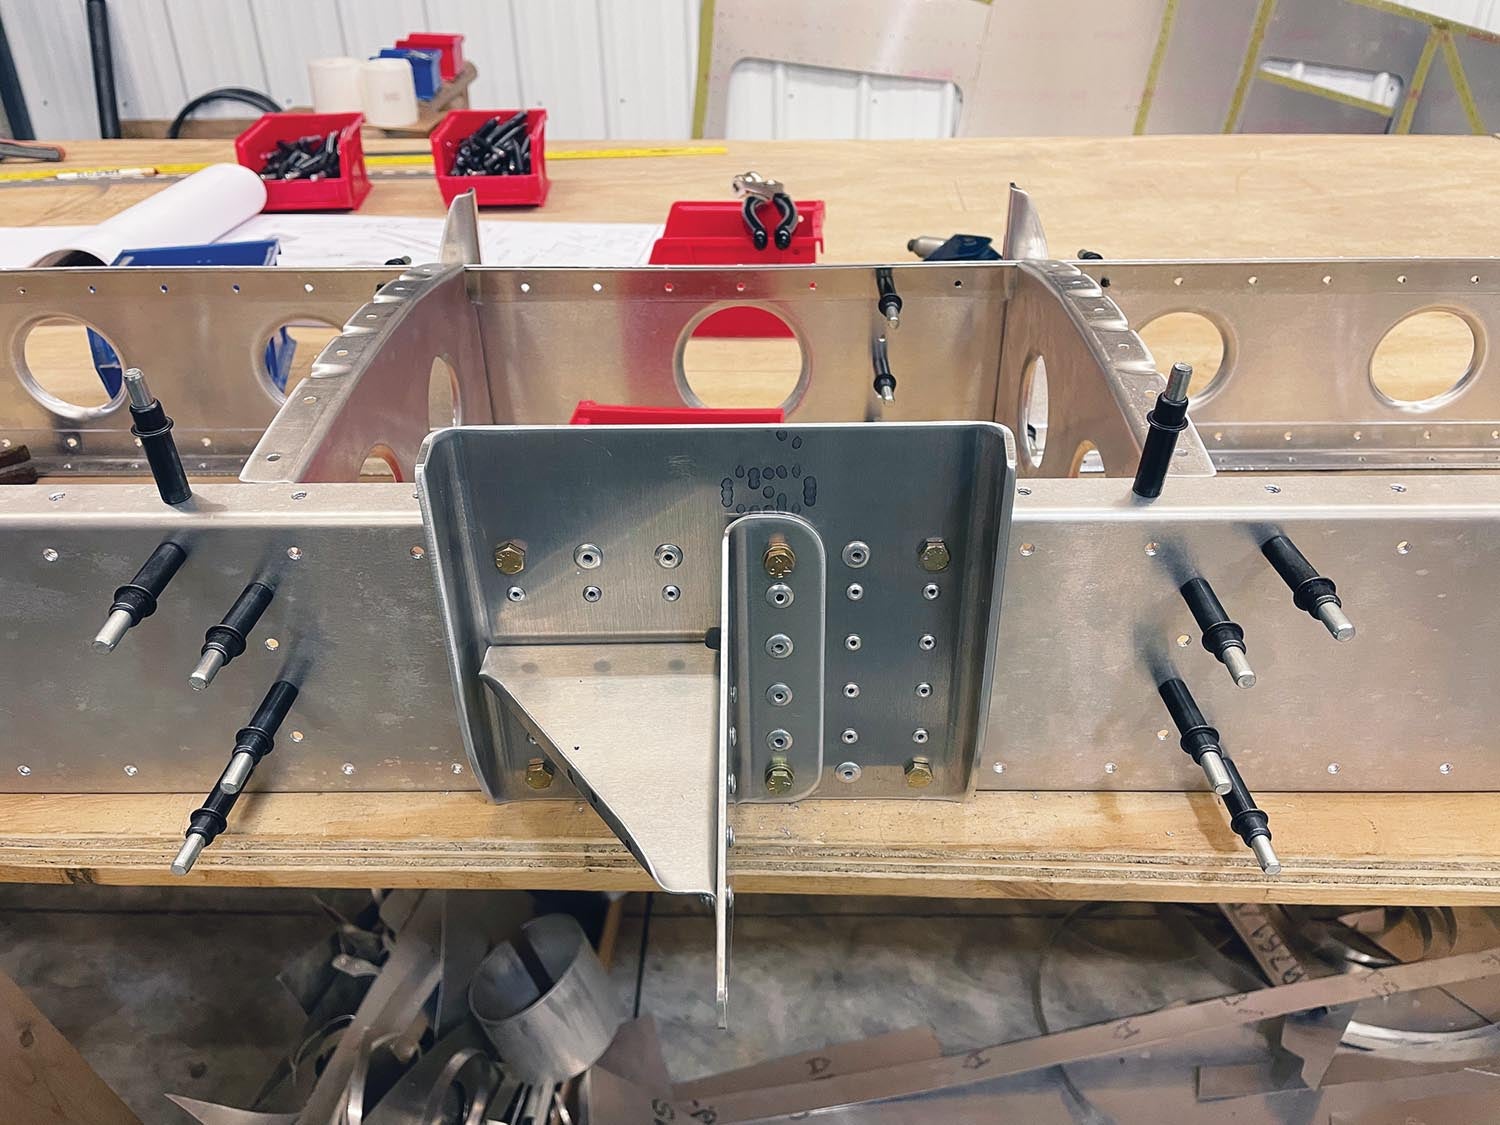
I will say again that the most difficult part of the build so far has been the modifications I have made to the standard kit. On the plus side, the control system mods I’ve been working on are now nearly complete and mocked up! As discussed in the previous installment, I decided to go with a manual flaperon control system, which I also installed on the 701.
As with most changes to a factory design, modifying the flaperon control system for the 750 took a fair amount of time to work out and mock up, especially since I wanted it to remain hidden and with no exposed control tubes, bearings, etc. Making the system work inside the center tunnel with all the other controls—without having clearance issues—took quite a bit of figuring, calculating and mocking up. Several new control bearings had to be made and cut to fit by hand. However, it has been quite rewarding to see the complete system beginning to take shape and become operational.
Space and Time
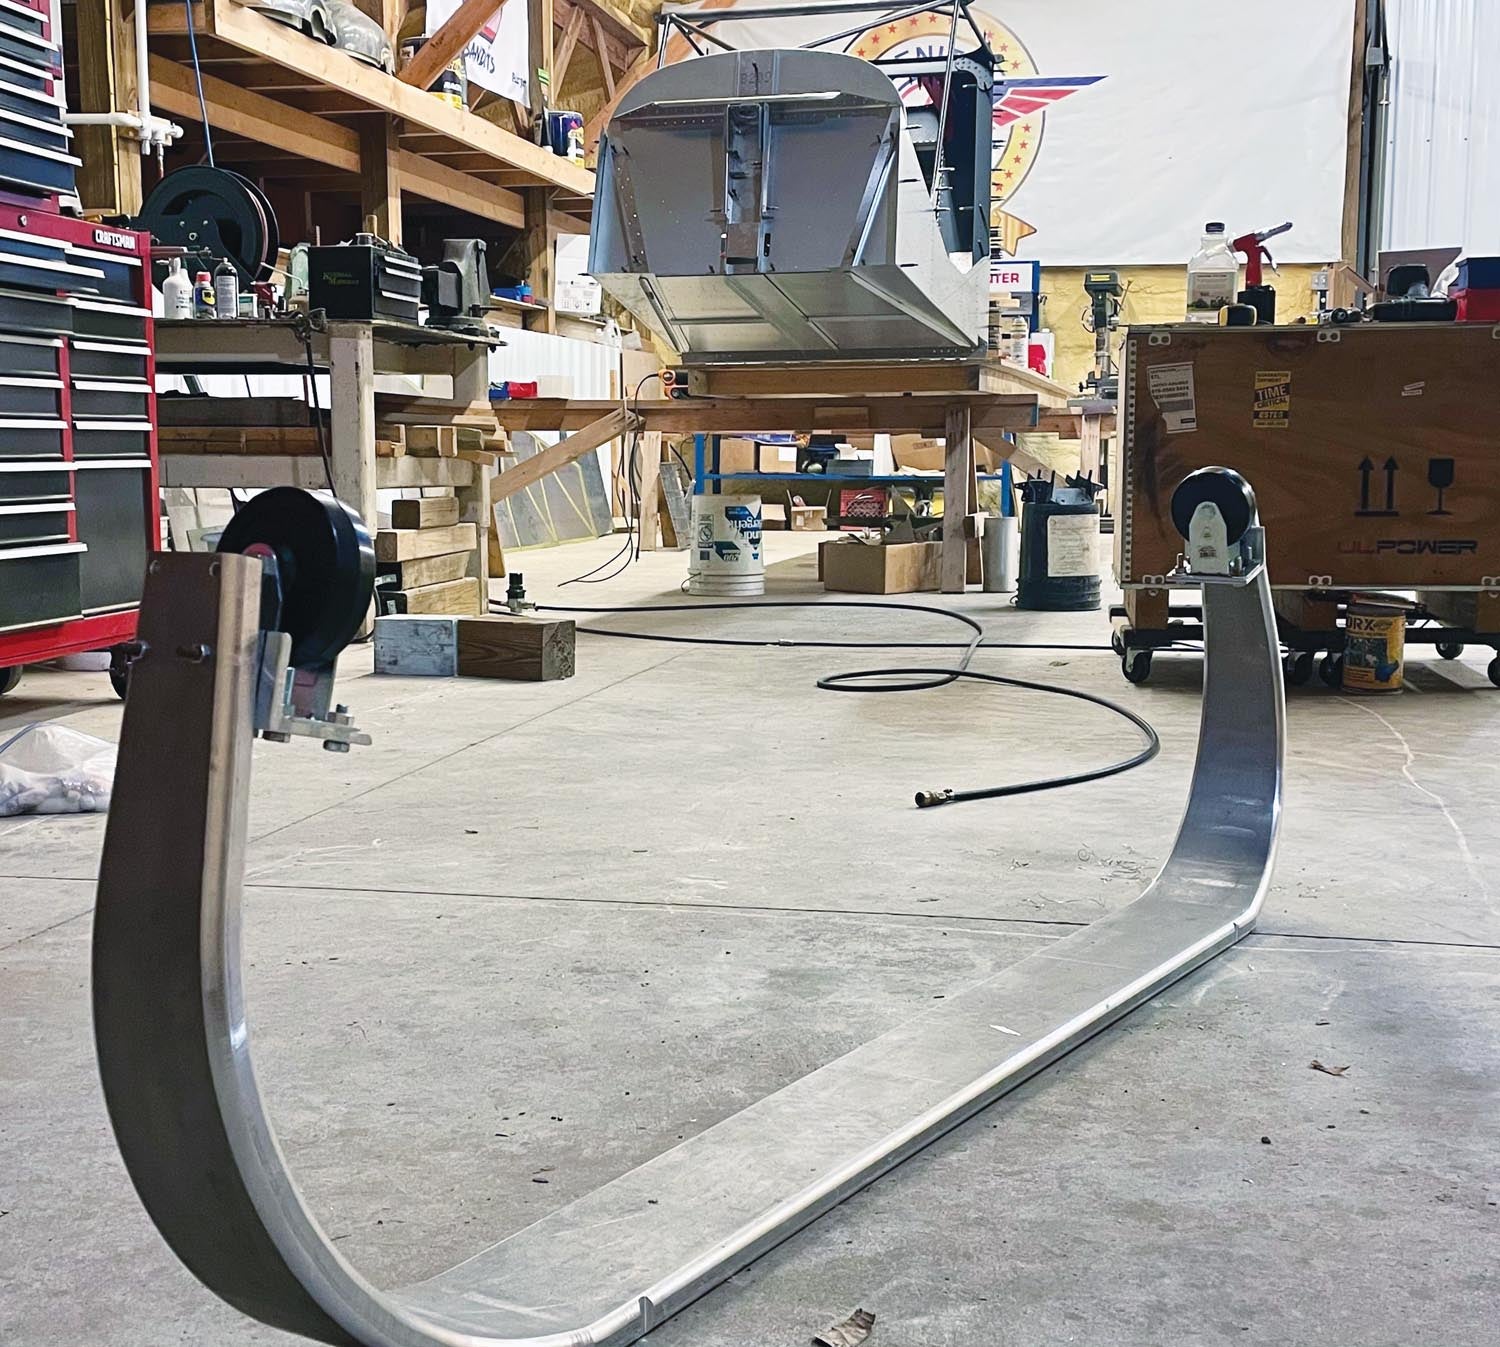
While my farm shop has a good amount of space, one rule of aircraft building seems to be that there’s never enough room for everything. It is always a bit of a juggling act at this stage. With the progress made on getting it joined, I’ve been able to get the fuselage up on the main gear and somewhat mobile on caster wheels. Since I can more easily move it around in the shop, there is now room to put other components on the workbench.

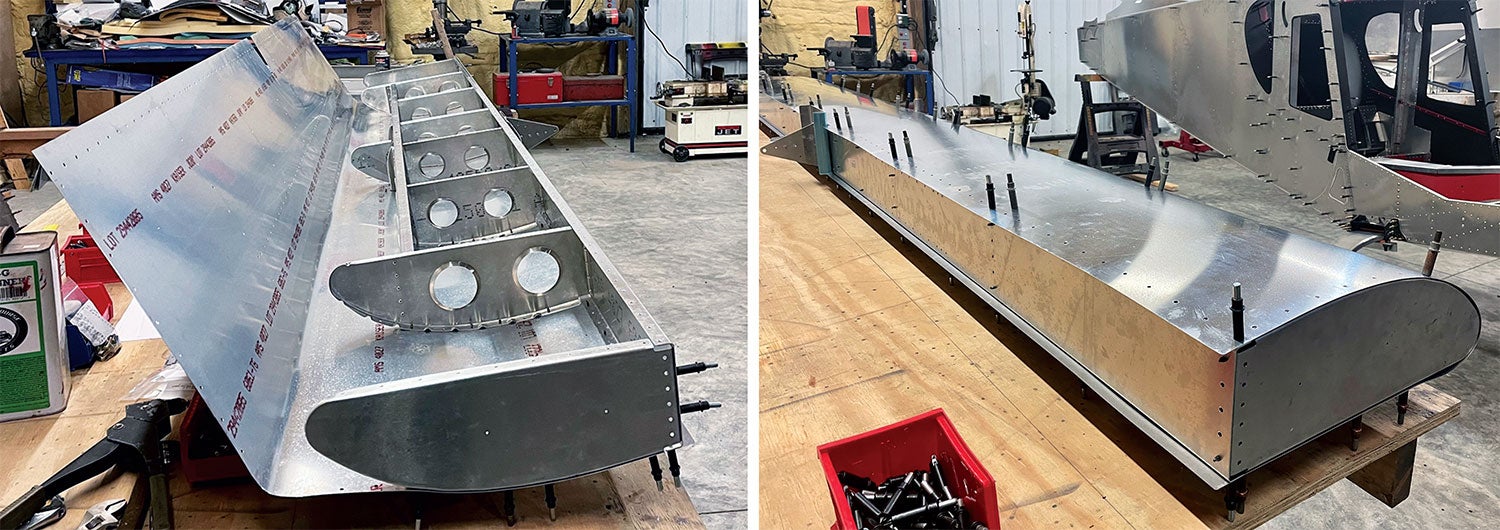
With workbench space (temporarily) available again, I was able to mock up the horizontal tail. The modern final-size, match-drilled kits really speed things up when you build these planes without doing modifications and the Super Duty tail is a good example. It can be completely mocked up in a couple of hours. Of course, disassembling, deburring and cleaning it all up for final assembly takes a little more time. Still, it’s amazing how much faster it goes together than the 701 kit I built back in 2017–2018.
Next Steps
The build has been progressing nicely over the last couple of months, but it never goes as fast as you’d like when you are looking at a bunch of parts and dreaming about flying it! My schedule also took an interesting turn, as I am now working for Zenith Aircraft Company in Mexico, Missouri, through the summer. This puts me in a completely different state from the Super Duty project, which isn’t exactly speeding the build along.
Even so, the project is still heavily on my mind and I find myself planning the next steps during any free time I get while in Missouri. Working with Zenith has also given me an interesting chance to spend time with the experts and learn a lot about the systems on the factory demo planes. In addition, it has provided opportunities to meet and talk with many other Zenith builders and flyers.
It is amazing how many unique ideas builders incorporate into personalizing their aircraft. You can always find details that are worth considering for your own build once you get a chance to look over dozens of other builders’ creations. For instance, I’ve come across many different ways to attach an engine cowl to the fuselage: piano hinges, screws and all kinds of specialty fasteners. Getting to see and talk about the choices other builders have made not only opens the door to possibilities I might not have considered otherwise but also keeps me thinking critically about the decisions I’m making for my own plane.
It’s no surprise that the most personalized area is the instrument panel. It probably goes without saying that there are an infinite number of ways to design, lay out, attach and cover a panel. The mission the aircraft is built for, the equipment available and the builder’s personal preferences and aesthetic sense all play a part, not to mention the logistics of finding the best way to fit what you want into the space you have. It really is a part of the build where I feel like a builder can get creative and design specifically to their mission and tastes.
With all of that in mind, I have some ideas for my panel, but nothing is even close to being finalized yet. I really need to wait until I am far enough along with the build to be able to sit in it, visualize the options—and maybe make some airplane noises for the sake of authenticity.
During my short stints home over the summer, my plan is to work on the forward fuselage, firewall area and the nose gear. I’m also hoping I’ll be able to finish the tail and get started on the wing structures. As I work on these other structures, I will be thinking a lot about the instruments and the electrical, engine and fuel systems.
Overall Progress
It has taken a lot of time to get to this point in the build. The visual progress has been very slow, but I feel great about it so far. I am not planning on doing any major modifications to the rest of the tail and the wing components. Since I know these kits are designed with “ease of building” in mind, I am really looking forward to seeing those pieces come together much faster.
There is a huge amount to still be done, but I am optimistic about future progress and look forward to getting back to work and focusing on this project soon!
Videos of Humberd’s builds—and some of the fun that can be had with flying a STOL airplane—can be found at www.youtube.com/Super701.
![Coming in for a landing at Humberd’s Farm [All Images Credited to Jon Humberd]](https://www.kitplanes.com/wp-content/uploads/2026/07/9-1.jpg?w=218&h=150&crop=1 "Overcoming Setbacks on the Zenith 750SD Xtreme")
![[Credit: Zenith Aircraft Company]](https://www.kitplanes.com/wp-content/uploads/2026/06/31142685469.jpg?w=218&h=150&crop=1 "Zenith Throws Open Its Doors for “Fly-In to Summer”")
![Members of the North Idaho High School Aerospace Program gathered at KSZT [Credit: North Idaho High School Aerospace Program]](https://www.kitplanes.com/wp-content/uploads/2026/02/IMG_3499.jpg?w=218&h=150&crop=1 "North Idaho High School Student ACES Fly the Aircraft They Built")


