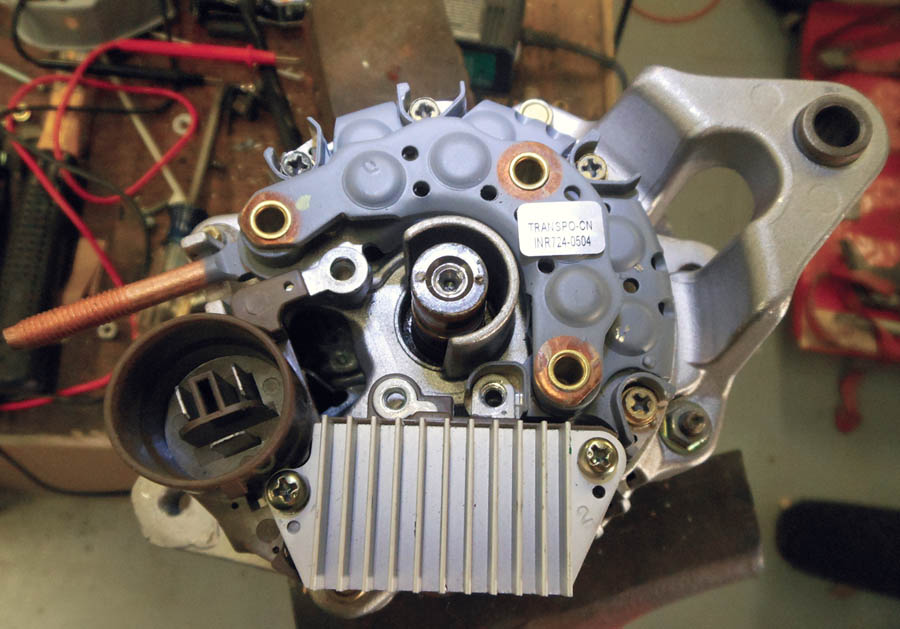
Figure 1: After removing the rear cover and insulator that protects the B+ post, the internal regulator and brush holder are visible. These are the two components that need to be modified.
In the following discussion I will show you how I modified a Nippondenso alternator for use as an externally regulated device. The alternator I used is a Lister #14684 and was originally for a 1985-1989 Suzuki Swift. It is a 60-amp rated alternator. This technique should also work on several other Nippondenso models that are similar in construction, for example the smaller series that is found on some industrial equipment, and some of the larger ones as well.
The purpose of my conversion was to have an alternator that would be able to utilize an external regulator that not only provides adjustability of the alternator output voltage but overvoltage protection as well. Additionally, since I plan on traveling with my plane a great deal in the future, I also wanted commonly available parts that are reasonable in cost, just in case I might break down somewhere.
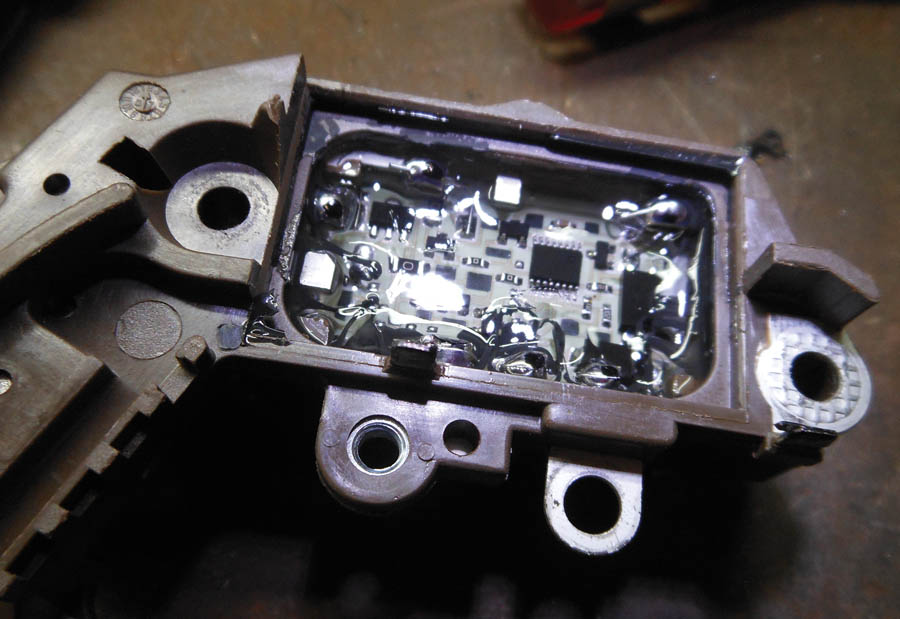
Figure 2: With the regulator opened up, you will see a bunch of electronic components in a potting compound of some sort.
To begin I purchased a rebuilt alternator (stock #3112209) from the local Advance Auto Parts store. This came with a lifetime replacement warranty. Whoopee! I didn’t really care as I was about to void that warranty big time. The alternator cost $87.67 out the door. Next I went online and ordered 2 replacement brushes (#38-8201) from Alternator & Starter Parts Wholesale. These were a whopping $1.00, but the freight was the killer at $6.50. Just so I wouldn’t feel so bad about the freight, I also ordered a steel pulley (#ND 1V 67MM) for an additional $5.90. This was totally optional and not really needed. With all the parts in hand, I went to work.
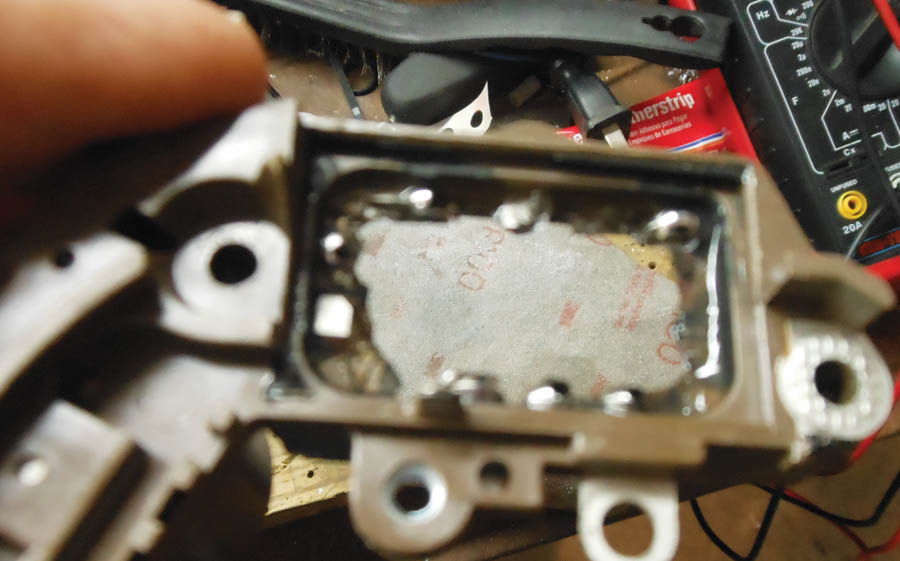
Figure 3: The housing after carefully removing the electronic components. Don’t harm the tabs bonded into the housing.
Alternator Surgery
You will want to secure the alternator in a vise or on the workbench somehow so that it does not roll around pulley end down. Remove the three bolts that secure the sheet metal rear cover and the insulator that protects the B+ post. This will expose the internal regulator and brush holder, the two components on the back of the alternator that need to be modified. Basically, we will modify the internal regulator by removing all of the components that make it work, thereby turning it into a terminal block only. The brush holder will be modified to be able to pass the current from the modified internal regulator through the stator windings and then to ground. That’s it—pretty simple! Figure 1 shows what you should now be looking at.
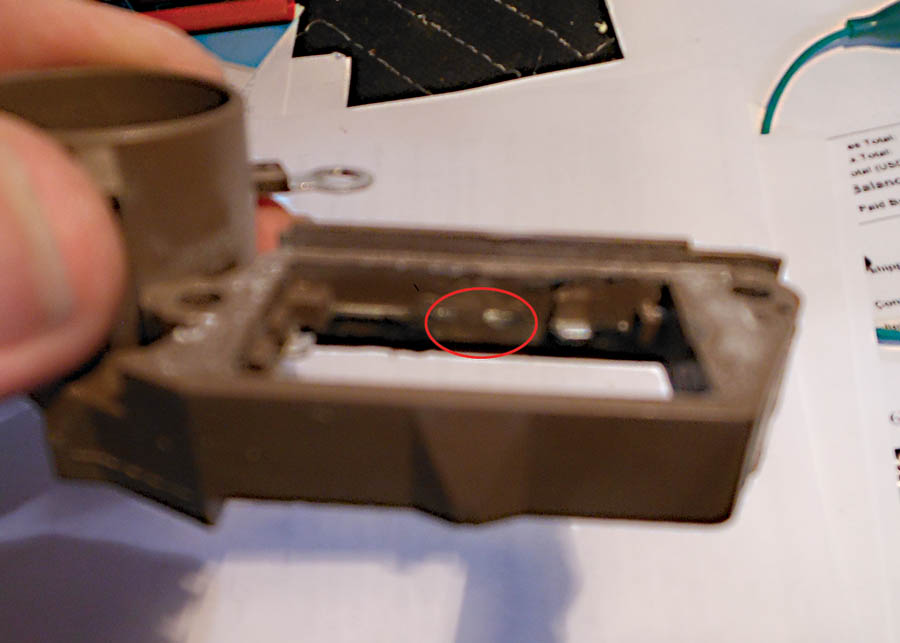
Figure 4: Remove the two tabs circled in the photo. Then smooth the surface so there are no protruding sharp edges.
The part with the metal fins is the internal regulator and the part with the rubber dust cover is the brush holder. Take out the screws that hold these two components and remove them. First we will need to modify the internal regulator. This will not be pretty as some surgery is involved, and you will destroy a perfectly working part. Carefully pry off the plastic cover on the bottom of the regulator, and clean it up for future use. If there is a component wired to tabs bonded into the side of the regulator, cut the wires and the corresponding tabs off. Just go slowly—I’ve never messed up one yet. If you mess it up, don’t worry as it will just be window dressing later anyway. As you can see in Figure 2, with the regulator opened up you will see a bunch of electronic components in a potting compound of some sort.
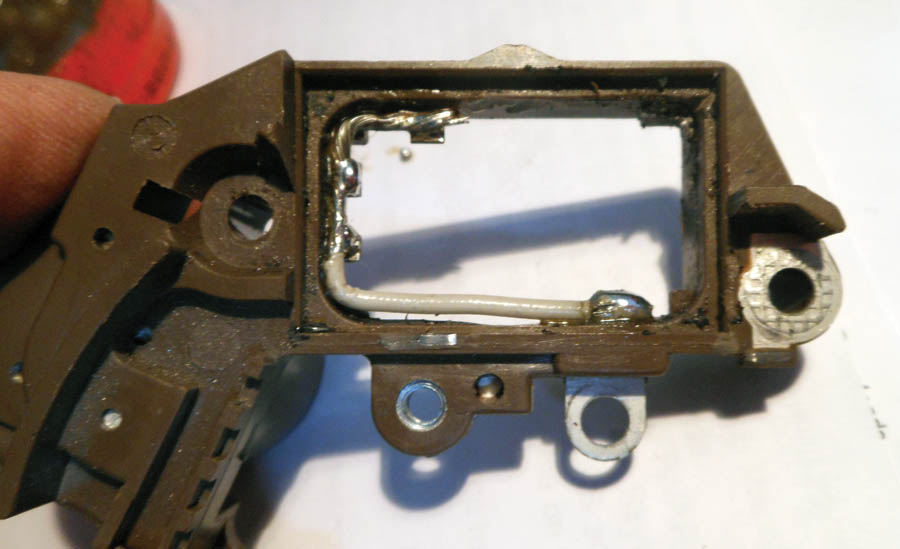
Figure 5: Solder a small piece of scrap wire to make the tab on the regulator housing common to any of the prongs located in the round connector body.
Depending on the manufacturer, it may be a gooey gel or a tar-like substance—no matter. Now carefully remove the finned metal cover. Sometimes the electronic components are bonded to the underside of the finned metal cover and sometimes not. If they are bonded to the cover, just use some small wire cutters, and cut the wires that attach to several small tabs that are bonded into the regulator housing. If the cover comes off and the electronic components remain in the regulator housing and potting compound, then a bit of careful work will be required to remove the electronic components without harming the tabs bonded into the housing. When done it should look like Figure 3. Also get the regulator housing all cleaned up, as well as the finned cover.
Next you will need to remove two of the bonded-in tabs. I just use a Dremel tool to cut them off and smooth out the surface so there are no protruding sharp edges. Slow and careful is best here. The tabs you will remove are circled in Figure 4. (Sorry for the bad picture, but you get the idea.)
Figure 6: After verifying continuity, bond the bottom and finned metal top cover back on, then install the modified regulator housing back on the alternator.
Reconstruction
Now get out the soldering iron and a small piece of scrap wire. The wire can be just about anything from 14 to 20 gauge or so, solid or stranded, makes no difference. It will only carry less than 5 amps or so. I generally use 18 gauge because I have some scraps lying around. You will need to be sure the regulator housing tabs are clean and prepared by removing old wires and solder. This is where you want to do a very good solder job with no cold joints that can come back to haunt you later. If your wire is insulated, remove the insulation. Where necessary, bend it and solder it to the tabs as shown in Figure 5. I generally do this on the bottom side of the regulator housing, just to be sure the wire cannot short out to the finned metal cover later.
What you have accomplished so far is to make the tab on the regulator housing common to any of the prongs located in the round connector body. It might be a good idea to verify this with a continuity meter at this time. If all checks out, mix up some J-B Weld or similar adhesive, and bond the bottom and finned metal top cover back on. This is not totally necessary, but it will prevent junk from getting in there and causing a problem.
You can now install the modified regulator housing back on the alternator at this time. It should look like Figure 6.
Now let’s modify the brush housing. What we are going to do is remove the brush and spring from the bottom slot of the holder by de-soldering them from the left-side solder joint. Next, you need to drill about a #40 hole in the center of the brush cavity on the backside, as shown in Figure 7.
Figure 7: Remove the brush and spring from the bottom slot of the holder by de-soldering. Then drill a #40 hole in the center of the brush cavity on the backside.
Now take one of your new brushes, thread the lead through the spring, and insert it into the hole you drilled. Push the brush back into the cavity, being careful to get the spring and lead aligned properly. Make sure both brushes slide freely in their slots. I generally hold the lead with a pair of forceps with the new brush fully depressed in its slot.
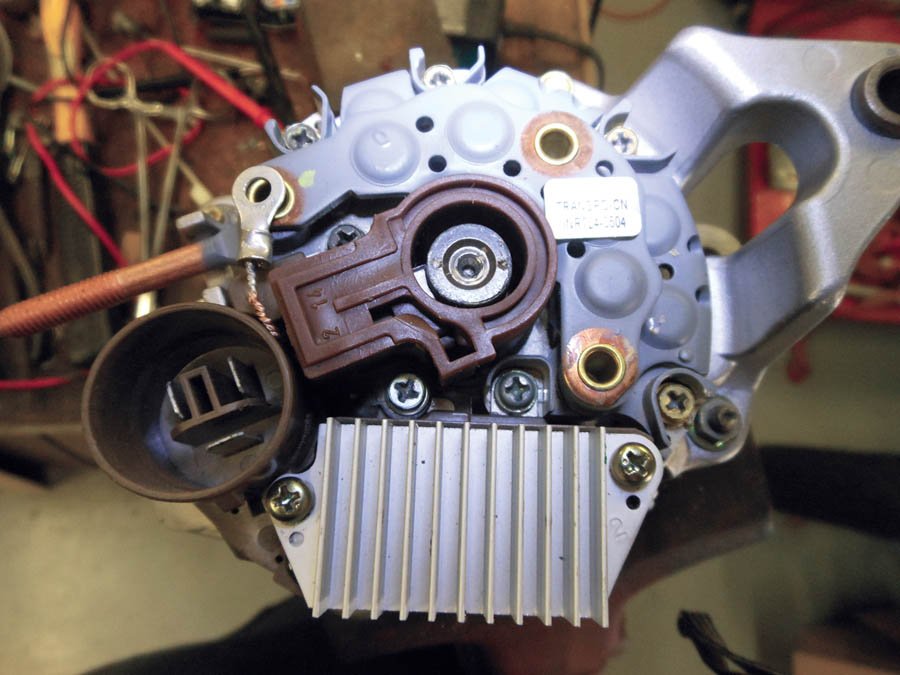
Next install a ring terminal on the end of the lead. I usually crimp and solder them, but just a good, sound crimp is OK. Then install the modified brush holder assembly onto the alternator using the screws you previously removed. If I recall, two of the screws are a bit longer than the others. Be careful here, and don’t damage the brush surfaces. When you’re done it should look like Figure 8.
The new brush you installed in the brush holder is the ground side of the circuit, and that is why it’s not insulated. As you can see in Figure 8, it will terminate with the bolt that holds the alternator back cover on.
Figure 8: Install a ring terminal on the end of the lead, then install the modified brush holder assembly onto the alternator using the screws you previously removed.
OK, we’re almost finished…Check all fasteners for security and install the back cover and B+ stud insulator, paying particular attention to making sure the brush lead terminal is secured by the cover bolt. Remove the alternator from the vise or securing device, and give it a spin to make sure there’s no binding and all is well. You’re done!
If you want to test it before you install it, take it to any professional alternator repair place, and ask them to check it for you. Important! Be sure to emphasize to them that it has been modified for external regulation and any of the terminals in the connector housing are for regulated voltage input.
Spare Parts
I always carry a spare modified brush holder in my spares bag, just in case I might break down while traveling. It’s easy to just go to Advance Auto or some other auto parts store and get a replacement alternator and swap out the components. The modified regulator housing is a permanent deal and really has nothing to break or wear out, so that’s why I only carry a spare modified brush holder assembly.
On my RV-9, I used a Transpo V1200 regulator. This is a nicely made regulator that allows adjustment of the alternator output voltage from 13 to 16 volts, which is important to fully charge an Odyssey PC680 battery. It also provides overvoltage protection and is readily available. I carry a spare in my travel kit as well because it weighs less than 8 ounces, and auto supply chain stores generally have to order a replacement. They sell for about $85.00 at most alternator shops.










Hello Marc,
Without wanting to denigrate Ted’s Article (Rewiring a ND Alternator), and not wanting to push my own barrow too much, I do consider that my modification to the ND alternator (see Nov 2019) is a more efficient way to do this. It is also completely reversible and uses all the original components; no need to buy replacements ‘just in case’.
Thanks,
Graeme Coates.
I have done this on more than one alternator (not ND and an ND).
Modifying the brush holder or the regulator housing; very little difference;
Both are easily reversable; personally think modifying the regulator housing is simpler and you get to keep the OEM plug ‘as is’; instead of a pigtail wire coming out of it or yet another style plug.
To each his own I guess…