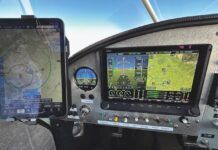
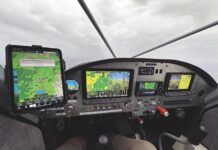
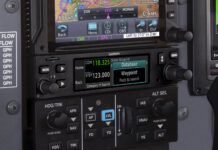
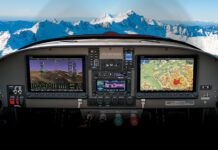
One of the projects we have going on right now is to finish up a Dream Tundra that we partnered in early this year. When we bought the project, it was ready for a panel and the Firewall Forward work, and we though this would be a good opportunity to try out the latest Skyview products from Dynon Avionics. As previous owners of the D-series equipment, we have been anxious to give the Skyview Touch a workout on a day-to-day basis. They agreed to give us a system on consignment to use for a while, so we began the planning, starting with a system wiring drawing from Steinair.
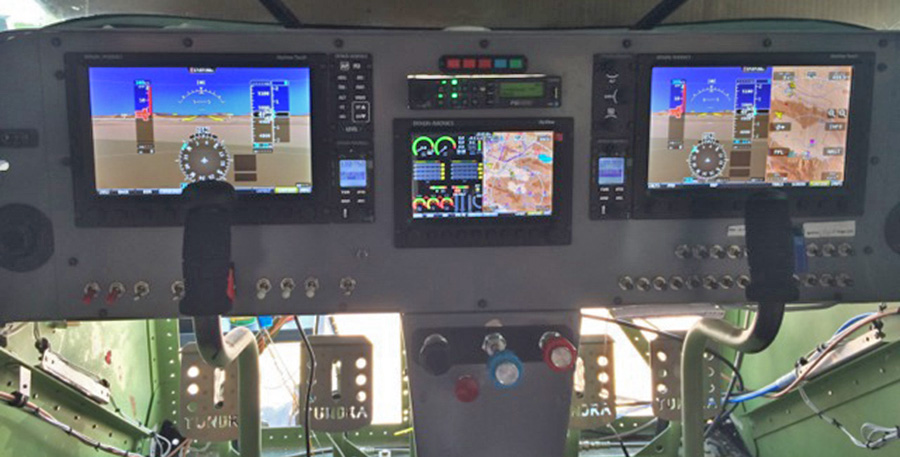
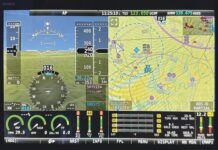
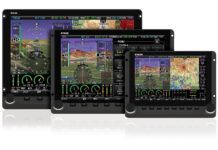
Installing the SkyView was amazingly simple. Many of the remote boxes are powered from the Dynon Network bus, so about half of the overall boxes in the system don’t need dedicated breakers or fuses. Those that do only need power, ground, and the network connection. In the case of the dual remote radios, we had audio wiring to run to the audio panel, and the display units use a few serial channels to communicate with certain equipment. All three displays (two 10” Touch screens, and one 7” non-touch) come with prewired main connectors, and we simply removed (and saved) the wires that we were not going to use – they have a lot of serial channels available, and delivering the harnesses with all of them in place saves a LOT of time for builders who might have specific uses for them.
The Dynon Network made the wiring incredibly easy overall – once we had physically mounted the equipment, we measure for the necessary network cables (in our case, eleven of them), and then had them made up for us by Steinair to exact length. We could have done them ourselves, but that is a lot of crimping (9 pins for each end, times 2 ends, times 11 cables), and having the cables made up saved us a lot of time. Plugging all the cables in took just a few minutes, and we had power on the system in only a couple of days work. With power on, we were able to let eh system find all of its network nodes, and so far, the setup process has been quite simple. There appear to be Wizards in place to do many of the tedious jobs, and we look forward to rolling the airplane out for calibration in the near future.
With a three-screen EFIS, dual remote Comm radios, remote transponder, ADS-B In and Out, and a two-axis autopilot, this is going to be one VERY well equipped DVFR bush plane. But knocking around in the wilderness, it will be nice to have Synthetic Vision, terrain warning, and weather information in front of us all the time. We’ll report when it’s flying!

