Dynamic propeller balancing can smooth out your ride and reduce wear and tear on engine parts. If you can find a mechanic with the right equipment, a dynamic prop balance should cost about $150. If you have some extra cash and would like to provide this service to others, you can buy a DynaVibe prop balancer for $1495. They are available directly from DynaVibe through their website or from Aircraft Spruce. A mounting kit is also available for $79.99 if you don’t want to fabricate your own mounts. I used the Classic model that should meet the needs of Experimental builders. I was able to borrow a balancer from a friend and easily did two planes in a day.
The process of balancing a prop is pretty simple, and almost everyone agrees that it was worth it once it’s done. Reduced vibration greatly reduces problems with cracking baffles and spinner backing plates. It also helps extend the life of engine accessories such as alternators, starters and magnetos, not to mention exhaust systems. Anything that hangs off your engine will be happier with less vibration. Reduced vibration can also help decrease pilot fatigue on long flights and lessen vibration damage to avionics. Lastly, the propeller will benefit from reduced vibration, which is why all major propeller manufacturers recommend dynamic balancing.
Pre-Balancing Checks
Before you dynamically balance your prop, there are a few things you need to check. Does the propeller need repairs? Minor nicks and scratches should be corrected before balancing, and exposed surfaces should be repainted. If there is any major damage, the prop should be sent to a prop shop for repair. (See the KITPLANES® February 2015 issue for more on prop repair.)
With nicks and scrapes properly treated, next check the track of the blades. Place an object behind one blade of the prop as it is pointed down, and move the object until it just barely touches the prop blade near the tip. Now rotate the prop until the other blade or blades just pass the same object. They should all be within 1/16 inch of the same spot as they pass by. It is usually easier to remove a spark plug from each cylinder when you do this so the engine can be turned over easily and not accidentally move the plane.
Other possible problems such as loose blades or leading-edge protectors on wood props must be corrected before balancing. Lastly, be sure the spinner and backing plate are in good shape and free of cracks or missing screws. In other words, the prop needs to be in tip-top shape before you attempt to balance it. The engine also needs to be running smoothly. An engine with a fouled plug or a magneto in need of attention will not run smoothly enough to get a good balance readout.
Balancing
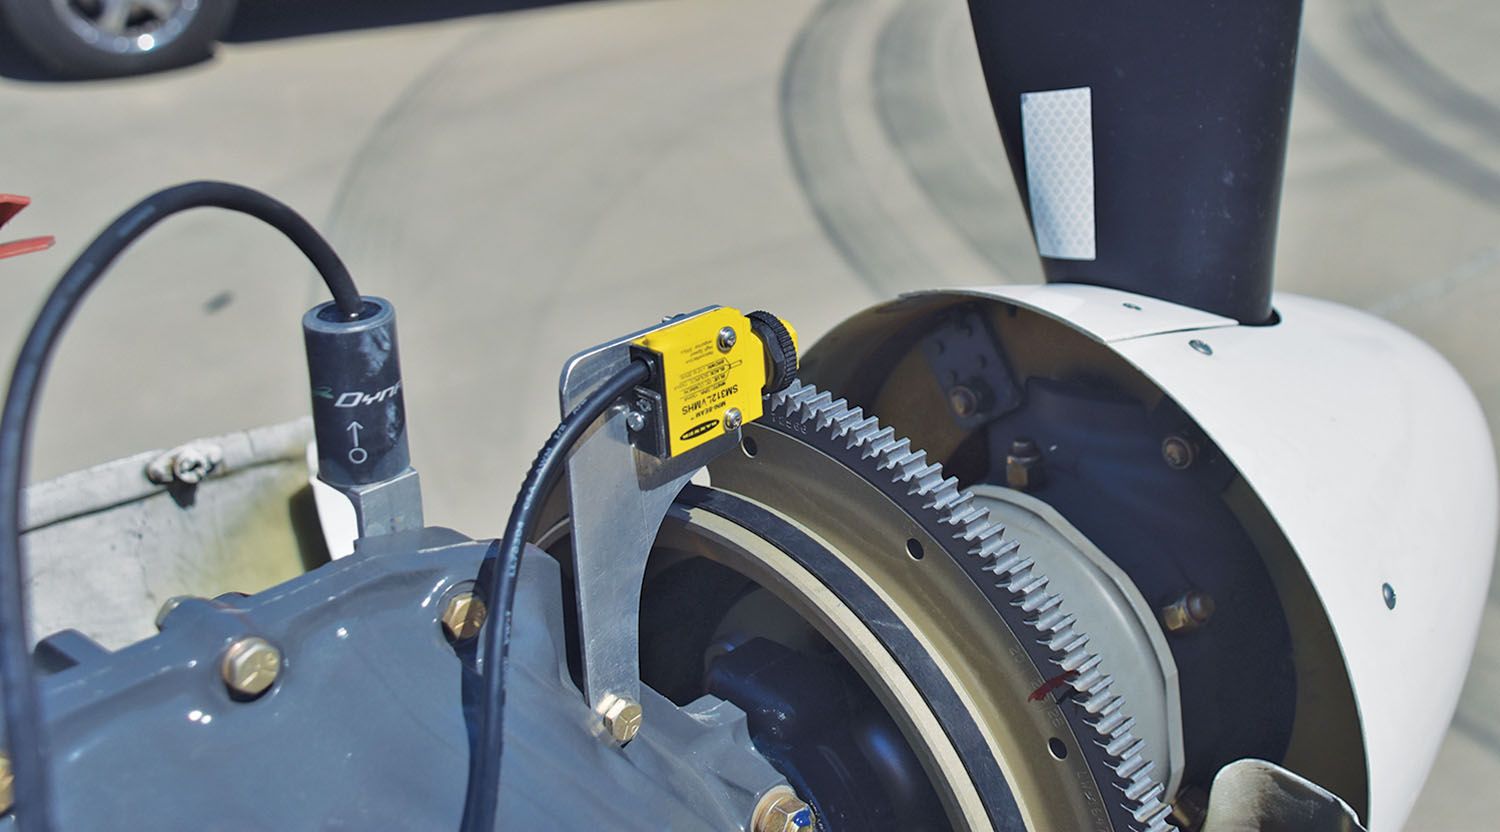
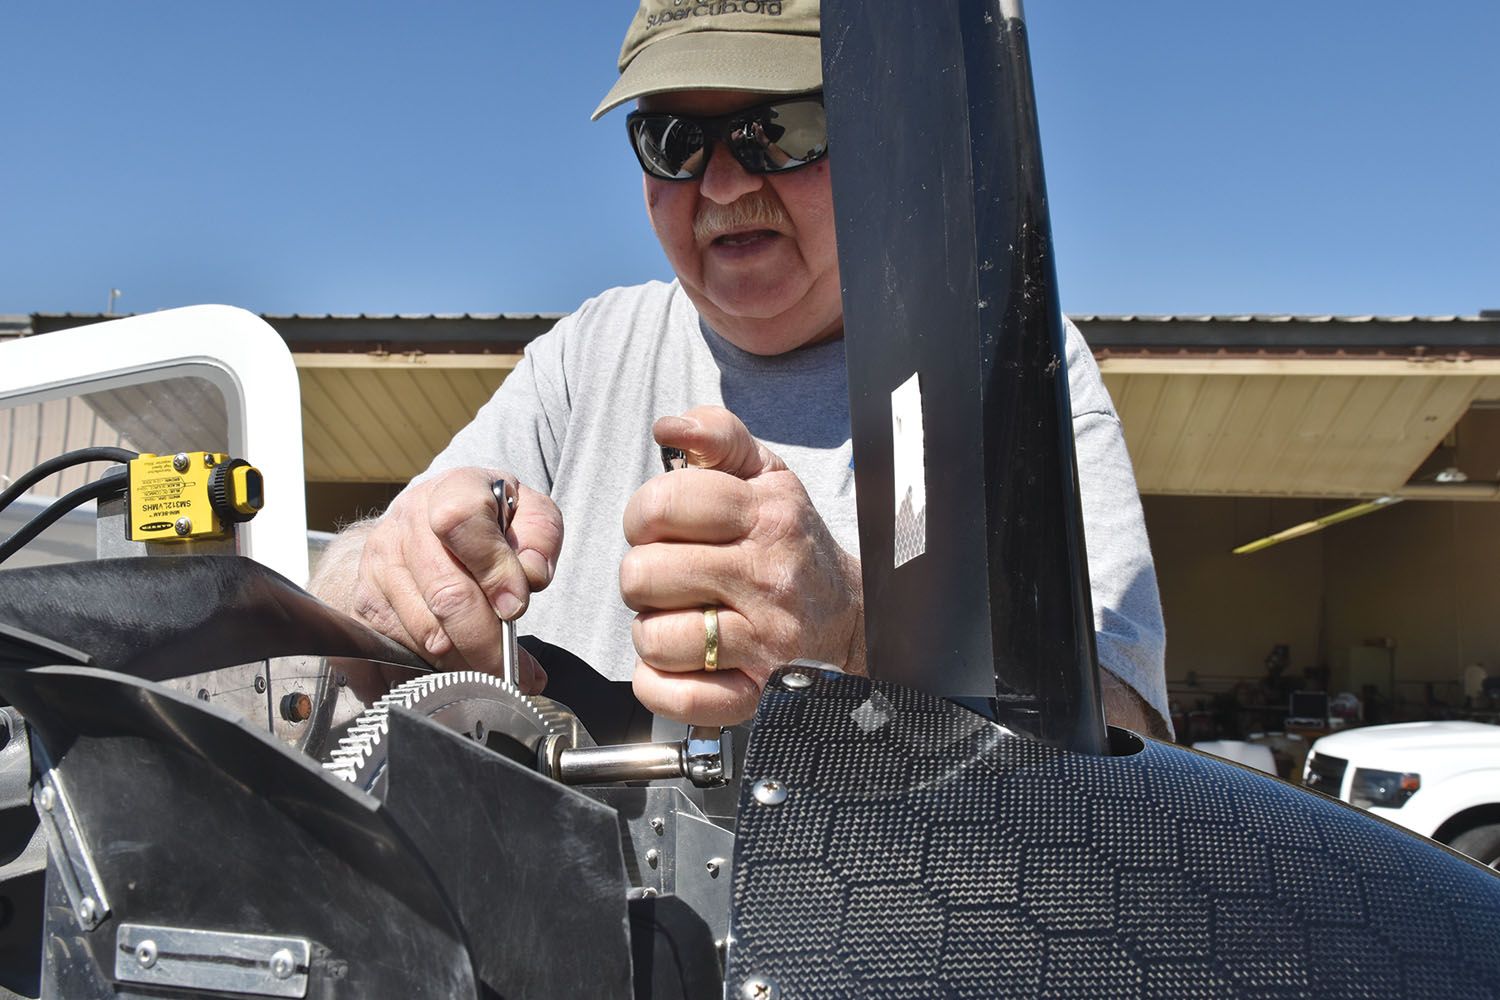
Once you have determined that everything is in good shape firewall-forward, remove the top engine cowl and follow the sensor installation instructions that come with the balancer. You may need to fabricate some simple brackets to hold the sensors if you are the first person to use the equipment or have a different engine type. The brackets do not have to be elaborate at all. They just need to be sturdy. Mount the sensors as close to the engine’s centerline as possible and as close to the front of the engine as possible. The tachometer sensor must be positioned so that its light can shine on the prop or spinner backing plate, and the accelerometer needs to be straight up and down with the wires coming out of the top.
With the sensors in place, check that the light from the tach sensor shines in a spot where you can place a strip of reflective tape that comes with the balancer. Usually, the back side of a prop blade works well. Before installing the reflective tape, check the tach sensor’s position and aim by turning the balancer on and letting it shine its laser light on a piece of white paper held near the prop. It will not be visible in bright sunlight, so you may need to shade it or move the plane into a hangar where the light can be dimmed. Once you have aimed the tach sensor, stick the tape where the light will shine on it. The accelerometer sensor requires no adjustment once it is properly and securely positioned.
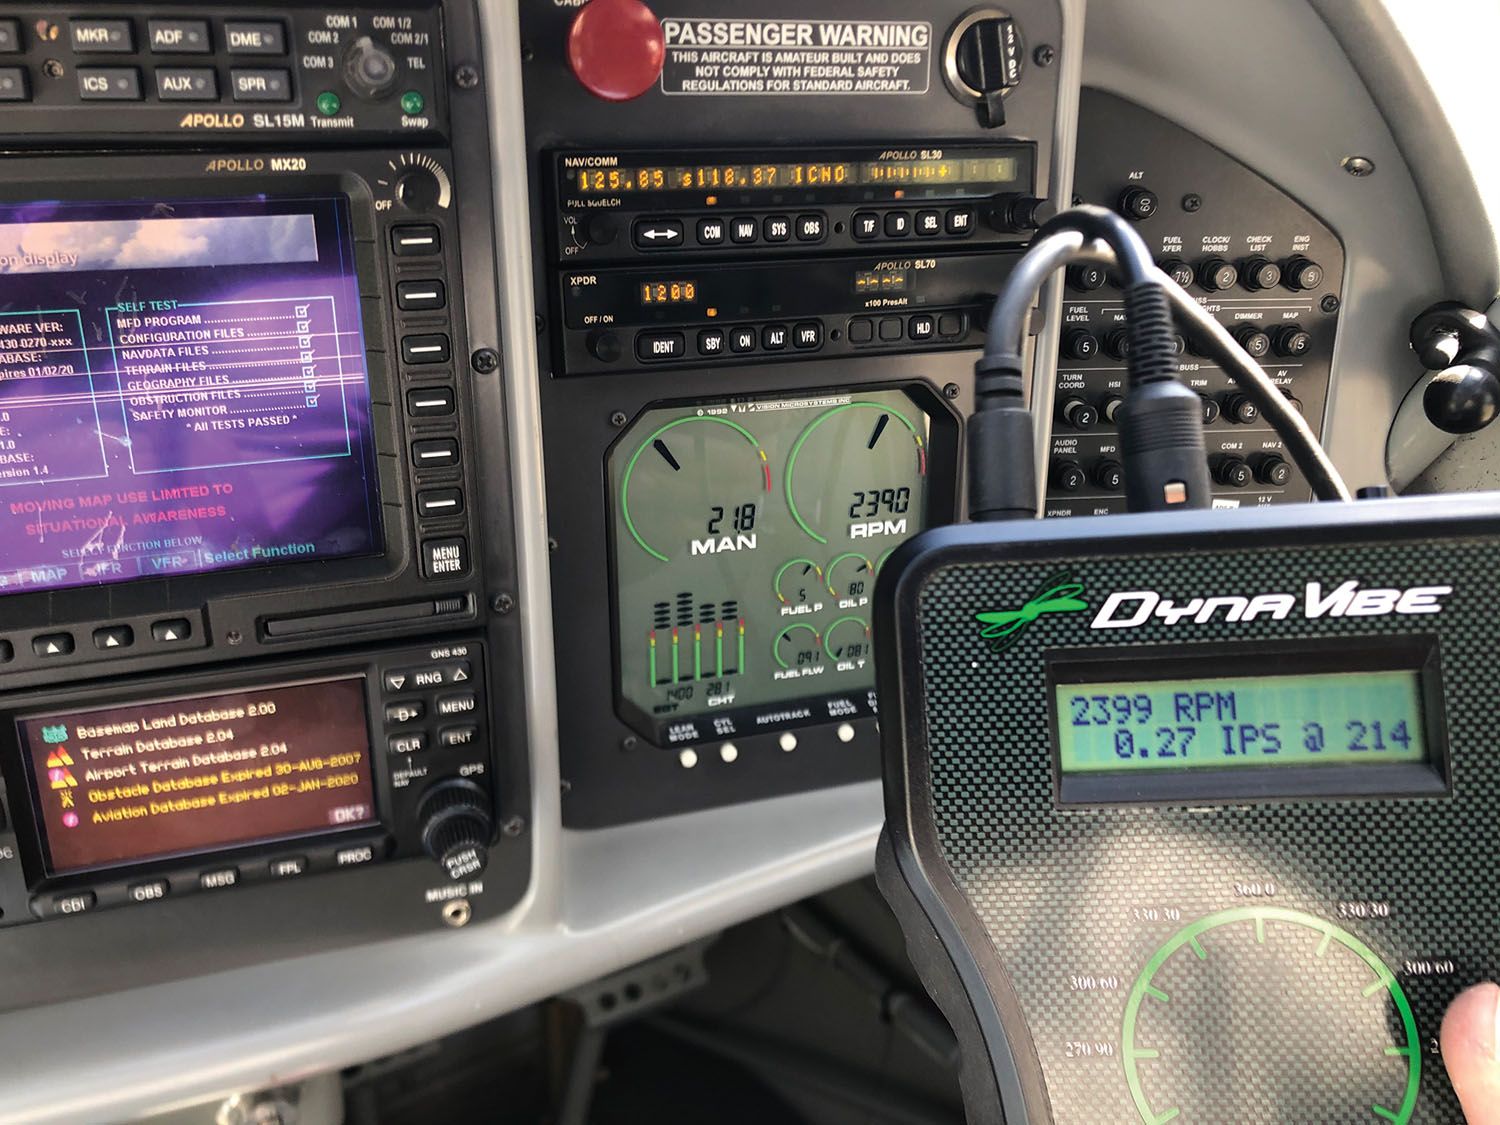
With the sensors properly positioned, route the wires away from moving engine and prop parts and away from hot exhaust pipes. The balancer readout will usually be best positioned in the cabin of the airplane. Ideally, one person will be operating the airplane and another will be handling the balancer readout, but it is possible for one person to do everything.
Position the plane so it is facing into the wind. With all due caution, start the engine and warm it up to at least minimum full-power operating temperature as per the engine manufacturer’s recommendations. Be sure the brakes work well and the wheels are chocked. Run the engine up to cruise rpm—usually 2300 to 2500 rpm—and hold it there. Press the button on the balancer and wait for the reading to stabilize, which should take less than 10 seconds. Once the balancer readout has stabilized, press the Averaging button and wait for it to do its processing. Reduce power and repeat the process to confirm the initial reading. If the two readings are very close, shut the engine off and note the reading.
If the readings are not close, try again until you get two readings in a row that are very close. If you can’t get the readings to stabilize, you will need to find out why. Problems could come from poorly mounted sensors, a poorly running engine or a piece of reflective tape that is too short. Consult the DynaVibe manual for more troubleshooting ideas. They also have excellent technical support if you contact them through their website.
Interpreting the Readings
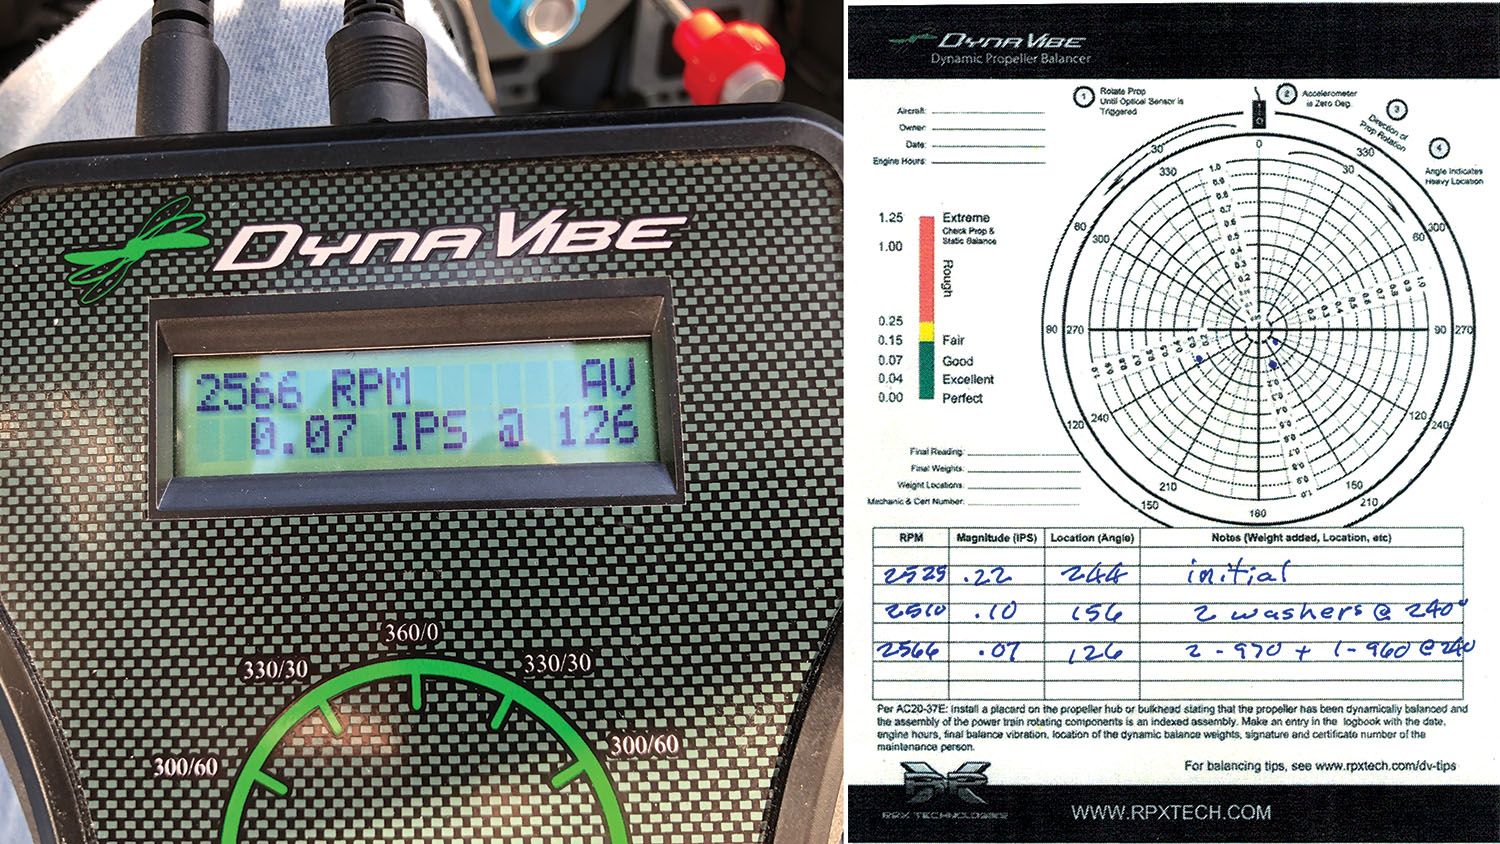
Assuming all went well with the test, you will end up with three numbers. One is an acceleration in inches/second2 and the second is an angle in degrees. The balancer also gives a very accurate rpm reading to compare to your airplane’s tachometer. Accelerations can run from 1.25 or more on the high end (horrible) to 0.04 on the low end (effectively perfect). With a reading of around 1.25 or more, you will need to have your propeller statically balanced by a prop shop before you can attempt to dynamically balance it. More typically, a good but unbalanced prop will have an acceleration of 0.20 to 0.30. This is easily corrected.
Acceleration is caused by the centripetal force exerted by excess weight concentrated on some spot in a rotating object, in this case your propeller. This is the same phenomenon that you deal with when you get the tires balanced on your car. The prop balancing process is also similar in that weight will be added opposite the heavy spot to balance it out.
The final reading is the angle. The angle reading is the number of degrees in the direction of prop rotation from the white tape to the heavy spot. The balance point will then be opposite the heavy spot or 180° away. This is where weight will be added.
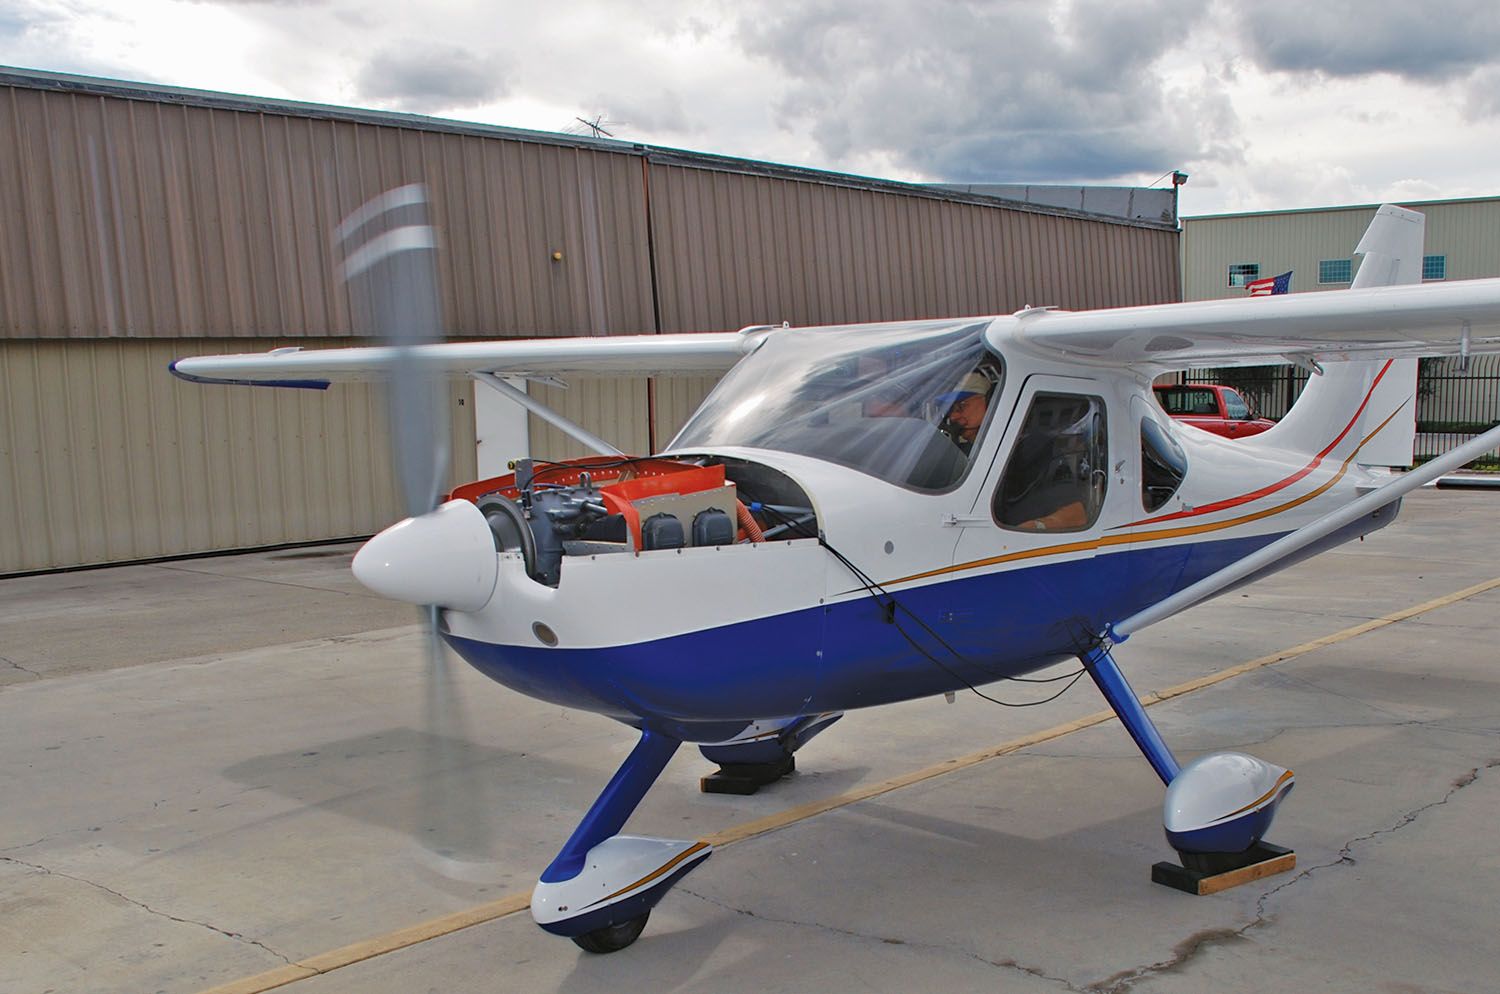
Here is an example: I tested my Sportsman with a Lycoming O-360 engine and a Hartzell constant-speed prop. The initial reading showed an acceleration of 0.22 and an angle of 244°. The spot to add weight was thus at 244 minus 180 or 64°. As luck would have it, the Lycoming ring gear carrier has holes evenly spaced around its perimeter every 30°. I added some weight in the form of an AN4 bolt and two AN970 washers at 60°. I held it all in place with an AN363 all-metal lock nut. A second test got me to 0.10 at 156°. By adding an AN960 washer, I got it to 0.07, which is in the excellent range. Good enough for me.
The second plane that day, a GlaStar, has a Catto fixed-pitch prop that is very much lighter than the Hartzell constant-speed prop on the Sportsman. My first reading on the GlaStar was 0.42 at 163°. Thinking that a number twice as high would require twice as much weight to get it right, I added four AN970 washers, which gave me a reading of 0.44 at 317°. Oops. I removed two washers and got it going in the right direction. With two more tries, I got it to 0.11 and gave up, settling for good instead of excellent. I may go back and work on it some more later.
If your first guess is not close, you will need to try a time or two by adding weight and retesting. If you add too much weight, you will see the angle change to something closer to where you added weight. Just remove some of the washers and try again. If the angle stays about the same and the acceleration decreases but just not enough, add another washer and test again. Any acceleration reading below 0.07 is excellent and below 0.04 is perfect according to DynaVibe. If necessary, you can use an AN3 bolt to save a bit of weight, but do not use stick-on weights. If you add weight to the spinner backing plate instead of the ring gear support, be sure to maintain proper edge distances with any holes you drill.
Wrapping It Up
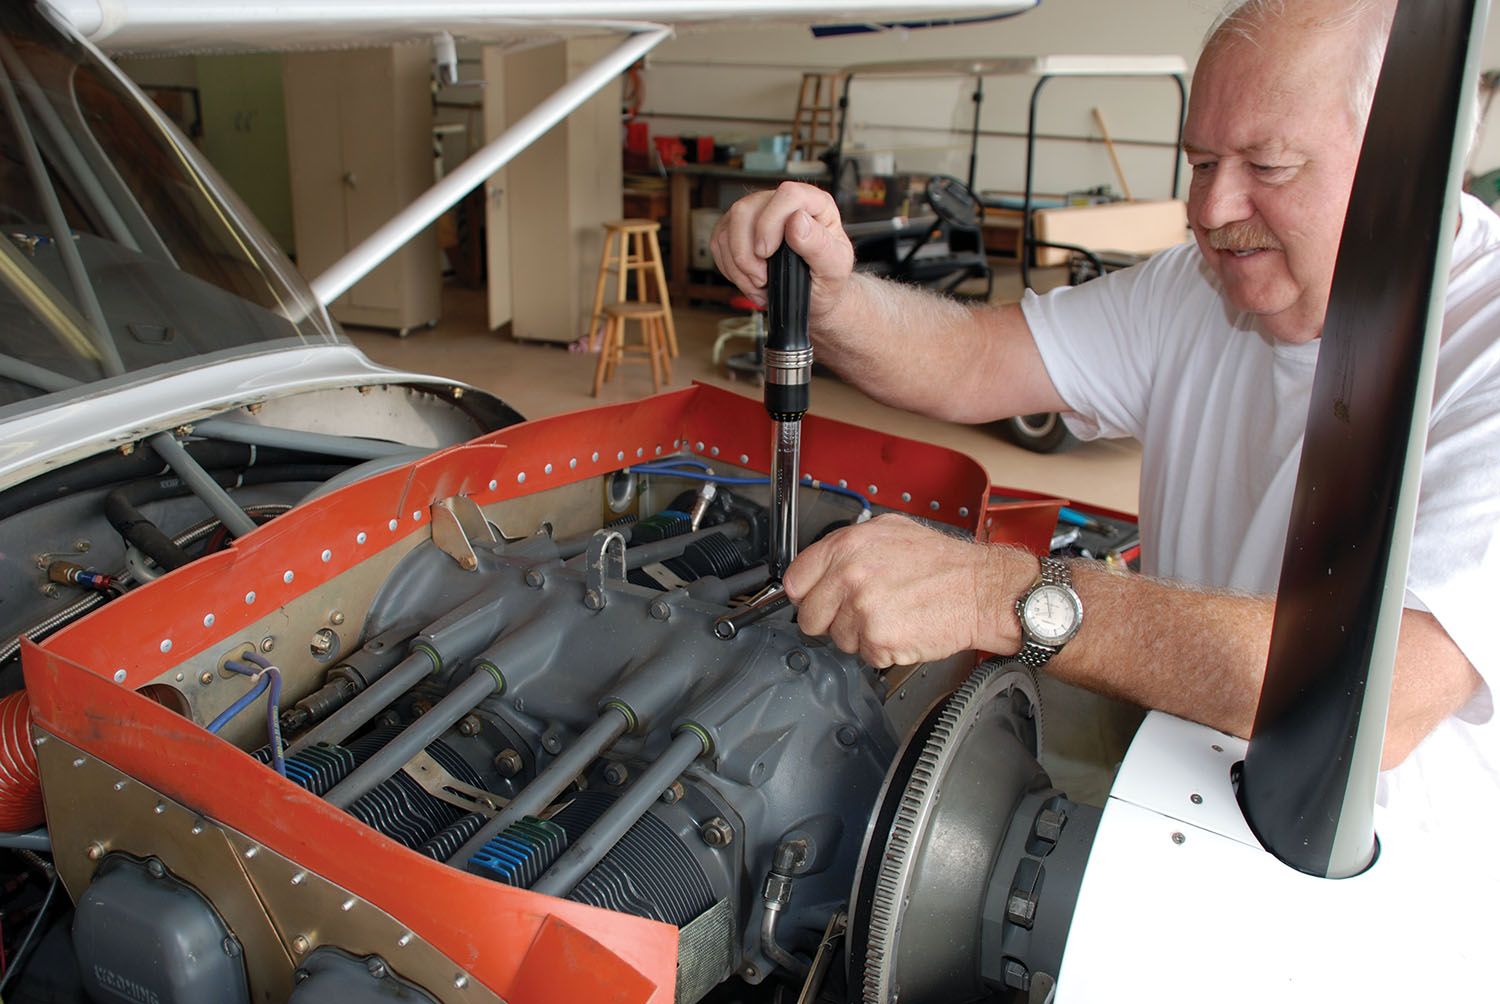
When you are satisfied with your results, remove the sensors from the engine and replace the bolts. We used the small bolts that hold the case together on my Lycoming, which worked well, but these bolts need to be re-torqued to 75 inch-pounds after they are replaced. Also be sure to use new internal star lock washers to keep the bolts tight. If you use other bolts or a different engine, be sure to consult the manufacturer’s literature for proper torque numbers. Reinstall the cowl, collect all your tools, making sure none is unaccounted for, and record your work in your logbook. Your prop should not need to be rebalanced unless you damage it and have to repair it, or if you repaint it. Now go for a test flight and see how much smoother your engine feels.
| DynaVibe Table of Results | |
|---|---|
| 0.25 to.015 inch/sec2 | Fair |
| 0.15 to 0.07 inch/sec2 | Good |
| 0.07 to 0.04 inch/sec2 | Excellent |
| 0.04 to 0.00 inch/sec2 | Perfect |
You can strive for “perfection,” but getting the prop balance into the “excellent” stage is often a big improvement.
If you don’t want to spend $1495 for a prop balancer and can’t get your EAA Chapter to spring for it, there are companies that will come out and do it for you for a few hundred dollars. Jim Fackler Dynamics is one who works in Southern California, but a Google search might find someone close to you.
More information
- DynaVibe web site
- Jim Fackler Dynamics
- Video of the process:


