Here’s an insider’s glimpse of life at the sweet-smelling and well-lighted KITPLANES® world headquarters. When we sit down with the incredible amount of data gathered for the first (and largest) of our annual Buyer’s Guides, often can be heard the booming, Magliozzi-brothers-like interjection: Boooogus! And it’s usually when we’re running the manufacturers’ estimated completed cost fields through one of our many background formulas that help us determine data veracity. Red lights flash, klaxons sound. The neighbors complain.
Why? Well, the estimates we get sometimes look like back-of-the-napkin guesses that apparently consider the cost of the kit, engine, prop and avionics—and not much else. We admit some companies are much better than others, obviously providing numbers with the benefit of realistic thinking. Speaking of real-world experience, take a look at the opinions of builders who were asked what was most surprising cost-wise about their projects. Their responses appear in various sidebars throughout this article.
What can you do? Start with a set of photos or, better yet, the plans for the airplane you are considering building. Look at each component from the front to the back—prop spinner, prop, backing plate, cowling…and so on until you get to the tail cone. Think about where each piece comes from. Now think about systems—hydraulic (brakes), electrical (avionics, lighting, control systems like trim and flaps) and pneumatic (pitot-static)—and consider where all these pieces will come from. Hold that thought; we’ll come back to it.
Pricing the Kit
Getting a good top-line number on the basic kit should be easy, but it’s often complicated by multiple options, offsets and other factors. As you get close to choosing the design you want to build, ask for a detailed list of what’s actually in the kit. This is your backbone document; you’ll build a more detailed estimate from it as you fill in the answers to the questions we posed a moment ago.
The goal here is to understand and account for the gap. Certain bits and pieces will come with most basic kits, but there is an amazing gulf between what is on the invoice list and what you’ll need to complete the airplane, quite beyond the big pieces like engine, prop, avionics, interior and paint.
One more thing: The following advice assumes that you’re going to build the airplane in strict adherence to the design. When you begin substituting engines, props, landing gear, canopies or other major components, the costs in dollars and hours will increase exponentially. Trust us, it’s true. The quickest, least expensive build is the airplane most like the factory’s.
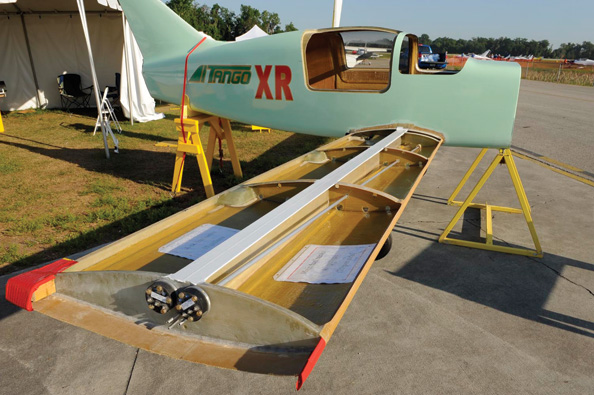
Most kit aircraft manufacturers give you the big stuff—airframe, wings, control system, landing gear, basic fairings and things like an instrument panel blank and, maybe, seat frames. To control costs and quality, most kit manufacturers also provide the important pieces of the control system, such as cables, pushrods, bellcranks and hardware. It’s important to them (and to you) that the proper pieces are used here; a control system is no place to substitute hardware-store items.
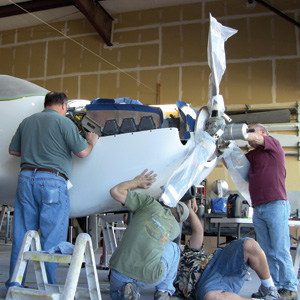
The engine is likely to be the single largest expense in the building program, but incremental differences from one engine to the next are easily overshadowed by the entire cost of the project.
Big Piece Number One
Typically, the engine is the single greatest expenditure of the whole project. Many of the larger kit manufacturers have arrangements with the conventional engine manufacturers like Continental, Lycoming, Jabiru and Rotax. Often, the kit maker’s prices are competitive, but you’ll be getting a standard engine. Aftermarket builders can provide selectively upgraded engines constructed from kit or overhauled components, and they deserve a call before signing the big check. A small shop’s warranty and customer service can be better than the factory’s, though that’s not a given.
Engine choices typically favor the most powerful example approved for the airplane because the price differential is not great when you consider it as part of the whole cost. For example, a Lycoming O-320 is often within $2000 of the O-360. A four-cylinder Jabiru 2200A is approximately 25% cheaper than the 3300, but has 30% less power. Then there’s resale, which always favors the larger-engine examples.
Buying a used engine, either one intended to go right onto the airplane or one meant to be overhauled first, can be an excellent way to save money, but you absolutely have to know what you’re doing. A great deal on a used engine might turn into a nightmare if the crankshaft fails to pass inspection or the camshaft is shot or the cases are in need of repair. This is a story for another time—like our engine roundup coming in March—but we’ll end the discussion here by saying that unlucky or incautious builders have found themselves paying nearly as much for an overhauled engine as it would have cost to buy new.
Choosing a propeller is more difficult because the all-up costs between, say, a metal fixed-pitch and a metal constant-speed unit are substantial, and the performance payoff is slightly more elusive. You have to consider the airplane’s mission and overall performance profile; typically, the lower-powered designs (below about 150 horsepower) benefit the least from a constant-speed prop.
But there’s more to the discussion ahead of the firewall. Pieces not provided with the engine or with the kit include exhaust systems, engine mounts, vibration isolators, oil coolers, fuel and oil hoses, baffling material (some kits include full baffles, but some tell you how to make your own), carburetor or fuel-injection airbox/filter arrangements, engine controls (cables and quadrants, as applicable) and engine accessories such as starter and alternator. Some new and kit engines come with a starter, alternator and a set of magnetos, but not all; you need to tick each item off the list. Failing to account for these simple firewall-forward items can cause you to underestimate your budget by $2000 to $5000, depending upon airplane design. More if you’re dealing with a turbocharged airplane.
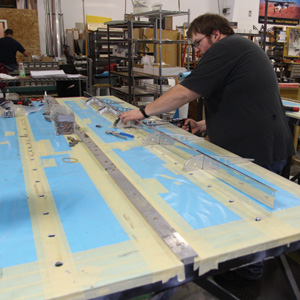
The amount of factory prefabrication will be reflected in the kit cost, but purchasing quickbuild components is often both cost- and time-effective.
Panel Planning
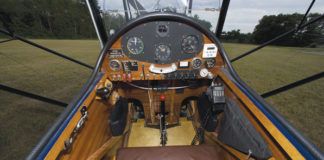
Pilots love to create dream panels, and the costs for the primary pieces—electronic or standard instruments, radios and intercoms—are easy to calculate. But you’ll still need to wire it all, plus, perhaps, build your own panel or panel substructure. Costs for a basic electrical system start at $500 for an RV-type aircraft, and that’s just the elemental stuff like wires and circuit breakers and nothing-special switches. It’s worthwhile to contact your local avionics shop for a quote. Chances are good the techs there will think of items you won’t, and items such as interior lighting, antennas (and antenna cables), connectors and other miscellany can add up quickly.
When you first start building, make a generous estimate of what you’ll want, but don’t buy until you’re fairly close to finishing. The pace of avionics development remains rapid, and while we don’t exactly have a Moore’s Law working, it is true that the newest avionics have more features for the same or less money. At least that part of the economic model is going in the right direction.
All the Other Stuff
Budget for tools, even if you own a good set of mechanics bits. For metal aircraft, a high-quality air compressor is a top priority; again, bigger is better. Watch Sears for periodic sales. The big RV market supports a market for ready-made tool kits. The most inclusive kits run around $2000, though you’ll find use for more specialized tools than that. (Plus, you’ll want maintenance items such as a compression tester and timing tools eventually. Again, watch for holiday sales.)
Builders of composite aircraft should invest in tools as well. An epoxy pump will be your best friend, so spend wisely there, but also consider buying or building a dedicated composites table that allows you to cleanly cut and manage raw materials without getting them dirty or having them underfoot at inopportune times. You will also consume a breathtaking quantity of mixing cups and sticks, gloves and other fiberglass accoutrements—far more than you think you will and, if you’re a first-time builder, much more than the factory will estimate.
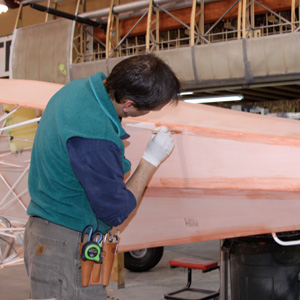
Don’t forget materials! Determine if the covering system is included in the kit before “finalizing” your budget.
On composites and finishes, budget for finishing materials such as fillers and primers. They’re not cheap. A gallon of primer/surfacer can be $100 to $200, and you’ll use more than one. Like preparation, paint is a big variable. The materials are also expensive, and the builder who can get through a self-shot final finish for less than $2000 in materials is a miracle worker. A professional job for an RV-size aircraft varies widely by scheme and geographical region, but $4000 to $7000 is a fair range. There are more than a few five-figure paint jobs out there.
Tax, License, Truck
Finally, don’t forget that you may have to pay a sales tax on the kit components and there may be other local taxes to be applied to out-of-state purchases. It’s also worthwhile to get a quote on shipping and compare it to the cost of borrowing or renting a truck to fetch the big pieces yourself.
The bottom line is that there really isn’t a bottom line for most builders, though the savvy ones are willing to look at the entirety of the project to determine if it’s within their budget, either from a total-cost or a total-time standpoint. Many builders self-finance and buy the pieces of the project as they can afford them. It’s a slower way to go, but rewarding and non-threatening to domestic tranquility.
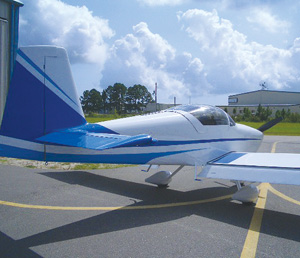
Bob Camacho, RV-9A Although I knew about the Florida sales tax, it was still difficult to pay it and receive no benefit other than the ability to base the aircraft in Florida. I guess my real cost surprise was the weekly miscellaneous items I had to order, usually from Aircraft Spruce. My wife came to expect several weekly aircraft package presents. This usually added a couple of hundred dollars to my monthly Visa bill throughout the building process. |
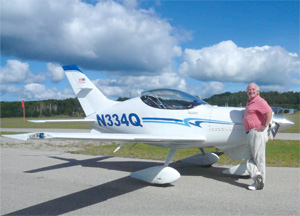
Daniel J. McElroy, Questair Venture It took me 20 years to build N334Q, a Questair Venture. I bought the aluminum airplane kit with a factory-new Continental IO-550 and McCauley propeller for $57,500. I went through three landing gear iterations that added about $12,000, and we all know that when you do anything with avionics, it adds up. I have three type ratings in glass cockpit airplanes and still wanted to keep some old-school round gauges in this machine. I have a Garmin 430 and Collins PN-101 HSI, my altimeter came out of a McDonnell Douglas MD-88, and my airspeed indicator out of a Boeing 727 (thanks to eBay). By the time I was done I had around $100,000 invested. But the costs that I was surprised by were for the finishing materials. I used a PPG urethane basecoat clear coat paint system. I acid-etched all of the aluminum pieces then alodined them, then added an epoxy primer, then many urethane primer-filler coats, then the base coat, trim color coats and the clear coat. That represents a lot of sanding and buffing. I bought 4 quarts of buffing compound at over $80 a quart, not to mention the sand paper and buffing pads at the end. All told I probably spent more than $3000 on finishing materials, and this does not count my worn-out fingertips. |
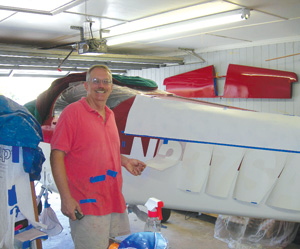
Steve Anderson, RV-7A My plane was quite a bit more expensive than your normal RV-7A. Originally, I went with the Eggenfellner H-6 engine and MT prop. This combination was equivalent price-wise to the Lycoming IO-360 and Hartzell prop. I went all the way though testing and flying with the H-6 and eventually decided that this was not the best engine for me. I loved tinkering with my plane and engine, but at some point you have to get serious about flying. I realized the Eggenfellner H-6 was too “experimental” for me and bought a Lycoming IO-360 and blended-airfoil Hartzell prop from Van’s Aircraft. Along with my Blue Mountain EFIS (the company went out of business), I have spent quite a bit in hardware that I had to sell at a tremendous discount. However, I am pleased as punch with my new Lycoming and Hartzell prop. They drive my plane quickly and efficiently into the air and to the far-flung places I’ve chosen to travel to. I weighed the decision to essentially start anew with a different powerplant carefully, but I finally have a great flying machine that outperforms any comparably priced plane. |
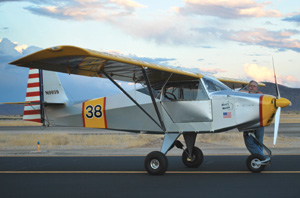
Ted Sutton, Highlander Concerned about my advancing age, I elected to enlist the help of a builder-assistance facility that could provide experience, special tooling, heated hangar, good paint booth, and a place to stay while 900 miles from home. I also had a valid medical that I didn’t want to renew, now that I had invested in an LSA-legal Just Aircraft Highlander. I signed a contract with a builder-assistance facility that would contribute to the completed, firewall forward, painted, test flown, and ready for the 40-hour fly off aircraft, starting on a set week. I arrived to see that another customer had “weaseled” in line in front of me! The net effect was that I paid for a motel, while he stayed free in the hangar loft and worked on his Highlander. Later, I bought an enclosed trailer and lived out of it. During the build, the shop owner found out that he had worded the contract incorrectly and needed another $1500 for paint, supplies and labor. I was really steamed at first, but when the plane was completed, I was thrilled with the experience. The Highlander looked great, flew great, and I had a great time flying off the 40 hours. It was a hoot. Basically, time (including extra time) was the most costly factor. So many things add to delays and costs: engines out of stock, needing time-sensitive parts sent next-day air, travel expenses, time away from the build and hunting down fiddly little parts. |
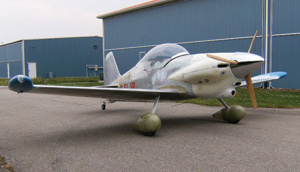
Jack Smits, Midget Mustang My logs and pics speak for themselves. I bought a half-finished project and wanted to build the best Midget Mustang. I invested in a new engine, autopilot and glass cockpit. For half the price I could have bought a flying RV-4, RV-6 or even a Rocket F1 as advertised in Barnstormers. My advice: Don’t build. Buy a flying kit airplane to save time and money. “If you build you don’t fly, and if you fly you don’t build.” Or get another cheap flying airplane. At the risk of being the most stupid builder, I had part of my airplane built. (I did not have time and wanted the best airplane. It cost me at least an extra $41,000). I still have to paint the MM1, as I am repairing the landing gear, which folded on a hard landing. I plan to make Oshkosh next year with it. |
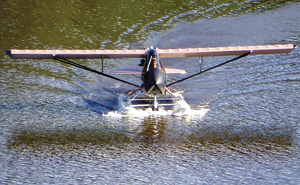
Rob Jamros, Challenger II By conducting due diligence prior to my project, all the costs for the components of my aircraft were of no surprise. I received advice from several builders prior to my project, which was, “Do not add up all the receipts in your shoebox when you are done with your airplane.” Of course, that’s what I did. I learned that they probably did not heed their own advice. The most surprising thing to me, cost wise, about building my project was the total at the bottom of the tape. I now pass that aforementioned advice along to others, as did those wise ones before me. |
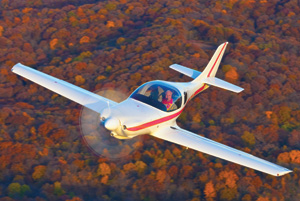
Peter B. Field, Lancair 320 The most surprising cost in building my airplane was caused by the bankruptcy of Direct 2 Avionics (D2A), which had received more than $19,000 from me for a complete Chelton Sport System. I had received the displays but not the GPS Aided Aircraft Heading and Reference System (GADAHRS), which was the heart of the Chelton two-display system. Chelton was later taken over by Cobham, and in my negotiations Cobham/Chelton stood tall behind its obligations. In my case, I had to fork over another $4000 for the GADAHRS (valued at over $12,000) and a GPS antenna that I had to have to complete the system. Other D2A customers were left in far worse straits, and I don’t know how they made out. Cobham/Chelton has been great in service and getting me through the D2A bankruptcy. The company is an example of a highly responsible vendor. A final note on this issue is that EAA, who I have great praise for in all other Experimental aircraft matters, apparently does not vet any of the many vendors that hawk hardware at Oshkosh. I think the buying public should be insulated at least to some extent with some financial analysis on the sorts of money schemes that these startup companies embrace. I have seen other examples of this sort of “anything goes entrepreneurial spirit” among vendors at Oshkosh. In amateur aircraft construction something a little above “caveat emptor” needs to be in place to better protect the buying public. |


