 The day the beautiful wooden box arrives from the Czech Republic is a day no SubSonex builder will ever forget. I tracked mine through the FedEx system all the way from Prague and had to work the phones between FedEx, Sonex, and Customs to make sure that it arrived safely and on time—there is something about a box labeled “Turbojet Engine” coming in from the eastern block that bothers the U.S. Customs Service.
![]() Despite lots of markings showing “This way up” on the wooden crate, mine arrived in the FedEx truck lying on its side. The driver merely shrugged when I pointed this out and asked if I wanted it or not. It looked like a reasonable risk since airplane engines are routinely operated in unusual attitudes, and the box had no damage, so we rolled it into the shop and opened it up. Aside from a little spilled oil (which I learned was common for other deliveries as well), nothing was the worse for the wear.
Despite lots of markings showing “This way up” on the wooden crate, mine arrived in the FedEx truck lying on its side. The driver merely shrugged when I pointed this out and asked if I wanted it or not. It looked like a reasonable risk since airplane engines are routinely operated in unusual attitudes, and the box had no damage, so we rolled it into the shop and opened it up. Aside from a little spilled oil (which I learned was common for other deliveries as well), nothing was the worse for the wear.
You buy the engine through Sonex, and they will take care of paying the factory and arranging shipping to your location. In the box, you’ll find the engine assembly itself, the throttle quadrant, ignition box, display panel, and two CAN bus boxes—one that is essentially a data recorder (saving engine data on an SD card), and one that converts CAN to a USB port, in case you want to build your own computer interface.
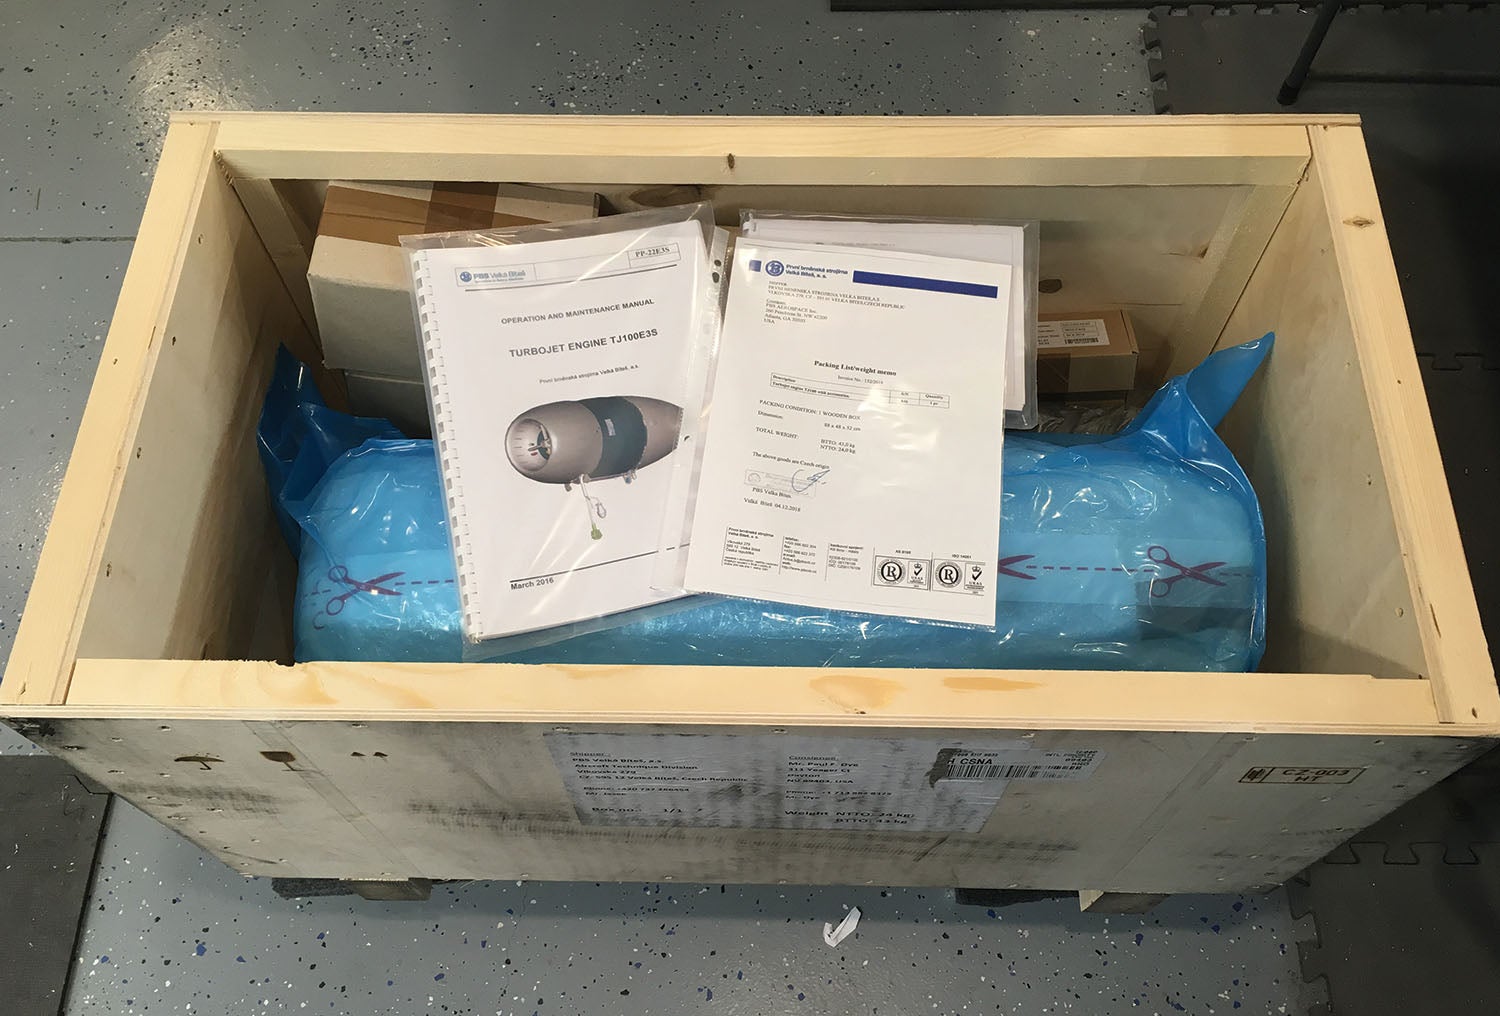
Also in the box is the documentation—a manual, logbook, and various bits of tracking paper—as well as a box of “spare parts,” which really are nothing but some O-rings and seals. Each component was carefully packaged in those ex-Soviet-state signature thin cardboard boxes and obviously hand packed. Despite all of the careful packing, at least one U.S. customer has reported that the rear engine mount tang on their engine was bent—so it pays to do a thorough inspection upon reception.
PBS Aerospace, in Atlanta, is the U.S. representative for the engine, and so far has proven very responsive. In my case, I had a display panel work perfectly on first power-up, and subsequently, it locked up. I was able to borrow another known good panel to prove that my engine system was fine and that the display unit had gone bad, and the folks in Atlanta did all the work to make sure that I had a new panel shipped from Europe in short order. Spying on the emails to which I was copied, it was clear they had some paperwork hurdles to overcome to make that happen—but it was invisible to me, the end user.
Understanding the System
For those builders used to installing a Lycoming, Continental, or Rotax engine, turbines might seem like a complete mystery. After all, they are high tech, rotate at ludicrous speeds, and require special training and ratings to operate, so they must be complicated…right? The good news: This mystique couldn’t be further from the truth.
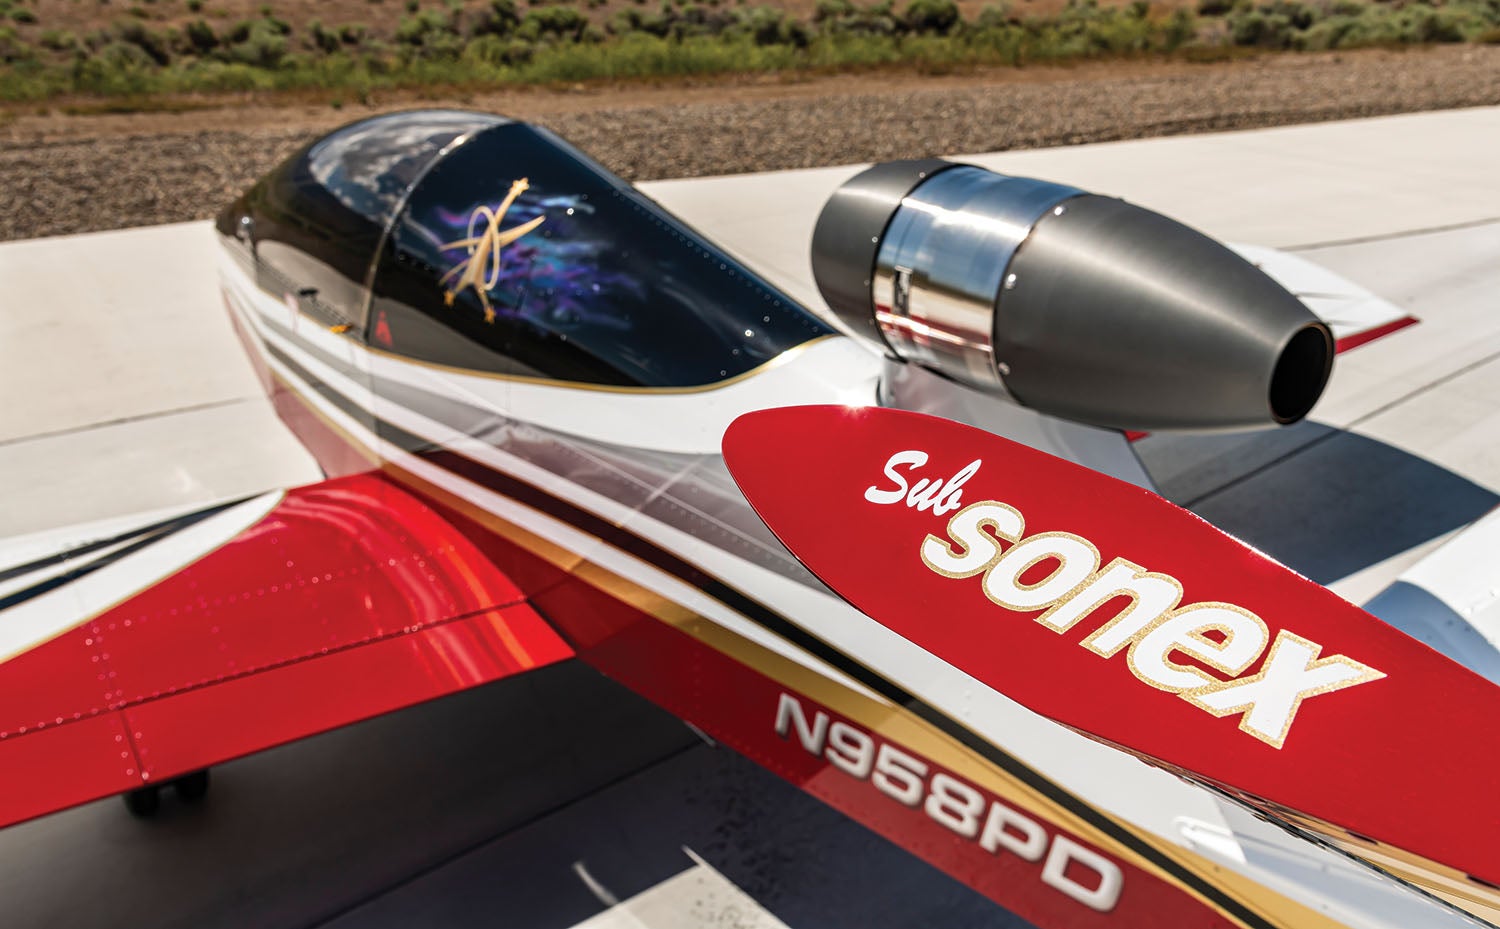
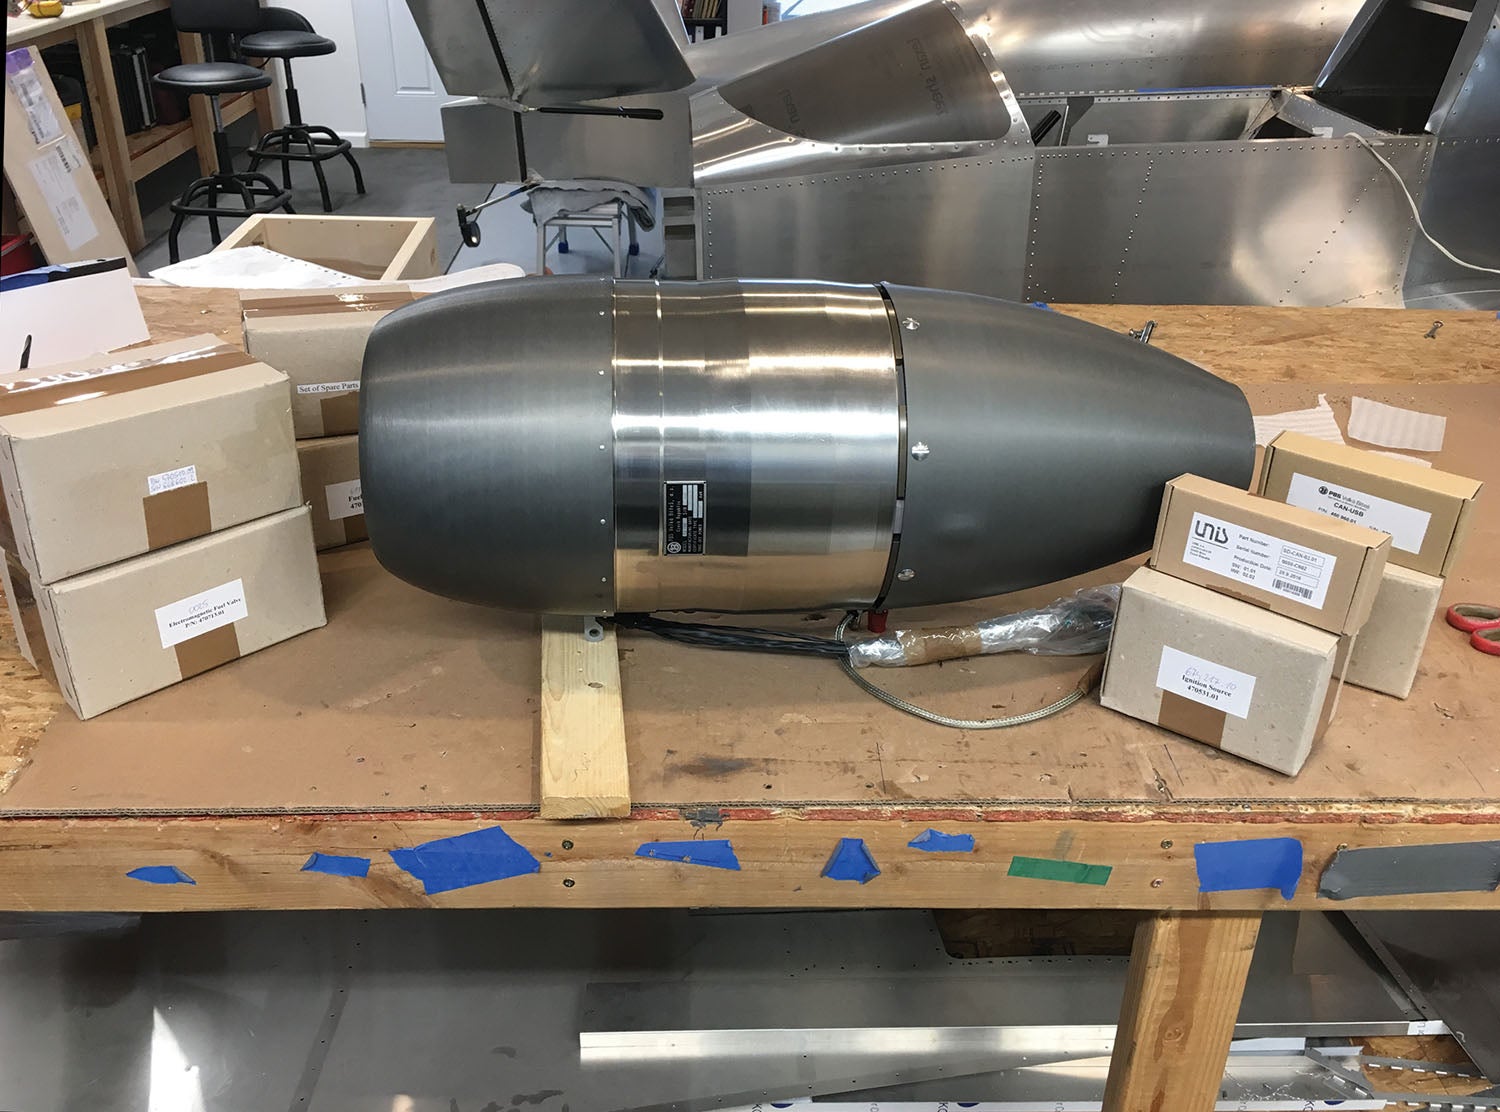
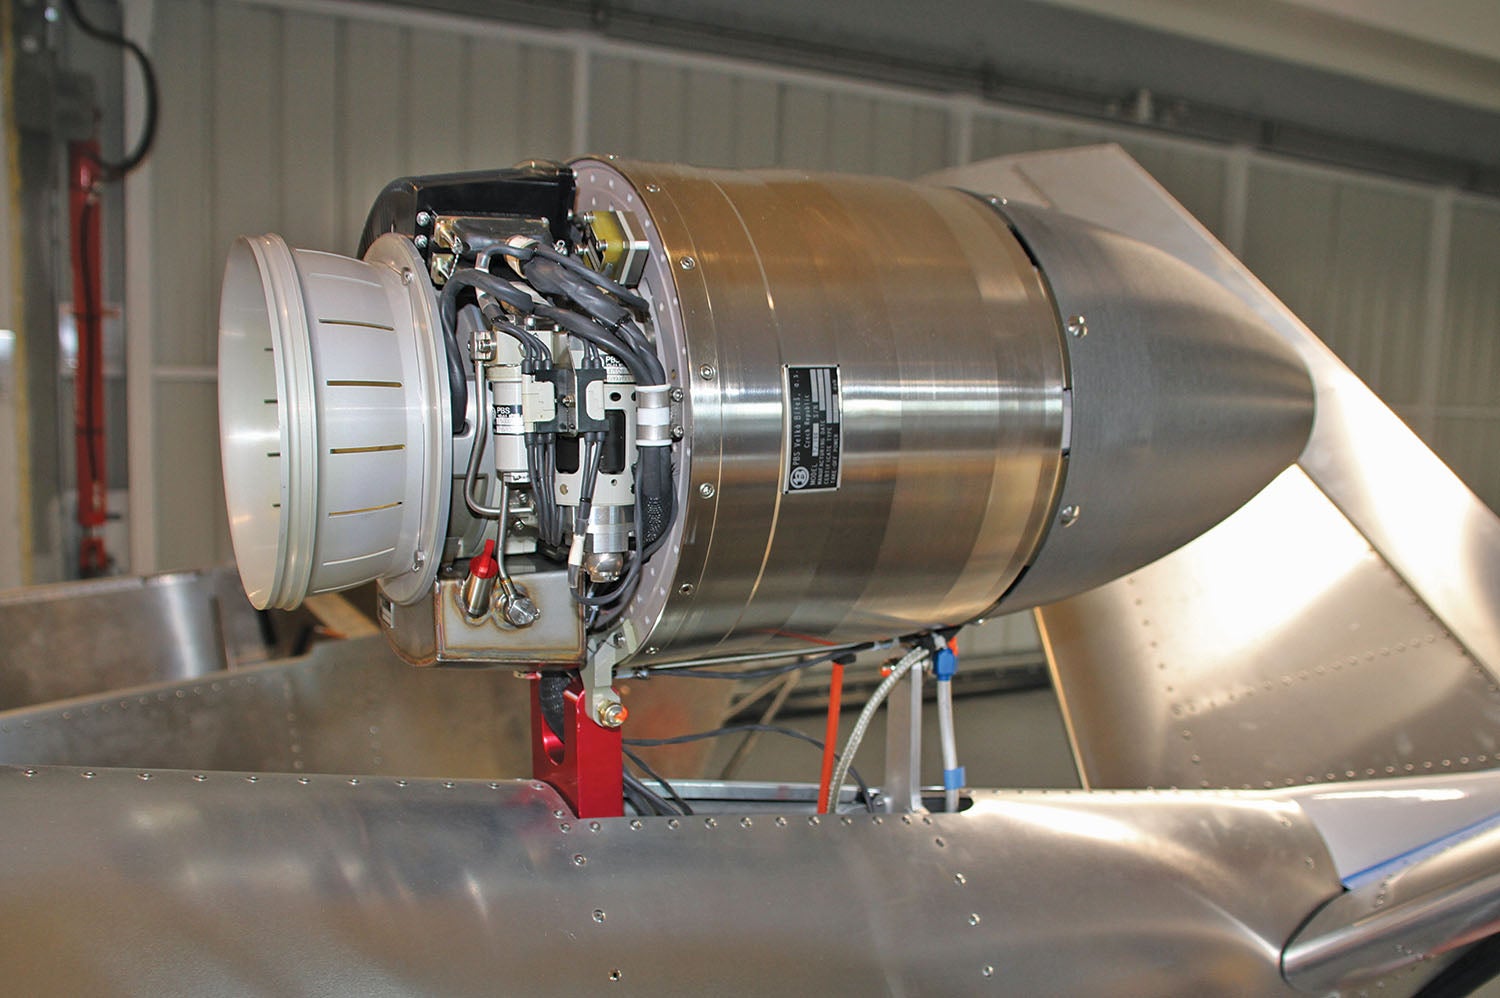
The PBS TJ100 is a simple, 257-pound-thrust turbojet with a full FADEC controller. All the pilot has to do is move the throttle lever from “Off” to the “Start” position, and the computer does the rest. You can (and should) monitor the startup sequence on the display panel, but frankly, it’s going to take care of itself whether you watch or not. The engine is simple—a compressor fan on the front is linked to a turbine wheel that is spun by the hot gases ejected from the burner cans, which are fed fuel and compressed air from the compressor fan.
To get the whole ball rolling, a starter/generator (it’s a starter if you feed it electricity to turn it, and once it is turning, it produces electricity so it’s a generator) spins the common shaft to get it up to a speed where there is sufficient compressed air to get the combustion process going. The computer then introduces fuel and a spark inside the burner cans. This ignites things and produces hot gases, which turn the turbine on their way out the tailpipe. The gases out the tailpipe are the thrust, and the turbine rotation spins the compressor, which keeps the whole reaction going. The computer monitors temperatures and pressures, and feeds the appropriate amount of fuel, based on the throttle position, to keep it all humming along. Should anything go wrong—like a drop in oil pressure or a spike in EGT, it shuts the engine down to protect itself.
Now, protecting the engine is a good thing as long as you’re not in a critical phase of flight, like takeoff or landing. At those times, I want to protect me—the insurance company can have the engine later. Fortunately, the display panel has a button that is used to disable the automatic protection, and I press that for critical flight phases. When it is engaged, the pilot takes the risk that the engine might be damaged—but it is a very reliable package, so the odds of that happening are low.
Installation—A Piece of Cake
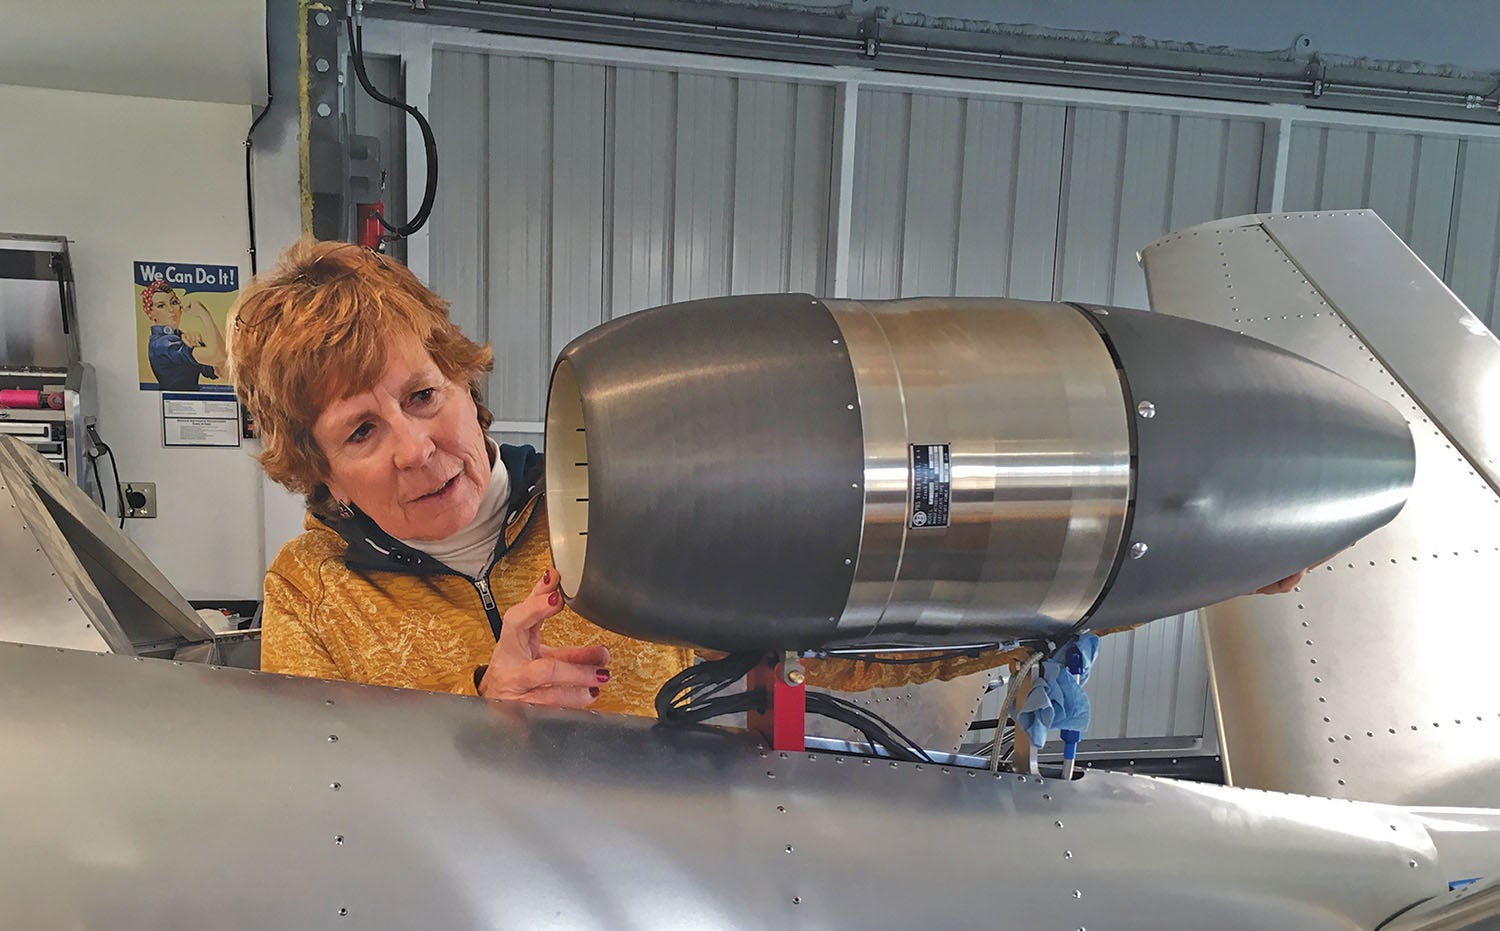
Now, back to the installation. A piston engine has lots of peripheral components that need to be attached, hooked up, plumbed, and wired. Induction systems, ignitions systems, exhaust, electrical, instrumentation—all of these have to be installed or created by a builder. The PBS engine is similar, but much, much simpler. Let’s start with the engine mount—it requires just two bolts, one for the front mount and one for the rear.
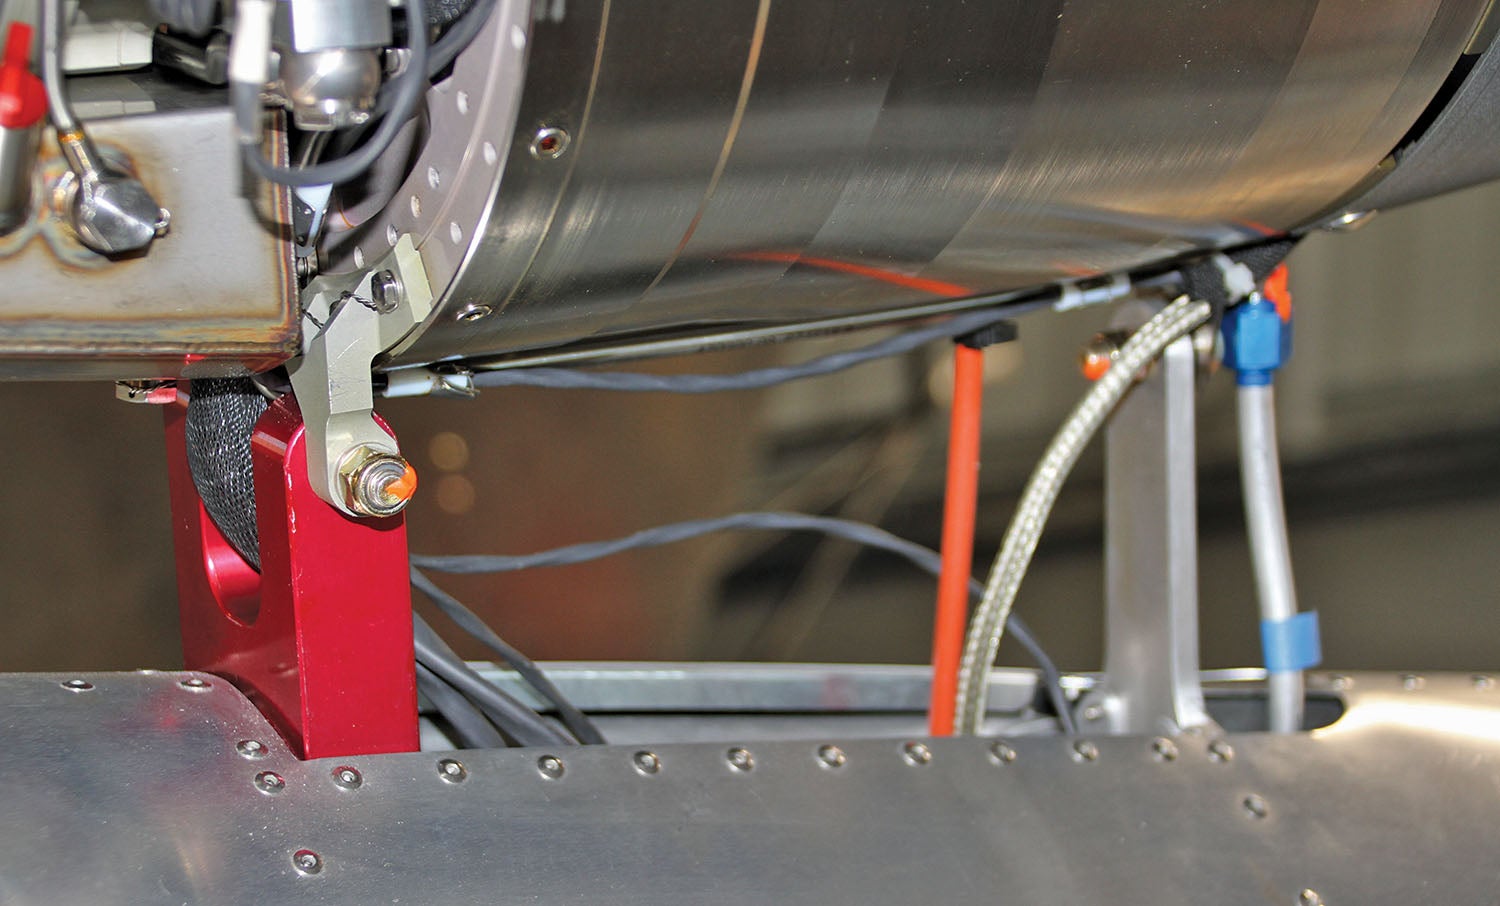
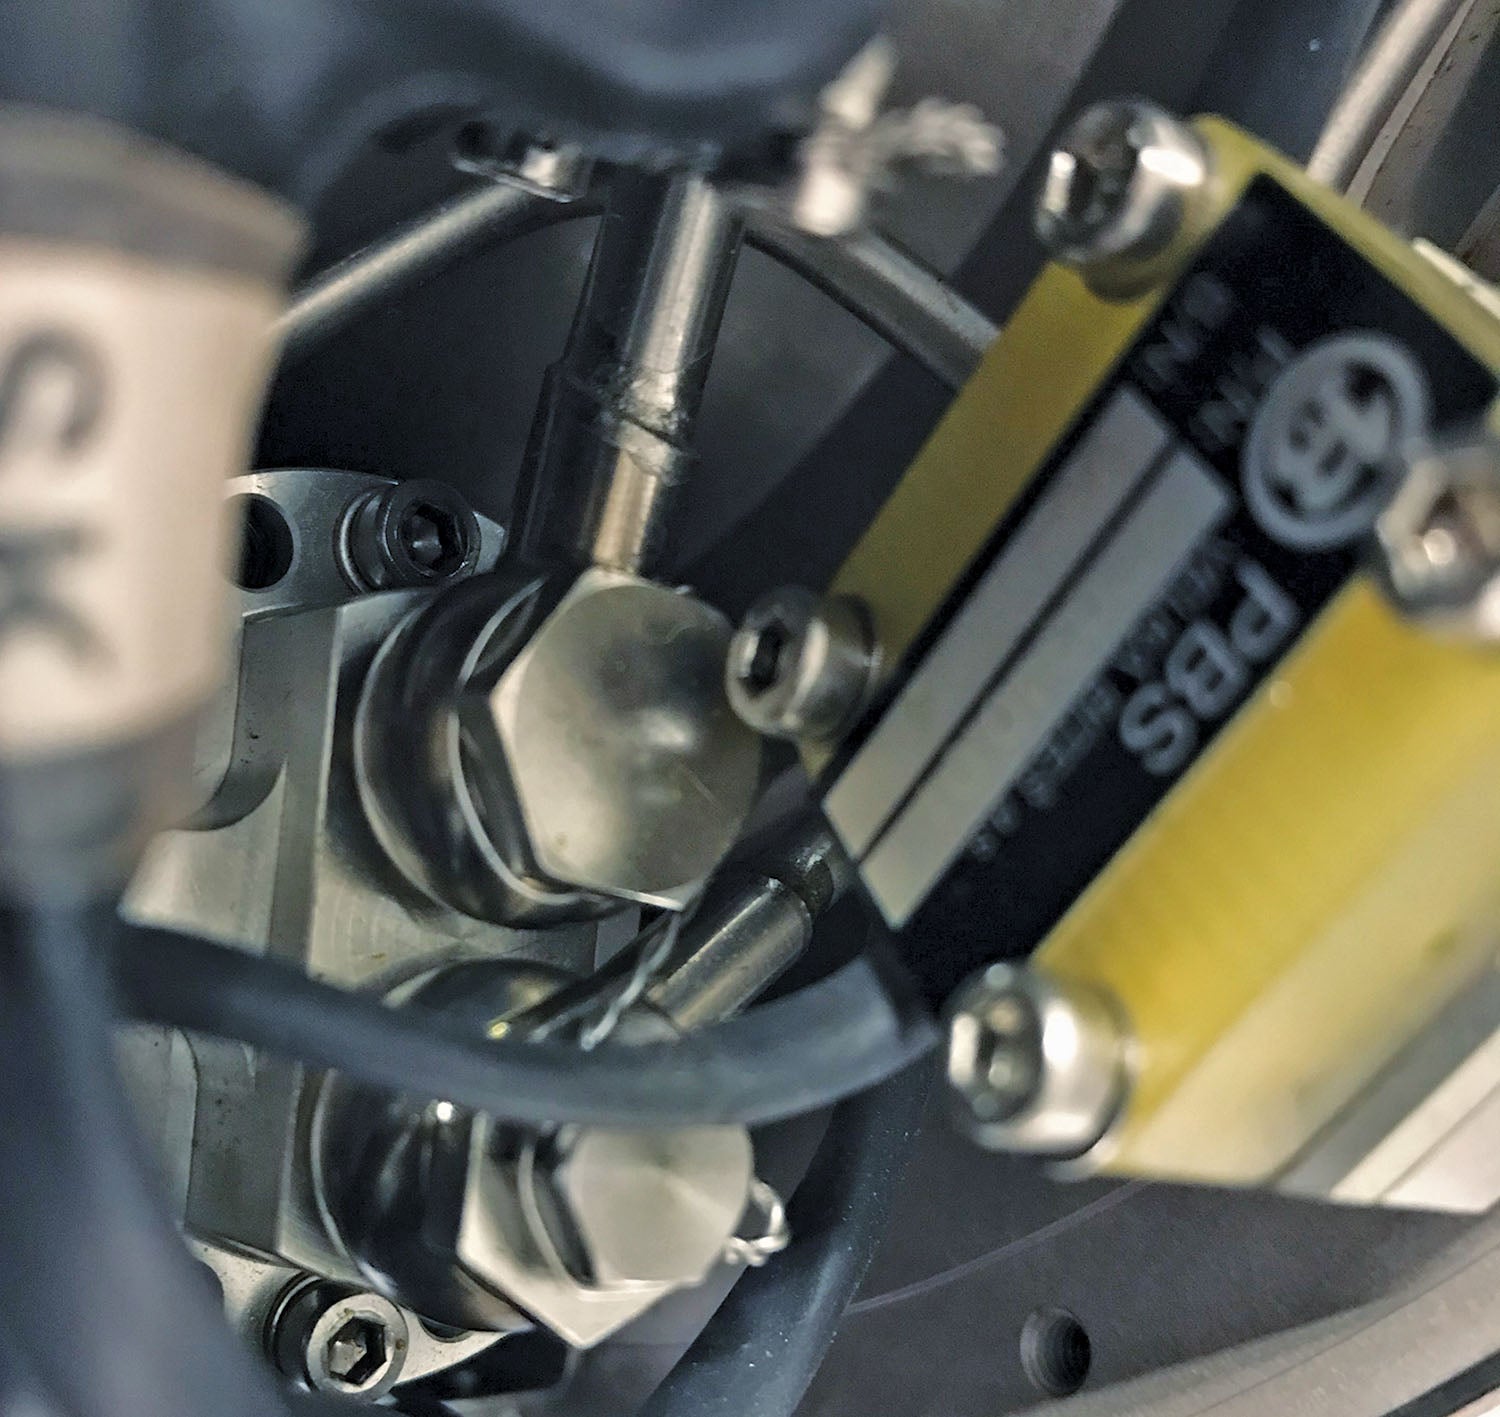
The rear mount is aligned with the direction of flight and attaches in a ball-swivel joint. It actually interferes with the fuel connector, until you figure out the trick—you swivel the ball to an extreme angle, insert the bolt, and then rotate it back to normal position. The front engine mount uses a big AN5 bolt laterally that goes through a large machined mount on the airframe. The obvious way to install the engine is to put this lateral bolt in first (because it is the biggest) and then attach the aft bolt. But this doesn’t work because of the “interference” with the fuel inlet connector. Therefore, the clever way to do the install is to insert the rear bolt, then slide it forward into the rear fuselage mount, and then drop the forward mount bolt in place. Voilà! You have just mounted the engine—it took about three minutes. Take that, Lycoming fans.
Peripherals to the engine are similarly simple. There is an ignition box, which is basically a coil, to produce high voltage for the spark plug that ignites the engine. This small box mounts inside the SubSonex fuselage, below the engine. A two-conductor wire comes from the engine to the input side, and a shielded ignition wire (that comes from the engine) attaches to the output side. You need to connect the two #10 main power wires (+24 volts and ground) to the ship’s power supply. Then there is a data cable that runs to the cockpit for the display, throttle, and a kill switch.
The data cable runs through the SD-CAN box—the data recorder we talked about earlier—but since this box has a male D-Sub on one end and a female on the other, you could actually omit it if you wanted—it is nothing but a listening device. This is probably not a good idea, however, since you want to be able to have data to show PBS in case of engine issues. If you are the industrious type that wants to build your own computer display, throttle, etc., you could also install the CAN-USB box, and this would allow you to control and monitor the engine using whatever computer you wished. This seems like too much work to me, but others might enjoy the challenge!
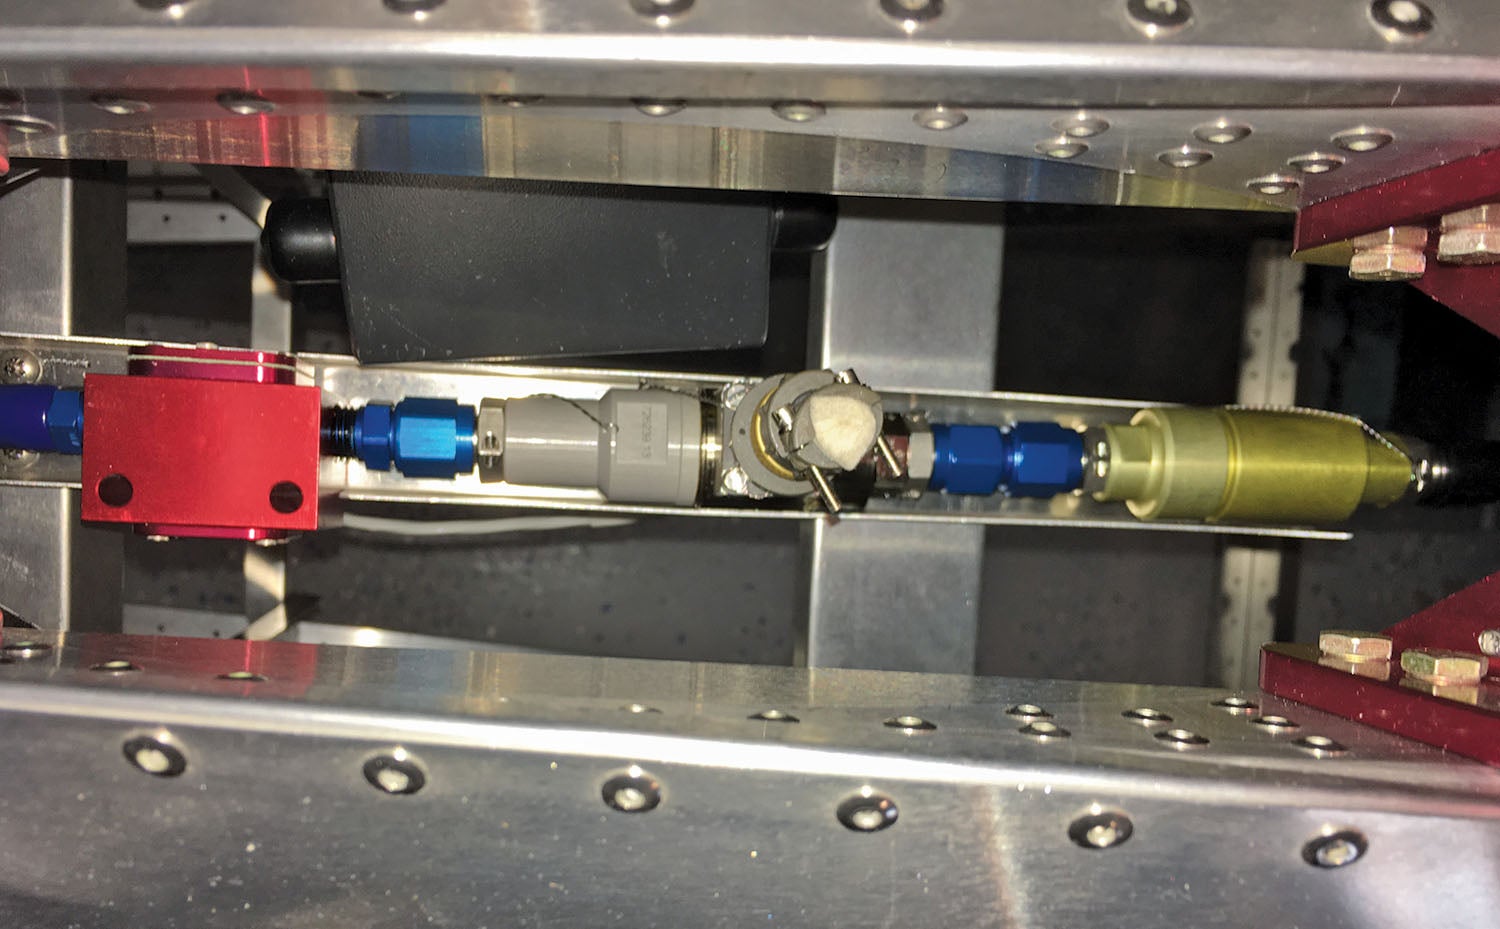
The final cable from the engine goes to the fuel shutoff valve—a solenoid valve supplied with the engine that you put in the fuel line just before the motor. The FADEC uses this to start or stop fuel flow to the engine, and it connects with a Cannon-type plug. An experienced person can probably install or remove the engine in minutes—it’s just really simple. No baffles, exhaust system, intake plumbing, etc.—a wonderful change from recip power.
Since the SubSonex comes with a wiring harness that includes the cabling from the engine to the cockpit, all you have to do to have the motor installation finished is bolt it on, run the wires, and connect things up—the only fabrication you’ll do is forming the fairing that wraps between the engine and the fuselage. That requires just a little bit of sheet metal art, but nowhere near as much as you’d have to do to build a set of baffles for a Lycoming. This is one reason that the jet builds so quickly—an almost complete lack of time needed to do “firewall forward.”
Engine Operation
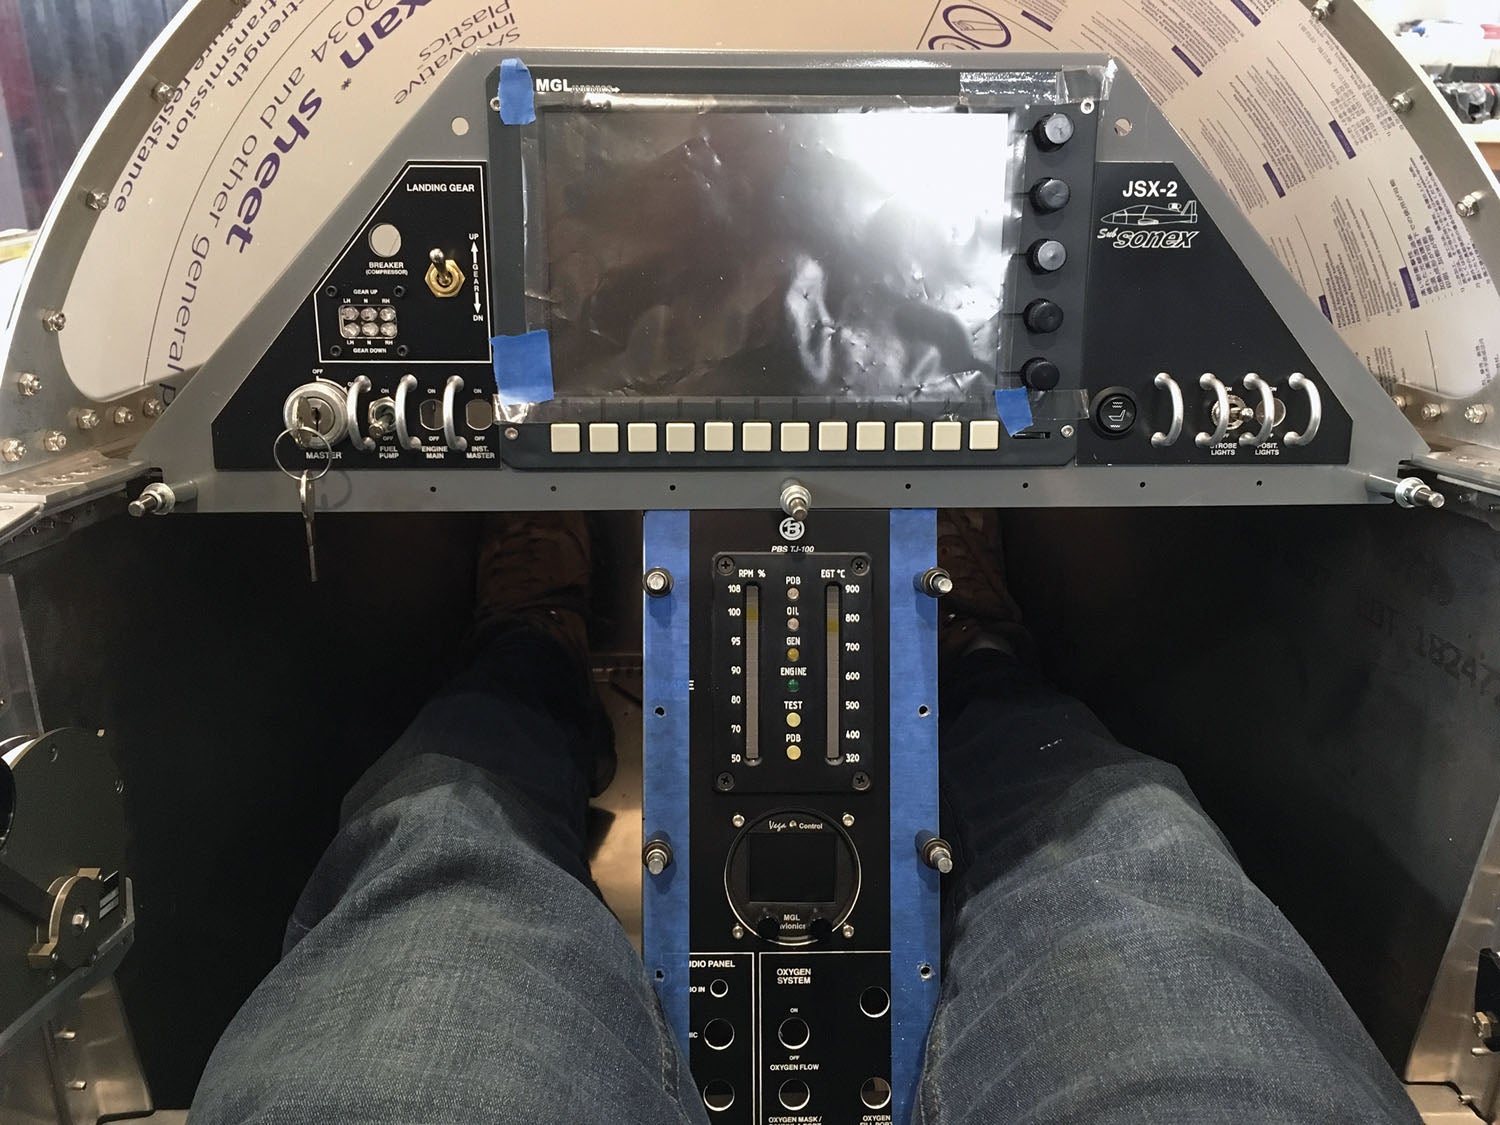
Operating the TJ100 is so easy, anyone can do it—but the FAA still believes that you need special instruction and the equivalent of a type rating to do so. Old habits die hard, and the fact is, the FAA just hasn’t caught up. With the full FADEC engine computer, the single-lever power control is much simpler than messing with three knobs on a constant-speed, fuel-injected reciprocating engine.
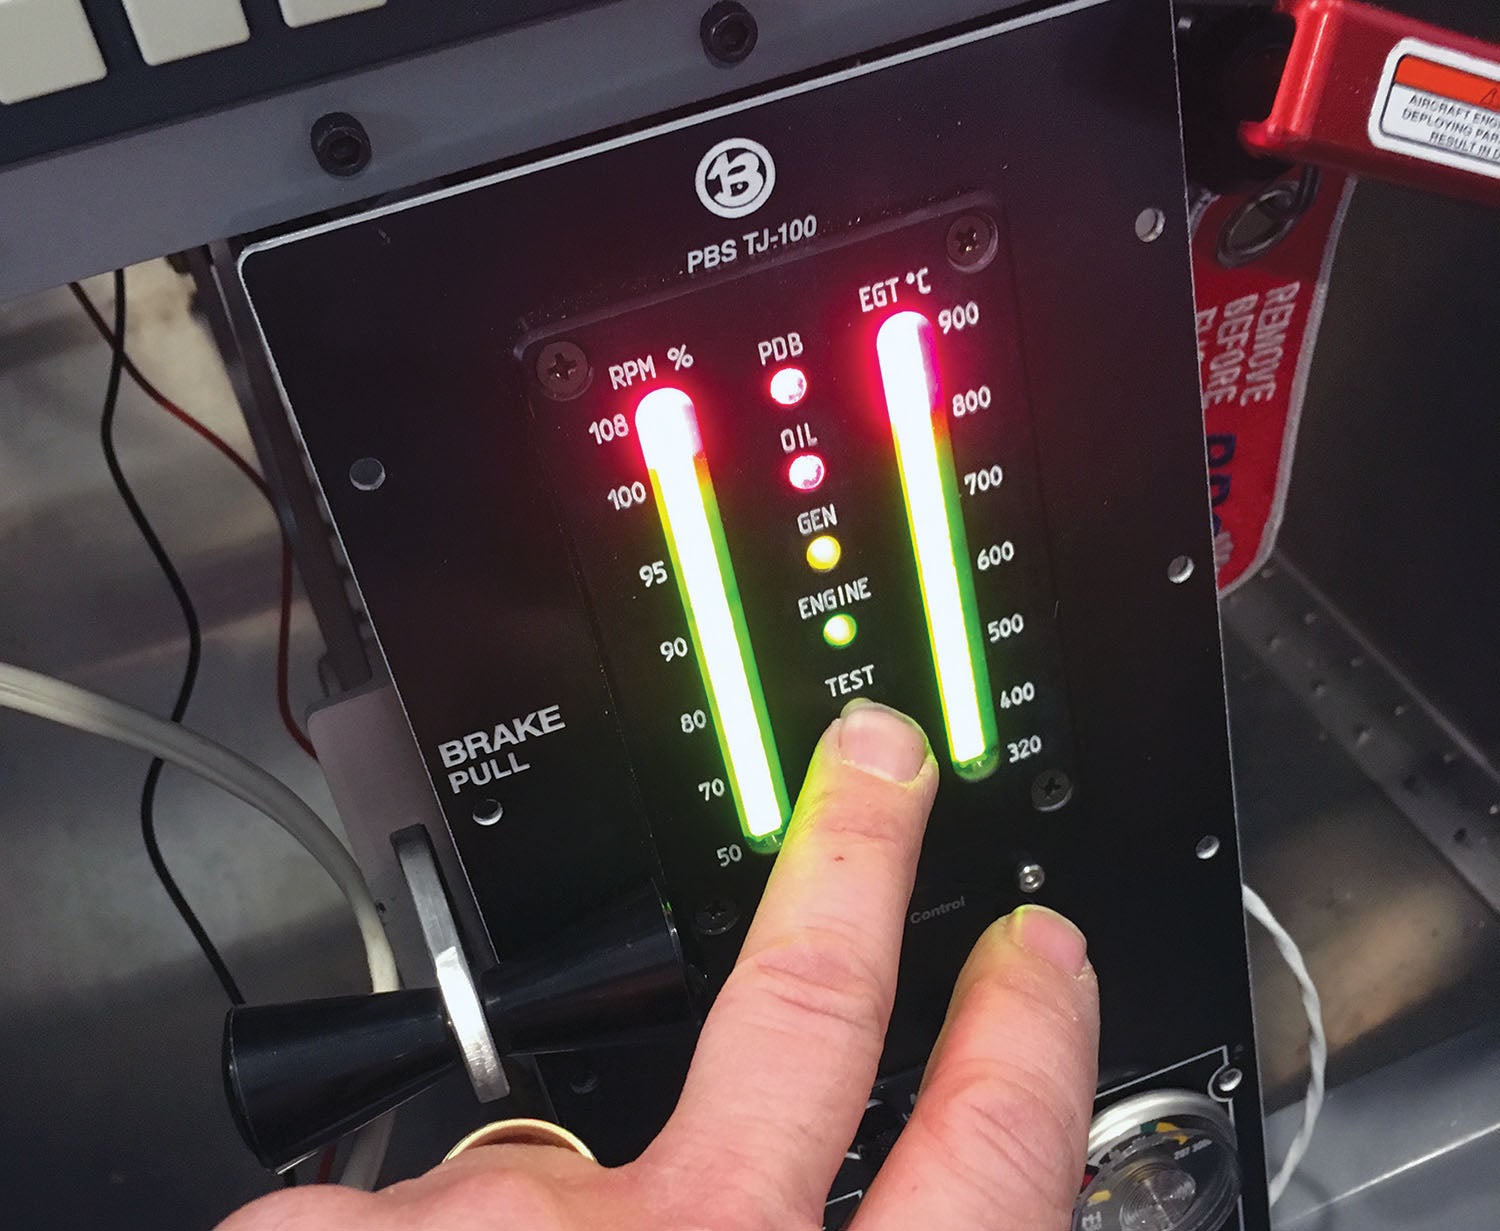
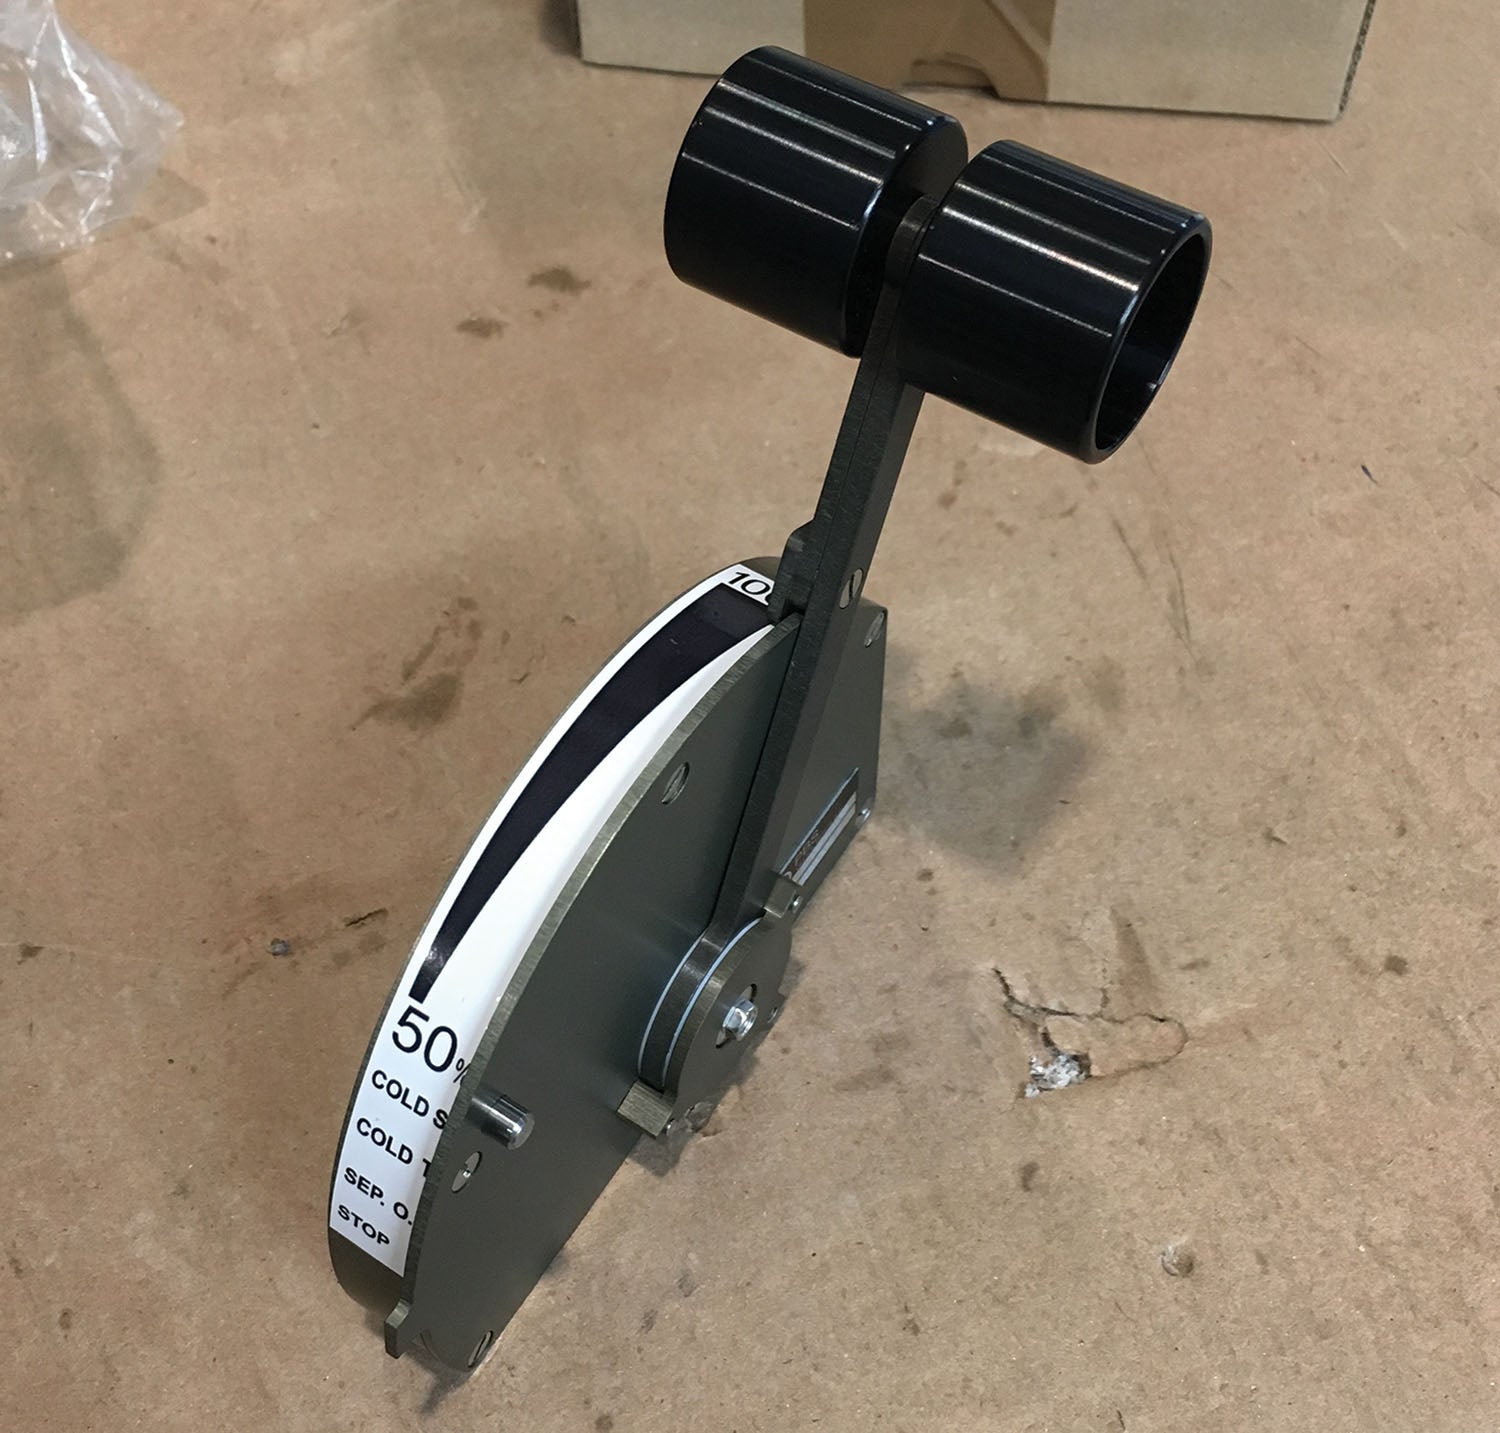
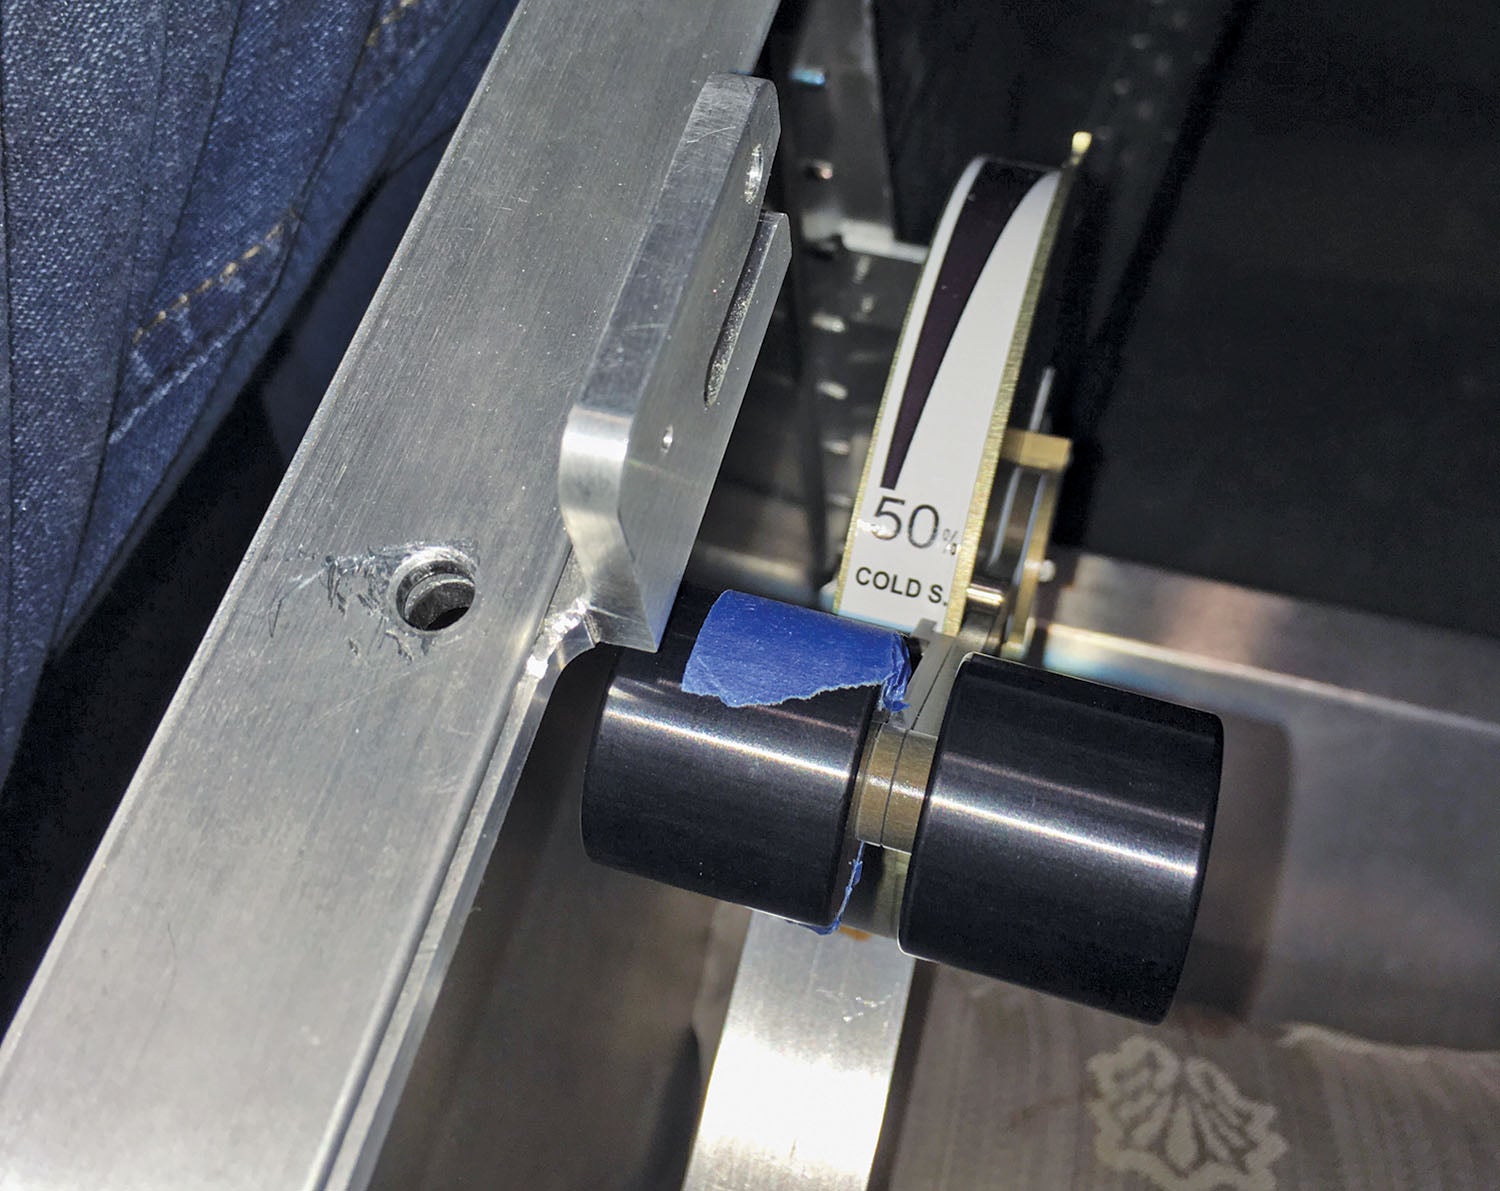
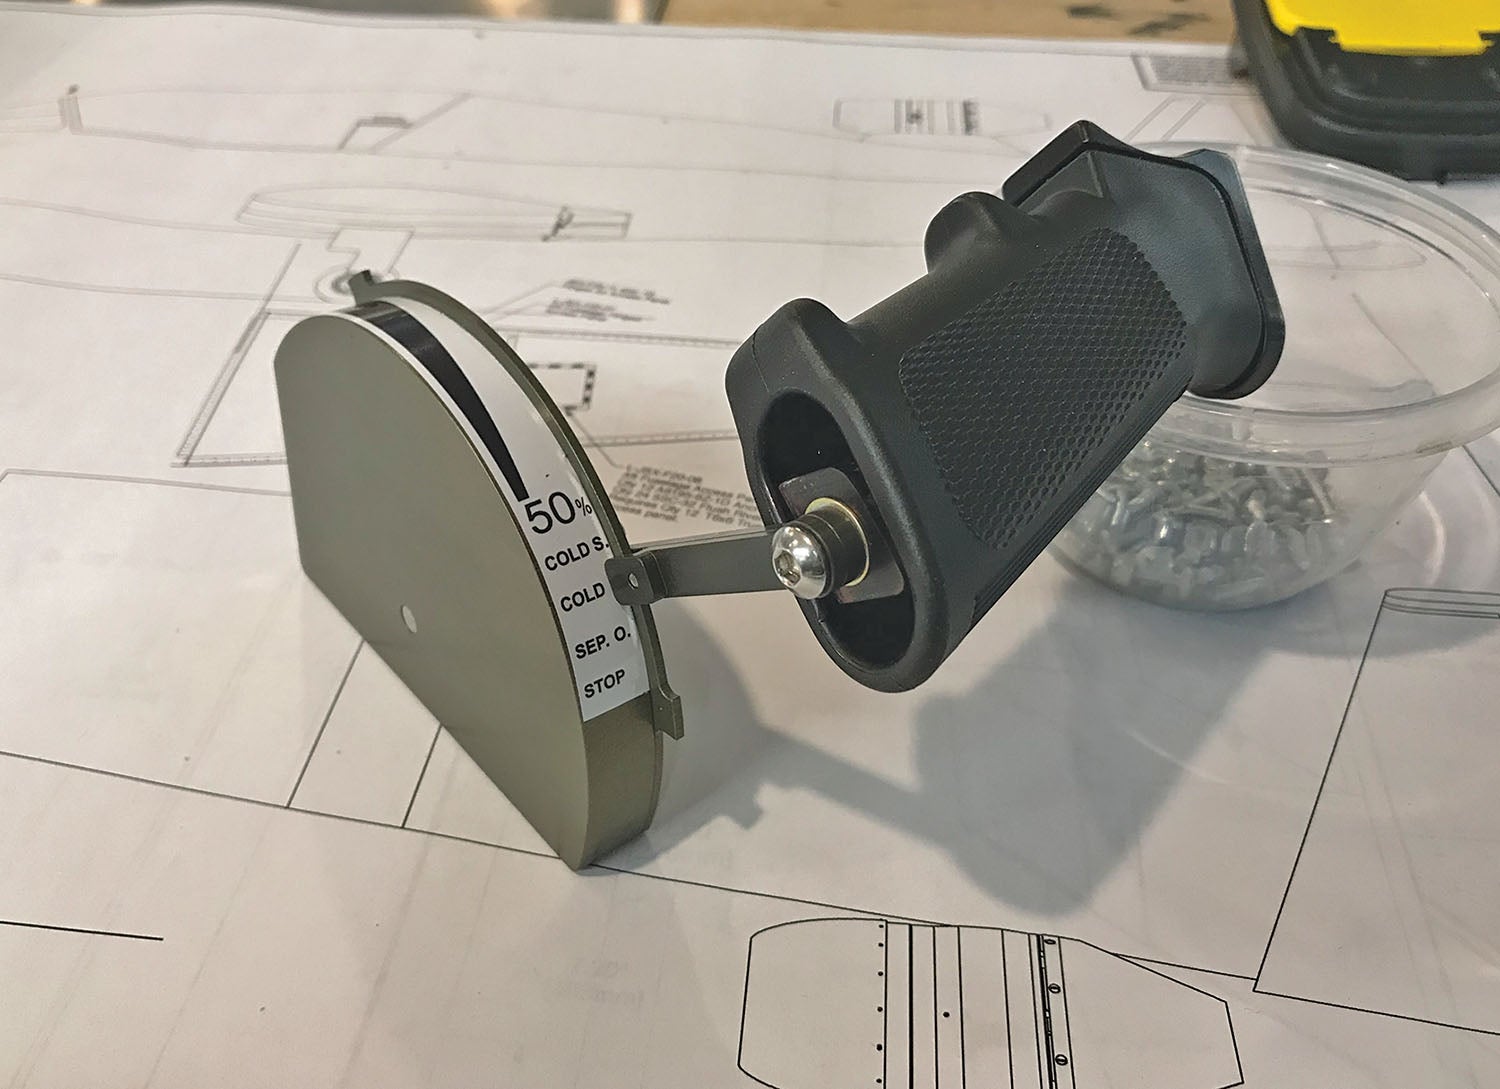
To run the jet on the SubSonex, you first power up the main bus, then after checking that the throttle is in the “Off” position, turn on engine power. Next come the fuel pumps—turn them on, and watch the system pressurize. Now you simply take the throttle to the “Oil Sep” position for a couple of seconds, then the “Cold Spin” position, then depress the little flight idle detent and take the throttle to 50%. Watch the spin-up, see the EGT peak and drop, then roll back the rpm—and you’re done. PBS recommends a two-minute warm-up, which—unless you are sitting ready alert on the end of the runway—you’ll get during taxi.
Once you’re ready for takeoff, push the throttle forward and go! Bring it back out of 100% before you reach the five-minute limit. You have a 30-minute limit at 98%, and below that, you’re free to operate as needed.
Stopping the engine is as simple as depressing the flight idle detent button and bringing the throttle back to “Off.” Problem at any time? Lift the “Engine Hard Stop” cover and throw the switch—you’re done. A normal shutdown allows the engine to spin cold to cool things down—the hard stop simply removes all power. Better to use a normal shutdown to preserve engine life.
Just Go Fly!
If the TJ100 isn’t the easiest aircraft engine to install and operate, I don’t know what is. It is simple to hang, easy to hook up, and mind-numbingly simple to operate. Early jet engines required a lot of care and feeding by the pilot, and the kind of speeds you saw meant you really needed to be on your toes. The SubSonex application gives you an airplane that is a bit above RV speeds, with good low speed characteristics, all with a single power lever to control thrust. Yeah, you need a special rating, but if you have a level of competence and currency, passing a check ride isn’t that hard. The PBS TJ100 allows you to make jet noises and enjoy flying for a reasonable cost—and that special Jet A smell.
Photos: Richard VanderMeulen, Louise Hose and Paul Dye


How much is the engine and all the components to attach it to your plane. Where can I order it from.
The current price for the engine package (from Sonex’s web site) is $65K.
Is it expensive to overhaul TJ 100 engine?
To be completely honest, I don’t know if there is anyone who has had a routine “overhaul” done yet, so we really don’t know. I know of several cases of engines needing factory repair or service, but no one I know has gotten to 300 hours for the fist inspection.
Any new insights on this a year later? Or maybe a user group where TJ100 maintenance is discussed? 🙂
Thanks for your answering ,Sir.
Hi Paul,
I want to control and monitor the engine using my personal computer, is there any guidance for this in the manual coming with the engine?
Hi Paul,
I want to control and monitor the engine using my personal computer, is there any guidance for this in the manual coming with the engine?
I know that Bob Carlton is building a compact control/monitoring unit for the engine to replace the factory box, and in order to do that, he has to have the data protocols – but I don’t believe that I have seen them, and they didn’t come with the engine documentation.
Has Bob Carlton succed on this compact control/monitoring unit? Can I just purchased one such unit from him?
Yes – there are a number of jets flying with his unit, and it works well. You can look him up – I believe his company is Desert Aerospace.
I wrote email to Bob, but no repensoe till now. Hope can get reply this week.
Comments are closed.