This time we will finish up our condition inspection and look at the sometimes controversial topics of service bulletins and airworthiness directives.
About this time a new owner might be asking, “Just how much time is this going to take? My checklist has almost 200 items on it. Is that right?” Mine is about that long. Time can be a tough question. More complex airplanes will take longer than simple ones, and first-time owners doing their first inspections will take longer than those with more experience. It is much like the question, how much time will it take to build my airplane, only on a smaller scale. However, a thorough condition inspection will probably take about 2 days (16 hours) for most people and most airplanes, depending on how many problems you find and how many delays you encounter due to lack of parts, socializing and so forth. As you gain more experience inspecting your airplane, the time it takes will shorten. However, do not let familiarity breed complacency. You need to go through the complete checklist every time.
Builders performing condition inspections often encounter what you might call “mission creep.” In other words, the project expands to include things never included on the checklist such as adding or improving various components. It is not uncommon for a condition inspection to extend for a month or more under such circumstances. There is nothing wrong with that, but don’t blame the condition inspection for the slippage in your schedule.
So, without further ado, let’s resume our condition inspection.
Landing Gear
(1) All units—for poor condition and insecurity of attachment. For fixed-gear airplanes this is pretty simple. Just check the gear for any damage or corrosion and repair or replace items as needed. When in doubt, consult with the kit manufacturer for what may be repaired versus what must be replaced. Include things like tailwheel springs and nosewheel struts here.
(2) Shock absorbing devices—for improper oleo fluid level. These are not too common on Experimental airplanes, but if they’re present be sure to inspect and service them. Bungees or springs for Cub-type gear get covered here.
(3) Linkages, trusses, and members—for undue or excessive wear fatigue and distortion. Steering parts for nose or tail need to be inspected, serviced and repaired as necessary. Cabanes for Cub-type gear should be inspected for cracks or other damage, as would safety cables if present.

(4) Retracting and locking mechanism—for improper operation. Aircraft with retractable gear need to be set up on jacks, being ever mindful of proper safety procedures. The gear should be cycled to verify proper operation, serviced and repaired as needed. Especially look for signs of bent links or tires rubbing in gear wells. Gear doors should also be checked and adjusted to be sure they fully open and close. Even slightly open gear doors can cause a lot of drag in flight. Limit switches should get a good look here.
(5) Hydraulic lines—for leakage. Hydraulic leaks need to be fixed whenever they occur. Top off reservoirs with approved hydraulic fluid. Do not use automotive brake fluid since it is not compatible with aviation brake and hydraulic fluids and, therefore, is incompatible with some of the seals in these systems.

I know that some people cannot resist the temptation to “improve” on certain aspects of their airplane, such as the use of 5606 hydraulic fluid; it’s not unusual to hear builders substituting automotive brake fluid. If you go this way it is up to you to be sure all rubber brake system parts are compatible with the fluid you are using. My suggestion is to go with DOT 5 silicone brake fluid if you insist on not using 5606. Just know that you are not going to find automotive brake fluid at an airport if something happens to your brakes.
(6) Electrical system—for chafing and improper operation of switches. This item is only for electrical systems related to landing gear. Other electrical items will be covered elsewhere. Make sure switches are fully operable and secure. Make sure motors and drive mechanisms work properly and do not draw excessive electrical current during operation.

(7) Wheels—for cracks, defects, and condition of bearings. Wheels should be removed, disassembled and cleaned as part of the condition inspection. This includes inspecting, repacking, and if necessary replacing wheel bearings. Cracked or damaged wheels need to be replaced because such cracks could easily lead to the failure of the wheel. A failed wheel is likely to cause the airplane to become impossible to handle during landing or on the ground.
(8) Tires—for wear and cuts. Tires that have flat spots, excessive cracking or checking of the rubber, or grooves worn completely away need to be replaced, as do tires with more than superficial cuts. Certain aircraft will wear tires out mostly on the inside or outside edges. It is perfectly acceptable to flip tires around to extend their lives if they are otherwise in good condition. In all cases when a tire needs to be replaced so does the tube.

(9) Brakes—for improper adjustment. The idea of adjusting brakes is a holdover from a bygone era, but brake pads and rotors need to be inspected for general condition and wear. Most brake pads need to be replaced if they are not at least 0.1 inches thick. Rotors also have minimum thickness requirements. Brake fluid level also needs to be checked. Please consult the wheel manufacturer for allowable wear limits.
(10) Floats and skis—for insecure attachment and obvious or apparent defects. Floats and skis have their own special inspection and maintenance requirements. Consult the manufacturer for specific requirements. Amphibious floats need extra attention to keep them working well, especially wheel bearings that get immersed in water.
Wings
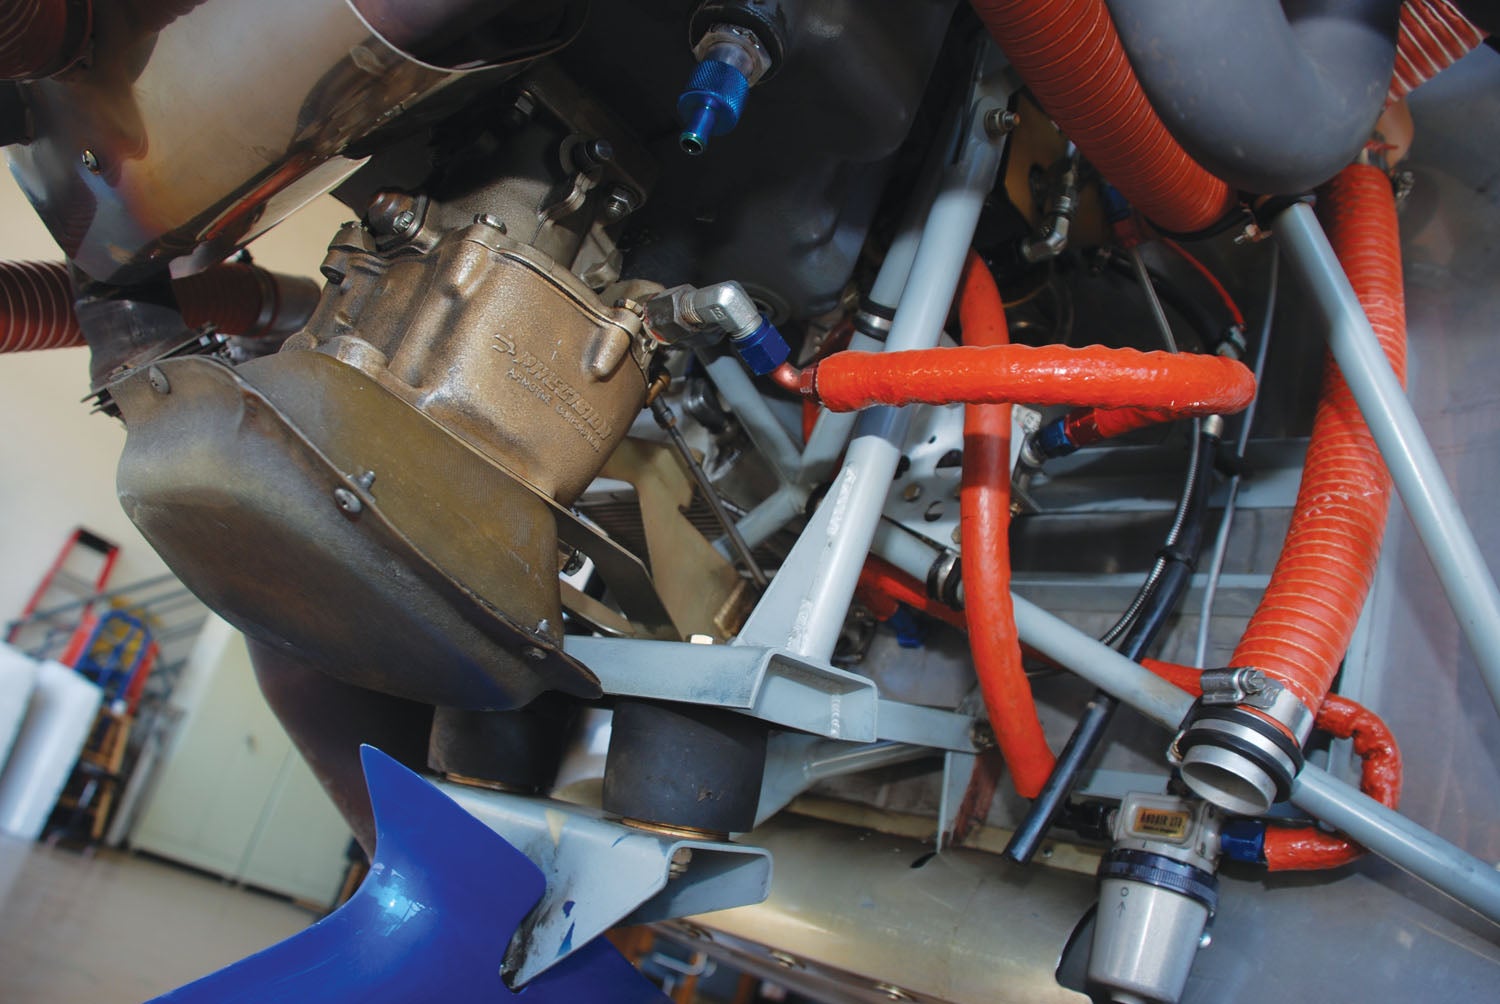
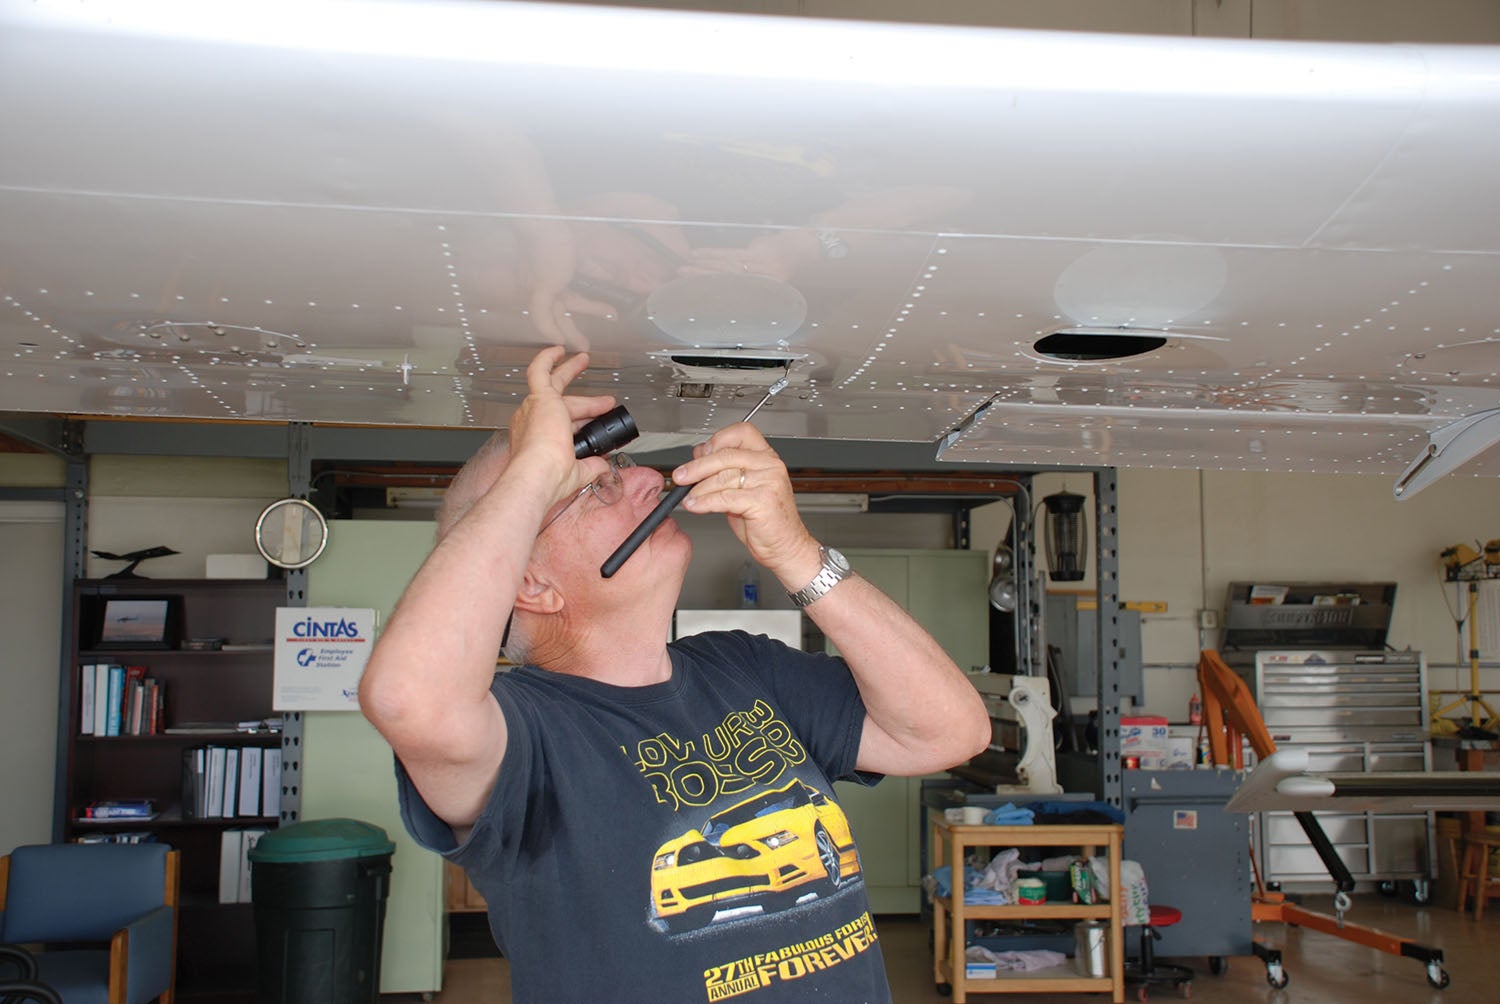
For poor general condition, fabric or skin deterioration, distortion, evidence of failure, and insecurity of attachment. The FAA provides almost no detail for us here, but there is a lot going on with most wings. Inspect fabric for any signs of deterioration and test any suspect areas. Inspect metal for dents, loose or missing fasteners and corrosion. Inspect composite components for cracking and delamination. Inspect wings for signs of leaking fuel. Inspect fuel vents to be sure they are clear and properly positioned.

Open all inspection covers and check control linkages for free and correct movement and any wear on cables or other components. Check for the smooth functioning and travel of flight controls. Check wingtips for damage and cracks, and check strobe and position lights in wingtips. If your plane has wing struts, be sure they are in good condition. If you have flying wires check them for condition and proper tension.

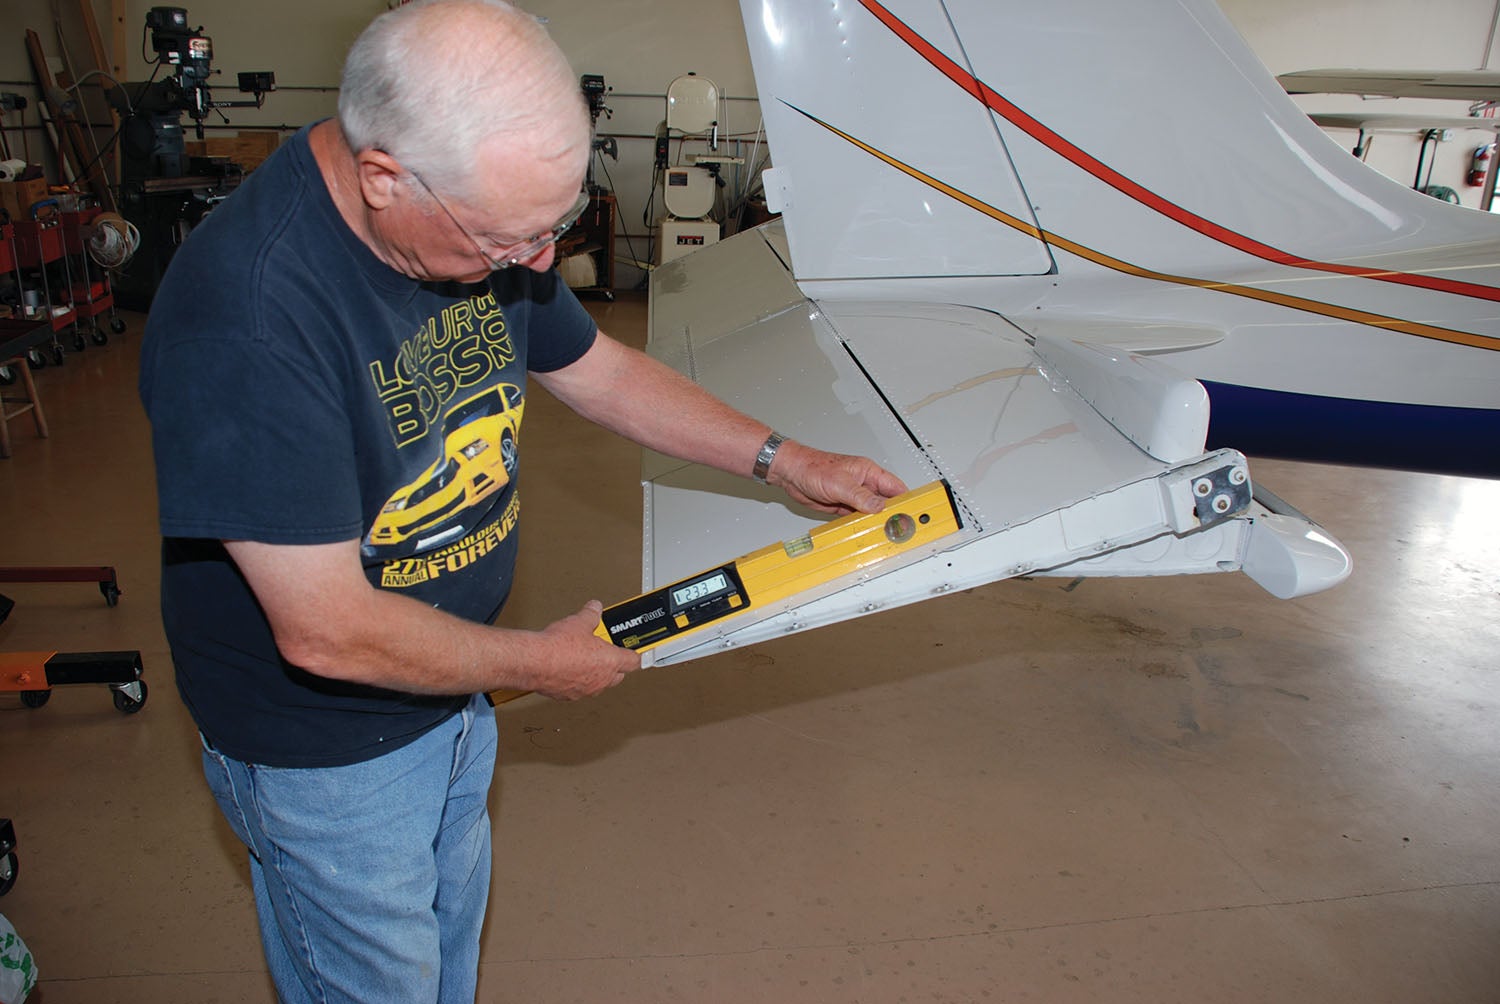
Empennage Assembly
For poor general condition, fabric or skin deterioration, distortion, evidence of failure, insecure attachment, improper component installation, and improper component operation. Empennage items are similar to the wing items. Make sure all controls are secure and working properly, which includes checking for proper travel.

Make sure all cotter pins and safety wires are in place, including clips on cable turnbuckles. Make sure electric elevator trim is working properly and wires are secure if installed. Small electric trim wires are particularly susceptible to damage.
Propeller Group

(1) Propeller assembly—for cracks, nicks, binds, and oil leakage. Blades need to be free of cracks, nicks, splits or bent tips. Each prop manufacturer will have published literature describing the acceptable limits for nicks and scratches and how to repair them. Metal props, wood props and composite props will all have different recommendations. As a general rule, a nick more than 1/8-inch deep in the leading edge or tip will need to be repaired by a prop shop, as will scratches more than 1/16-inch deep in the face of a blade. Corrosion is also a major concern for metal props. Extensive corrosion will need a prop shop to evaluate it and may require replacement. Also look for loose metal leading-edge protectors. These require immediate attention. While you are at it, don’t forget to inspect the spinner and backing plate for cracks or loose fasteners. Lastly, be sure to lubricate your constant-speed prop with approved grease.
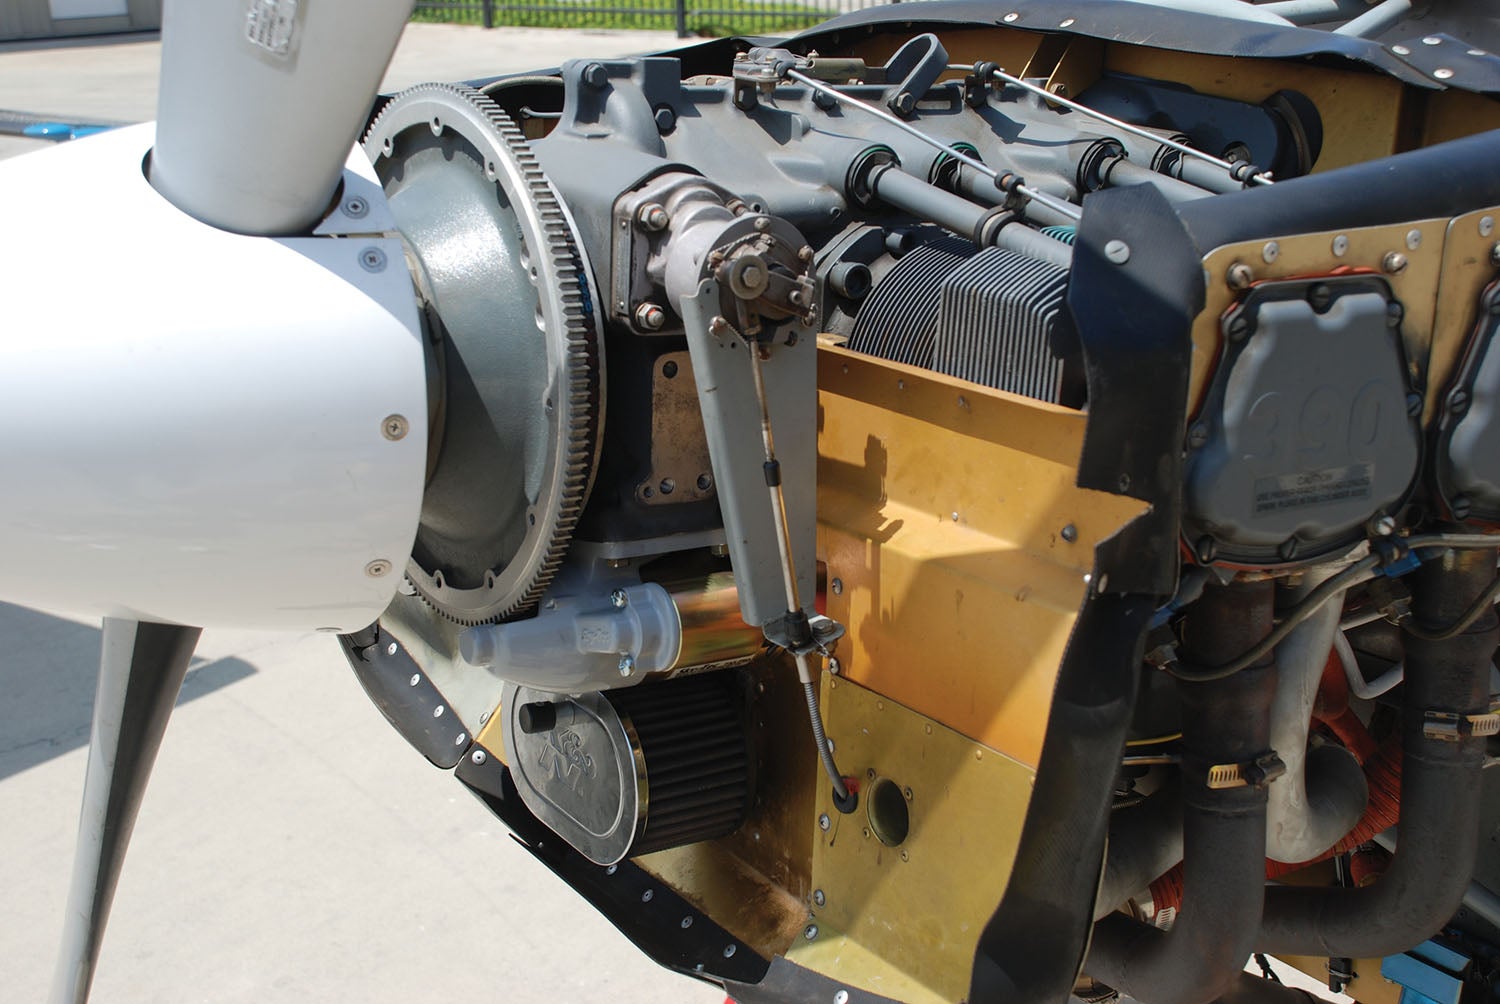
(2) Bolts—for improper torquing and lack of safetying. Check the torque of prop bolts and be sure the proper safety wire is in place. Wood props need to be re-torqued twice a year in roughly May and October to deal with the changing weather. Loosen prop bolts first, then re-torque in steps. If there are any signs or charring on a wood prop it needs to go in and get checked. Charring is an indication that the prop has been loose at some point.
(3) Anti-icing devices—for improper operations and obvious defects. These are not too common on Experimentals, but if you have them take care of them.

(4) Control mechanisms—for improper operation, insecure mounting, and restricted travel. Prop governors and controls need to be working properly and free of leaks and other defects. These items are usually trouble-free but they should not be taken for granted.
Radio Group
(1) Radio and electronic equipment—for improper installation and insecure mounting. There is such a variety of avionics available today that it will be necessary for each airplane owner to make his or her own checklist for these items. Obviously some things apply almost universally: radios and displays need to work properly and be securely installed. Databases need to be up to date. Installed items that do not work need to be placarded as inoperative, removed or, preferably, fixed. If you are all-electric, then the battery and/or alternator back-up power sources should be checked. If you still have vacuum-driven gauges, be sure your vacuum pump is in good shape and the filters changed. If you fly IFR or at night, be sure the equipment you need to be legal is working well.
(2) Wiring and conduits—for improper routing, insecure mounting, and obvious defects. Well-secured wires and conduits rarely need any maintenance, but if there is any chafing or corrosion evident it is very important to address those issues. They can quickly lead to failures.

(3) Bonding and shielding—for improper installation and poor condition. Wire shields and their terminations can fray from vibration and wear, especially in the engine compartment. Bonding straps can build up corrosion at their connections and lead to all sorts of electrical problems. Take these connections apart and clean them if there is any doubt about their condition.
(4) Antenna including trailing antenna—for poor condition, insecure mounting, and improper operation. This is pretty self-explanatory. If you are having problems transmitting or receiving with any radio you should look to the security and condition of antennas and leads. If that doesn’t help, you may need to get an avionics technician to help you.
Miscellaneous Items
Each airplane is going to have its own special concerns, and you will need to identify those and include them on your checklist. That said, there are some items that almost every airplane will have that need attention but don’t have a home on the FAA checklist in Part 43, Appendix D.
If you fly IFR, you will need a pitot-static check every two years. This is not a general airworthiness requirement, but it is an IFR requirement, even for Experimentals. If you operate in or around class B, C or D airspace, you will need a transponder in most cases, and with that comes the need for a biennial function check.
Your ELT needs to be tested once a year and batteries replaced as per the manufacturer’s recommendation. That may entail buying a handful of D cells every year or getting an expensive lithium battery every five. It just depends on your unit.
Now that aircraft require periodic registration renewal, be sure yours is current, along with other paperwork such as the airworthiness certificate, operating limitations and weight and balance paperwork. Remember, the airworthiness certificate needs to be displayed in the plane. The registration, weight and balance and operating limitations need to be in the plane but not displayed.
Airworthiness Directives and Service Bulletins
Most kit manufacturers now send out service bulletins whenever they find a defect or noteworthy service problem in one of their products. If they do not send them to you personally, they may post them on their website. The manufacturers of many major components such as avionics, engines and props will also publish service recommendations of various types. Legally, you do not have to comply with these service bulletins, but you should take a hard look at them before deciding whether or not to comply. Service bulletins are issued for good reasons with your safety in mind. If you ignore one or more of them, you should have a good reason. In most cases you will not.
Logging service bulletin compliance is especially important to preserve your airplane’s resale value. One of the first things that someone will ask on a pre-purchase inspection it to see your logbooks and service records. If you haven’t done the work or recorded it, the value of your plane will suffer.
Airworthiness directives (ADs) are always a hot topic with Experimental builders and owners. As with service bulletins, you do not legally have to comply with them unless the AD in question specifically says that it applies to Experimental aircraft. To my knowledge no such ADs have been issued, but the FAA reserves the right to include Experimentals in an AD if they see a need. As with service bulletins, you should think long and hard about ignoring an airworthiness directive if it applies to something on your plane. Your safety and the safety of your passengers should be your primary concern.
In recent years, the FAA has included an operating limitation that seems to imply that Experimental owners would be bound to the manufacturers’ life limits in much the same way commercial operators are. Last year, the EAA was able to get clarification from the FAA on this matter and has received word that they do not intend to hold us to such a strict standard. They have also promised to revise the language of the operating limitation in the future. There are many good reasons to belong to the EAA. This is just one of them.
The last word on service bulletins and airworthiness directives is that you must certify that your airplane is in a condition for safe operation. If you feel that you can make that statement without complying with a particular AD or service bulletin, then you are legally within your rights to do so. Ultimately, you get to make that decision, but you should not make it lightly.
When you are finished and everything is buttoned up, it is time to do a careful preflight and run-up to be sure everything is working well. A successful run-up should be followed by a test flight before you carry passengers or head off cross country, but not before you make your logbook entry. If 12 months have elapsed since your last condition inspection, you are not legal to fly until the logbook entry has been made. Flight before the logbook entry in such a case is illegal and could invalidate your insurance.
Please keep in mind that the actual test flight should be approached with a good measure of caution. By taking everything apart and putting it back together again, you have, until proven otherwise, actually increased the probability that something will go wrong. Hopefully, after your test flight, you can look forward to another year of trouble-free flying.
![[Credit: Lisa Turner]](https://www.kitplanes.com/wp-content/uploads/2026/02/Fuel-Selector.jpg?w=218&h=150&crop=1 "Fuel Follies")


