In the homebuilding world, we’ve found that some people like rivets, some people like engines, and some people like electrical systems. I’m one of the latter. But there are many people that know metal and find the wiring side of things quite daunting, especially these days, as homebuilt aircraft can be equipped with more and more electrical equipment. For example, just a decade ago, flaps and trim were usually manually operated; but today they are electrically powered in most aircraft. Autopilots, ADS-B receivers, XM weather receivers, multiple EFIS displays, AoA systems, and LED lighting are all commonplace today and must be wired carefully.
When you think about the wiring in your aircraft, think about it in two parts: (1) the power distribution system (including grounds), and (2) the data wiring. This article focuses mainly on the power distribution system, but the general thought process applies to all the wiring in your project.
Let’s Get Started
It’s easy to want to get going by drilling some holes, running some wires, and trusting it will all come together later on. But I advise taking a different approach: spend a good amount of time up-front planning all aspects of your electrical system before you even run or cut a single length of wire. This is important for many reasons, including the fact it will save you time, money, and headache later on.
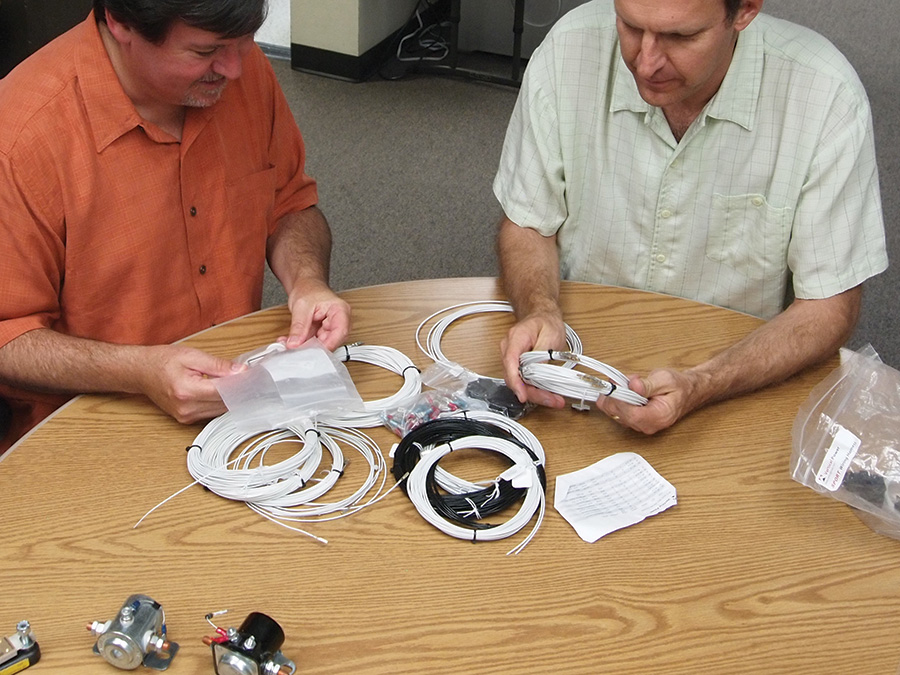
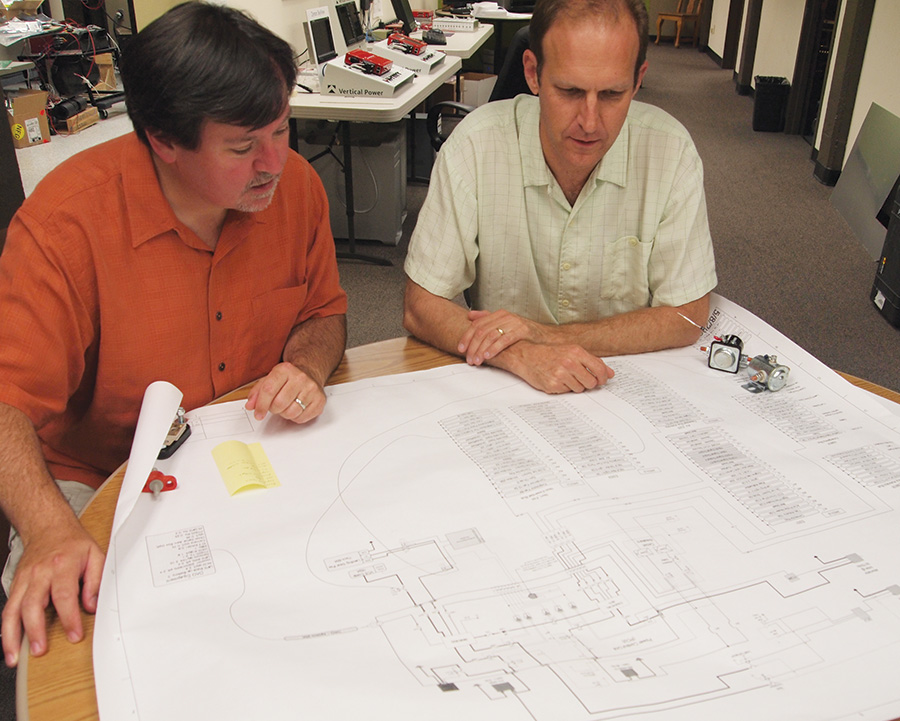
Getting your hands on the actual wiring and equipment can really help during the planning stage, especially if you haven’t seen it before.
Start by thinking about the big picture as you design your electrical system. It may not seem like it, but you are the systems engineer who is ultimately responsible for designing the correct system for your needs. The kit manufacturer usually has some general guidance, or you might find a few sample electrical system drawings on the Internet, but in fact those are only starting points. They are but one piece of data that feeds into the process of designing an electrical system tailored for you. You must do the work so you are assured that the process generates a plan that’s right for your project, not for some other generic airplane. And don’t forget, education is a key part of building your plane on an Experimental certificate. So look at this as an opportunity to learn more about your future electrical system than you ever learned in the past from flying a certificated aircraft.
When designing your electrical system, there is a temptation to copy or do things the same way as your buddy did them when he built his plane. Avoid that temptation. Every Experimental aircraft is different and is used in different ways. It may end up that your plane, when finished, is similar in certain ways to your friend’s plane; but that should be because your requirements are similar and not because you blindly copied him.
Here are three suggested steps to follow when starting to design your electrical system:
Step 1: Clarify Your Mission
In this age of gadgets it is all too tempting to add just one more enhancement, then one more again, until we lose sight of how and why we are building an airplane in the first place. Think about the most basic things first. What will your plane be used for, what type of weather will you be flying in, and what do the worst-case scenarios look like?
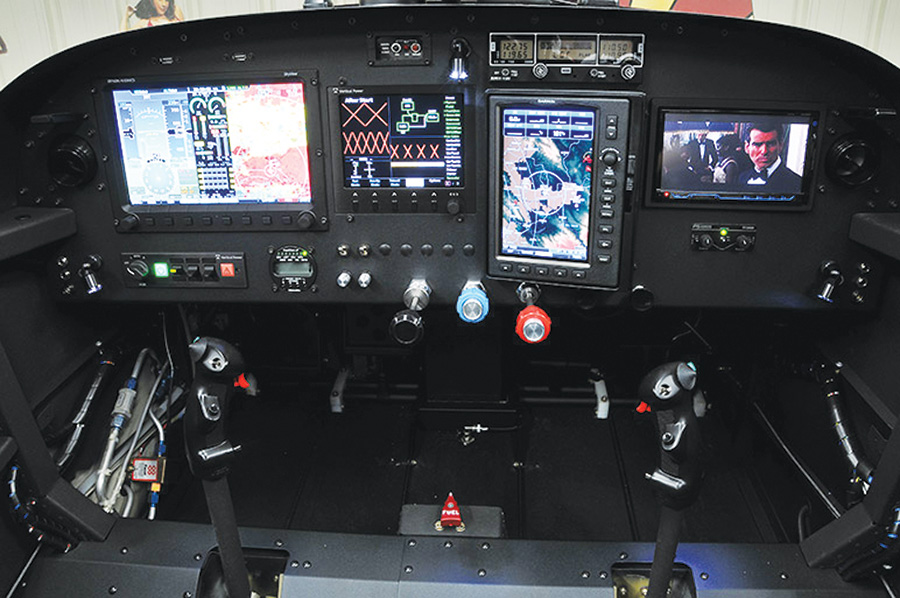
The outcome of this analysis drives not only how you wire your electrical system, but also what avionics and other equipment you put in the aircraft. Most Experimental aircraft are used for day/night VFR flights. If that’s the case for you, do you really need multiple electrical busses, dual AHRS, dual radios, and similar redundancies?
Beyond just the flight conditions you anticipate, there might be other considerations as well. For example, if you plan to fly often with someone in the right seat who is a pilot or is interested in flying, then an EFIS on the right side of the instrument panel might be nice. It may not make sense as a backup for day VFR flight, but it might make sense because you want to share the experience with someone in the right seat.
Alternator selection is another good example. How electrically dependant is your engine and equipment? Would a loss of your alternator and continued short-duration operation on battery affect your safety? If you have a traditional aircraft engine and plan to fly mostly local flights, then a single alternator should be sufficient. But if you plan to fly cross-country flights or IFR, it may make sense to add a backup alternator. Do your own analysis, but I’ll bet you can fly VFR all the way across the country on your backup alternator, as modern avionics and lights draw so little power.
Vertical Power has a simple questionnaire used at trade shows to help prospective customers walk through the thought process. It provides value because people can now see the beginnings of a design starting to materialize on paper. And if you’re comfortable about the path you’re going down, you’ll continue on your journey. Yes, write down your thoughts and basic guidelines, and then use those continuously as a reference when you’re deciding how to equip the aircraft.
If you clarify your mission, determining not only what it is, but also what it isn’t, you will be ready to move on:
Step 2: Commit Every Detail To Paper
It is surprising how many builders, after relying on many pages of detailed plans for their airframes, use little more than a napkin or a single sheet of copy paper to draw out their electrical system. Planning and researching your design, and then committing every detail of that design to hardcopy before you buy equipment and run wires, will pay huge dividends later on. The documents will be used for purchasing, actual wiring, configuring the avionics, troubleshooting, future modifications, and will add value to the aircraft if you decide to sell it. I also keep a small binder of drawings in the aircraft, so if anything goes wrong while I’m away from home, the documentation is readily available.
Whether you’re comfortable with either a pencil or a computer, keep records of everything somewhere. Use whatever tools work best for you—paper, PowerPoint, AutoCAD, and/or spreadsheets. Take pictures of electrical details you come across at fly-ins or online. Ask questions. Read installation manuals (which is especially valuable before you buy equipment, and most manufacturers have their manuals available online for free). If a manufacturer does not have their installation manuals available on the Internet for homebuilders, consider using a different manufacturer.
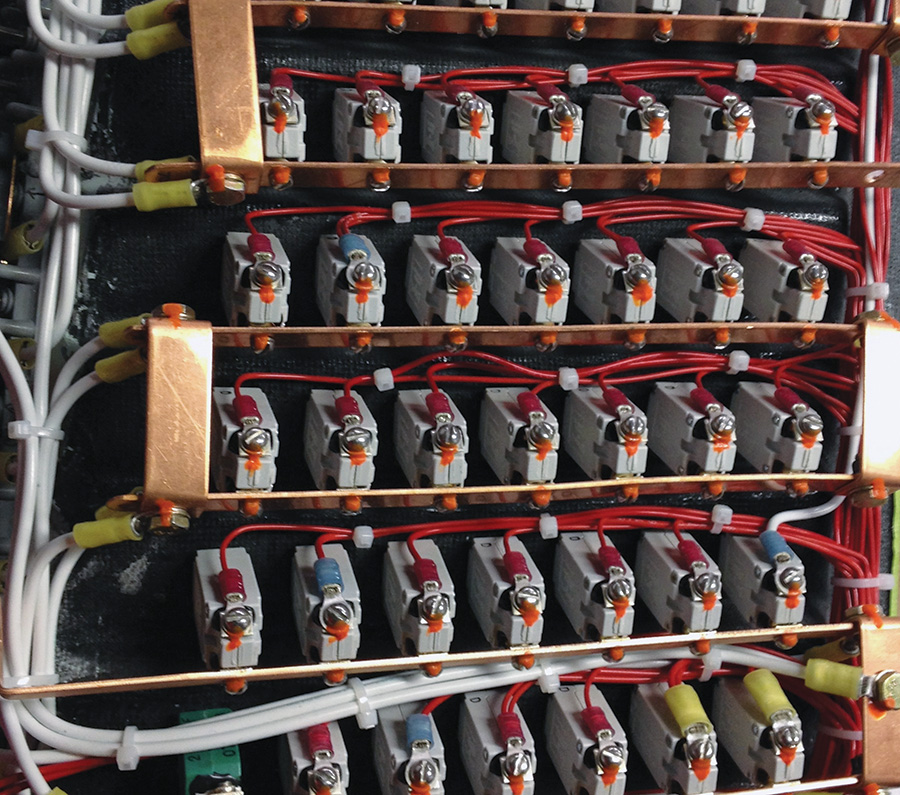
The backside of the circuit breaker panel should be neat and organized. You can start to see the results of all that planning.
For many builders, while their airframe and powerplant are very close versions of work that has been done by countless builders before them, their electrical system will be somewhat unique. Even if you are following accepted practices for your design, and even if that design is as “standard” as the next guy’s, you will probably discover that you must spend more time documenting the specifics of your electrical system than you did for any other part of the airplane.
Draw an outline of the airplane (top and side views, others as necessary) and indicate where each component is planned to go. Be sure to include each antenna, black box, contactor, fuse, motor (trim and flaps), pump, sensor, autopilot servo, light, alternator, main battery, backup battery, AHRS, magnetometer, OAT probe, fuse or electronic circuit breaker system, shunt, and other components. It really adds up to quite a lot of stuff. The only way to stay sane about it is to take it one item at a time.
Next you can draw a set of wiring diagrams (or one big drawing) showing how the power, ground, and data wires connect between the different boxes. Note that the focus of this drawing is to show the wiring interconnects, rather than the physical location of each box. It is simply a drawing with black lines between the various boxes. Label the lines as data or power or something unique to that installation.
Once you know how everything connects, you can draw detailed schematics of each sub-system. This level of detail includes wire types, pin out detail, connector identifiers, and shielding ground points. For example, you can make a drawing that shows only the trim system and another that shows just the flap system. Another can show the wing wiring and connector detail. Keep making drawings until everything is described in detail.
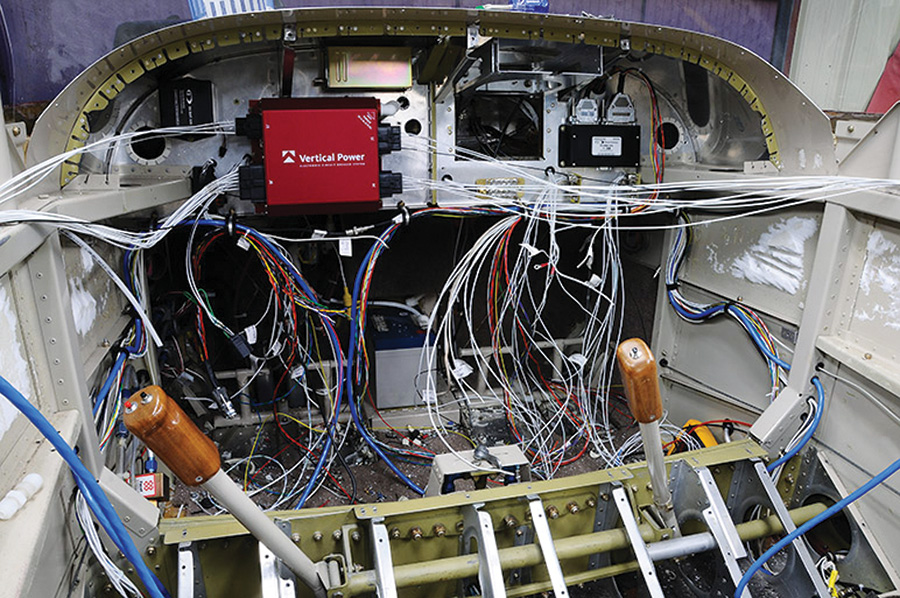
Here’s an RV-6 with most of the wires connected but not yet installed. You can see that having this well documented—and the wires labeled—is the only way to keep it organized. Just remember: one wire at a time.
Important note: the data interconnects between all of the instrument panel avionics can be very complicated. One way to save time and reduce the risk of error is to have an avionics shop (particularly one that specializes in Experimental avionics) pre-wire and test the panel for you. Typically a dealer can also provide a schematic of the panel wiring.
Along the way you’ll learn a lot about your systems. Does the AHRS have a built-in magnetometer or is it separate? What restrictions are there regarding mounting of the fuel flow sensor? Does the EFIS have its own built-in backup battery or do you need to buy a third-party unit? Are there special considerations for strobe light wiring? Where does the marker beacon antenna wire go? This process will inspire you to talk with fellow builders, read the installation manual for each component, and become familiar with not only mounting issues, but also wire-sizing and circuit protection needs. For me, it’s an exciting way to learn about systems in much greater depth than ever was possible with factory-built aircraft, and I hope you feel the same way, too.
It seems like a lot of work, but after helping hundreds of customers with many different designs, I’ve learned that it’s much easier to erase than to rewire. Much cheaper, too! Perhaps the best result of a detailed paper design is that it encourages you to follow the most valuable maxim:
Step 3: Keep It Simple
As a basic rule, the more complex something is, the more likely it is to break. For some reason, while most Experimental airplanes are built as dependable but simple vehicles, their builders are enticed to attach every electrical bell and whistle they can find. By adding more relays, busses, terminals, diodes, wires, and (let’s face it) toys, you are actually adding more things that can fail and more things that make it harder to troubleshoot.
Maybe you fly an airliner for work and you want your day-VFR RV-8 to have the same level of redundancy as your Boeing. Such a plan starts as the default only because that’s what you’re used to. But is it really necessary for the missions you fly in the RV-8? Your RV-8 and your 747 not only fly very different missions, they have very different teams building and maintaining them.
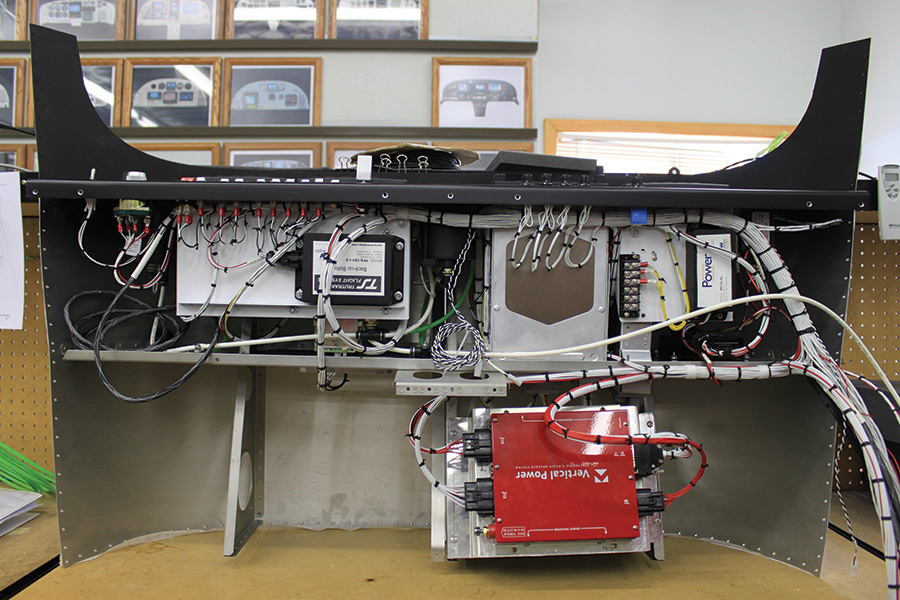
Here is the back of a professionally-wired RV-10 instrument panel. If this looks daunting to you (and it should), ask an Experimental avionics dealer about wiring the instrument panel and providing drawings for you. (Photo courtesy of Aerotronics.)
Perhaps the worst quality of a complex design is that it actually adds risk when it is intended to reduce it. Over the years, I’ve seen a tendency for people to want to over-engineer their electrical system to mitigate all possible failures. There is a misconception that the aircraft can’t have any single points of failure. The reality is, the system should be designed so that if something fails you can continue to fly safely in the conditions you’ve anticipated based on your mission. For example, if you are analyzing the possibility of a primary EFIS failure, but you only fly local day VFR flights, then it is reasonable to expect you can return to your home airport and land safely. Therefore, a backup EFIS and power source are probably not needed. However, if you design for a possible EFIS failure while in IMC conditions, then it is reasonable to design a system with a backup EFIS and backup power source to mitigate that risk. It is not necessary that your backup systems perform every function of your primary systems.
The design of your backups, if needed at all, should be carefully pruned to give you that minimum set of features you require if one of your primary systems fails. Anything extra is likely to make your backup cumbersome, difficult to maintain, and less helpful when you need it most.
Wash then Repeat
Cycle through these steps as many times as necessary. After each iteration, go back to Step 1 and review whether what you’ve done still fits in with your original mission. If it does, congratulations! If it doesn’t, it’s early enough to change things because the design is still on paper. Leave it alone for a while and come back when your brain clears out a bit. Does your design still make sense?
Before you jump into the wiring of your airplane, please consider these three steps. The end result can be an electrical system and avionics package that meets your real needs when you get your project in the air.

![]()
Marc Ausman is the president of Vertical Power and an EAA Director. He served with the U.S. Navy as a Naval Flight Officer on board the P3-C Orion and currently flies an RV-7 that he finished building in 2006.











Interesting article, However after reading about all of the suggestions on how detailed one should plan and detail the diagrams etc. to come to the end and say well maybe you should just have a pro do it for you I was disappointed to say the least. what happened to the spiel about all of the beneficial education by doing all of this yourself? Out the window I surmise.
Marc’s article, along with Stein Bruch’s “All About Avionics” series, convinced me to try a middle approach: pay for a data wiring schematic, where a shop’s experience of many installations will save my time, and reduce my mistakes.
Thanks!