 Talking on the communication radio in your homebuilt aircraft requires a simple push-to-talk (PTT) switch—an electrical push-button switch of the momentary-contact type. This switch is often mounted on the grip of the control stick for convenience so that a press of a finger gets you on the air.
Installing this switch can be a simple, inexpensive procedure, or some builders opt for the commercially available products that take the form of a fancy control-stick grip. These often include switches and levers for controlling the aircraft’s elevator and aileron trim, autopilot and more. These grips can be pricey and are constructed of sculpted wood or plastic. This article will focus on builders wanting to install the simple, DIY version for just the PTT switch functionality.
Many popular kit aircraft have a control stick design using steel tubes about 1 inch in diameter with an open end. This is the design we are looking for to make our simple PTT project work. The key components for our simple design are a momentary push-button switch and a plastic end tube cap. Both of these parts are inexpensive and can be found online at stores like Amazon.
Searching on Amazon for “plastic tubing plug,” we find a variety of sizes to fit various tube diameters. Your end cap must be sized to create a snug fit inside the metal tube used for your aircraft’s control stick. In my Zenith aircraft kit I used a 1-inch cap to match the diameter of the control stick.
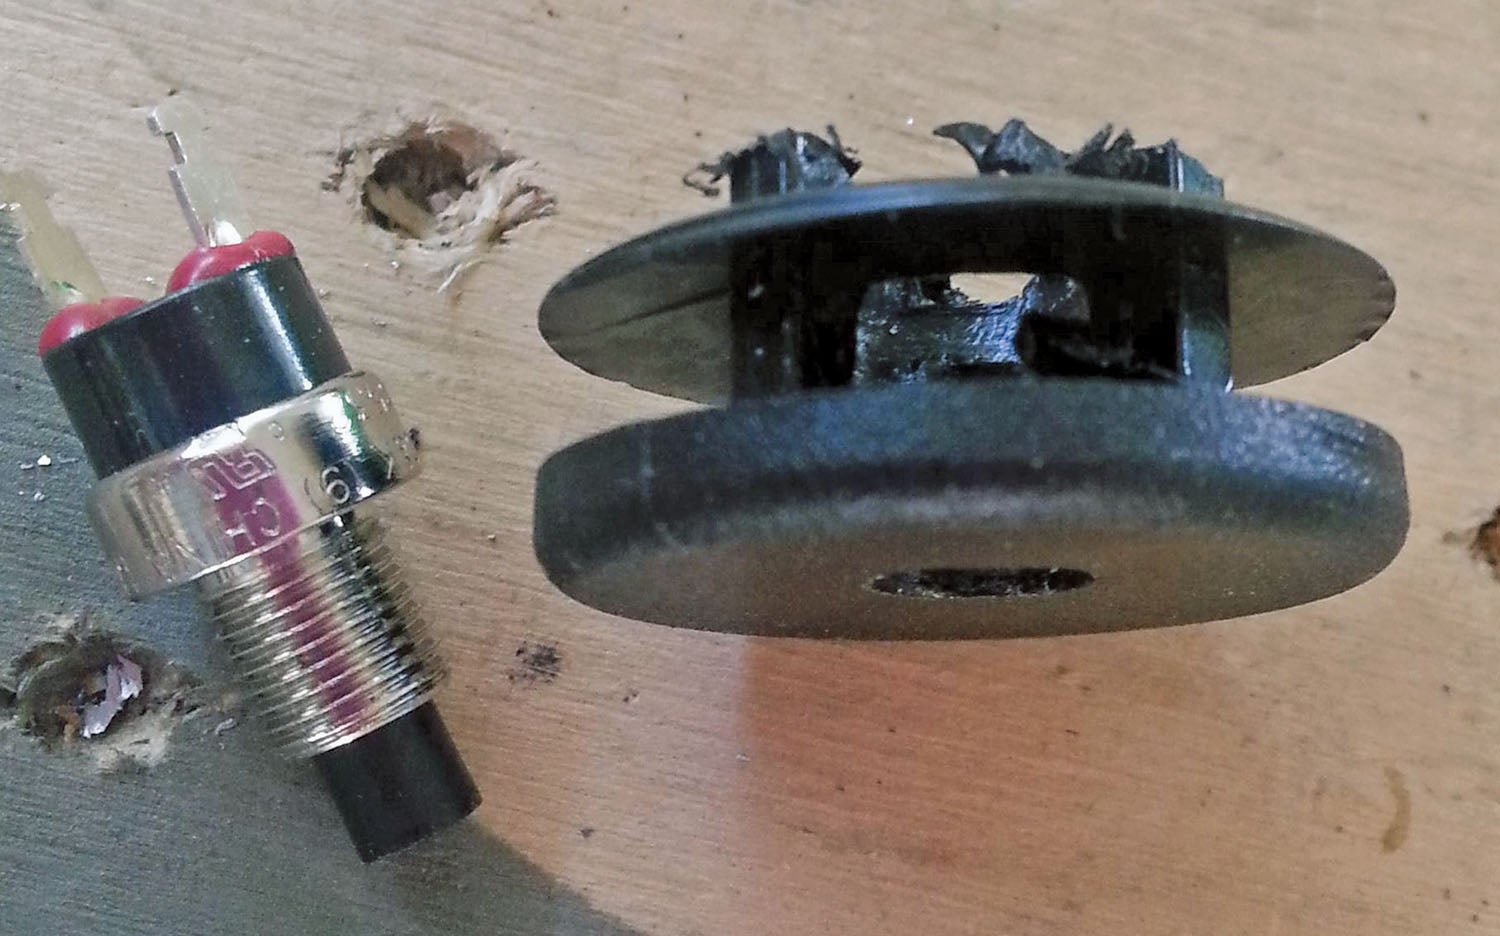
Once we are satisfied with a tight fit inside the tube, we remove the cap and drill an appropriately sized hole in the center to mount a small push-button switch. The plastic cap can be easily trimmed to accommodate the switch if it is too thick for a good switch mounting. As these caps are inexpensive, you don’t have to worry if you ruin a few to get the proper switch fit.
The momentary push-button switch used can be chosen from a wide variety of online sources. Pick one to match your choice of style and color. Choose a momentary, normally open type with a round threaded mounting post and nut that can be used to pass through the end cap and secured. Take note of how the switch provides for the wire connections (screw, spade, solder) so you can choose your favorite option. Not too long ago, I would say run to RadioShack for this switch, but that is not an option anymore! These days, Amazon has lots of choices and pictures to help you choose.
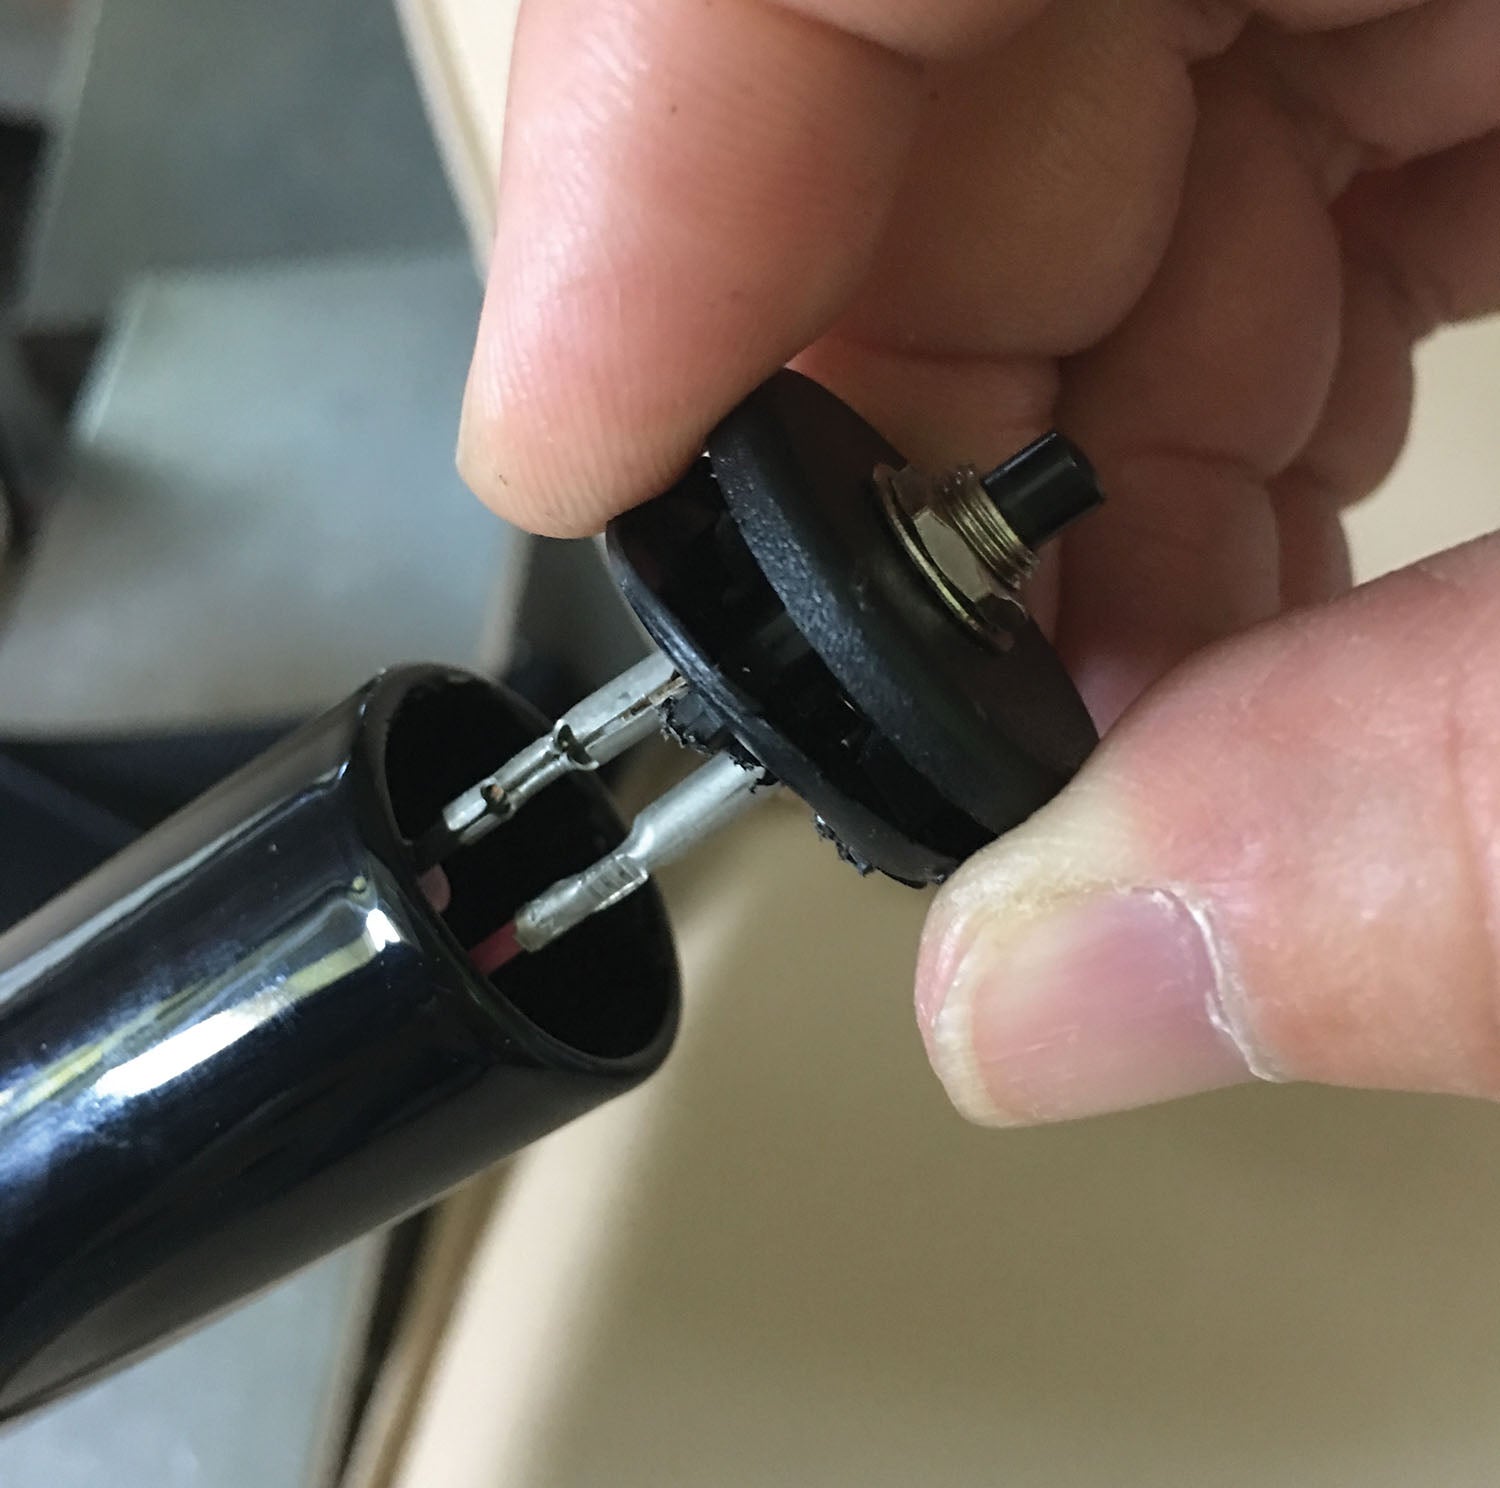
You can route the two wire leads needed for the switch through the top of the tube. Where the wires exit the bottom of the tube you want to be careful about the motion of the stick not causing wire damage. Leave some extra length to the wires as you can easily pull the switch out for maintenance without damaging the connections.
You should find that this simple installation is professional looking and provides a perfect switch location for transmitting while flying. You did it yourself and for just a few dollars of parts. These plastic end caps will come in handy for other applications in your shop, so hold onto the extras.
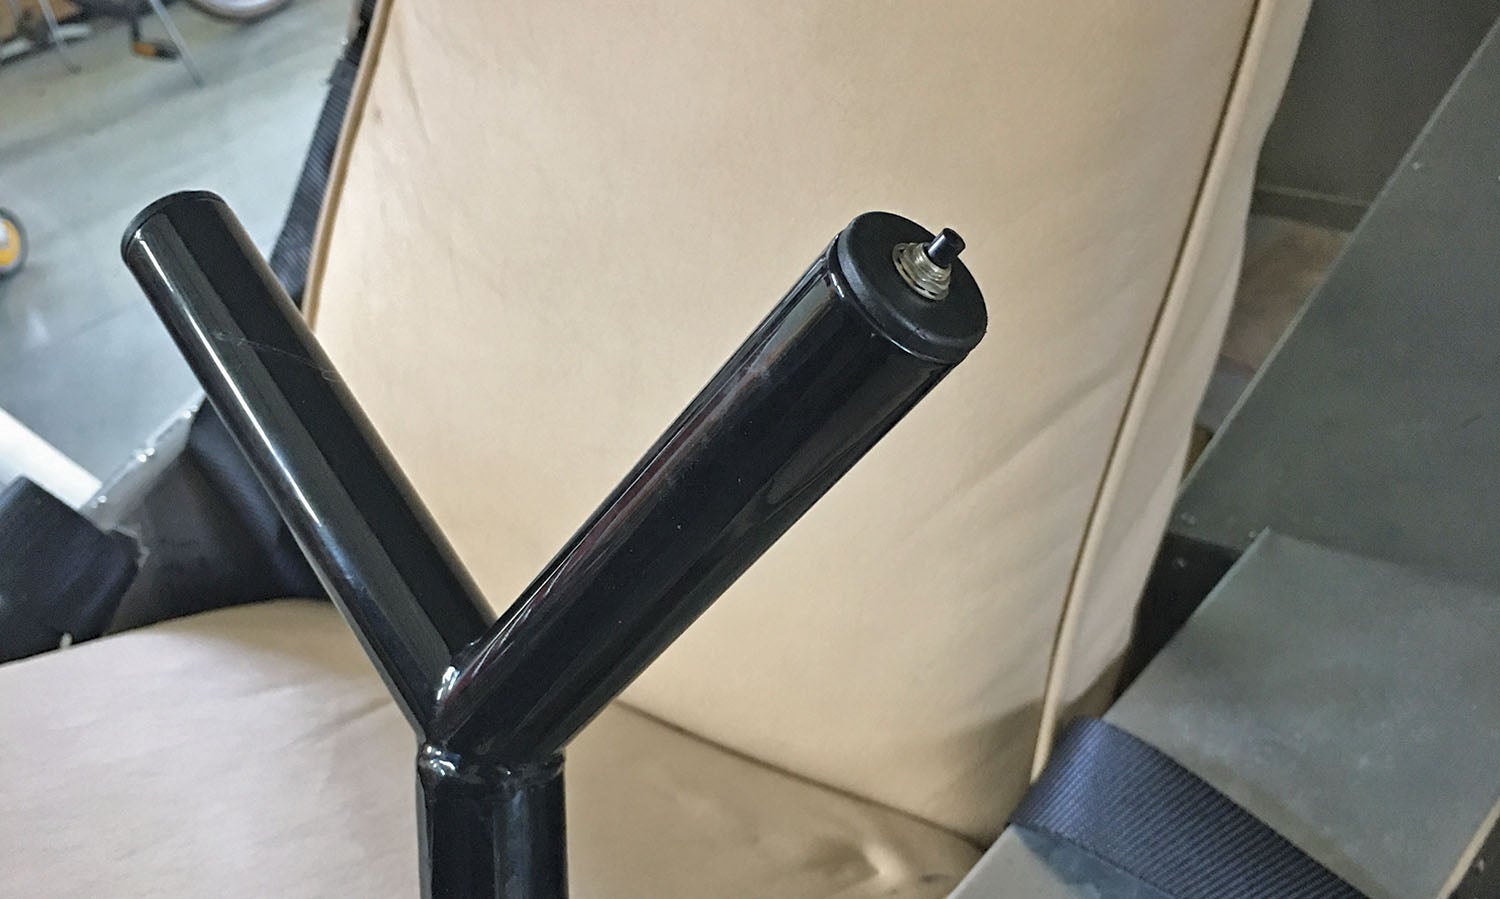


That will work well on a Y-stick, but mounting it on the top of a stick can cause problems if the stick is in one’s lap. I had the experience of keying the transmitter every time I put something on my lap.
How do you wire it?
Comments are closed.