Building an airplane is oftentimes a process that requires undoing work that you hoped was complete. We frequently have to drill out rivets because they are improperly set—or worse, we left something undone inside a component that we had to close up (or we just can’t find that 3/8-inch socket we were using inside the wing bay). Whatever the reason, those people building aluminum airplanes, and those doing just about anything with engine baffles, will occasionally need to remove a rivet. Here are the basic steps.
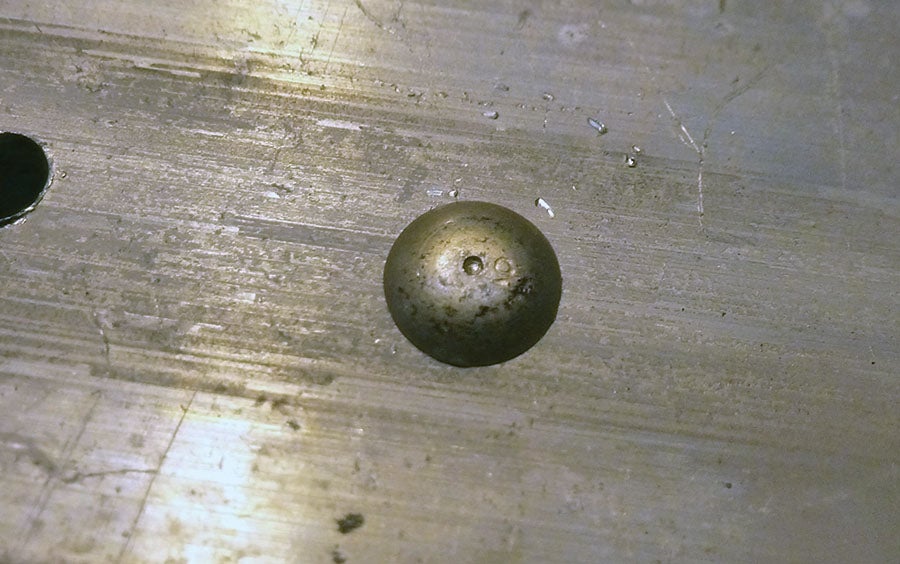
1. The factory head on this universal-head rivet is fine, but the shop head wasn’t up to spec, so out it comes. Note the dimple in the center of the head; this can be enough for experienced builders to use to center their drill bit.
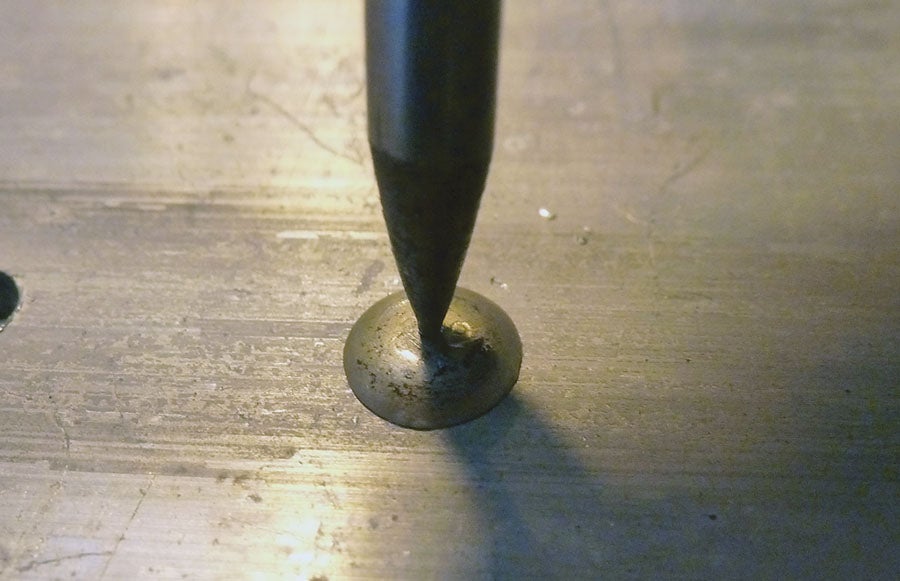
2. For those new to the game, however, a little deeper starting point might help. An automatic center punch is useful in this case; just a couple of pops, and the drill won’t be able to wander.
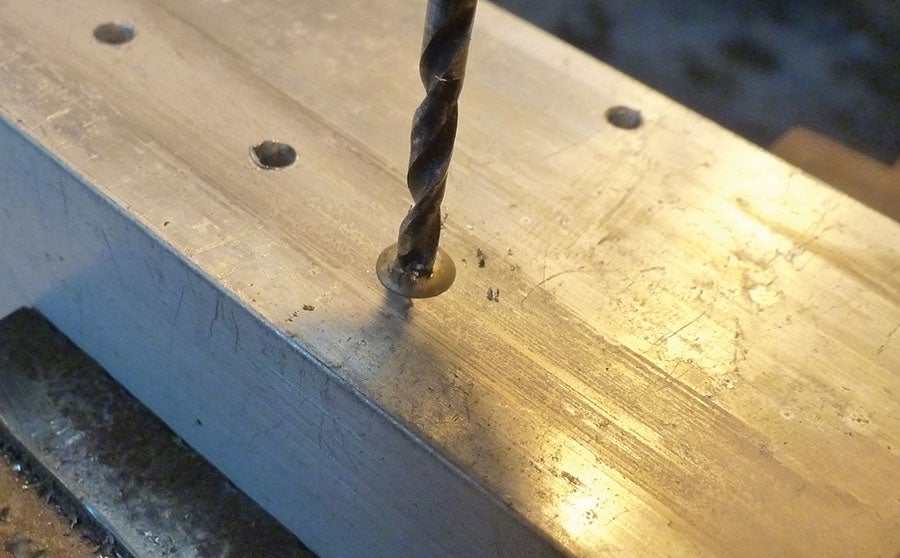
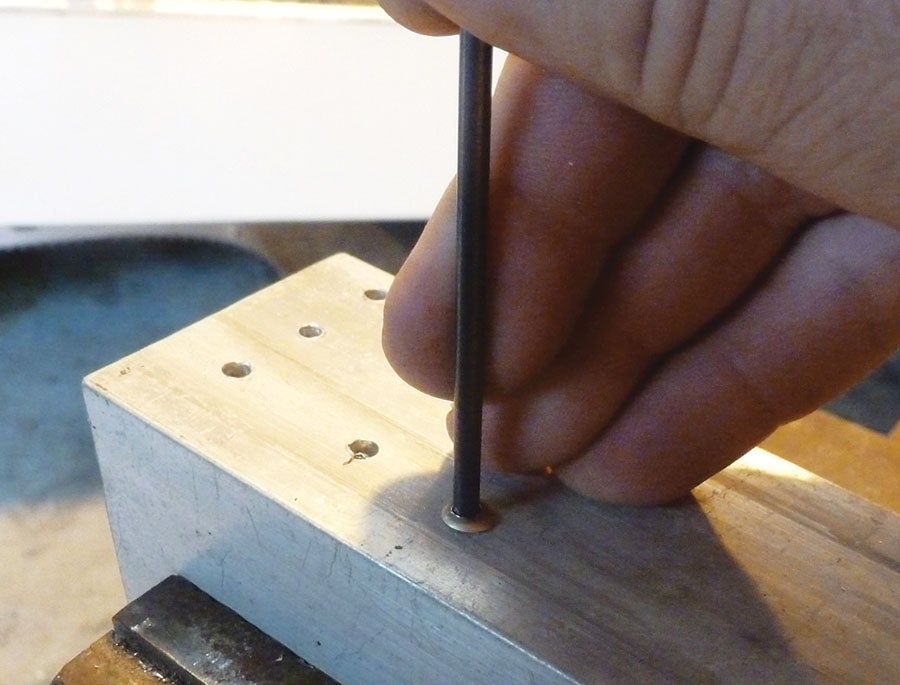
3. Start the drill with a few short, slow pulls of the trigger; the idea is to center the bit in the dimple before starting to really drill. Once you start drilling, make sure you actively steer the bit into the center of the rivet head.
4. You aren’t trying to drill all the way through the rivet shank—just deep enough to separate the head from the shank. If you feel that you are drilling into the surrounding material, stop!
5. Use the back side of a jobber drill bit (the same size as your rivet) inserted into the hole to break off the head.

6. If your hole is properly centered, just rocking the tool in a circle should pop the head loose.
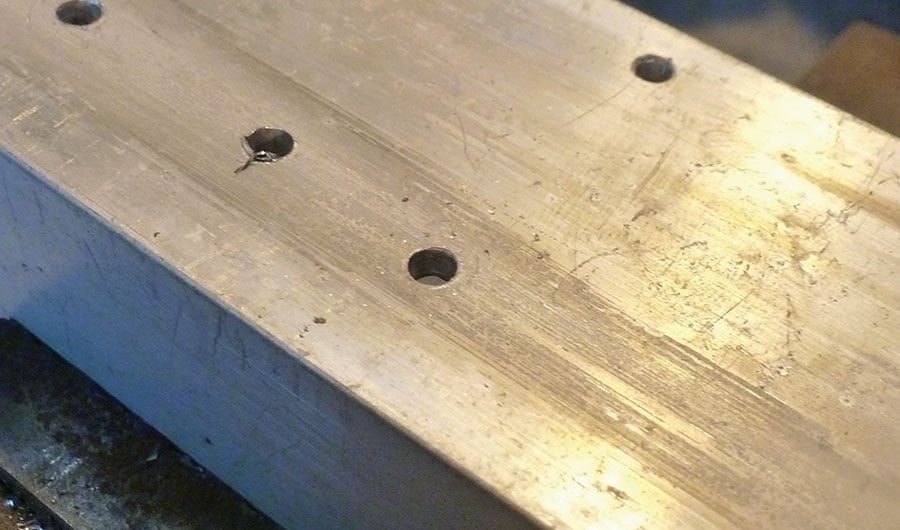
7. The tool may then be used to push the tail of the rivet out the other side, leaving a clean hole for your next riveting attempt.
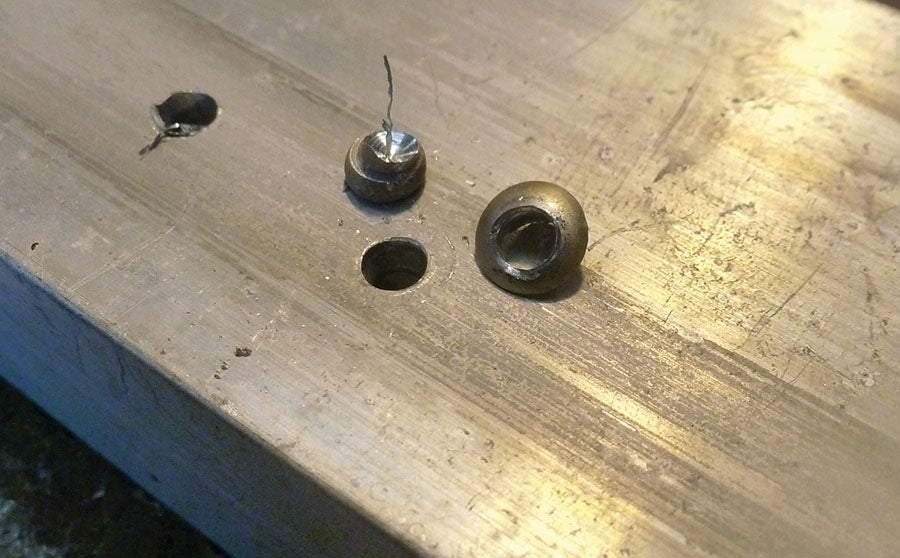
8. If you do a clean job removing the rivet, you will be able to keep the shop and factory heads as souvenirs. (Unfortunately, even the best builders have quite a collection of drilled-out rivets, so they won’t fetch much money on the collector’s circuit.)
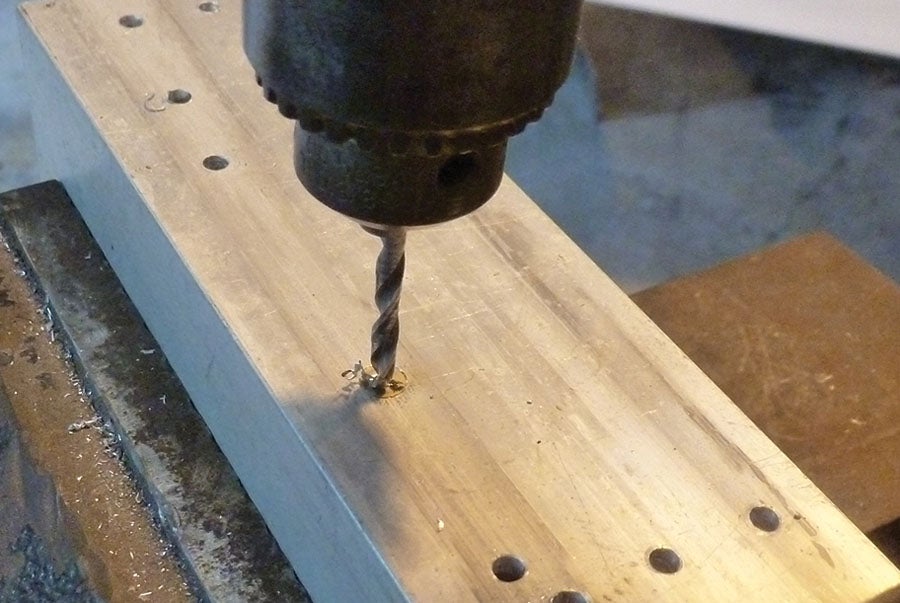
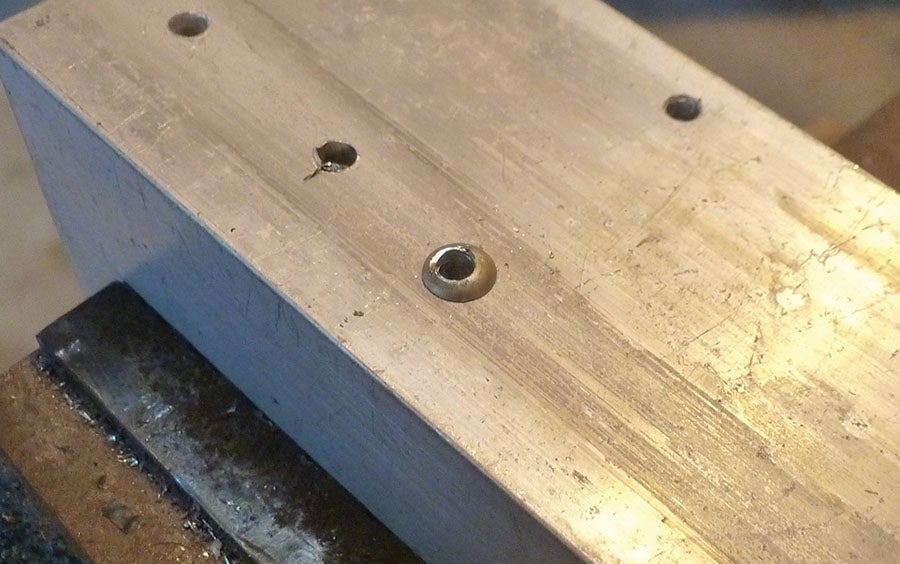
9. Drilling out flush rivets uses the same process. After center-punching the factory head, start the drill slowly and drill down just until you reach the shank.

10. You don’t have to go very deep—just enough to almost separate the head from the shank itself. Use the back end of a drill bit to break the head off, just as you did for the universal-head rivet.

11. If you have perfectly centered the drill bit, the remains of the head might just climb the bit itself. In either case, pop the remains of the shank and shop head out the back side and get on with your build.


