Nearly every kit aircraft will require a large, flat worktable for some part of its construction. Large and flat are the important qualities that are challenging to achieve. And by saying “large,” a more accurate description is that the table needs to be long enough to accommodate some rather long aircraft assemblies.
With the need for a worktable, a new builder is presented with their first stressful challenge of the aircraft project. Buy or build a suitable workbench? Where do you get plans for such a custom table? Are carpentry tools and skills needed for such a unique work area? And what if the worktable isn’t very flat—will that hurt the quality of the finished aircraft? So many important questions shared by many homebuilders. Let’s look at a simple, effective solution for creating a custom worktable suitable for most aircraft kit projects. Our goals are that it must be fast to set up, flat as can be and use simple materials. You be the judge of how well we achieve these goals.
Just three components are needed for your table: sawhorses, I-joists and plywood. This limited shopping list achieves the goal of simple. At least two high-quality sawhorses are needed. The stronger and more stable, the better. A couple sheets of plywood (your choice of grade and thickness) will provide a surface spanning 8×16 feet. This should be adequate for most kit projects.
Now for the magic. You need to purchase two I-joists from your local builder’s supply. They may not have them in stock as they are usually fabricated by request for you in just a few days. You need to specify a length (16 feet will be just right for a 16-foot plywood surface). They will also need to know what height you want. Choosing that dimension is not critical. Go with the least expensive, which will be about 10 inches.

So, what the heck is an I-joist? These are considered “engineered lumber” products as they are created from wood in a factory where quality control and high-tech machinery ensure that your beam is as flat and straight as you can imagine—for the whole 16 feet (or any length you choose). They are intended to replace conventional floor joists in residential housing construction. This means they are really strong, straight and ready to use as delivered.
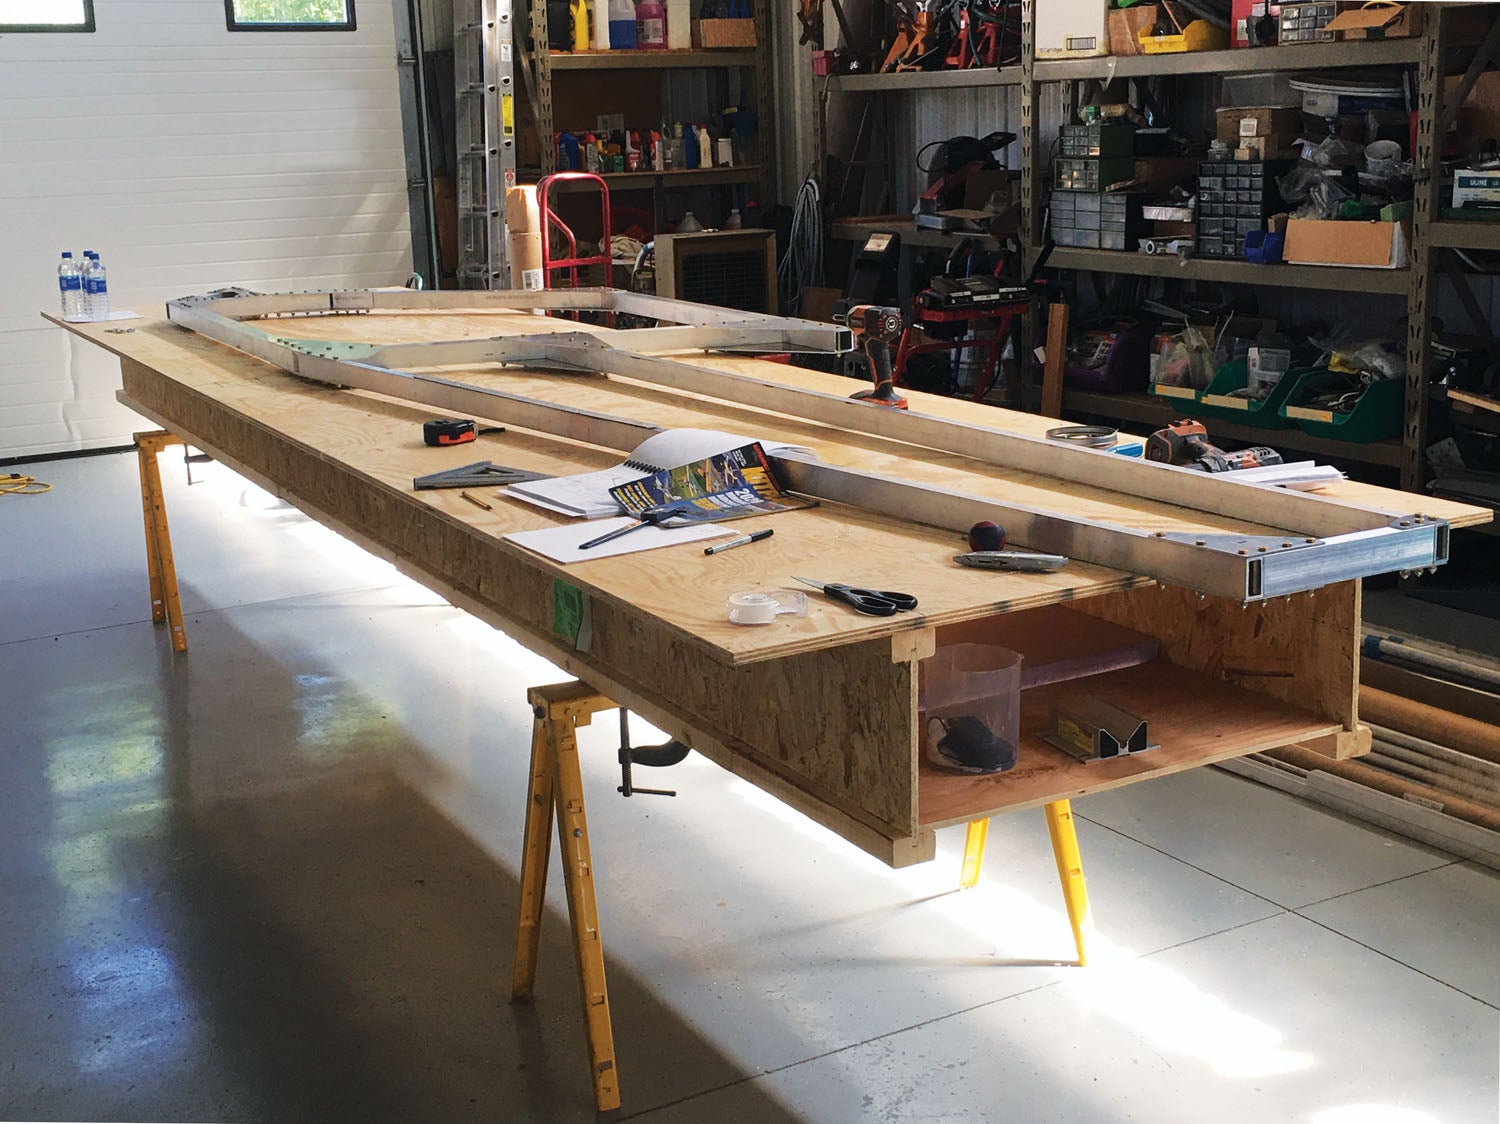
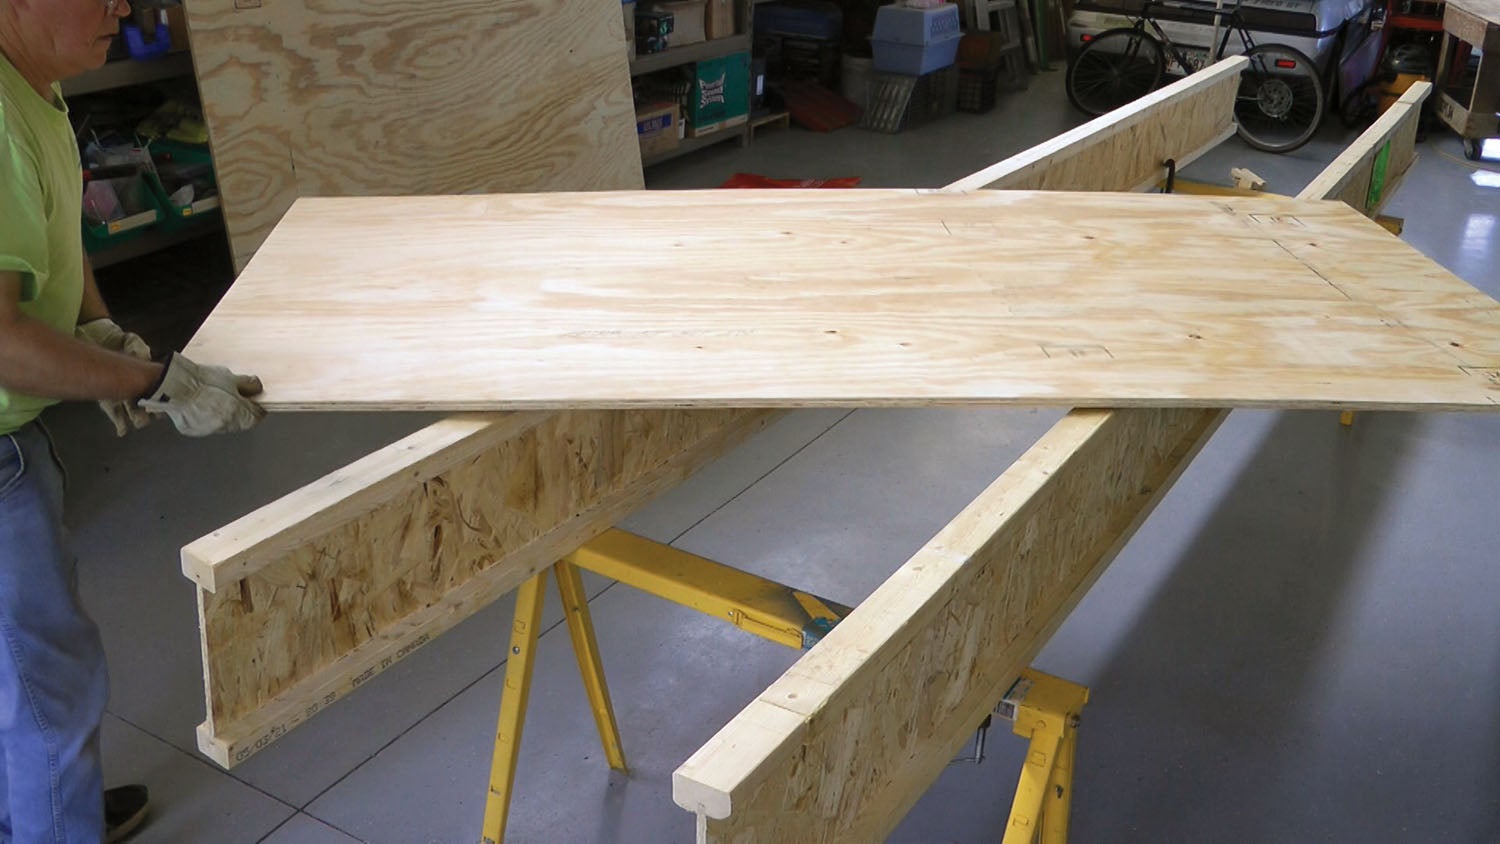
Back to our worktable. To construct, you simply space your sawhorses about 12 feet apart. Lift your I-joists (they are about 40 pounds) and set them on top of the sawhorses, keeping them parallel. Last, lay your plywood sheets end to end on top of the I-joists. No tools required! That fulfills our promise of fast!
For the deluxe installation I recommend attaching four C-clamps to hold the I-joist flanges to the sawhorses, which provides more stability. Also, it does not hurt to screw down the plywood to the top of the I-joists (just like a real floor!) for even more rigidity. That’s it!
You will be amazed at the strength of this long table. Assuming you are using ¾-inch plywood or better, walking or sitting on it is not an issue. The most impressive quality you will notice is that it is incredibly flat. Because of the factory engineered I-joist design, all the tedious measuring work we usually think of when building a large work-table is no longer needed. One could not build such a large structure this flat by hand (not meant to be a challenge to our master carpenters!).
Another favorite quality of this design: When you are through with your project (or want to move it) this large worktable comes apart even faster than it went up. And all you are left with is two sawhorses, two plywood panels, and two I-beams that store nicely along the floor of your shop. Until you need a large worktable next time. Plane and simple!
![Trimming composites gets the full PPE job. [Credit: Eric Stewart]](https://www.kitplanes.com/wp-content/uploads/2026/07/7-2.jpg?w=218&h=150&crop=1 "A Few of My Favorite Tools")


These “i joists” are more commonly known as “TGI”.
Stands for Tongue and Groove I beam.
Would blocking/bridging be a good idea? If someone were to push sideways on the table, the joists could rotate and fall over, with only a few screws fighting back. The bridging would just be plywood cut to the length of the spacing between the joists. 3 pieces over 16ft would probably do it. You’d want it fastened to the joists, but the load on those fasteners wouldn’t be great.
Good article.. Sorry for the dumb question but from where did you procure the beams?
Used a similar system as a diy infeed & outfeed extension for a large panel saw.
Works well but unless your workshop floor is exceptional you will need to put thin packers under some of the trestle legs to rprevent rocking and get the surface dead flat and true enough to use as a “jig table”
Did the same using old bifold closet doors instead of the I joists. Use 6 panels to make 2 beams, with the third panel of each beam “scabbed” to the other 2 to join them to one solid straight beam. When you are finished, disassemble and use them as shelves on standard adjustable shelf brackets for storage in the hangar – – -. We used 2 layers of 3/4″ MDF as the top – again spanning the joint between the 2 panels with the full panel of the second layer and cutting the second panel in half and installing on either end. A layer of 1/4″ “masonite” hardboard made a sacrificial surface to mark up to lay out the fuselage and weld on..
One thing that was missed in the article – make sure you get any “twist” out of the table by shimming the (sawhorse) legs to make the table dead level in all directions.
“A couple sheets of plywood (your choice of grade and thickness) will provide a surface spanning 8×16 feet.”
Plywood is normally sold in 4′ x 8′ sheets. Therefore, with a “couple sheets” of plywood, you can make a surface spanning 4×16′, or 8×8′.
Here in Northern Arizona, plywood purchased at HD or Lowes tends to warp pretty badly within a month after you bring it home from the store. That’s probably due to the large difference between the moisture content of the plywood and the evaporation that will occur in the high desert environment. MDF (medium density fiberboard) does not warp, but it does sag a bit if unsupported over a span of 3-4 feet. Consequently, a subframe is required to support the material. Because it’s also difficult to find a 2×4 that doesn’t warp as it dries out, a dimensionally stable subframe might require the use of something like plain steel angle, screwed to the bottom of the MDF. I haven’t tried this approach.
The idea of using I-joists is the most useful aspect of this article. Clare Snyder made some very useful comments, including the suggestion to use a 1/4″ masonite sheet as a sacrificial surface.
We tried the I-joist. They were not “as flat and straight as you can imagine.” Both the ones we received on order from Menard’s had a noticeable vertical bow to them. The LVL joists (laminated veneer lumber) are very straight but comparatively heavy. There is a type of I-joist made with LVL caps (flanges) instead of finger jointed lumber and should be a safer bet. Ours have the plain lumber and took some work with a belt sander to clean up since the finger joints stood proud and the caps had some twist and cupping to them.
Comments are closed.